Page 71 of 280
To set a higher set speed
•Press and hold SET ACCEL.
Release the control when the
desired vehicle speed is reached
or
•Press and release SET ACCEL to
operate the Tap-Up function.
Each press will increase the set
speed by 1.6 km/h (1 mph) or
•Accelerate with your accelerator
pedal. When the desired vehicle
speed is reached, press and release SET ACCEL.
You can accelerate with the accelerator pedal at any time during speed
control usage. Releasing the accelerator pedal will return your vehicle to
the previously programmed set speed.
To set a lower set speed
•Press and hold COAST. Release
the control when the desired
speed is reached or
•Press and release COAST to
operate the Tap-Down function.
Each press will decrease the set
speed by 1.6 km/h (1 mph) or
•Depress the brake pedal. When
the desired vehicle speed is
reached, press SET ACCEL.
RES
SET
ACCEL
COAST
RES
SET
ACCEL
COAST
RES
SET
ACCEL
COAST
Controls and features
71
Page 72 of 280
To disengage speed control
•Depress the brake pedal.
Disengaging the speed control will
not erase the previously
programmed set speed.
Pressing OFF will erase the
previously programmed set speed.
To return to a previously set speed
•Press RES. For RES to operate,
the vehicle speed must be faster
than 48 km/h (30 mph).
ON
OFF
RES
SET
ACCEL
COAST
Controls and features
72
Page 73 of 280
Indicator light
This light comes on when either the
SET ACCEL or RES controls are
pressed. The vehicle speed must be
at or above 48 km/h (30 mph). It turns off when the speed control OFF
control is pressed, the brake or clutch is applied, or the ignition is turned
to the OFF position.
TILT STEERING
Pull the tilt steering control toward
you to move the steering wheel up
or down. Hold the control while
adjusting the wheel to the desired
position, then release the control.
Never adjust the steering wheel when the vehicle is moving.
HAZARD FLASHER
For information on the hazard flasher control, refer toHazard flasherin
theRoadside emergencieschapter.
CRUISE
Controls and features
73
Page 92 of 280

POSITIVE RETENTION FLOOR MAT (IF EQUIPPED)
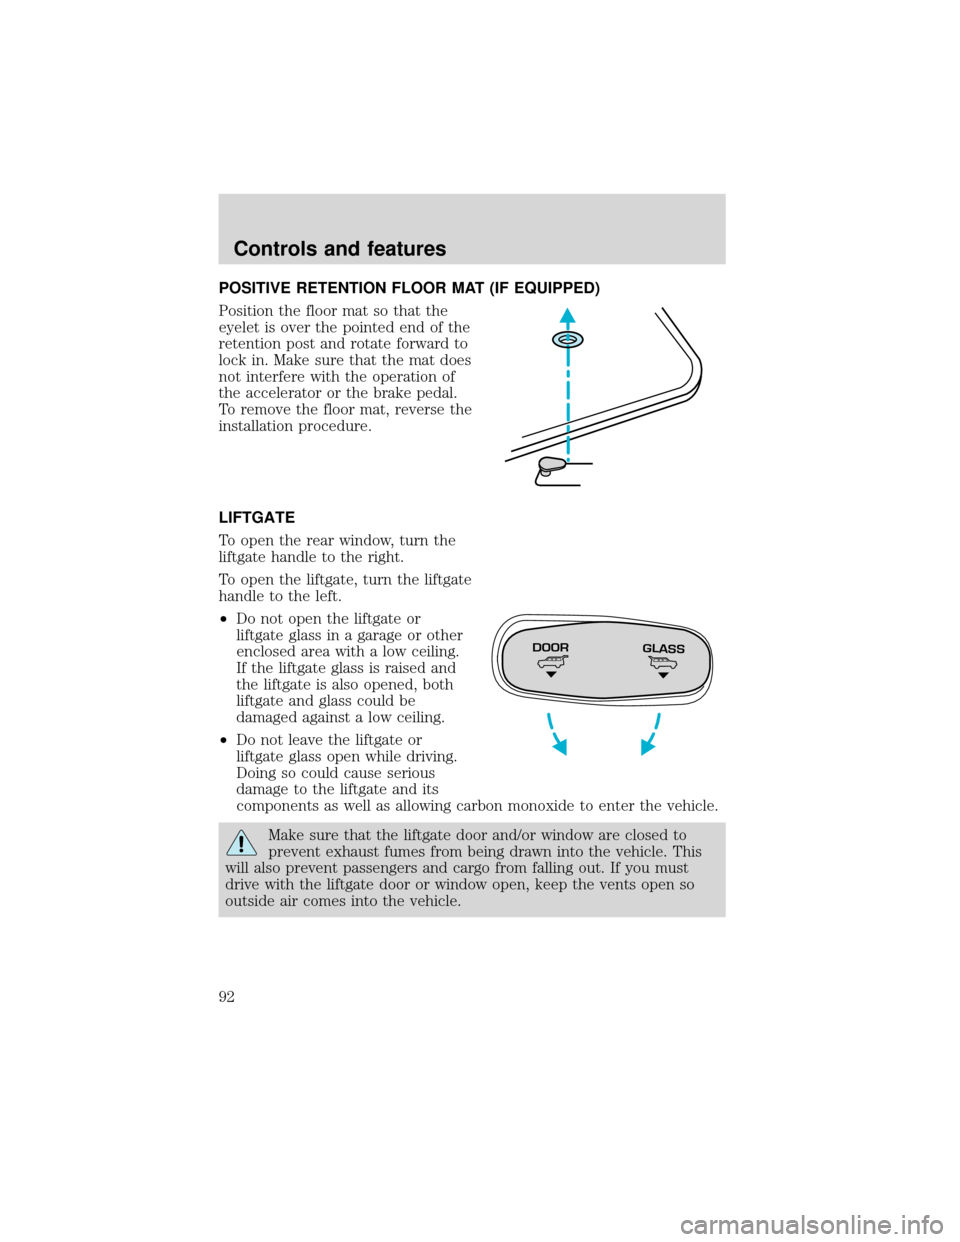
Position the floor mat so that the
eyelet is over the pointed end of the
retention post and rotate forward to
lock in. Make sure that the mat does
not interfere with the operation of
the accelerator or the brake pedal.
To remove the floor mat, reverse the
installation procedure.
LIFTGATE
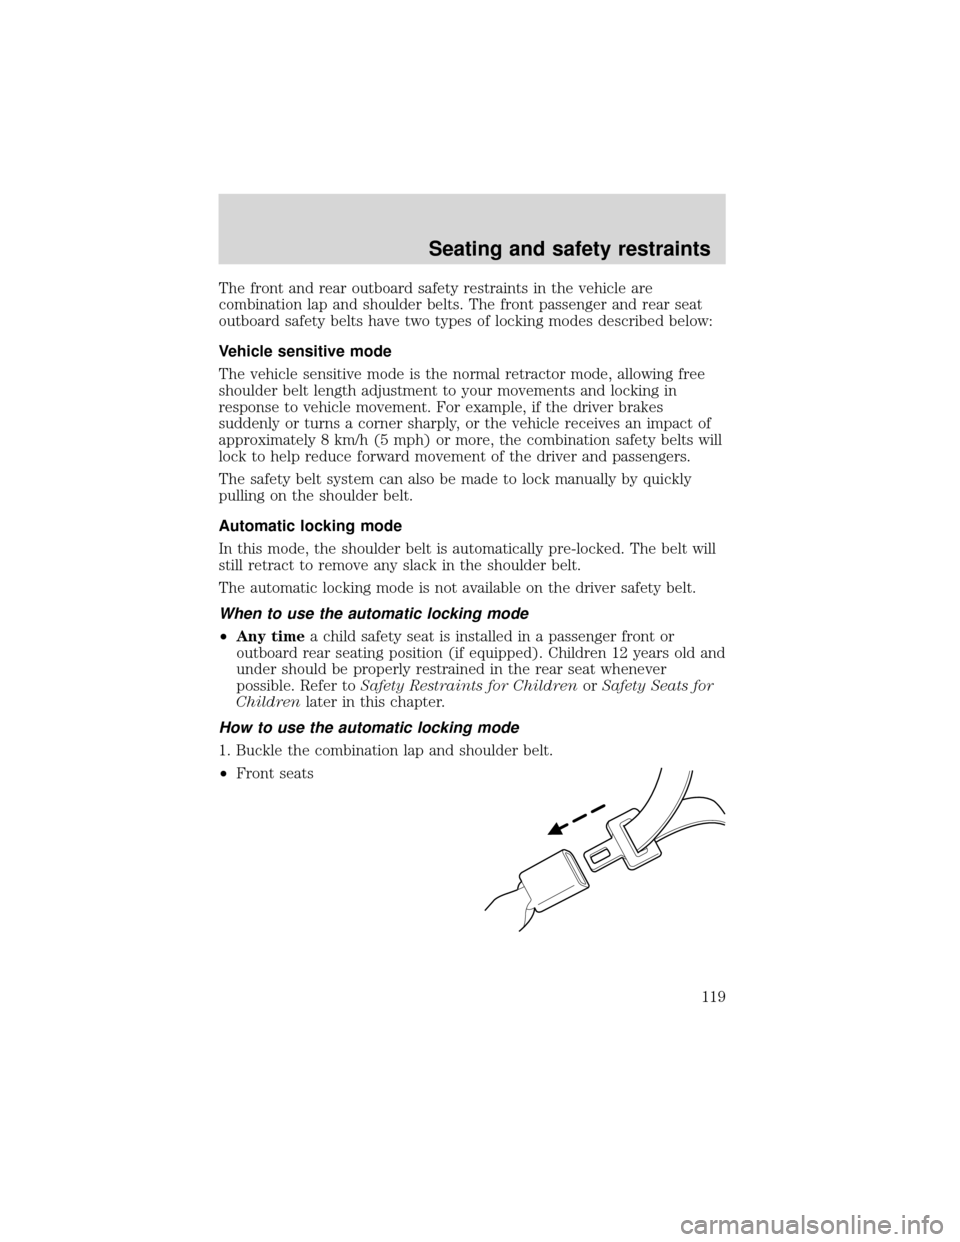
To open the rear window, turn the
liftgate handle to the right.
To open the liftgate, turn the liftgate
handle to the left.
•Do not open the liftgate or
liftgate glass in a garage or other
enclosed area with a low ceiling.
If the liftgate glass is raised and
the liftgate is also opened, both
liftgate and glass could be
damaged against a low ceiling.
•Do not leave the liftgate or
liftgate glass open while driving.
Doing so could cause serious
damage to the liftgate and its
components as well as allowing carbon monoxide to enter the vehicle.
Make sure that the liftgate door and/or window are closed to
prevent exhaust fumes from being drawn into the vehicle. This
will also prevent passengers and cargo from falling out. If you must
drive with the liftgate door or window open, keep the vents open so
outside air comes into the vehicle.
DOORGLASS
Controls and features
92
Page 119 of 280

The front and rear outboard safety restraints in the vehicle are
combination lap and shoulder belts. The front passenger and rear seat
outboard safety belts have two types of locking modes described below:
Vehicle sensitive mode
The vehicle sensitive mode is the normal retractor mode, allowing free
shoulder belt length adjustment to your movements and locking in
response to vehicle movement. For example, if the driver brakes
suddenly or turns a corner sharply, or the vehicle receives an impact of
approximately 8 km/h (5 mph) or more, the combination safety belts will
lock to help reduce forward movement of the driver and passengers.
The safety belt system can also be made to lock manually by quickly
pulling on the shoulder belt.
Automatic locking mode
In this mode, the shoulder belt is automatically pre-locked. The belt will
still retract to remove any slack in the shoulder belt.
The automatic locking mode is not available on the driver safety belt.
When to use the automatic locking mode
•Any timea child safety seat is installed in a passenger front or
outboard rear seating position (if equipped). Children 12 years old and
under should be properly restrained in the rear seat whenever
possible. Refer toSafety Restraints for ChildrenorSafety Seats for
Childrenlater in this chapter.
How to use the automatic locking mode
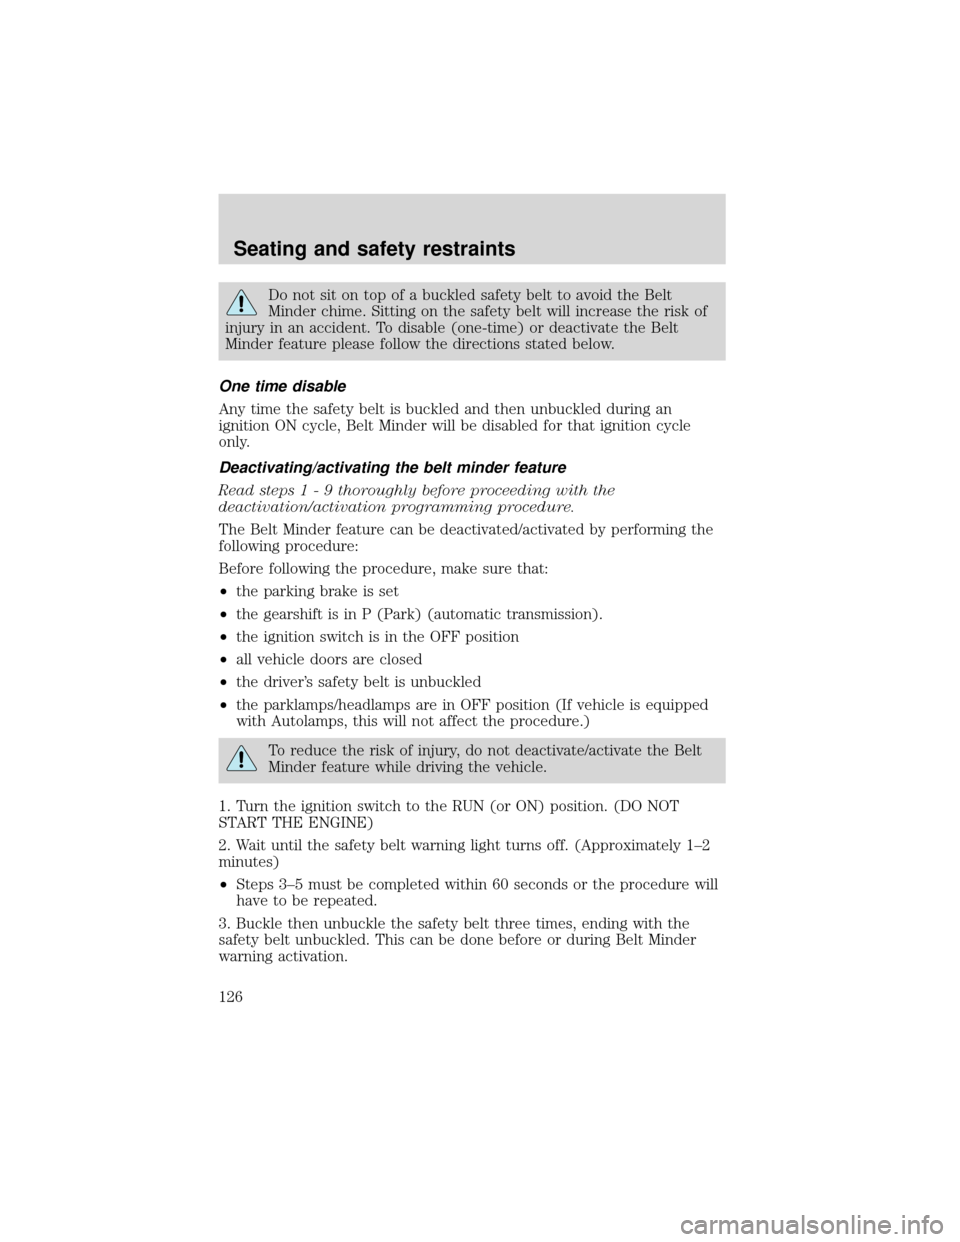
1. Buckle the combination lap and shoulder belt.
•Front seats
Seating and safety restraints
119
Page 126 of 280

Do not sit on top of a buckled safety belt to avoid the Belt
Minder chime. Sitting on the safety belt will increase the risk of
injury in an accident. To disable (one-time) or deactivate the Belt
Minder feature please follow the directions stated below.
One time disable
Any time the safety belt is buckled and then unbuckled during an
ignition ON cycle, Belt Minder will be disabled for that ignition cycle
only.
Deactivating/activating the belt minder feature
Read steps1-9thoroughly before proceeding with the
deactivation/activation programming procedure.
The Belt Minder feature can be deactivated/activated by performing the
following procedure:
Before following the procedure, make sure that:
•the parking brake is set
•the gearshift is in P (Park) (automatic transmission).
•the ignition switch is in the OFF position
•all vehicle doors are closed
•the driver’s safety belt is unbuckled
•the parklamps/headlamps are in OFF position (If vehicle is equipped
with Autolamps, this will not affect the procedure.)
To reduce the risk of injury, do not deactivate/activate the Belt
Minder feature while driving the vehicle.
1. Turn the ignition switch to the RUN (or ON) position. (DO NOT
START THE ENGINE)
2. Wait until the safety belt warning light turns off. (Approximately 1–2
minutes)
•Steps 3–5 must be completed within 60 seconds or the procedure will
have to be repeated.
3. Buckle then unbuckle the safety belt three times, ending with the
safety belt unbuckled. This can be done before or during Belt Minder
warning activation.
Seating and safety restraints
126
Page 128 of 280

Failure to inspect and if necessary replace the safety belt
assembly under the above conditions could result in severe
personal injuries in the event of a collision.
Refer toCleaning and maintaining the safety beltsin the
Maintenacne and Caresection.
AIR BAG SUPPLEMENTAL RESTRAINT SYSTEM (SRS)
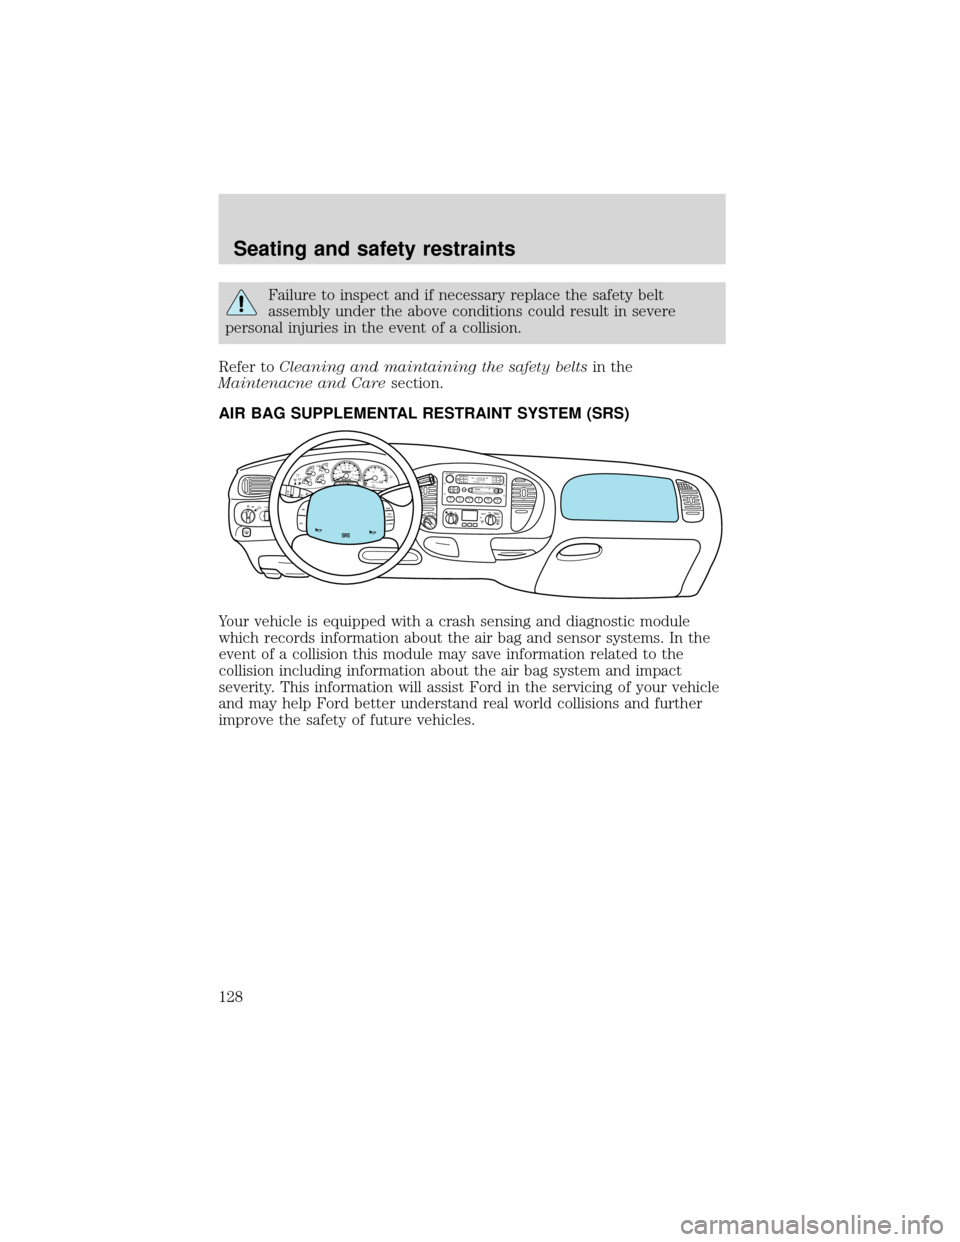
Your vehicle is equipped with a crash sensing and diagnostic module
which records information about the air bag and sensor systems. In the
event of a collision this module may save information related to the
collision including information about the air bag system and impact
severity. This information will assist Ford in the servicing of your vehicle
and may help Ford better understand real world collisions and further
improve the safety of future vehicles.
FOR
SCANEJ
REWFF SIDE 1-2COMPS
H
U
F
F
L
ETAPE CDDISCSB
A
S
ST
R
E
BB
A
LF
A
D
EA
U
T
O
S
E
TVOL - PUSH ONSEEKT
U
N
EAM
FM
12 3456fwDOLBY B NRFM1STDOOR
AJAR
BRAKEF
E
H H
18
820
10304050
60
70
80
90
10020 406080
100
120
140
160
MPH km/h00000000
012PRN 21RPMx1000CHECK
ENGINE THEFT3
4
5
6CHECK
SUSPLOW
FUEL
ABS
PPULL
FOGPANEL
DIM4H
A4WD4LF
L
O
O
R
P
A
N
E
LL
O
H
IC
O
O
LW
A
R
MD
E
F F
L
R
&
D
E
F P
A
N
E
L
&
F
L
O
O
R O
F
FP
A
N
E
LL
O
H
IF
L
R
&
D
E
F P
A
N
E
L
&
F
L
O
O
R O
F
FM
A
X
A
C A
C
F
LO
O
RF
A
N
O
VE
R
D
R
IVE
SRS
ON
OFFRES
SET
ACCELC
O
A
S
T
Seating and safety restraints
128
Page 148 of 280
Important safety precautions
A computer system controls the engine’s idle revolutions per minute
(RPM). When the engine starts, the idle RPM runs faster to warm the
engine. If the engine idle speed does not slow down automatically, have
the vehicle checked. Do not allow the vehicle to idle for more than 10
minutes at the higher engine RPM.
Before starting the vehicle:
1. Make sure all vehicle occupants have buckled their safety belts. For
more information on safety belts and their proper usage, refer to the
Seating and safety restraintschapter.
2. Make sure the headlamps and vehicle accessories are off.
3. Make sure the gearshift is in P
(Park).
4. Make sure the parking brake is
set.
BRAKE
HOOD
Starting
148