2001 CHEVROLET VENTURE light
[x] Cancel search: lightPage 219 of 460

2-106
If the Light Is On Steady
You may be able to correct the emission system
malfunction by considering the following:
Did you recently put fuel into your vehicle?
If so, reinstall the fuel cap, making sure to fully install
the cap. See ªFilling Your Tankº in the Index. The
diagnostic system can determine if the fuel cap has been
left off or improperly installed. A loose or missing fuel
cap will allow fuel to evaporate into the atmosphere. A
few driving trips with the cap properly installed should
turn the light off.
Did you just drive through a deep puddle of water?
If so, your electrical system may be wet. The condition
will usually be corrected when the electrical system
dries out. A few driving trips should turn the light off.
Are you low on fuel?
As your engine starts to run out of fuel, your engine may
not run as efficiently as designed since small amounts of
air are sucked into the fuel line causing a misfire. The
system can detect this. Adding fuel should correct this
condition. Make sure to install the fuel cap properly. See
ªFilling Your Tankº in the Index. It will take a few
driving trips to turn the light off.Have you recently changed brands of fuel?
If so, be sure to fuel your vehicle with quality fuel. See
ªFuelº in the Index. Poor fuel quality will cause your
engine not to run as efficiently as designed. You may
notice this as stalling after start
-up, stalling when you put
the vehicle into gear, misfiring, hesitation on acceleration
or stumbling on acceleration. (These conditions may go
away once the engine is warmed up.) This will be detected
by the system and cause the light to turn on.
If you experience one or more of these conditions,
change the fuel brand you use. It will require at least one
full tank of the proper fuel to turn the light off.
If none of the above steps have made the light turn off,
have your dealer or qualified service center check the
vehicle. Your dealer has the proper test equipment and
diagnostic tools to fix any mechanical or electrical
problems that may have developed.
Page 220 of 460

2-107
Emissions Inspection and Maintenance Programs
Some state/provincial and local governments have or may
begin programs to inspect the emission control equipment
on your vehicle. Failure to pass this inspection could
prevent you from getting a vehicle registration.
Here are some things you need to know in order to help
your vehicle pass an inspection:
Your vehicle will not pass this inspection if the
SERVICE ENGINE SOON or CHECK ENGINE light is
on or not working properly.
Your vehicle will not pass this inspection if the
OBD (on
-board diagnostic) system determines that
critical emission control systems have not been
completely diagnosed by the system. The vehicle would
be considered not ready for inspection. This can happen
if you have recently replaced your battery or if your
battery has run down. The diagnostic system is designed
to evaluate critical emission control systems during
normal driving. This may take several days of routine
driving. If you have done this and your vehicle still does
not pass the inspection for lack of OBD system
readiness, see your dealer or qualified service center to
prepare the vehicle for inspection.
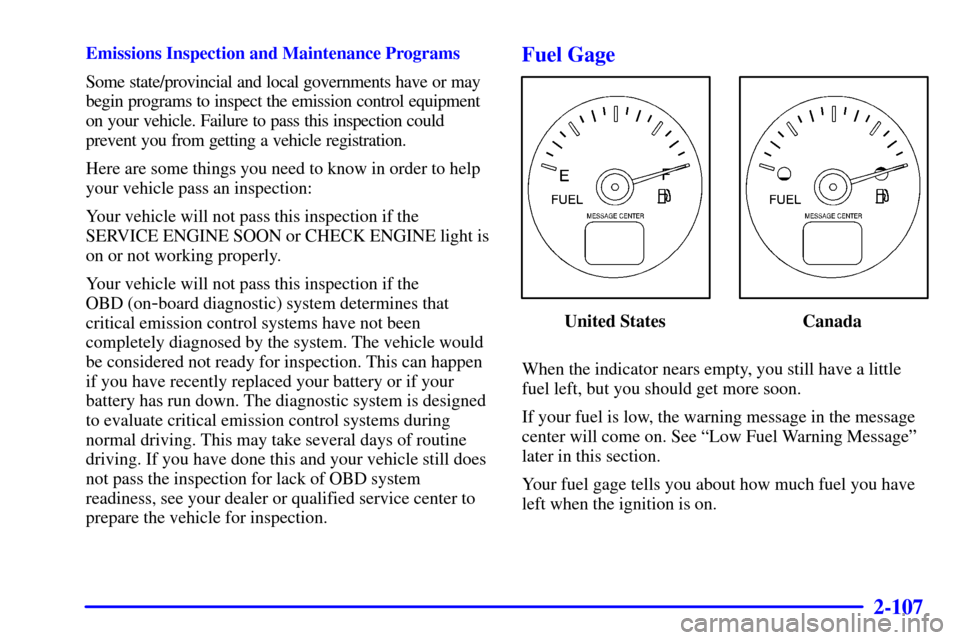
Fuel Gage
United States Canada
When the indicator nears empty, you still have a little
fuel left, but you should get more soon.
If your fuel is low, the warning message in the message
center will come on. See ªLow Fuel Warning Messageº
later in this section.
Your fuel gage tells you about how much fuel you have
left when the ignition is on.
Page 232 of 460

2-119
Resetting the Trip Computer
Press and hold the MODE and E/M buttons for at least
two seconds. The reset is acknowledged with the display
showing all segments on briefly. A reset can only be
done in AVG ECON, FUEL USED and AVG SPEED
displays. AVG ECON, FUEL USED and AVG SPEED
can be reset independently. Only the mode that is
displayed will be reset.
Rear Parking Assist (Option)
Rear parking assist can help you to determine how close
an object is to your rear bumper within a given area,
making parking easier. It is not intended to be used
primarily as a rear obstacle detection system.
The rear parking assist display is located inside the
vehicle, above the rear window. It has three color
-coded
lights that can be seen through the rearview mirror.
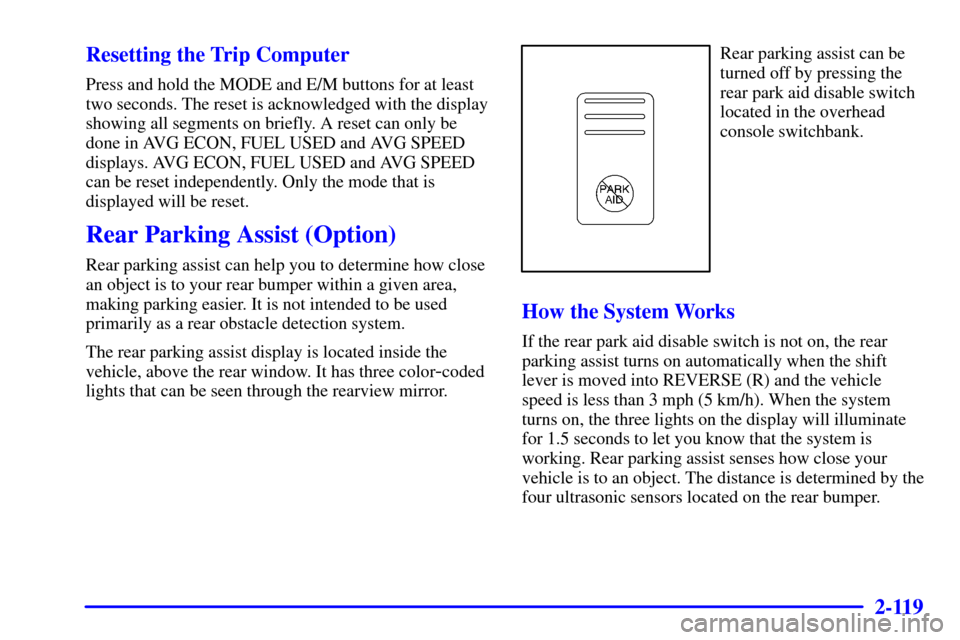
Rear parking assist can be
turned off by pressing the
rear park aid disable switch
located in the overhead
console switchbank.
How the System Works
If the rear park aid disable switch is not on, the rear
parking assist turns on automatically when the shift
lever is moved into REVERSE (R) and the vehicle
speed is less than 3 mph (5 km/h). When the system
turns on, the three lights on the display will illuminate
for 1.5 seconds to let you know that the system is
working. Rear parking assist senses how close your
vehicle is to an object. The distance is determined by the
four ultrasonic sensors located on the rear bumper.
Page 233 of 460

2-120
When shifting into REVERSE (R) and an object is
detected, one of the following will occur:
A chime will sound the first time an object is detected,
if the object is between 20 inches (0.5 cm) and
5 feet (1.5 m) away.
Rear parking assist can detect objects 3 inches (7.6 cm)
and wider, and at least 10 inches (25.4 cm) tall, but it
cannot detect objects that are above liftgate level. In
order for the rear sensors to recognize an object, it must
be within operating range.If the rear parking assist system is not functioning
properly, the display will flash red, indicating that there is
a problem, unless the disable switch is on. The light
will also flash red when the vehicle is shifting into
REVERSE (R), if a trailer was attached to your vehicle, or
if a bicycle or an object was on the back of, or hanging out
of your liftgate during your last drive cycle. The light will
continue to flash whenever in REVERSE (R) until your
vehicle is driven forward at least 15 mph (25 km/h)
without any obstructions behind the vehicle.
It will also flash red if the ultrasonic sensors are not kept
clean. So be sure to keep your rear bumper free of mud,
dirt, snow, ice and slush or the system may not work
properly. If after cleaning the rear bumper and driving
forward at least 15 mph (25 km/h), the display continues
to flash red, see your dealer.
It may also flash red if your vehicle is moving in
REVERSE (R) at a speed greater than 3 mph (5 km/h).
Other conditions that may affect system performance
include things like the vibrations from a jackhammer or
the compression of air brakes on a very large truck.
As always, drivers should use care when backing up a
vehicle. Always look behind you, being sure to check for
other vehicles, obstructions and blind spots. For cleaning
instructions, see ªCleaning Your Vehicleº in the Index.
Page 236 of 460

3-3
DEFROST: This setting directs most of the air
to the windshield and side window vents.
Mode Buttons
OUTSIDE AIR: Press this button (the light will
glow) to send outside air into your vehicle. Using this setting
while trying to defrost or defog the windows will help clear
the vents of moisture. Press the RECIRCULATION button
(the light on the OUTSIDE AIR button will go off) to limit
outside air entering the vehicle. When the LOWER, DEFOG
or DEFROST setting is selected, the system will
automatically go to OUTSIDE AIR mode.
RECIRCULATION: Press this button (the light
will glow) to limit the amount of outside air entering
your vehicle by recirculating much of the air inside your
vehicle. You may use this setting to limit odors entering
your vehicle. Press the OUTSIDE AIR button (the light
on the RECIRCULATION button will go off) to let
outside air circulate into the vehicle.
Operating the Heating/Ventilation/Air Conditioning
(HVAC) system in the RECIRCULATION mode
may cause fogging of the vehicle's windows when the
weather is cold and damp. To clear the fog, switch the
HVAC system to either the DEFOG or DEFROST
mode and increase the fan speed. To avoid re
-fogging
of the windows, operate the HVAC system in the
OUTSIDE AIR mode.
Air Conditioning
On very hot days, your vehicle will cool down more
quickly and economically if you open the windows long
enough to let hot, inside air escape. For all settings, adjust
the temperature knob and fan speed as desired.
To get maximum cooling or a quick cool
-down on very
hot days, press the A/C and RECIRCULATION buttons
(the lights will glow) and turn the temperature knob
counterclockwise (toward the blue area). Adjust the mode
knob to direct the air to the desired location. This setting
should not be used for long periods of time because the
air may become too cold and dry. Push the A/C button
again (the light will go off) to turn off the air conditioning.
When the air conditioner compressor is on, you may
sometimes notice slight changes in your vehicle's engine
performance and power. This is normal. The system is
designed to help fuel economy while it maintains the
desired cooling level.
The air conditioner removes moisture from the air, so
you may sometimes notice water dripping from under
your vehicle's engine compartment when it is idling or
after it has been turned off. This is normal.
Page 238 of 460

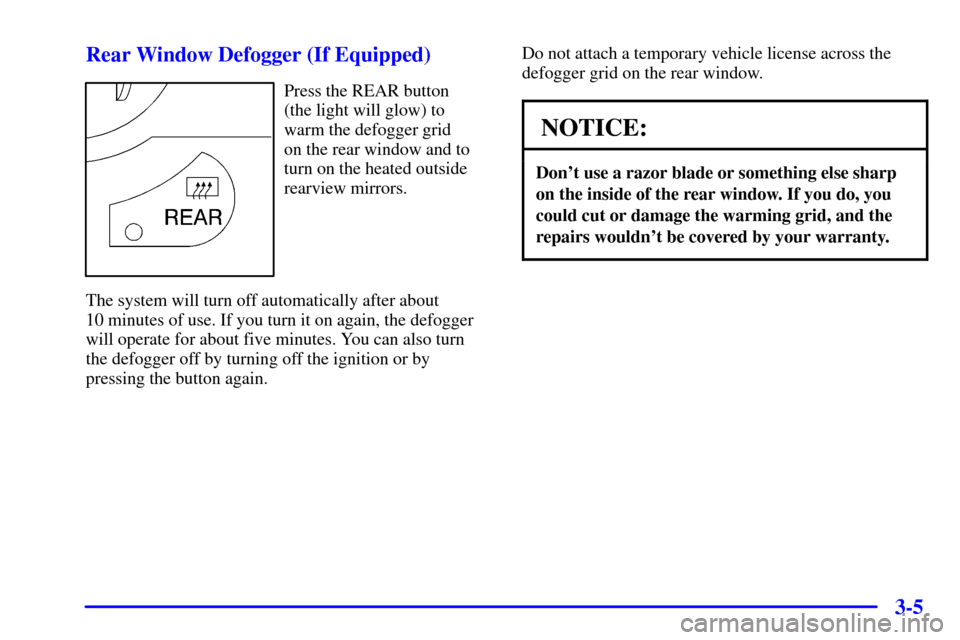
3-5 Rear Window Defogger (If Equipped)
Press the REAR button
(the light will glow) to
warm the defogger grid
on the rear window and to
turn on the heated outside
rearview mirrors.
The system will turn off automatically after about
10 minutes of use. If you turn it on again, the defogger
will operate for about five minutes. You can also turn
the defogger off by turning off the ignition or by
pressing the button again.Do not attach a temporary vehicle license across the
defogger grid on the rear window.
NOTICE:
Don't use a razor blade or something else sharp
on the inside of the rear window. If you do, you
could cut or damage the warming grid, and the
repairs wouldn't be covered by your warranty.
Page 239 of 460

3-6 Rear Climate Control (Option)
If you have the optional rear climate control, the rear
seat passengers can control the temperature and the
amount of air directed to the rear of the vehicle. You can
also adjust the amount of air directed to the rear of the
vehicle using the front fan knob.
When it's cold outside, set the main climate control
mode knob to LOWER, DEFOG or DEFROST
to send air to the rear of the vehicle through the
lower vents.
Set the main climate control mode knob to UPPER or
BI
-LEVEL to send air to the rear of the vehicle through
the headliner outlets.
To send conditioned air to the rear of the vehicle, press
the A/C button (the light will glow) on the main climate
controls. If you do not select A/C, air directed to the
rear of the vehicle will be cabin temperature.Rear Fan Control
This option comes with the rear climate controls.
Keep the area around the base of the center instrument
panel console and the area between and under the front
seats free of objects that would obstruct airflow to the
rear of the vehicle.
The rear fan control
is located below the
climate control system,
in the switchbank.
Turn the fan knob to the desired setting for the
amount of air to be directed to the rear of the vehicle.
The temperature of the air will be the same as the air
in the front of the vehicle. The rear fan control in the
instrument panel switchbank has an ªRº setting which
allows the rear passengers to use the rear climate control
knobs to adjust the air through the rear air outlets.
Page 267 of 460

3-34
P-TYPE: This button is used to turn on and off
Program Type (PTY) selections. PTY and the light next
to the button will turn on. The last selected PTY will
appear on the display for five seconds. Turn the P
-TYPE
knob to select the PTY you want to listen to. Press the
SEEK SCAN arrows to find radio stations of the PTY
you want to listen to. The last PTY selected will be used
for seek or scan modes. If a station with the selected
PTY is not found, NONE FOUND will appear on the
display. If both P
-TYPE and TRAF are on, the radio
will search for stations with traffic announcements and
the selected PTY.
To use the P
-TYPE interrupt feature, press and hold
the P
-TYPE button until you hear a beep on the PTY
you want to interrupt on. When you are listening to a
compact disc, the last selected RDS FM station will
interrupt play if that selected PTY format is broadcast.PUSHBUTTONS: The six numbered pushbuttons
let you return to your favorite Program Types (PTYs).
These buttons have factory PTY presets. You can set up
to 12 PTYs (six FM1 and six FM2) by performing the
following steps:
1. Press P
-TYPE, if it is not already on.
2. Press AM FM to select FM1 or FM2.
3. Turn the P
-TYPE knob to select a PTY.
4. Press and hold one of the six numbered buttons until
you hear a beep. Whenever you press that numbered
button, the PTY you set will return.
5. Repeat the steps for each pushbutton.
ALERT!: This type of announcement warns of national
or local emergencies. You will not be able to turn off
alert announcements. ALERT! appears on the display
when an alert announcement plays. When an alert
announcement comes on the tuned radio station, you
will hear it, even if the volume is muted or a compact
disc is playing. If the compact disc player is playing,
play will stop for the announcement and resume when
the announcement is finished.