Page 6 of 419
Table of Contents (cont'd)
Maintenance Schedule Service and Appearance Care
Section
7
Section
6
Scheduled Maintenance
Owner Checks and Services
Periodic Maintenance InspectionsRecommended Fluids and Lubricants
Maintenance Records Windshield Wiper Blade Replacement
Tires and Wheels
Appearance Care
Electrical System/Fuses and Circuit Breakers
Capacities and Specifications
Normal Maintenance Replacement Parts Fuel
Checking Fluids and Lubricants
GM Oil Life System™
Engine Air Cleaner/Filter
Passenger Compartment Air Filter (If Equipped)
Brakes
Bulb Replacement
iv
Page 240 of 419
4-37
Once you are moving on the freeway, make certain you
allow a reasonable following distance. Expect to move
slightly slower at night.
When you want to leave the freeway, move to the proper
lane well in advance. If you miss your exit, do not,
under any circumstances, stop and back up. Drive on
to the next exit.
The exit ramp can be curved, sometimes quite sharply.
The exit speed is usually posted.
Reduce your speed according to your speedometer, not
to your sense of motion. After driving for any distance
at higher speeds, you may tend to think you are going
slower than you actually are.
Before Leaving on a Long Trip
Make sure you're ready. Try to be well rested. If you
must start when you're not fresh
-- such as after a day's
work
-- don't plan to make too many miles that first part
of the journey. Wear comfortable clothing and shoes you
can easily drive in.Is your vehicle ready for a long trip? If you keep it
serviced and maintained, it's ready to go. If it needs
service, have it done before starting out. Of course,
you'll find experienced and able service experts in
GM dealerships all across North America. They'll be
ready and willing to help if you need it.
Here are some things you can check before a trip:
�Windshield Washer Fluid: Is the reservoir full?
Are all windows clean inside and outside?
�Wiper Blades: Are they in good shape?
�Fuel, Engine Oil, Other Fluids: Have you checked
all levels?
�Lamps: Are they all working? Are the lenses clean?
�Tires: They are vitally important to a safe,
trouble
-free trip. Is the tread good enough for
long
-distance driving? Are the tires all inflated
to the recommended pressure?
�Weather Forecasts: What's the weather outlook
along your route? Should you delay your trip a
short time to avoid a major storm system?
�Maps: Do you have up
-to-date maps?
Page 327 of 419
6-24
2. Push it back in all the way, wait three seconds and
then pull it back out again.
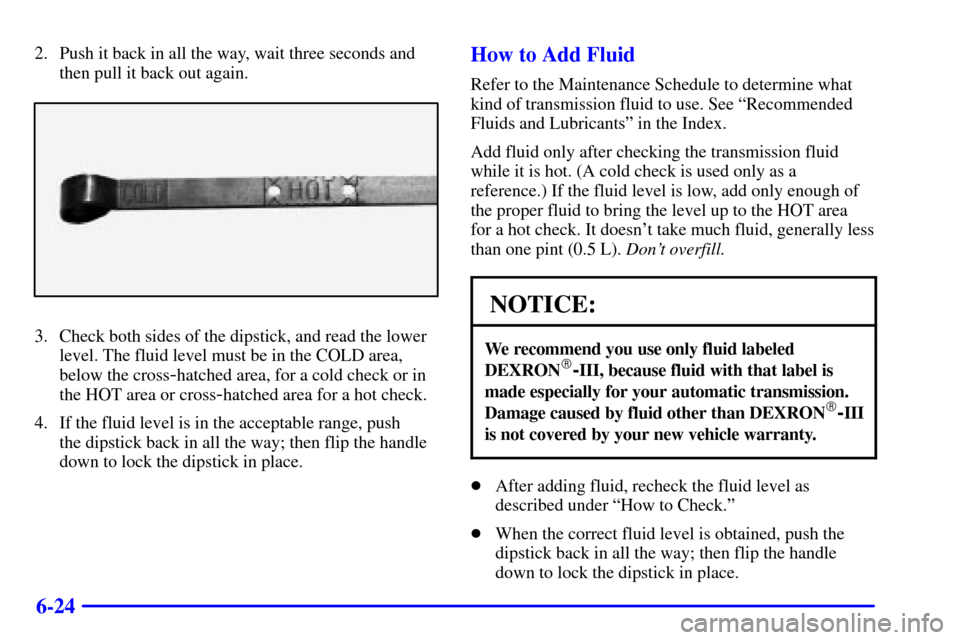
3. Check both sides of the dipstick, and read the lower
level. The fluid level must be in the COLD area,
below the cross
-hatched area, for a cold check or in
the HOT area or cross
-hatched area for a hot check.
4. If the fluid level is in the acceptable range, push
the dipstick back in all the way; then flip the handle
down to lock the dipstick in place.
How to Add Fluid
Refer to the Maintenance Schedule to determine what
kind of transmission fluid to use. See ªRecommended
Fluids and Lubricantsº in the Index.
Add fluid only after checking the transmission fluid
while it is hot. (A cold check is used only as a
reference.) If the fluid level is low, add only enough of
the proper fluid to bring the level up to the HOT area
for a hot check. It doesn't take much fluid, generally less
than one pint (0.5 L). Don't overfill.
NOTICE:
We recommend you use only fluid labeled
DEXRON�-III, because fluid with that label is
made especially for your automatic transmission.
Damage caused by fluid other than DEXRON
�-III
is not covered by your new vehicle warranty.
�After adding fluid, recheck the fluid level as
described under ªHow to Check.º
�When the correct fluid level is obtained, push the
dipstick back in all the way; then flip the handle
down to lock the dipstick in place.
Page 328 of 419
6-25
Rear Axle
When to Check Lubricant
Refer to the Maintenance Schedule to determine how
often to check the lubricant. Additional rear axle
scheduled maintenance is required when trailer towing.
See ªScheduled Maintenance Servicesº in the Index.
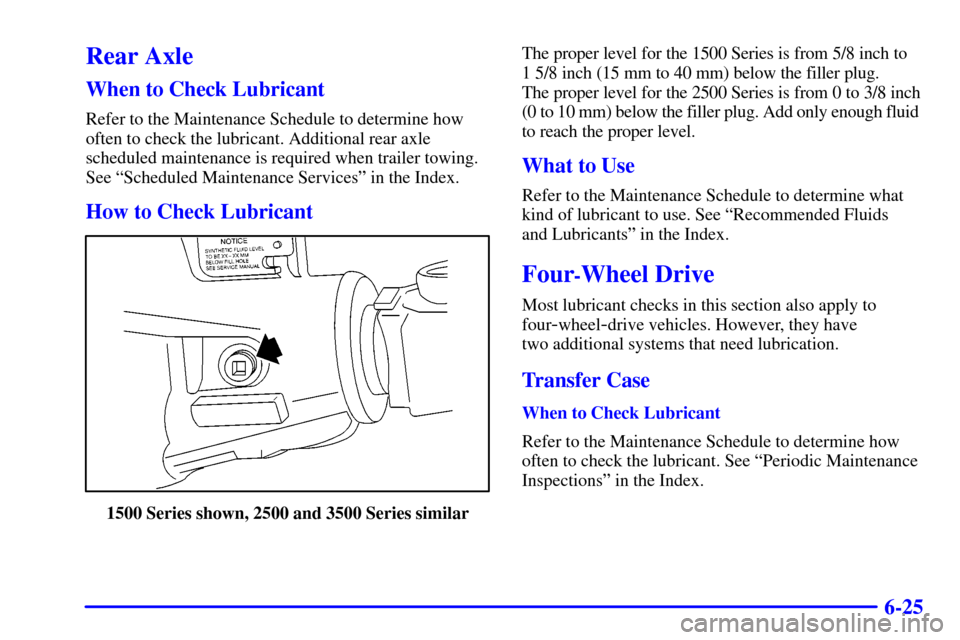
How to Check Lubricant
1500 Series shown, 2500 and 3500 Series similarThe proper level for the 1500 Series is from 5/8 inch to
1 5/8 inch (15 mm to 40 mm) below the filler plug.
The proper level for the 2500 Series is from 0 to 3/8 inch
(0 to 10 mm) below the filler plug. Add only enough fluid
to reach the proper level.
What to Use
Refer to the Maintenance Schedule to determine what
kind of lubricant to use. See ªRecommended Fluids
and Lubricantsº in the Index.
Four-Wheel Drive
Most lubricant checks in this section also apply to
four
-wheel-drive vehicles. However, they have
two additional systems that need lubrication.
Transfer Case
When to Check Lubricant
Refer to the Maintenance Schedule to determine how
often to check the lubricant. See ªPeriodic Maintenance
Inspectionsº in the Index.
Page 329 of 419
6-26
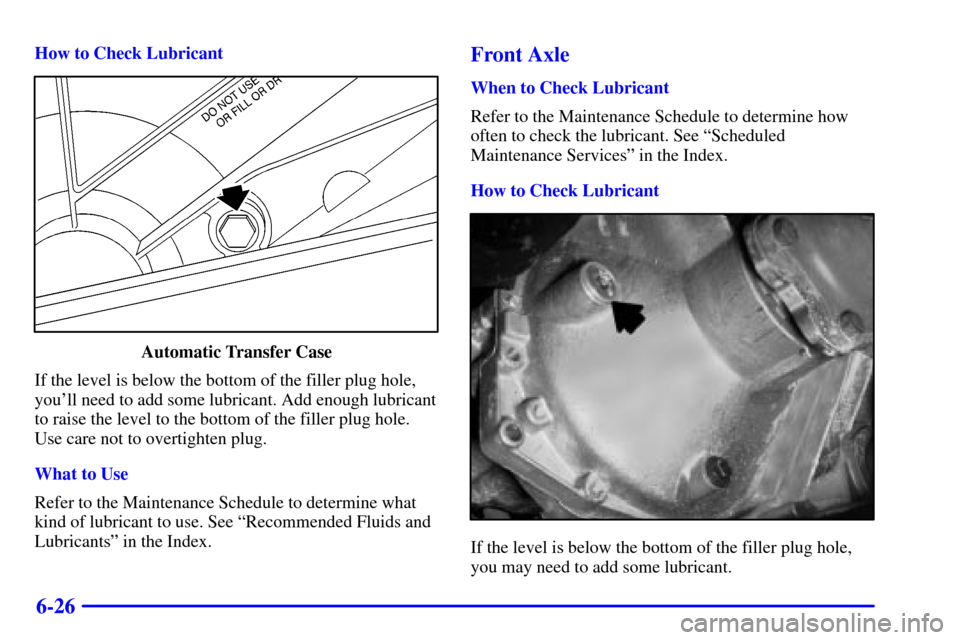
How to Check Lubricant
Automatic Transfer Case
If the level is below the bottom of the filler plug hole,
you'll need to add some lubricant. Add enough lubricant
to raise the level to the bottom of the filler plug hole.
Use care not to overtighten plug.
What to Use
Refer to the Maintenance Schedule to determine what
kind of lubricant to use. See ªRecommended Fluids and
Lubricantsº in the Index.
Front Axle
When to Check Lubricant
Refer to the Maintenance Schedule to determine how
often to check the lubricant. See ªScheduled
Maintenance Servicesº in the Index.
How to Check Lubricant
If the level is below the bottom of the filler plug hole,
you may need to add some lubricant.
Page 330 of 419
6-27
When the differential is cold, add enough lubricant to
raise the level to 1/2 inch (12 mm) below the filler
plug hole.
When the differential is at operating temperature (warm),
add enough lubricant to raise the level to the bottom of the
filler plug hole.
What to Use
Refer to the Maintenance Schedule to determine what
kind of lubricant to use. See ªRecommended Fluids and
Lubricantsº in the Index.
Engine Coolant
The cooling system in your vehicle is filled with
DEX
-COOL� engine coolant. This coolant is designed
to remain in your vehicle for 5 years or 150,000 miles
(240 000 km), whichever occurs first, if you add only
DEX
-COOL� extended life coolant.
The following explains your cooling system and how
to add coolant when it is low. If you have a problem
with engine overheating, see ªEngine Overheatingº
in the Index.A 50/50 mixture of clean, drinkable water and
DEX
-COOL� coolant will:
�Give freezing protection down to
-34�F (-37�C).
�Give boiling protection up to 265�F (129�C).
�Protect against rust and corrosion.
�Help keep the proper engine temperature.
�Let the warning lights and gages work as
they should.
NOTICE:
When adding coolant, it is important that you
use only DEX
-COOL� (silicate-free) coolant.
If coolant other than DEX-COOL is added to
the system, premature engine, heater core or
radiator corrosion may result. In addition, the
engine coolant will require change sooner
-- at
30,000 miles (50 000 km) or 24 months,
whichever occurs first. Damage caused by the
use of coolant other than DEX
-COOL� is not
covered by your new vehicle warranty.
Page 334 of 419
6-31
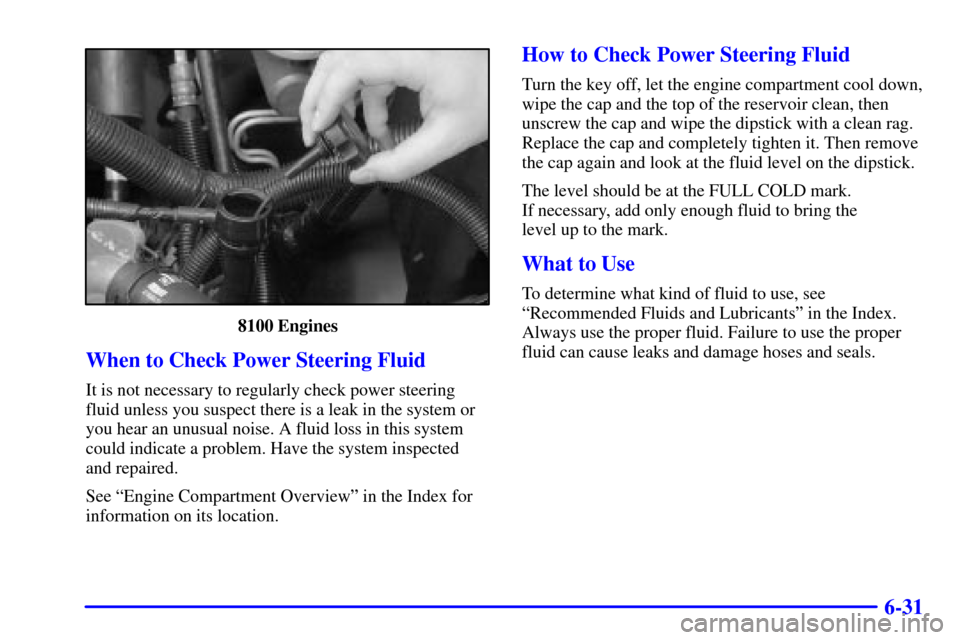
8100 Engines
When to Check Power Steering Fluid
It is not necessary to regularly check power steering
fluid unless you suspect there is a leak in the system or
you hear an unusual noise. A fluid loss in this system
could indicate a problem. Have the system inspected
and repaired.
See ªEngine Compartment Overviewº in the Index for
information on its location.
How to Check Power Steering Fluid
Turn the key off, let the engine compartment cool down,
wipe the cap and the top of the reservoir clean, then
unscrew the cap and wipe the dipstick with a clean rag.
Replace the cap and completely tighten it. Then remove
the cap again and look at the fluid level on the dipstick.
The level should be at the FULL COLD mark.
If necessary, add only enough fluid to bring the
level up to the mark.
What to Use
To determine what kind of fluid to use, see
ªRecommended Fluids and Lubricantsº in the Index.
Always use the proper fluid. Failure to use the proper
fluid can cause leaks and damage hoses and seals.
Page 337 of 419
6-34
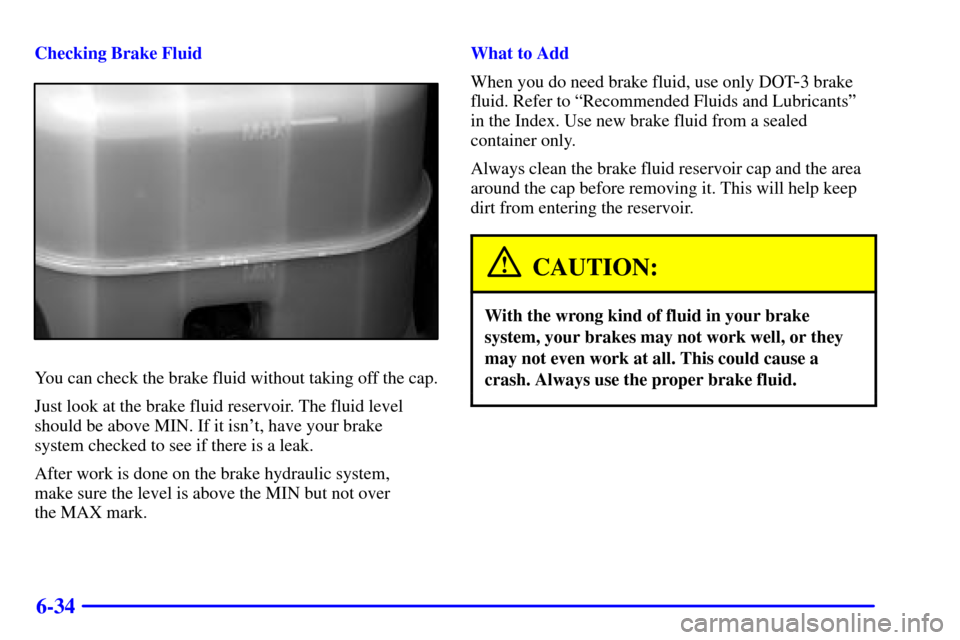
Checking Brake Fluid
You can check the brake fluid without taking off the cap.
Just look at the brake fluid reservoir. The fluid level
should be above MIN. If it isn't, have your brake
system checked to see if there is a leak.
After work is done on the brake hydraulic system,
make sure the level is above the MIN but not over
the MAX mark.What to Add
When you do need brake fluid, use only DOT
-3 brake
fluid. Refer to ªRecommended Fluids and Lubricantsº
in the Index. Use new brake fluid from a sealed
container only.
Always clean the brake fluid reservoir cap and the area
around the cap before removing it. This will help keep
dirt from entering the reservoir.
CAUTION:
With the wrong kind of fluid in your brake
system, your brakes may not work well, or they
may not even work at all. This could cause a
crash. Always use the proper brake fluid.