Page 2 of 468
1-800-CHEV-USA
(For vehicles purchased in Canada,
call
1-800-268-6800)
that provides in an emergency:
Free lockout assistance
Free dead-battery assistance
Free out-of-fuel assistance
Free flat-tire change
Emergency towing
Courtesy
Transportation
Every
2001
Silverado under
warranty is backed
with the following
services:®
1-800-CHEV-USA
(For vehicles purchased in Canada,
call
1-800-268-6800)
Page 4 of 468
ii
Table of Contents
Windows
Keys and Door Locks
Keyless Entry System (If Equipped)
Tailgate
Automatic Transmission
Manual Transmission
Four-Wheel Drive Operation (If Equipped)
Parking Brake
Tilt Wheel (If Equipped)
Turn Signal/Multifunction LeverWindshield Wipers
Cruise Control
Exterior and Interior Lamps
Mirrors
Storage Compartments
Accessory Power Outlets
OnStar® System (Option)
Instrument Panel, Warning Lights and Gages
Message Center Seats and Seat Controls
Safety BeltsAir Bag System
Restraint Systems for Children
Section
1
Section
2
Seats and Restraint Systems
Features and Controls
Page 5 of 468
iii
Section
3
Comfort Controls and Audio Systems
Section
4
Your Driving and the Road
Section
5
Table of Contents (cont'd)
Your Driving, the Road and Your Vehicle
Defensive Driving
Drunken Driving
Control of a Vehicle
Braking
SteeringDriving Tips for Various Road Conditions
Off-Road Driving
Recreational Vehicle Towing
Loading Your Vehicle
Towing a Trailer Heating and Air Conditioning
Setting the Radio ClockRadio/Cassette Player/CD Player
Radio Theft-Deterrent Feature (If Equipped)
Hazard Warning Flashers
Jump Starting
Towing Your VehicleEngine Overheating
Changing a Flat Tire
If You're Stuck
Problems on the Road
Page 11 of 468

ix
For example,
these symbols
are used on an
original battery:
CAUTION
POSSIBLE
INJURY
PROTECT
EYES BY
SHIELDING
CAUSTIC
BATTERY
ACID COULD
CAUSE
BURNS
AVOID
SPARKS OR
FLAMES
SPARK OR
FLAME
COULD
EXPLODE
BATTERY
These symbols
are important for
you and your
passengers
whenever your
vehicle is driven:
CHILD
RESTRAINT
TOP STRAP
ANCHOR
DOOR LOCK
UNLOCK
FASTEN
SEAT
BELTS
POWER
WINDOW
AIR BAG
These symbols
have to do with
your lamps:
MASTER
LIGHTING
SWITCH
TURN
SIGNALS
PARKING
LAMPS
HAZARD
WARNING
FLASHER
DAYTIME
RUNNING
LAMPS
FOG LAMPS
These symbols
are on some of
your controls:
WINDSHIELD
WIPER
WINDSHIELD
WASHER
WINDSHIELD
DEFROSTER
REAR
WINDOW
DEFOGGER
VENTILATING
FAN
These symbols
are used on
warning and
indicator lights:
ENGINE
COOLANT
TEMP
BATTERY
CHARGING
SYSTEM
BRAKE
COOLANT
ENGINE OIL
PRESSURE
ANTI-LOCK
BRAKES
Here are some
other symbols
you may see:
FUSE
LIGHTER
HORN
FUEL
Vehicle Symbols
These are some of the symbols you may find on your vehicle. Also see ªWarning Lights and Gagesº in the Index.
Page 15 of 468
1-2
Seats and Seat Controls
This section tells you about the seats -- how to adjust
them, and fold them up and down. It also tells you about
reclining front seatbacks and head restraints.
Manual Front Seat
CAUTION:
You can lose control of the vehicle if you try to
adjust a manual driver's seat while the vehicle is
moving. The sudden movement could startle and
confuse you, or make you push a pedal when you
don't want to. Adjust the driver's seat only when
the vehicle is not moving.
If your vehicle has a manual bucket or split bench seat,
you can adjust it with this lever located at the front of
the seat.
Lift the lever at the front of the seat to unlock it.
Using your body, slide the seat to where you want it.
Then, release the lever and try to move the seat with
your body in order to make sure the seat is locked
into place.
Page 19 of 468
1-6 Reclining Seatbacks
To adjust the front seatback, lift the lever upward.
The lever is located on the outboard side of the seat
cushion. Release the lever to lock the seatback where
you want it. Lift the lever again upward and the seatback
will go to an upright position.
If your vehicle has power seats with a power recliner,
see ªPower Seatsº in the Index for further information
on how to operate the reclining seatback feature.But don't have a seatback reclined if your vehicle
is moving.
Page 21 of 468

1-8
On some models, the head restraints tilt forward and
rearward also.
To tilt the head restraints forward, grasp the top of the
restraint and move it forward to where you want it to go
until you hear a click. It will then be locked into that
position until you need to move it again. Pulling it
forward past the last position will allow the restraint to
return to its upright position.
Seatback Latches
CAUTION:
If the seatback isn't locked, it could move forward
in a sudden stop or crash. That could cause injury
to the person sitting there. Always press rearward
on the seatback to be sure it is locked.
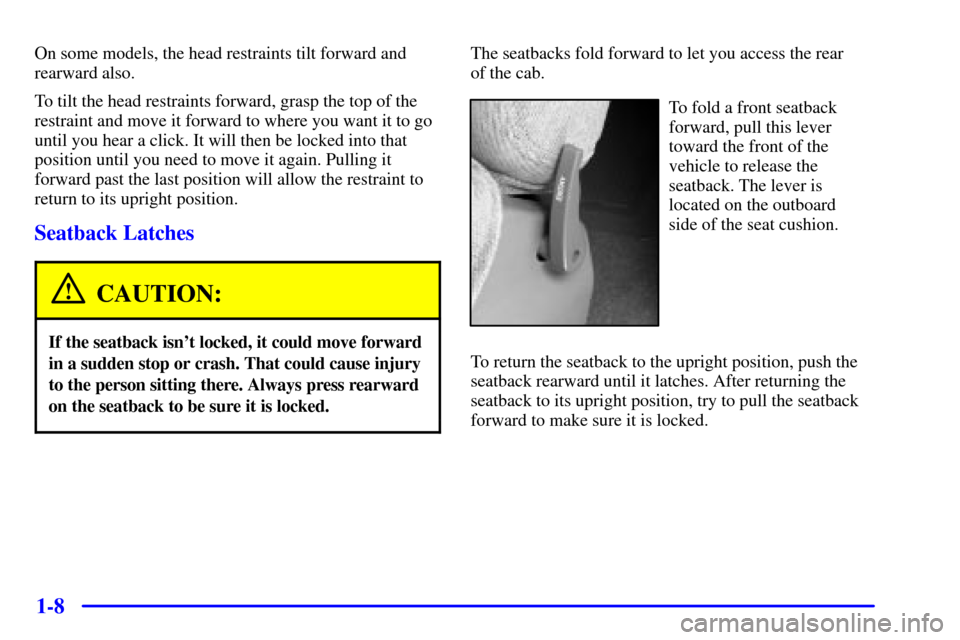
The seatbacks fold forward to let you access the rear
of the cab.
To fold a front seatback
forward, pull this lever
toward the front of the
vehicle to release the
seatback. The lever is
located on the outboard
side of the seat cushion.
To return the seatback to the upright position, push the
seatback rearward until it latches. After returning the
seatback to its upright position, try to pull the seatback
forward to make sure it is locked.
Page 22 of 468

1-9 Easy Entry Seat (Extended Cab Only)
(If Equipped)
CAUTION:
If any easy entry seat isn't locked, it can move.
In a sudden stop or crash, the person sitting there
could be injured. And, even if there is no crash or
sudden stop, a driver sitting in an unlocked easy
entry seat could be startled by the sudden
movement and hit the wrong control or pedal,
causing an accident. After you've used it, be sure
to push rearward on any easy entry seat to be
sure it is locked.
The driver's side manual front bucket seat and the
driver's side manual split bench seat in your vehicle
may have an easy entry feature. This makes it easy
to get in and out of the rear seat.
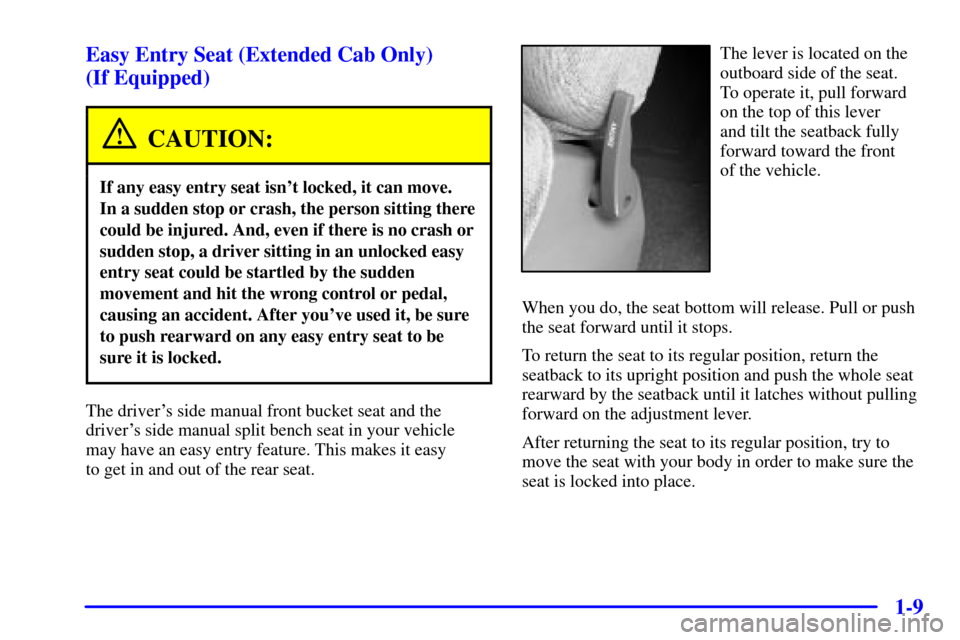
The lever is located on the
outboard side of the seat.
To operate it, pull forward
on the top of this lever
and tilt the seatback fully
forward toward the front
of the vehicle.
When you do, the seat bottom will release. Pull or push
the seat forward until it stops.
To return the seat to its regular position, return the
seatback to its upright position and push the whole seat
rearward by the seatback until it latches without pulling
forward on the adjustment lever.
After returning the seat to its regular position, try to
move the seat with your body in order to make sure the
seat is locked into place.