Page 179 of 383
3-
3-1
Section 3 Comfort Controls and Audio Systems
In this section, you'll find out how to operate the comfort control and audio systems offered with your vehicle.
Be sure to read about the particular systems supplied with your vehicle.
3
-2 Comfort Controls
3
-2 Manual Comfort Controls
3
-4 Automatic Electronic Dual Climate
Control System (Option)
3
-9 Sensors
3
-10 Air Conditioning
3
-11 Heating
3
-11 Defogging and Defrosting
3
-11 Rear Window Defogger
3
-12 Audio Systems
3
-12 Setting the Clock
3
-13 AM-FM Stereo with Cassette Tape Player and
Automatic Tone Control3
-18 AM-FM Stereo with Compact Disc Player and
Automatic Tone Control (Option)
3
-22 Trunk-Mounted CD Changer (Option)
3
-27 Theft-Deterrent Feature
3
-29 Understanding Radio Reception
3
-29 Tips About Your Audio System
3
-30 Care of Your Cassette Tape Player
3
-31 Care of Your Compact Discs
3
-31 Care of Your Compact Disc Player
3
-31 Fixed Mast Antenna (Z06)
3
-32 Power Antenna Mast Care (Convertible)
3
-32 Integrated Windshield and Rear Window
Antennas (Coupe)
Page 200 of 383

3-22
AM FM: Press this button to play the radio when a disc
is in the player. The letters CD will go off the display.
CD AUX: Press this button to change to the disc
function when the radio is on. A CD icon will appear on
the display when the disc is in the player, whether it is
active or not. If your system is equipped with a remote
playback device, pressing this button a second time will
allow the remote device to play.
EJECT: Press this button to remove the disc. The radio
will play. The disc will start at the first track when you
reinsert it.
If you turn off the ignition or radio with a disc in the
player, it will stay in the player. When you turn on the
ignition or system, the disc will start playing where it
was stopped. If you press EJECT but don't remove the
disc, the player will pull the disc back in to protect it
after about one minute. If you leave a compact disc
in the player while listening to the radio, it may
become warm.Trunk-Mounted CD Changer (Option)
Your vehicle may be equipped with a trunk-mounted
CD changer. It is located in the rear center storage
compartment. See ªRear Storage Compartmentsº in the
Index for more information.
If your vehicle has a compact disc changer, you can play
up to 12 discs continuously. Normal size discs may be
played using the trays supplied in the magazine. The
small discs (8 cm) can be played only with specially
designed trays.
NOTICE:
Heavy objects in the center storage area which
may shift or slide while driving could damage
your CD changer. Protect your CD changer by
not placing heavy, moveable objects in the center
storage area.
Page 202 of 383
3-24
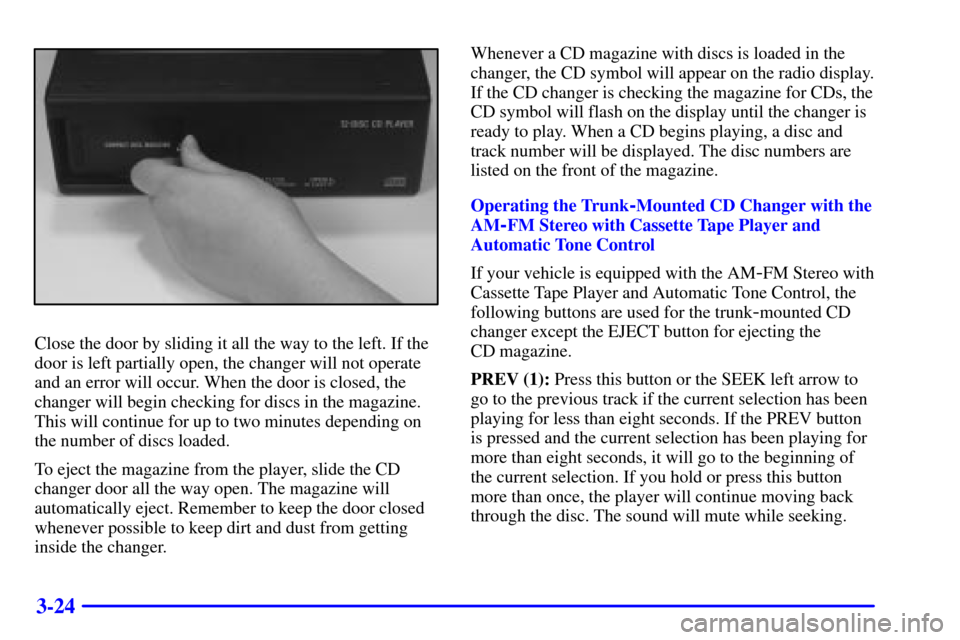
Close the door by sliding it all the way to the left. If the
door is left partially open, the changer will not operate
and an error will occur. When the door is closed, the
changer will begin checking for discs in the magazine.
This will continue for up to two minutes depending on
the number of discs loaded.
To eject the magazine from the player, slide the CD
changer door all the way open. The magazine will
automatically eject. Remember to keep the door closed
whenever possible to keep dirt and dust from getting
inside the changer.Whenever a CD magazine with discs is loaded in the
changer, the CD symbol will appear on the radio display.
If the CD changer is checking the magazine for CDs, the
CD symbol will flash on the display until the changer is
ready to play. When a CD begins playing, a disc and
track number will be displayed. The disc numbers are
listed on the front of the magazine.
Operating the Trunk
-Mounted CD Changer with the
AM
-FM Stereo with Cassette Tape Player and
Automatic Tone Control
If your vehicle is equipped with the AM
-FM Stereo with
Cassette Tape Player and Automatic Tone Control, the
following buttons are used for the trunk
-mounted CD
changer except the EJECT button for ejecting the
CD magazine.
PREV (1): Press this button or the SEEK left arrow to
go to the previous track if the current selection has been
playing for less than eight seconds. If the PREV button
is pressed and the current selection has been playing for
more than eight seconds, it will go to the beginning of
the current selection. If you hold or press this button
more than once, the player will continue moving back
through the disc. The sound will mute while seeking.
Page 203 of 383
3-25
PROG (2): Press this button to select a disc. The disc
number and track number will be displayed.
NEXT (3): Press this button or the SEEK right arrow
to go to the next track. If you hold the button or
press it more than once, the player will continue moving
forward through the disc. The sound will mute
while seeking.
REV (4): Press and hold this button to reverse quickly
through a track selection. Release it to resume playing.
(5): This button has no function when playing a
compact disc.
FWD (6): Press and hold this button to advance quickly
through a track selection. Release it to resume playing.
SEEK: Press the right arrow to seek to the next
selection on the CD. Press the left arrow to search for
the previous selection on the CD. The sound will mute
while seeking.
P.SCAN: Press this button to hear the tracks in random,
rather than sequential, order. RANDOM will appear on
the display. Press P.SCAN again to turn off random play.TAPE AUX: Press this button if you have a disc loaded
in the changer and the radio is turned on, to play a
compact disc. Press AM
-FM to return to the radio when
a compact disc is playing. Press TAPE AUX to switch
between the tape and compact disc if both are loaded.
To eject the disc holder in the trunk
-mounted CD
changer, slide the CD changer door all the way open and
the disc holder will automatically eject.
Operating the Trunk
-Mounted CD Changer with
the AM
-FM Stereo with CD Player and Automatic
Tone Control
If your vehicle is equipped with the AM
-FM Stereo with
CD Player and Automatic Tone Control, the following
buttons are used for the trunk
-mounted CD changer
except the EJECT button for ejecting the CD magazine.
PREV (1): Press this button or the SEEK left arrow to
go to the previous track if the current selection has been
playing for less than eight seconds. If the PREV button
is pressed and the current selection has been playing for
more than eight seconds, it will go to the beginning of
the current selection. If you hold or press this button
more than once, the player will continue moving back
through the disc. The sound will mute while seeking.
Page 204 of 383
3-26
RDM (2): Press this button to hear the tracks in random,
rather than sequential, order. RANDOM will appear on
the display. Press RDM again to turn off random play.
NEXT (3): Press this button or the SEEK right arrow
to go to the next track. If you hold the button or
press it more than once, the player will continue
moving forward through the disc. The sound will mute
while seeking.
REV (4): Press and hold this button to reverse quickly
through a track selection. Release it to resume playing.
(5): Press this button to select a disc. The disc number
and track number will be displayed.
FWD (6): Press and hold this button to advance quickly
through a track selection. Release it to resume playing.
SEEK: Press the right arrow to seek to the next
selection on the CD. Press the left arrow to search for
the previous selection on the CD. The sound will mute
while seeking.
CD AUX: Press this button if you have a disc loaded in
the changer and the radio is turned on, to play a compact
disc. Press AM
-FM to return to the radio when a
compact disc is playing. Press CD AUX to switch
between the trunk
-mounted CD changer and compact
disc if both are loaded.To eject the disc holder in the trunk
-mounted CD
changer, slide the CD changer door all the way open and
the disc holder will automatically eject.
Compact Disc Changer Errors
If an error occurs while trying to play a CD in the
compact disc changer, the following conditions may
have caused the error:
�The road is too rough. The disc should play when the
road is smoother.
�The disc is dirty, scratched, wet or loaded label
side up.
�The air is very humid. (If so, wait about an hour
and try again.)
�The CD changer door is open. Completely close the
changer door to restore normal operation.
�An empty magazine is inserted in the CD changer.
Try the magazine again with a disc loaded on one of
the trays.
If any error occurs repeatedly or if an error cannot be
corrected, please contact your dealer.
Page 266 of 383
5-23
NOTICE:
Do not allow the air compressor to operate
continuously for more than 6 minutes to help
prevent damage from overheating.
NOTICE:
If 26 psi (179 kPa) tire pressure cannot be
reached after 6 minutes, the vehicle should not be
driven further. Damage to the tire is severe and
the sealant will not be effective. Remove the air
compressor plug from the accessory power outlet
and unscrew the inflating hose from the tire
valve. See ªRoadside Assistanceº in the Index.
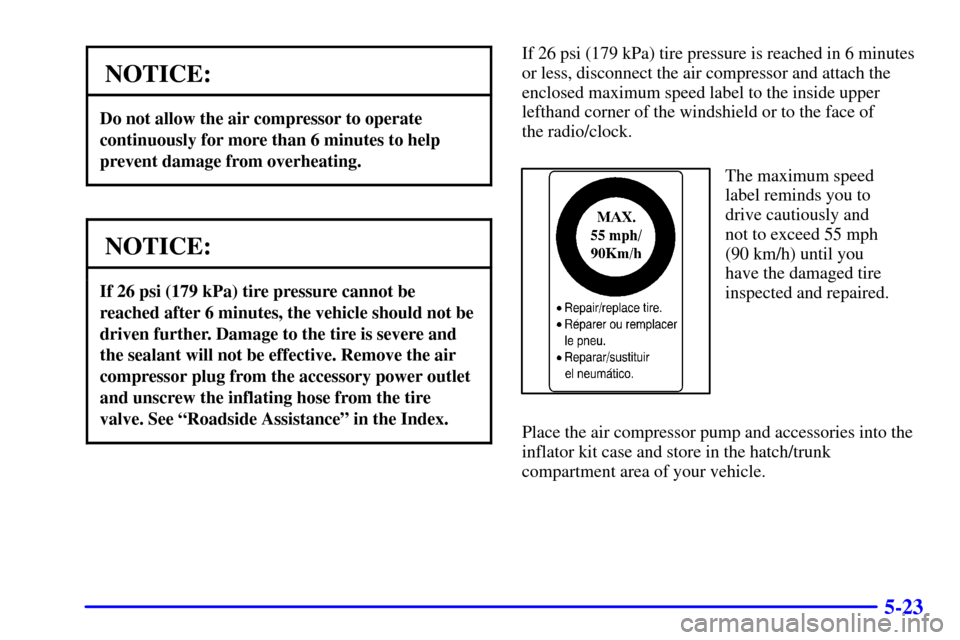
If 26 psi (179 kPa) tire pressure is reached in 6 minutes
or less, disconnect the air compressor and attach the
enclosed maximum speed label to the inside upper
lefthand corner of the windshield or to the face of
the radio/clock.
The maximum speed
label reminds you to
drive cautiously and
not to exceed 55 mph
(90 km/h) until you
have the damaged tire
inspected and repaired.
Place the air compressor pump and accessories into the
inflator kit case and store in the hatch/trunk
compartment area of your vehicle.
Page 267 of 383
5-24 Tire Inflator Kit Storage
The Tire Inflator Kit is stored in the rear hatch/trunk
area of your vehicle.
A. Removable Elastic Cord
B. Rear Retaining Hook
C. Elastic Band1. Remove the elastic cord (A) from around the
retaining hook (B) and slide the kit out from under
the elastic band (C) that is secured to the floor of the
hatch/trunk area.
2. Unwrap the elastic cord (A) from around the handle
of the Tire Inflator Kit. Open the Tire Inflator Kit
case by lifting up the two tabs located on either side
of the kit handle.
To Stow the Tire Inflator Kit:
CAUTION:
Storing the Tire Inflator Kit or other equipment
in the passenger compartment of the vehicle
could cause injury. In a sudden stop or collision,
loose equipment could strike someone. Store the
tire inflator kit in the proper place.
Page 268 of 383
5-25
A. Tire Inflator Kit
B. Removable Elastic Cord
1. Loop the elastic cord (B) around the handle of the
Tire Inflator Kit (A).A. Tire Inflator Kit
B. Removable Elastic Cord
C. Rear Retaining Hook
D. Elastic Band
2. Insert the tire inflator kit under the elastic band (D)
that is secured to the floor of the hatch/trunk area of
your vehicle.
3. Wrap elastic cord (B) around the retaining hook (C).