Page 117 of 363

2-59 Delayed Illumination
With delayed illumination, the courtesy lamps will come
on and stay on for 25 seconds after you enter the vehicle
and close the door. They will also stay on for five
seconds after you exit the vehicle and close the doors.
Delayed illumination will be shortened if the ignition is
turned to RUN or if the power locks are activated. To
turn this feature on or off, see ªFeature Customizationº
in the Index.
Exit Lighting
With exit lighting, the interior lamps will come on when
you remove the key from the ignition to help you see
while exiting the vehicle. To turn this feature on or off,
see ªFeature Customizationº in the Index.
Front Map Lamps
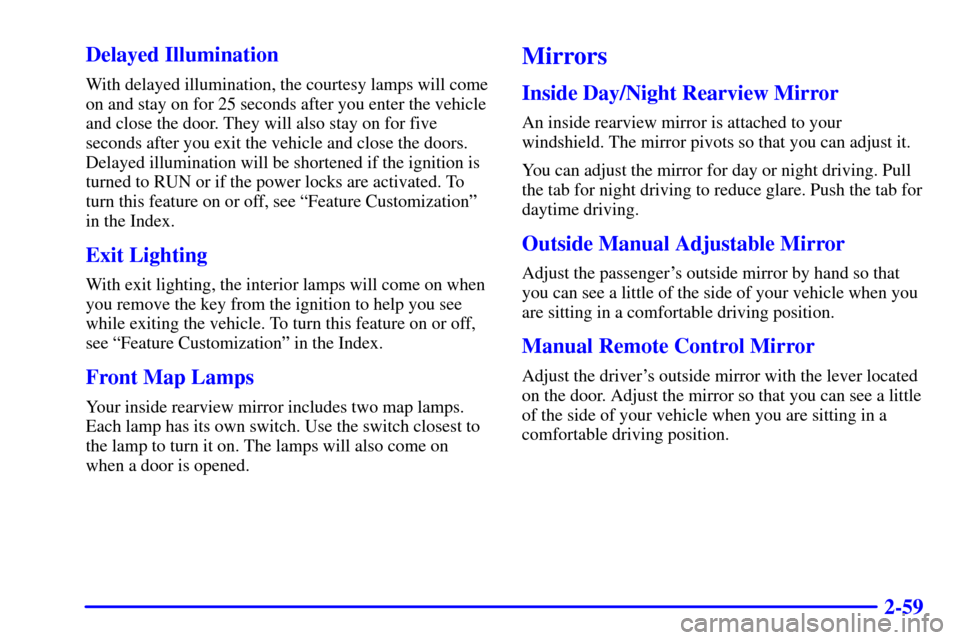
Your inside rearview mirror includes two map lamps.
Each lamp has its own switch. Use the switch closest to
the lamp to turn it on. The lamps will also come on
when a door is opened.
Mirrors
Inside Day/Night Rearview Mirror
An inside rearview mirror is attached to your
windshield. The mirror pivots so that you can adjust it.
You can adjust the mirror for day or night driving. Pull
the tab for night driving to reduce glare. Push the tab for
daytime driving.
Outside Manual Adjustable Mirror
Adjust the passenger's outside mirror by hand so that
you can see a little of the side of your vehicle when you
are sitting in a comfortable driving position.
Manual Remote Control Mirror
Adjust the driver's outside mirror with the lever located
on the door. Adjust the mirror so that you can see a little
of the side of your vehicle when you are sitting in a
comfortable driving position.
Page 119 of 363
2-61
Storage Compartments
Glove Box
To open the glove box, lift up on the lever. Use your
door key to lock or unlock it.
Front Console
To use the storage area, push in the button located on the
driver's side of the console and pull up on the console cover.
Cassette and Compact Disc Storage
You have a storage area for cassette tapes and compact
discs in your console.
Cargo Cover
Using the Cargo Cover
The cargo cover can be closed for hidden storage in the
rear area of your vehicle. It can also help reduce noise in
the vehicle when placed in the upright position, closing
out the rear area.
When carrying large or heavy items, it is a good idea
to open the cover and place the items in the rear area of
the vehicle.
Page 123 of 363
2-65
T-Top Roof Panels (Option)
Removing the T-Top Roof Panels
CAUTION:
Don't try to remove the T-top panel while the
vehicle is moving. Trying to remove a T
-top panel
while the vehicle is moving could cause an
accident. The panel could fall into the vehicle and
cause you to lose control, or it could fly off and
strike another vehicle. You or others could be
injured. Remove the T
-top panel only when the
vehicle is parked.1. The door key unlocks the T-top panels. The lock is
located over each door window. Turn the key
counterclockwise to unlock the panel.
Page 125 of 363
2-67
2. Place the panel in the correct slot (DRIVER or
PASSENGER) in the rear area of your vehicle. Make
sure the handle is open and facing you when you put
it in the storage slot.3. Push the handle down to close and secure the panel
in the slot. To lock each panel in the storage area, use
your door key.
Page 160 of 363

3-6
Audio Systems
Your audio system has been designed to operate easily
and give years of listening pleasure. You will get the
most enjoyment out of it if you acquaint yourself with it
first. Find out what your audio system can do and how
to operate all its controls, to be sure you're getting the
most out of the advanced engineering that went into it.
If you have power door locks, your vehicle has a feature
called Retained Accessory Power (RAP). With RAP,
you can play your audio system even after the ignition is
off. See ªRetained Accessory Powerº in the Index.
Setting the Clock for Systems without
Automatic Tone Control
Press SET. SET will appear on the display for
five seconds. Within five seconds, press and hold the
right arrow on the SEEK button until the correct minute
appears. Press and hold the left arrow on the
SEEK button until the correct hour appears.
Setting the Clock for Systems with
Automatic Tone Control
Press and hold HR until the correct hour appears.
Press and hold MN until the correct minute appears.
AM-FM Stereo with Cassette Tape Player
Playing the Radio
VOLUME: This knob turns the system on and off and
controls the volume. To increase volume and turn the radio
on, turn the knob clockwise. Turn it counterclockwise to
decrease volume and turn the radio off.
RECALL: Display the time with the ignition off by
pressing the RECALL knob. When the radio is playing,
press this button to recall the station frequency.
Page 217 of 363

4-35 Total Weight on Your Vehicle's Tires
Be sure your vehicle's tires are inflated to the upper
limit for cold tires. You'll find these numbers on the
Tire
-Loading Information label at the rear edge of the
driver's door or see ªLoading Your Vehicleº in the
Index. Then be sure you don't go over the GVW
limit for your vehicle, including the weight of the
trailer tongue.
Hitches
It's important to have the correct hitch equipment.
Crosswinds, large trucks going by and rough roads
are a few reasons why you'll need the right hitch.
Here are some rules to follow:
�The rear bumper on your vehicle is not intended
for hitches. Do not attach rental hitches or other
bumper
-type hitches to it. Use only a frame-mounted
hitch that does not attach to the bumper.
�Will you have to make any holes in the body of
your vehicle when you install a trailer hitch? If you
do, then be sure to seal the holes later when you
remove the hitch. If you don't seal them, deadly
carbon monoxide (CO) from your exhaust can get
into your vehicle. See ªCarbon Monoxideº in the
Index. Dirt and water can, too.
Safety Chains
You should always attach chains between your vehicle
and your trailer. Cross the safety chains under the tongue
of the trailer so that the tongue will not drop to the road
if it becomes separated from the hitch. Instructions
about safety chains may be provided by the hitch
manufacturer or by the trailer manufacturer. Follow the
manufacturer's recommendation for attaching safety
chains and do not attach them to the bumper. Always
leave just enough slack so you can turn with your rig.
And, never allow safety chains to drag on the ground.
Trailer Brakes
If your trailer weighs more than 1,000 lbs. (450 kg)
loaded, then it needs its own brakes
-- and they must
be adequate. Be sure to read and follow the instructions
for the trailer brakes so you'll be able to install, adjust
and maintain them properly. Because you have anti
-lock
brakes, do not try to tap into your vehicle's brake
system. If you do, both brake systems won't work
well, or at all.
Page 260 of 363
6-6
Filling Your Tank
CAUTION:
Gasoline vapor is highly flammable. It burns
violently, and that can cause very bad injuries.
Don't smoke if you're near gasoline or refueling
your vehicle. Keep sparks, flames and smoking
materials away from gasoline.
The cap is located behind a hinged door on the driver's
side of your vehicle.
While refueling, hang the cap from the hook on the hinge.
The lip of the cap will fit into the groove on the hook.
To remove the cap, turn it slowly to the
left (counterclockwise). The cap has a spring in
it; if you let go of the cap too soon, it will spring back
to the right.
Page 320 of 363
6-66
Underhood Electrical Center
Fuse and Relay Center 1
Fuse Usage
ABS BAT SOL Anti
-Lock Brake System
TCS BAT Traction Control System (ASR)
and ETC
COOL FAN Cooling Fan Control
PCM BAT Powertrain Control
Module (PCM)Fuse Usage
FUEL PUMP Fuel Pump
AIR PUMP Air Pump Relay and Bleed Valve
LH HDLP DR Left Headlamp Door and Module
RH HDLP DR Right Headlamp Door and Module
HORN Horn Relay
ABS BAT
-1 Anti-Lock Brake System Module
H/L DR HORN Horn and Headlamp Doors
ABS BAT
-2 Anti-Lock Brake and Traction
Control System (ASR)
COOL FAN Cooling Fan Relays
Relay Description
FOG LAMP Fog Lamps
HORN Horn
FAN #3 Cooling Fans
FAN #2 Cooling Fans
FAN #1 Cooling Fans