Page 141 of 388
2-62
The Instrument Panel - Your Information System
Page 142 of 388
2-63
The main components of your instrument panel are the following:
A. Lamp Switches
B. Instrument Panel Cluster Intensity Control
C. Multifunction Lever
D. Hazard Warning Flasher Button
E. Transmission Shift Lever
F. Ignition Switch
G. Rear Defogger Button (Option)
H. Comfort Controls
I. Rear A/C Control (Option)
J. Rear Heater Control (Option)K. Rear Washer/Wiper (Option)
L. Front Ashtray
M. Dome Override Button
N. Hood Release
O. Cigarette Lighter
P. Audio System
Q. Front Storage Compartment
R. Cupholders/Storage Tray
S. Accessory Power Outlets
Page 143 of 388
2-64
Instrument Panel Cluster
United States cluster shown -- Canada cluster similar
Your instrument panel cluster is designed to let you know at a glance how your vehicle is running.
You'll know how fast you're going, about how much fuel remains, and many other things you'll need to know to
drive safely and economically.
Page 145 of 388

2-66 Safety Belt Reminder Light
When the key is turned to RUN or START, a tone will
come on for about eight seconds to remind people to
fasten their safety belts, unless the driver's safety belt is
already buckled.
The safety belt light will
also come on and stay on
for about 20 seconds, then
it will flash for about
55 seconds.
If the driver's belt is already buckled, neither the tone
nor the light will come on.
Air Bag Readiness Light
There is an air bag readiness light on the instrument
panel, which shows AIR BAG or the air bag symbol.
The system checks the air bag's electrical system for
malfunctions. The light tells you if there is an electrical
problem. The system check includes the air bag sensor,
the air bag modules, the wiring and the crash sensing
and diagnostic module. For more information on the
air bag system, see ªAir Bagº in the Index.
United States Canada
This light will come on when you start your vehicle, and
it will flash for a few seconds. Then the light should go
out. This means the system is ready.
Page 159 of 388

3-3
BI-LEVEL: This setting brings in outside air and
blows it out through the heater floor vents and the
instrument panel vents. If you move the temperature
knob between hot and cold, cooler air will come out of
the upper vents while warmer air comes out of the floor
vent. The air conditioning compressor may operate in
this setting to cool the air.
VENT: The air comes out at the vents on your
instrument panel. The air conditioning compressor will
not run in this position. Adjust the temperature knob for
warmer or cooler air.
HEATER: Most of the air comes out near the
floor. The rest comes out from the defroster vents under
the windshield and at the front side windows.
BLEND: With this setting, the heated outside air
comes out of both the heater vents and defroster vents.
Adjust the temperature knob for warmer or cooler air.
The air conditioning compressor may operate in this
setting to dehumidify the air.
DEFROST: This setting operates the defroster.
Most of the air comes out near the windshield, with
some going to the floor vents and front side windows.
The air conditioning compressor may operate in this
setting to dehumidify the air.
Heating System
If your vehicle does not have air conditioning, your
heater controls will look like this.
Fan Knob
This control has four positions. To increase airflow,
turn the knob toward HI. To decrease airflow, move it
toward LO.
Temperature Knob
This knob is next to the fan knob. It controls the
temperature of the air flowing into your vehicle. Turn
the knob clockwise for warmer air. Turn the knob
counterclockwise for cooler air.
Page 160 of 388

3-4
Function Knob
This knob is next to the temperature knob. The function
knob allows you to choose the direction of air delivery.
OFF: This setting turns the system off.
VENT: The air comes out at the vents on your
instrument panel.
BI-LEVEL: With this setting, the heated outside
air comes out both the instrument panel vents and heater
vents. Adjust the temperature knob for warmer or
cooler air.
HEATER: Most of the air comes out near the
floor. The rest comes out from the defroster vents under
the windshield and at the front side windows.
BLEND: With this setting, the heated outside air
comes out both the heater vents and defroster vents.
Adjust the temperature knob for warmer or cooler air.
DEFROST: This setting operates the defroster.
Most of the air comes out near the windshield, with
some going to the floor vents and front side windows.
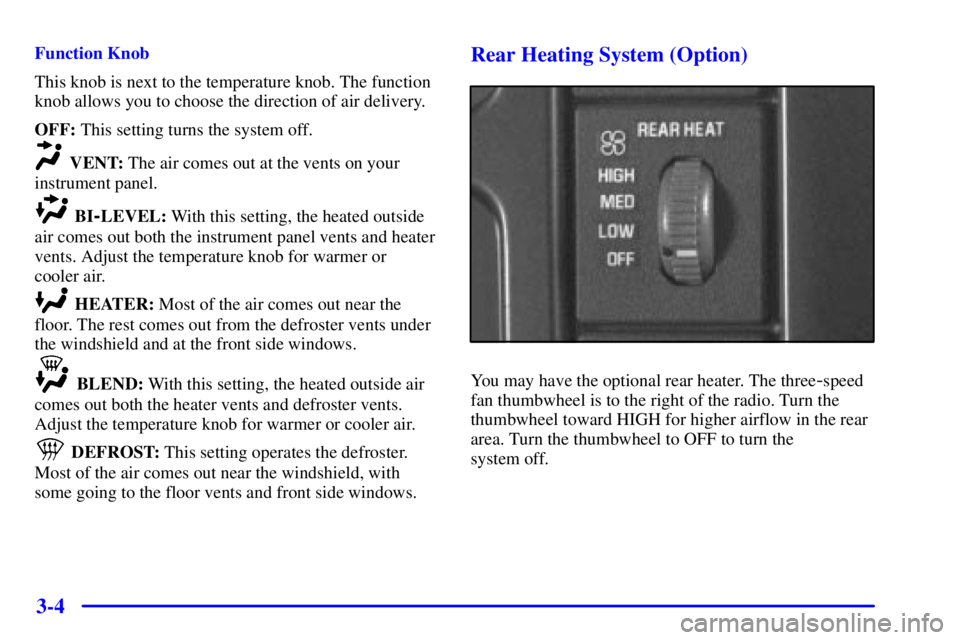
Rear Heating System (Option)
You may have the optional rear heater. The three-speed
fan thumbwheel is to the right of the radio. Turn the
thumbwheel toward HIGH for higher airflow in the rear
area. Turn the thumbwheel to OFF to turn the
system off.
Page 163 of 388

3-7
NOTICE:
Don't use a razor blade or something else sharp
on the inside of the rear window. If you do, you
could cut or damage the defogger and the repairs
would not be covered by your warranty.
Ventilation System
For mild outside temperatures when little heating or
cooling is needed, use VENT to direct outside air
through your vehicle. Air will flow through the
instrument panel vents.
Your vehicle's flow
-through ventilation system supplies
outside air to the inside of your vehicle when it is
moving. With the side windows closed, air will flow into
the front air inlet grilles at the base of the windshield,
through the vehicle and out the rear air exhaust valve.
Outside air will also enter the vehicle when the heater or
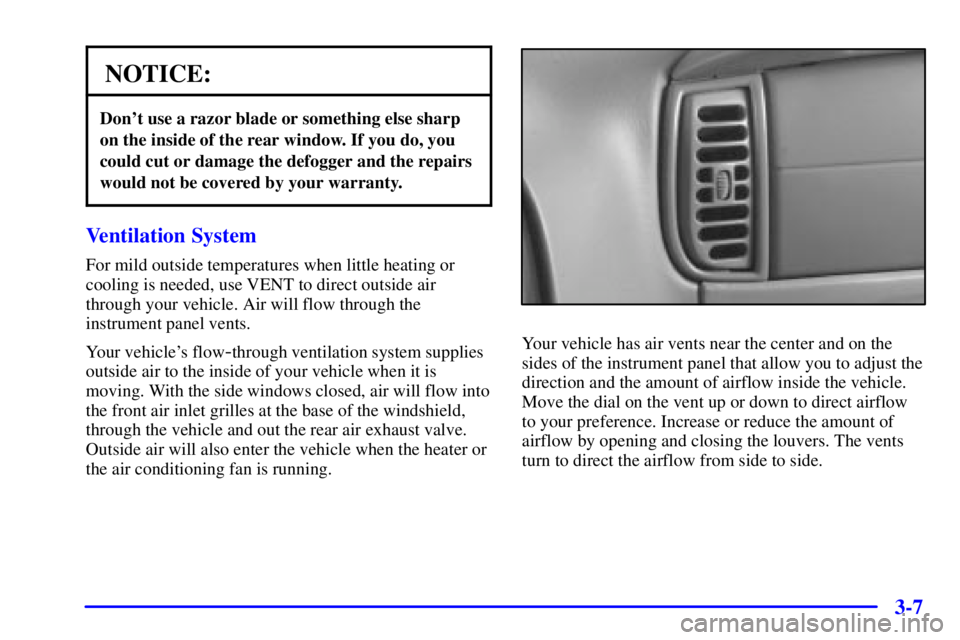
the air conditioning fan is running.Your vehicle has air vents near the center and on the
sides of the instrument panel that allow you to adjust the
direction and the amount of airflow inside the vehicle.
Move the dial on the vent up or down to direct airflow
to your preference. Increase or reduce the amount of
airflow by opening and closing the louvers. The vents
turn to direct the airflow from side to side.
Page 210 of 388

4-32 If You Do Decide To Pull A Trailer
If you do, here are some important points:
�There are many different laws, including speed limit
restrictions, having to do with trailering. Make sure
your rig will be legal, not only where you live but
also where you'll be driving. A good source for this
information can be state or provincial police.
�Consider using a sway control if your trailer will
weigh 2,000 lbs. (900 kg) or less. You should always
use a sway control if your trailer will weigh more
than 2,000 lbs. (900 kg). You can ask a hitch dealer
about sway controls.
�Don't tow a trailer at all during the first 500 miles
(800 km) your new vehicle is driven. Your engine,
axle or other parts could be damaged.
�Then, during the first 500 miles (800 km) that you
tow a trailer, don't drive over 50 mph (80 km/h) and
don't make starts at full throttle. This helps your
engine and other parts of your vehicle wear in at the
heavier loads.
�You should use THIRD (3) (or, as you need to, a
lower gear) when towing a trailer. Operating your
vehicle in THIRD (3) when towing a trailer will
minimize heat buildup and extend the life of your
transmission. See ªTow/Haul Modeº in the Index.Three important considerations have to do with weight:
�the weight of the trailer,
�the weight of the trailer tongue
�and the weight on your vehicle's tires.
Tow/Haul Mode
The Tow/Haul Mode is a feature that assists when
pulling a heavy trailer. The purpose of the Tow/Haul
Mode is:
�to reduce the frequency of shifts when pulling a
heavy trailer.
�to provide the same shift feel when pulling a heavy
trailer as when the vehicle is unloaded.
�to reduce the need to change throttle position when
pulling a heavy trailer.
This feature is turned on or off by pressing a button on
the column shift lever. When the feature is on, a light on
the instrument panel will illuminate to indicate that the
Tow/Haul Mode has been selected.
See ªTow/Haul Mode Lightº in the Index. The
Tow/Haul Mode is automatically turned off each time
the vehicle is started.