Page 173 of 388

3-17
A disc that has been ejected but is still sitting in the
remote CD player will be pulled back into the player
after approximately 30 seconds. This protects the disc
and player from damage. The disc will not start playing.
To remove the disc, press the EJECT button and remove
the disc from the player.
All of the compact disc functions are controlled by the
radio buttons except for EJECT. When a disc is in the
player, a CD symbol will appear on the display. When a
disc is playing, the letters CD will appear next to the
CD symbol in the bottom left corner. The track number
will also be displayed.
If the disc comes back out and ERR appears on the
display, it could be that:
�The disc is upside down.
�It is dirty, scratched or wet.
�There's too much moisture in the air. (Wait about an
hour and try again.)
�You are driving on a very rough road.
Please contact your dealer if any error recurs or cannot
be corrected.PREV (1): Press this button to go back to the start of the
current track if more than eight seconds have played. Press
PREV again to go to the previous track on the disc.
NEXT (3): Press this button to advance to the next track
on the disc.
REV (4): Press and hold this button to quickly reverse
within a track. As the CD reverses, elapsed time will be
displayed to help you find the correct passage.
FWD (6): Press and hold this button to quickly advance
within a track. As the CD advances, elapsed time will be
displayed to help you find the correct passage.
SEEK: Press the left arrow while playing a CD to go
back to the start of the current track. It will go back to
the current track if more than eight seconds have played.
Press the left arrow again to go to previous tracks. Press
the right arrow to go to the next higher track on the disc.
Page 175 of 388

3-19
Activating the Theft-Deterrent Feature
The instructions which follow explain how to enter your
secret code to activate the THEFTLOCK system. It is
recommended that you read through all nine steps
before starting the procedure.
If you allow more than 15 seconds to elapse between
any steps, the radio automatically reverts to time and
you must start the procedure over at Step 4.
1. Write down any three or four
-digit number from
000 to 1999 and keep it in a safe place separate from
the vehicle.
2. Turn the ignition to ACCESSORY or RUN.
3. Turn the radio off.
4. Press the 1 and 4 buttons together. Hold them down
until
--- shows on the display. Next you will use the
secret code number which you have written down.5. Press MN and 000 will appear on the display.
6. Press MN again to make the last two digits agree
with your code.
7. Press HR to make the first one or two digits agree
with your code.
8. Press AM
-FM after you have confirmed that the
code matches the secret code you have written down.
The display will show REP to let you know that you
need to repeat Steps 5 through 7 to confirm your
secret code.
9. Press AM
-FM and this time the display will show
SEC to let you know that your radio is secure. The
LED indicator by the volume control will begin
flashing when the ignition is turned off.
Page 176 of 388

3-20
Unlocking the Theft-Deterrent Feature After a
Power Loss
Enter your secret code as follows; pause no more than
15 seconds between steps:
1. Turn the ignition on. LOC will appear on the display.
2. Press MN and 000 will appear on the display.
3. Press MN again to make the last two digits agree
with your code.
4. Press HR to make the first one or two digits agree
with your code.
5. Press AM
-FM after you have confirmed that the
code matches the secret code you have written down.
The display will show SEC, indicating the radio is
now operable and secure.
If you enter the wrong code eight times, INOP will
appear on the display. You will have to wait an hour
with the ignition on before you can try again. When you
try again, you will only have three chances to enter the
correct code before INOP appears.
If you lose or forget your code, contact your dealer.Disabling the Theft
-Deterrent Feature
Enter your secret code as follows; pause no more than
15 seconds between steps:
1. Turn the ignition to ACCESSORY or RUN.
2. Turn the radio off.
3. Press the 1 and 4 buttons together. Hold them down
until SEC shows on the display.
4. Press MN and 000 will appear on the display.
5. Press MN again to make the last two digits agree
with your code.
6. Press HR to make the first one or two digits agree
with your code.
7. Press AM
-FM after you have confirmed that the
code matches the secret code you have written down.
The display will show
---, indicating that the radio is
no longer secured.
If the code entered is incorrect, SEC will appear on the
display. The radio will remain secured until the correct
code is entered.
When battery power is removed and later applied to a
secured radio, the radio won't turn on and LOC will
appear on the display.
To unlock a secured radio, see ªUnlocking the
Theft
-Deterrent Feature After a Power Lossº earlier in
this section.
Page 202 of 388
4-24
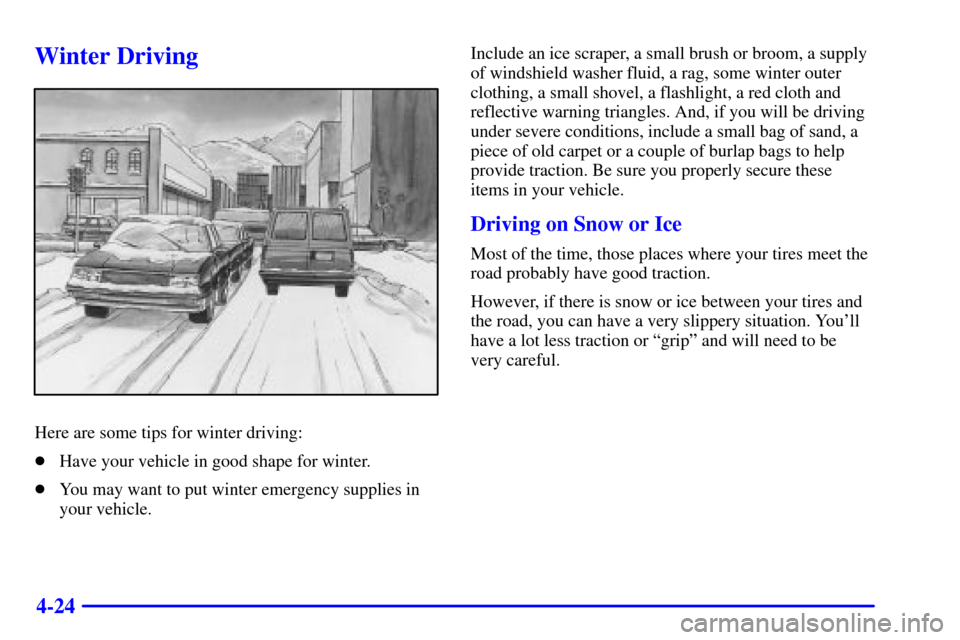
Winter Driving
Here are some tips for winter driving:
�Have your vehicle in good shape for winter.
�You may want to put winter emergency supplies in
your vehicle.Include an ice scraper, a small brush or broom, a supply
of windshield washer fluid, a rag, some winter outer
clothing, a small shovel, a flashlight, a red cloth and
reflective warning triangles. And, if you will be driving
under severe conditions, include a small bag of sand, a
piece of old carpet or a couple of burlap bags to help
provide traction. Be sure you properly secure these
items in your vehicle.
Driving on Snow or Ice
Most of the time, those places where your tires meet the
road probably have good traction.
However, if there is snow or ice between your tires and
the road, you can have a very slippery situation. You'll
have a lot less traction or ªgripº and will need to be
very careful.
Page 207 of 388

4-29
CAUTION:
Do not load your vehicle any heavier than the
GVWR, or either the maximum front or rear
GAWR. If you do, parts on your vehicle can
break, and it can change the way your vehicle
handles. These could cause you to lose control
and crash. Also, overloading can shorten the life
of your vehicle.
Using heavier suspension components to get added
durability might not change your weight ratings. Ask
your dealer to help you load your vehicle the right way.
NOTICE:
Your warranty does not cover parts or
components that fail because of overloading.
If you put things inside your vehicle -- like suitcases,
tools, packages, or anything else
-- they will go as fast
as the vehicle goes. If you have to stop or turn quickly,
or if there is a crash, they'll keep going.
CAUTION:
Things you put inside your vehicle can strike
and injure people in a sudden stop or turn, or in
a crash.
�Put things in the cargo area of your vehicle.
Try to spread the weight evenly.
�Never stack heavier things, like suitcases,
inside the vehicle so that some of them are
above the tops of the seats.
�Don't leave an unsecured child restraint in
your vehicle.
�When you carry something inside the
vehicle, secure it whenever you can.
�Don't leave a seat folded down unless
you need to.
Page 215 of 388

4-37
Towing a trailer requires a certain amount of experience.
Before setting out for the open road, you'll want to get
to know your rig. Acquaint yourself with the feel of
handling and braking with the added weight of the
trailer. And always keep in mind that the vehicle you are
driving is now a good deal longer and not nearly as
responsive as your vehicle is by itself.
Before you start, check the trailer hitch and platform
(and attachments), safety chains, electrical connector,
lamps, tires and mirror adjustment. If the trailer has
electric brakes, start your vehicle and trailer moving and
then apply the trailer brake controller by hand to be sure
the brakes are working. This lets you check your
electrical connection at the same time.
During your trip, check occasionally to be sure that the
load is secure, and that the lamps and any trailer brakes
are still working.Following Distance
Stay at least twice as far behind the vehicle ahead as you
would when driving your vehicle without a trailer. This
can help you avoid situations that require heavy braking
and sudden turns.
Passing
You'll need more passing distance up ahead when
you're towing a trailer. And, because you're a good deal
longer, you'll need to go much farther beyond the
passed vehicle before you can return to your lane.
Backing Up
Hold the bottom of the steering wheel with one hand.
Then, to move the trailer to the left, just move that hand
to the left. To move the trailer to the right, move your
hand to the right. Always back up slowly and, if
possible, have someone guide you.
Page 238 of 388
5-20 Removing the Spare Tire and Tools
The jacking equipment you'll need is stored by your
vehicle's rear doors, along the passenger's side wall.
Remove the jack cover by pulling it away from the
side wall and down to release the tabs securing the top
of the cover.
Remove the wheel blocks by turning the top nut
counterclockwise. Remove the nut and washer, then pull
the wheel blocks off the bolt. Push down on the bolt and
remove the hooked end from the slot. Slide the jack
toward the front of the vehicle and lift it from the
mounting. Remove the extension and the ratchet from
the pouch.
Page 249 of 388

5-31 Storing a Flat or Spare Tire and Tools
CAUTION:
Storing a jack, a tire or other equipment in the
passenger compartment of the vehicle could
cause injury. In a sudden stop or collision, loose
equipment could strike someone. Store all these
in the proper place.
1. Put the flat tire on the ground at the rear of the
vehicle with the valve stem pointed down.
2. Tilt the retainer plate downward and through the
wheel opening. Make sure it is fully seated across the
underside of the wheel. Attach the ratchet, with the
UP side facing you, to the extension.3. Put the flat end of the extension on an angle through
the hole in the rear door frame, above the bumper.
Keep turning the ratchet until you feel at least
two ªclicksº when the tire is up all the way.
The compact spare is for temporary use only.
Replace the compact spare tire with a full
-size tire as
soon as you can. See ªCompact Spare Tireº in the
Index. See the storage instructions label to restore
your compact spare properly.
4. Raise the tire fully against the underside of the
vehicle. Continue turning the ratchet/wheel wrench
until the tire is secure and the cable is tight.
The spare tire hoist cannot be overtightened.