Page 4 of 371
Table of Contents
Windows
Keys and Door Locks
Remote Keyless Entry System
Trunk Release
Automatic Transaxle
Parking Brake
Tilt Wheel
Turn Signal/Multifunction Lever
Windshield Wipers
Cruise Control
Exterior and Interior Lamps
MirrorsStorage Compartments
Convenience Net
Accessory Power Outlets
OnStar® System (If Equipped)
Sunroof (Option)
HomeLink® Transmitter (If Equipped)
Instrument Panel, Warning Lights and Gages
Driver Information Center (DIC)
Vehicle Programming and Personalization
Features (If Equipped)
Ultrasonic Rear Parking Assist (URPA) (Option) Seats and Seat Controls
Safety BeltsAir Bag Systems
Restraint Systems for Children
Section
1
Section
2
Seats and Restraint Systems
Features and Controls
ii
Page 11 of 371

ix
For example,
these symbols
are used on an
original battery:
CAUTION
POSSIBLE
INJURY
PROTECT
EYES BY
SHIELDING
CAUSTIC
BATTERY
ACID COULD
CAUSE
BURNS
AVOID
SPARKS OR
FLAMES
SPARK OR
FLAME
COULD
EXPLODE
BATTERY
These symbols
are important for
you and your
passengers
whenever your
vehicle is driven:
CHILD
RESTRAINT
TOP STRAP
ANCHOR
DOOR LOCK
UNLOCK
FASTEN
SEAT
BELTS
POWER
WINDOW
AIR BAG
These symbols
have to do with
your lamps:
MASTER
LIGHTING
SWITCH
TURN
SIGNALS
PARKING
LAMPS
HAZARD
WARNING
FLASHER
DAYTIME
RUNNING
LAMPS
FOG LAMPS
These symbols
are on some of
your controls:
WINDSHIELD
WIPER
WINDSHIELD
WASHER
WINDSHIELD
DEFROSTER
REAR
WINDOW
DEFOGGER
VENTILATING
FAN
These symbols
are used on
warning and
indicator lights:
ENGINE
COOLANT
TEMP
BATTERY
CHARGING
SYSTEM
BRAKE
COOLANT
ENGINE OIL
PRESSURE
ANTI-LOCK
BRAKES
Here are some
other symbols
you may see:
FUSE
LIGHTER
HORN
FUEL
Vehicle Symbols
These are some of the symbols you may find on your vehicle. Also see ªWarning Lights and Gagesº in the Index.
Page 68 of 371

2-
2-1
Section 2 Features and Controls
Here you can learn about the many standard and optional features on your vehicle, and information on starting,
shifting and braking. Also explained are the instrument panel and the warning systems that tell you if everything is
working properly
-- and what to do if you have a problem.
2
-2 Windows
2
-6 Keys
2
-8 Door Locks
2
-11 Remote Keyless Entry System
2
-14 Trunk
2
-17 Theft
2
-18 Theft-Deterrent System
2
-20 PASS-Key� III
2
-22 New Vehicle ªBreak-Inº
2
-22 Ignition Positions
2
-24 Starting Your Engine
2
-25 Engine Coolant Heater (If Equipped)
2
-27 Automatic Transaxle Operation
2
-31 Parking Brake
2
-33 Shifting Into PARK (P)
2
-35 Shifting Out of PARK (P)
2
-35 Parking Over Things That Burn
2
-36 Engine Exhaust2
-36 Running Your Engine While You're Parked
2
-37 Tilt Wheel
2
-38 Turn Signal/Multifunction Lever
2
-46 Exterior Lamps
2
-51 Interior Lamps
2
-53 Mirrors
2
-57 Storage Compartments
2
-59 Sun Visors
2
-65 Sunroof (Option)
2
-66 HomeLink� Transmitter (If Equipped)
2
-70 The Instrument Panel -- Your
Information System
2
-75 Warning Lights, Gages and Indicators
2
-89 Driver Information Center (DIC)
2
-100 Vehicle Programming and Personalization
Features (If Equipped)
2
-108 Navigation (Option)
2
-109 Ultrasonic Rear Parking
Assist (URPA) (Option)
Page 105 of 371

2-38
Power Tilt and Telescopic Wheel
(If Equipped)
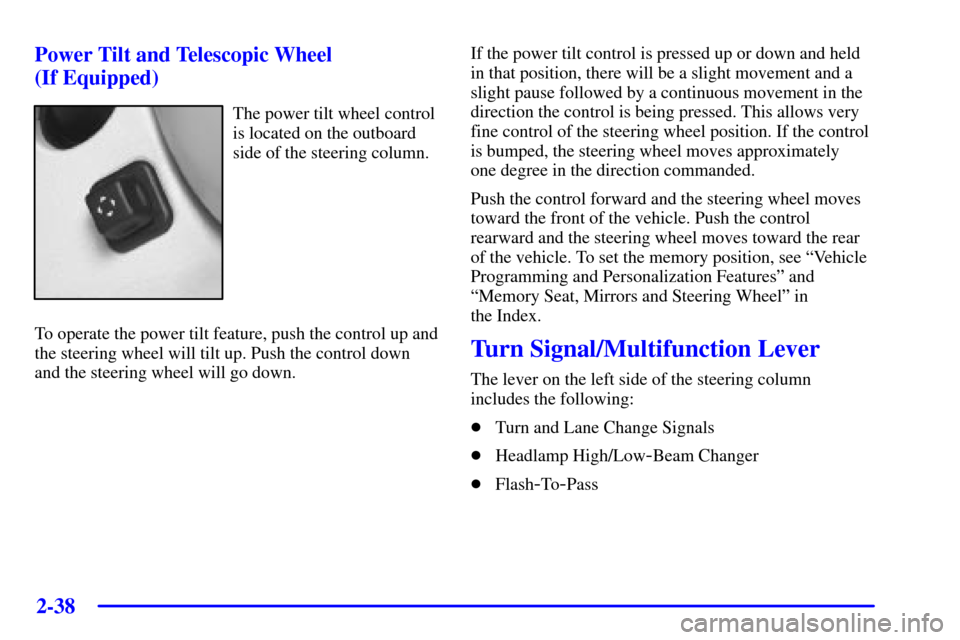
The power tilt wheel control
is located on the outboard
side of the steering column.
To operate the power tilt feature, push the control up and
the steering wheel will tilt up. Push the control down
and the steering wheel will go down.If the power tilt control is pressed up or down and held
in that position, there will be a slight movement and a
slight pause followed by a continuous movement in the
direction the control is being pressed. This allows very
fine control of the steering wheel position. If the control
is bumped, the steering wheel moves approximately
one degree in the direction commanded.
Push the control forward and the steering wheel moves
toward the front of the vehicle. Push the control
rearward and the steering wheel moves toward the rear
of the vehicle. To set the memory position, see ªVehicle
Programming and Personalization Featuresº and
ªMemory Seat, Mirrors and Steering Wheelº in
the Index.
Turn Signal/Multifunction Lever
The lever on the left side of the steering column
includes the following:
�Turn and Lane Change Signals
�Headlamp High/Low
-Beam Changer
�Flash
-To-Pass
Page 106 of 371

2-39
Turn and Lane Change Signals
To signal a turn, move the lever on the left side of the
steering wheel all the way up or down. The lever returns
automatically when the turn is complete.
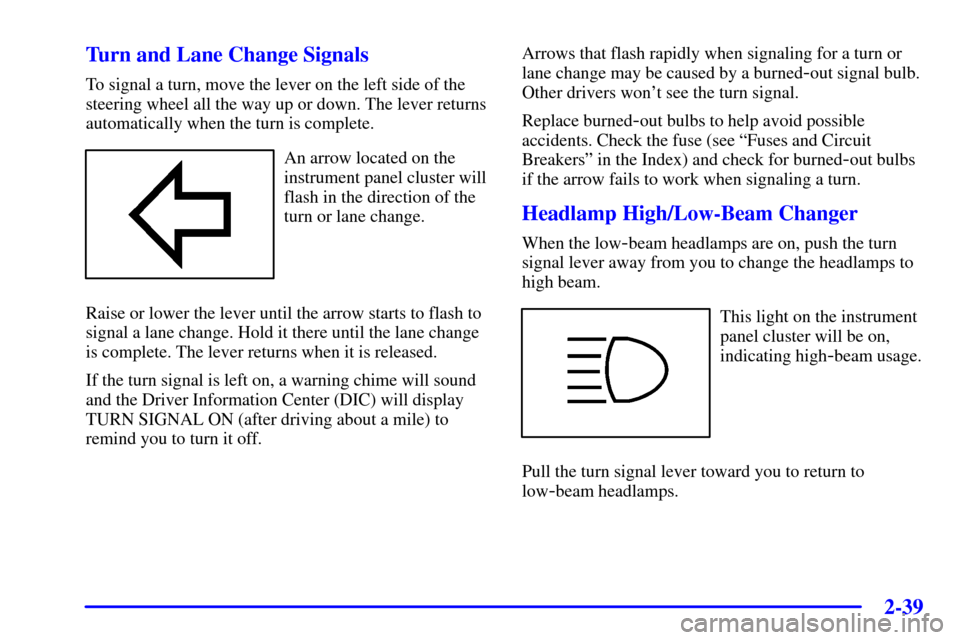
An arrow located on the
instrument panel cluster will
flash in the direction of the
turn or lane change.
Raise or lower the lever until the arrow starts to flash to
signal a lane change. Hold it there until the lane change
is complete. The lever returns when it is released.
If the turn signal is left on, a warning chime will sound
and the Driver Information Center (DIC) will display
TURN SIGNAL ON (after driving about a mile) to
remind you to turn it off.Arrows that flash rapidly when signaling for a turn or
lane change may be caused by a burned
-out signal bulb.
Other drivers won't see the turn signal.
Replace burned
-out bulbs to help avoid possible
accidents. Check the fuse (see ªFuses and Circuit
Breakersº in the Index) and check for burned
-out bulbs
if the arrow fails to work when signaling a turn.
Headlamp High/Low-Beam Changer
When the low-beam headlamps are on, push the turn
signal lever away from you to change the headlamps to
high beam.
This light on the instrument
panel cluster will be on,
indicating high
-beam usage.
Pull the turn signal lever toward you to return to
low
-beam headlamps.
Page 107 of 371
2-40
Flash-To-Pass
This feature lets you use the high-beam headlamps to
signal the driver in front of you that you want to pass.
Pull the turn signal lever toward you briefly to
flash
-to-pass. When you do, the following will occur:
�If the headlamps are either off or in the Daytime
Running Lamps (DRL) mode, the high
-beam
headlamps will turn on. They'll stay on as long as
you hold the lever there. Release the lever to turn
them off.
�If the headlamps are on low beam, they will remain
active and the high beam will also illuminate until
you release the lever.
Windshield Wipers
You can control the windshield wipers by moving the
lever with the wiper symbol on it. This lever is located
on the right side of your steering column. For
information on wiper
-activated headlamp operation,
refer to ªWiper
-Activated Headlampsº in the Index.
Page 116 of 371

2-49
Cornering Lamps
The cornering lamps come on when the headlamps
or parking lamps are on and you signal a turn.
They provide more light for cornering.
Twilight Sentinel�
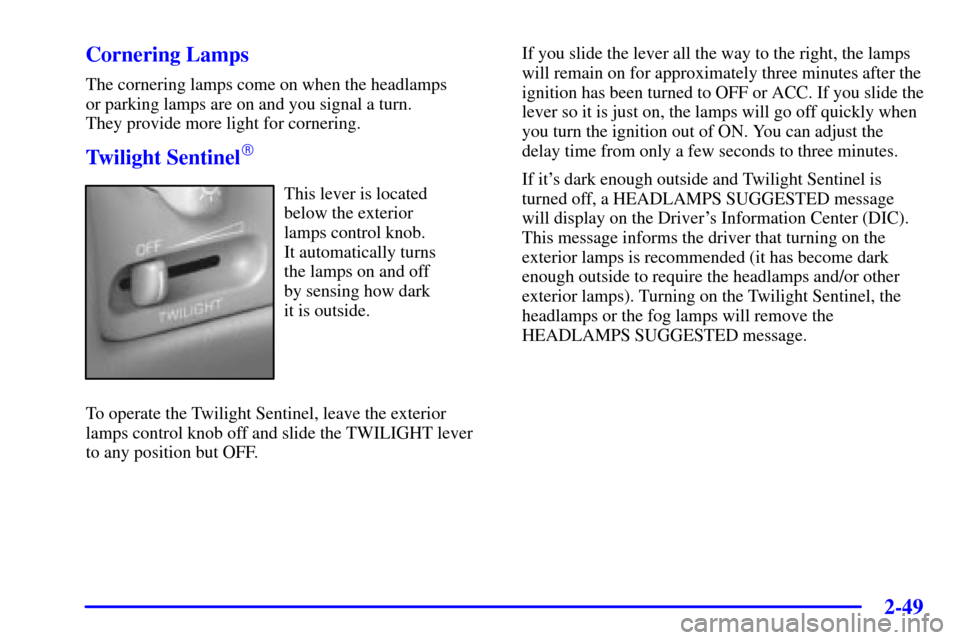
This lever is located
below the exterior
lamps control knob.
It automatically turns
the lamps on and off
by sensing how dark
it is outside.
To operate the Twilight Sentinel, leave the exterior
lamps control knob off and slide the TWILIGHT lever
to any position but OFF.If you slide the lever all the way to the right, the lamps
will remain on for approximately three minutes after the
ignition has been turned to OFF or ACC. If you slide the
lever so it is just on, the lamps will go off quickly when
you turn the ignition out of ON. You can adjust the
delay time from only a few seconds to three minutes.
If it's dark enough outside and Twilight Sentinel is
turned off, a HEADLAMPS SUGGESTED message
will display on the Driver's Information Center (DIC).
This message informs the driver that turning on the
exterior lamps is recommended (it has become dark
enough outside to require the headlamps and/or other
exterior lamps). Turning on the Twilight Sentinel, the
headlamps or the fog lamps will remove the
HEADLAMPS SUGGESTED message.
Page 129 of 371

2-62
Call ANSWER/END Button: Use this button
to answer a call. (If you are receiving a call, the audio
system will mute, and the ring will be heard). Press this
button at the end of a call to disconnect and return the
audio system to its previous settings. This button will
also cancel a call if one of the buttons is accidentally
pressed or if the automatic redial function is activated.
Volume Control: You can control the volume of the
OnStar System using the steering wheel volume control.
Telltale Light: This light will indicate the status of
the system. A solid green light will come on when you
start the vehicle to let you know that the system is on
and is ready to make or receive calls.
If the light blinks green it means that an
incoming or outgoing call is in progress. Press the
Call ANSWER/END button if you notice the light
blinking and you are not on a call.
The light will be red in the event of an OnStar system
malfunction. If this occurs press the OnStar button to
attempt to contact an advisor. If the connection is made,
the advisor will assist you with steps to take to make
sure that the system is functioning properly. If you
cannot contact the advisor, take your vehicle to your
dealership as soon as possible for assistance.
Safety and Security Services
�Automatic Notification of Air Bag
Deployment
-- If an air bag deploys, a priority
emergency signal is automatically sent to the center.
An advisor will locate your vehicle's position, try to
contact you and assist you in the situation. If the
center is unable to contact you, an emergency service
provider will be contacted.
�Stolen Vehicle Tracking
-- Call the center at
1
-888-4-ONSTAR (1-888-466-7827) to report
your vehicle stolen. The system can then locate and
track your vehicle and the advisor will be able to
notify the proper authorities.
�Roadside Assistance with Location
-- For vehicle
breakdowns, press the OnStar button. An advisor
will contact the appropriate help.
�Remote Diagnostics
-- If an instrument panel light
comes on, the center can perform a check of the
engine on
-board computer. An advisor can then
recommend what action needs to be taken.