Page 291 of 371

6-9
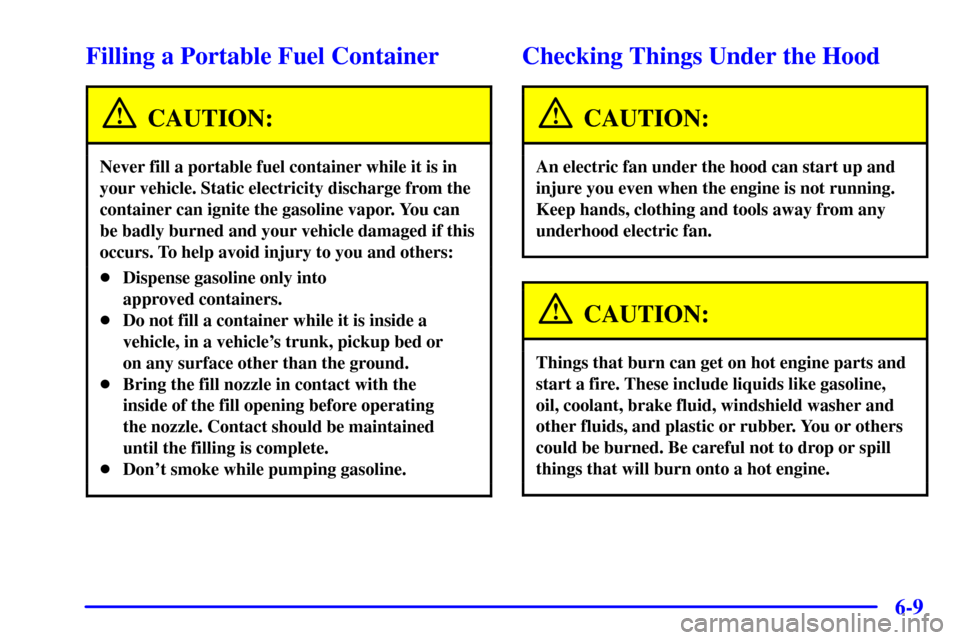
Filling a Portable Fuel Container
CAUTION:
Never fill a portable fuel container while it is in
your vehicle. Static electricity discharge from the
container can ignite the gasoline vapor. You can
be badly burned and your vehicle damaged if this
occurs. To help avoid injury to you and others:
�Dispense gasoline only into
approved containers.
�Do not fill a container while it is inside a
vehicle, in a vehicle's trunk, pickup bed or
on any surface other than the ground.
�Bring the fill nozzle in contact with the
inside of the fill opening before operating
the nozzle. Contact should be maintained
until the filling is complete.
�Don't smoke while pumping gasoline.
Checking Things Under the Hood
CAUTION:
An electric fan under the hood can start up and
injure you even when the engine is not running.
Keep hands, clothing and tools away from any
underhood electric fan.
CAUTION:
Things that burn can get on hot engine parts and
start a fire. These include liquids like gasoline,
oil, coolant, brake fluid, windshield washer and
other fluids, and plastic or rubber. You or others
could be burned. Be careful not to drop or spill
things that will burn onto a hot engine.
Page 326 of 371
6-44 Front Turn Signal Lamps
1. The turn signal lamps are located on the outboard
side of the headlamps. To access, remove the
headlamp, (see Steps 1, 2 and 3 under ªHeadlampsº).
2. Press the bulb socket tab and turn the bulb socket
counterclockwise to unlock the socket from the
lamp housing.
3. To remove the old bulb, grasp the socket firmly and
pull the bulb out. Install the new bulb and reverse the
steps to reinstall the lamp housing.
Rear Turn Signal Lamps and Taillamps
1. Open the trunk to gain access to the lamp housing.
2. Remove the rear
compartment sill plate
by removing the upper
convenience net
retainers, located at
each end, as shown.
3. Move the spare tire cover out of the way.
4. Pull the trunk trim away to access the wing nuts.
Page 331 of 371

6-49
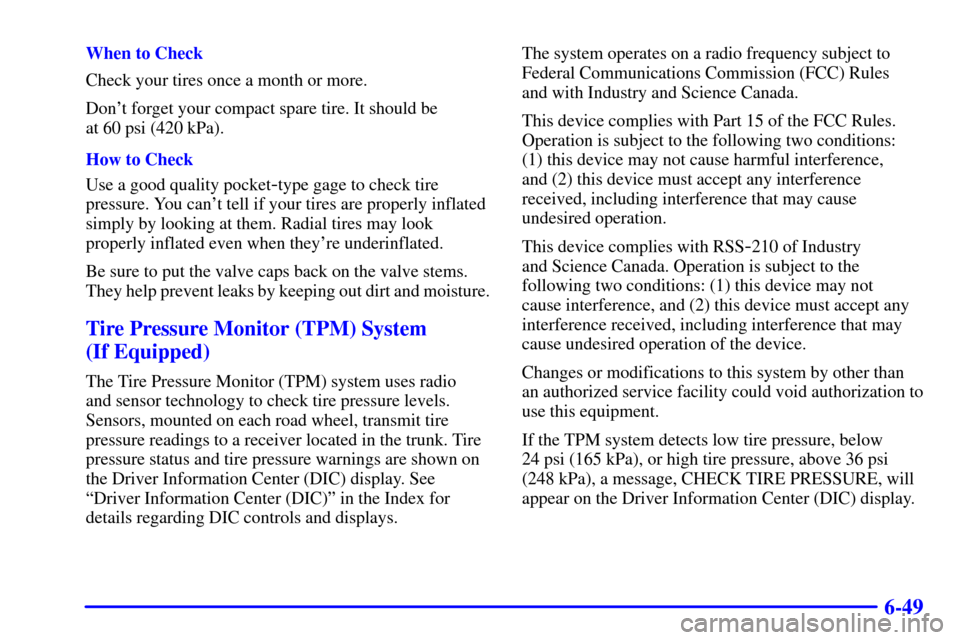
When to Check
Check your tires once a month or more.
Don't forget your compact spare tire. It should be
at 60 psi (420 kPa).
How to Check
Use a good quality pocket
-type gage to check tire
pressure. You can't tell if your tires are properly inflated
simply by looking at them. Radial tires may look
properly inflated even when they're underinflated.
Be sure to put the valve caps back on the valve stems.
They help prevent leaks by keeping out dirt and moisture.
Tire Pressure Monitor (TPM) System
(If Equipped)
The Tire Pressure Monitor (TPM) system uses radio
and sensor technology to check tire pressure levels.
Sensors, mounted on each road wheel, transmit tire
pressure readings to a receiver located in the trunk. Tire
pressure status and tire pressure warnings are shown on
the Driver Information Center (DIC) display. See
ªDriver Information Center (DIC)º in the Index for
details regarding DIC controls and displays.The system operates on a radio frequency subject to
Federal Communications Commission (FCC) Rules
and with Industry and Science Canada.
This device complies with Part 15 of the FCC Rules.
Operation is subject to the following two conditions:
(1) this device may not cause harmful interference,
and (2) this device must accept any interference
received, including interference that may cause
undesired operation.
This device complies with RSS
-210 of Industry
and Science Canada. Operation is subject to the
following two conditions: (1) this device may not
cause interference, and (2) this device must accept any
interference received, including interference that may
cause undesired operation of the device.
Changes or modifications to this system by other than
an authorized service facility could void authorization to
use this equipment.
If the TPM system detects low tire pressure, below
24 psi (165 kPa), or high tire pressure, above 36 psi
(248 kPa), a message, CHECK TIRE PRESSURE, will
appear on the Driver Information Center (DIC) display.
Page 347 of 371
6-65
Vehicle Identification Number (VIN)
This is the legal identifier for your vehicle. It appears
on a plate in the front corner of the instrument panel,
on the driver's side. You can see it if you look through
the windshield from outside your vehicle. The VIN also
appears on the Vehicle Certification and Service Parts
labels and the certificates of title and registration.
Engine Identification
The 8th character in your VIN is the engine code. This
code will help you identify your engine, specifications
and replacement parts.
Service Parts Identification Label
You'll find this label on the rear wall of the trunk on the
passenger's side. It's very helpful if you ever need to
order parts. On this label is:
�your VIN,
�the model designation,
�paint information and
�a list of all production options and
special equipment.
Be sure that this label is not removed from the vehicle.
Page 355 of 371
6-73
Minifuses Usage
6 Heated Seat Left Rear
7 Power Tilt and
Telescoping Steering
8 Supplemental Inflation Restraint
9 Not Used
10 Lamps Park Right
11 Fuel Tank Ventilation Solenoid
12 Ignition 1
13 Lamps, Parking Left
14 Interior Lamp Dimmer Module
15 Navigation
16 Heated Seat Left Front
17 Export Lighting
18 Rear Door Modules
19 Stoplamps
20 Neutral Safety Back
-up
21 Audio
22 Retained Accessory Power
for SunroofMinifuses Usage
23 Not Used
24 Not Used
25 Passenger Door Module
26 Fuel Door/Trunk Release (Body)
27 Interior Lamps
28 Rear HVAC Blower
29 Ignition Switch
30 Not Used
31 Heated Seat Right Front
32 Continuous Variable Road
Sensing Suspension
33 Heating, Ventilation,
Air Conditioning
34 Ignition 3 Rear
35 Antilock Braking System
36 Turn Signal/Hazard
37 Heated Seat Right Rear
38 Dash Integration Module
Page 356 of 371
6-74
Micro Relays Usage
39 Fuel Pump
40 Parking Lamps
41 Ignition 1
42 Park Brake A
43 Park Brake B
44 Park Shift Interlock
45 Reverse Lamps
46 Retained Accessory Power
for Sunroof
47 Rear HVAC Blower
48 CVRSS Dampers
49 Ignition 3
50 Fuel Tank Door Release
51 Interior Lamps
52 Trunk Release
53 Front Courtesy Lamps
54 Rear Courtesy Lamps
55 Electronic Level
Control CompressorMini Breakers Usage
56 Power Seats
57 Power Windows
Mini Relays Usage
58 Cigarette Lighter
59 Rear Defog
MaxiFuses Usage
60 Park Brake
61 Rear Defog
62 Export Brake
63 Audio Amplifier
64 ELC Compressor/Exhaust
65 Cigar Lighter
66 Not Used
The spare fuses are located in numbers 70 through 74.
The fuse puller is located in number 75.