Page 54 of 371
1-42
A forward-facing child seat (C-E) provides restraint for
the child's body with the harness and also sometimes
with surfaces such as T
-shaped or shelf-like shields.
A booster seat (F-G) is a child restraint designed to
improve the fit of the vehicle's safety belt system.
Some booster seats have a shoulder belt positioner,
and some high
-back booster seats have a five-point
harness. A booster seat can also help a child to see out
the window.
Page 61 of 371
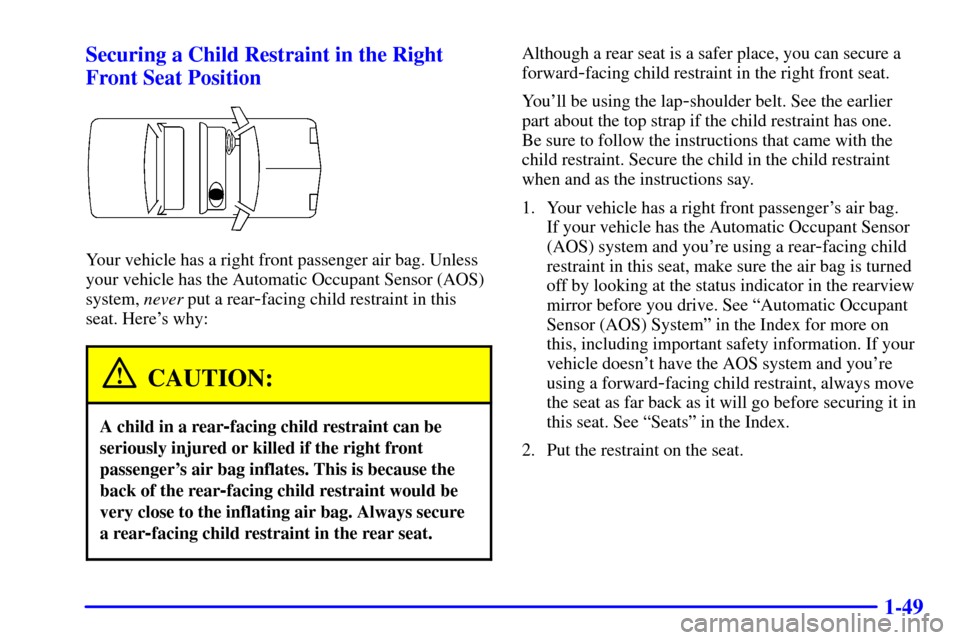
1-49 Securing a Child Restraint in the Right
Front Seat Position
Your vehicle has a right front passenger air bag. Unless
your vehicle has the Automatic Occupant Sensor (AOS)
system, never put a rear
-facing child restraint in this
seat. Here's why:
CAUTION:
A child in a rear-facing child restraint can be
seriously injured or killed if the right front
passenger's air bag inflates. This is because the
back of the rear
-facing child restraint would be
very close to the inflating air bag. Always secure
a rear
-facing child restraint in the rear seat.
Although a rear seat is a safer place, you can secure a
forward
-facing child restraint in the right front seat.
You'll be using the lap
-shoulder belt. See the earlier
part about the top strap if the child restraint has one.
Be sure to follow the instructions that came with the
child restraint. Secure the child in the child restraint
when and as the instructions say.
1. Your vehicle has a right front passenger's air bag.
If your vehicle has the Automatic Occupant Sensor
(AOS) system and you're using a rear
-facing child
restraint in this seat, make sure the air bag is turned
off by looking at the status indicator in the rearview
mirror before you drive. See ªAutomatic Occupant
Sensor (AOS) Systemº in the Index for more on
this, including important safety information. If your
vehicle doesn't have the AOS system and you're
using a forward
-facing child restraint, always move
the seat as far back as it will go before securing it in
this seat. See ªSeatsº in the Index.
2. Put the restraint on the seat.
Page 64 of 371
1-52
CAUTION:
If the ON light comes on when you have a child
restraint installed in the right front passenger
seat, it means that the AOS system has not
turned off the right front passenger's frontal
and side impact air bags. If this ever happens
and you're using a rear
-facing infant restraint,
perform the steps to install the restraint again.
See ªSecuring a Child Restraint in the Right
Front Seat Positionº in the Index. If the air bags
still don't turn off, install the infant restraint in a
rear seat position and have your vehicle serviced
as soon as possible. Don't use a rear
-facing infant
restraint in the right front passenger's seat unless
the air bags have been turned off.
To remove the child restraint, just unbuckle the vehicle's
safety belt and let it go back all the way. The safety belt
will move freely again and be ready to work for an adult
or larger child passenger.
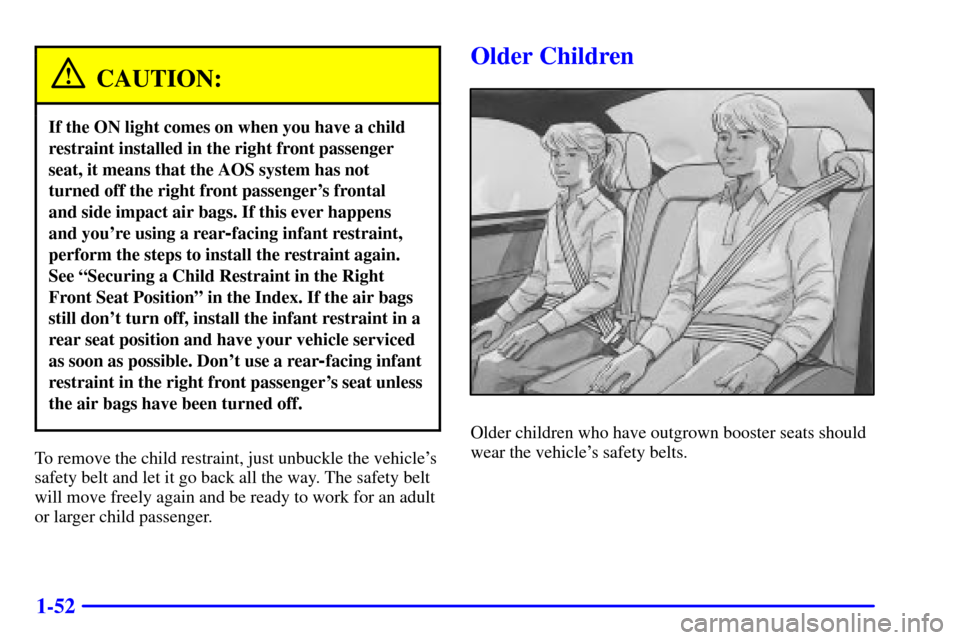
Older Children
Older children who have outgrown booster seats should
wear the vehicle's safety belts.
Page 79 of 371
2-12
Operation
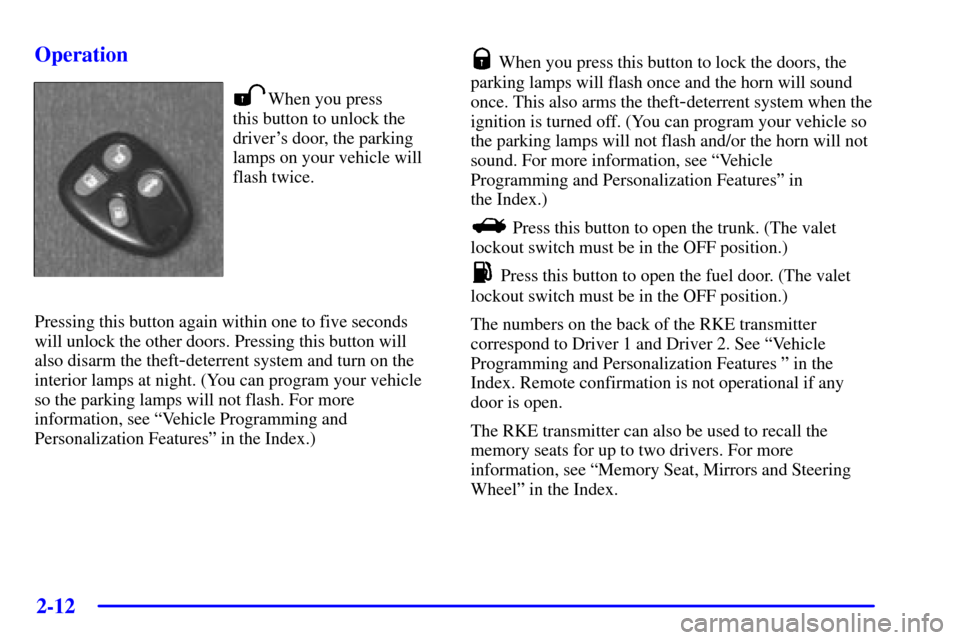
When you press
this button to unlock the
driver's door, the parking
lamps on your vehicle will
flash twice.
Pressing this button again within one to five seconds
will unlock the other doors. Pressing this button will
also disarm the theft
-deterrent system and turn on the
interior lamps at night. (You can program your vehicle
so the parking lamps will not flash. For more
information, see ªVehicle Programming and
Personalization Featuresº in the Index.)
When you press this button to lock the doors, the
parking lamps will flash once and the horn will sound
once. This also arms the theft
-deterrent system when the
ignition is turned off. (You can program your vehicle so
the parking lamps will not flash and/or the horn will not
sound. For more information, see ªVehicle
Programming and Personalization Featuresº in
the Index.)
Press this button to open the trunk. (The valet
lockout switch must be in the OFF position.)
Press this button to open the fuel door. (The valet
lockout switch must be in the OFF position.)
The numbers on the back of the RKE transmitter
correspond to Driver 1 and Driver 2. See ªVehicle
Programming and Personalization Features º in the
Index. Remote confirmation is not operational if any
door is open.
The RKE transmitter can also be used to recall the
memory seats for up to two drivers. For more
information, see ªMemory Seat, Mirrors and Steering
Wheelº in the Index.
Page 119 of 371

2-52
Illuminated Entry
The illuminated entry system turns on the courtesy
lamps and the backlighting to the driver's door switches
and to the ignition key when a door is opened or if you
press the Remote Keyless Entry (RKE) transmitter
unlock button. The illuminated entry system works with
the light sensor and it must be dark outside in order for
the courtesy lamps or backlighting to turn on. The
courtesy lamps turn off approximately 25 seconds after
the last door is closed or after the ignition key is turned
to ON or if the RKE transmitter lock button is pressed.
The courtesy lamps turn off approximately 40 seconds
after the doors are unlocked with the RKE transmitter if
no door is opened.
Parade Dimming
This feature prohibits the dimming of the instrument
panel lights during daylight while the parking lamps are
on. This feature works with the light sensor and is fully
automatic. When the light sensor reads darkness outside,
the instrument panel lights can be adjusted by following
the steps under ªInstrument Panel Intensity/Brightness
Control.º Backlighting to the instrument panel will also
turn on.
Reading Lamps
The reading lamps are located in the roof. These lamps
and the interior courtesy lamps come on when any door
is opened and it is dark outside. The rear lamps come on
when a rear door is opened. Press the button near the
lamps to turn them on and off.
If the reading lamps are left on, they automatically shut
off 10 minutes after the ignition has been turned off.
Battery Load Management
The battery load management feature is designed to
monitor the vehicle's electrical load and determine when
the battery is in a heavy discharge condition. During
times of high electrical loading, the engine may idle at a
higher revolutions per minute (rpm) setting than normal
to make sure the battery charges. High electrical loads
may occur when several of the following are on:
headlamps, high beams, fog lamps, rear window
defogger, high blower fan, heated seats and engine
cooling fans.
Page 120 of 371
2-53
If the battery continues to discharge, even with the
engine idling at a higher rpm setting, some electrical
loads will automatically be reduced. When this occurs,
the rear window defogger may take slightly longer to
clear the glass, the heated seats may not get as warm as
they usually do and the fan blower may cut back to a
lower speed. For more battery saving information, see
ªBattery Saver Active Messageº in the Index.
Inadvertent Power Battery Saver
This feature is designed to protect your vehicle's battery
against drainage from the interior lamps, trunk lamp,
glove box lamp, cigarette lighters or the garage door
opener. When the ignition is turned off, the power to
these features will automatically turn off after
10 minutes. Power will be restored for an additional
10 minutes if any door is opened, the trunk is opened
or the courtesy lamp switch is turned on.
Mirrors
Electrochromic Day/Night Rearview Mirror
with Compass
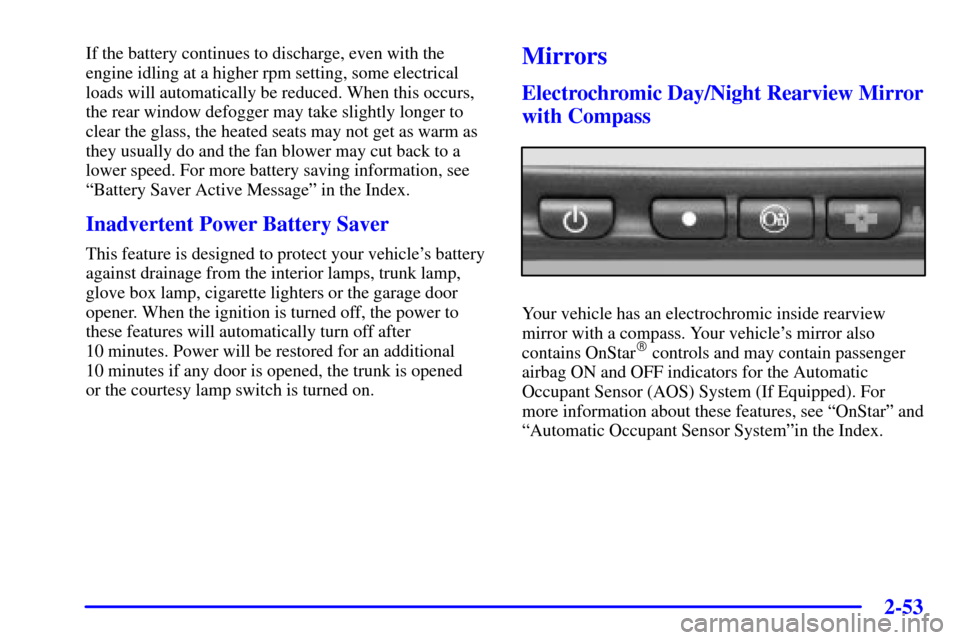
Your vehicle has an electrochromic inside rearview
mirror with a compass. Your vehicle's mirror also
contains OnStar
� controls and may contain passenger
airbag ON and OFF indicators for the Automatic
Occupant Sensor (AOS) System (If Equipped). For
more information about these features, see ªOnStarº and
ªAutomatic Occupant Sensor Systemºin the Index.
Page 162 of 371
2-95
Once the TPM system detects the low or high tire
pressure condition, the message ªCHECK TIRE
PRESSUREº will be displayed whenever you start the
engine or the ignition is in the ON position. To remove
or clear the CHECK TIRE PRESSURE message, you
will need to set the tire(s) to the proper tire pressure.
See ªInflation
-- Tire Pressureº in the Index.
CAUTION:
When the CHECK TIRE PRESSURE message
is displayed on the Driver Information Center
and the tire pressure is low, your vehicle handling
capabilities will be reduced during severe
maneuvers. If you drive too fast, you could lose
control of your vehicle. You or others could be
injured. Don't drive over 55 mph (90 km/h) when
the tire pressure is low. Drive cautiously and
correct the tire pressure as soon as you can.
CHECK WASHER FLUID - 25: This message means
that you need washer solvent.
DRIVER DOOR AJAR
- 140: This message will
display anytime the key is in ON, the transaxle is not in
PARK (P) and the driver's door is open or ajar. A chime
will also sound when the vehicle's speed is greater than
3 mph (4.8 km/h).
DRIVER NO. X (1 OR 2) : This message will be
displayed with the key in ON and while entering
FEATURE PROGRAMMING, but only if the vehicle
is equipped with memory seats. The message will show
which driver is activating the personalization feature.
It will only stay on for five seconds. This message can
be customized for you by your dealer.
ENGINE COOLANT HOT, IDLE ENGINE
- 44:
This message will appear when the engine coolant
temperature is over 262�F (128�C). Stop and allow your
vehicle to idle in PARK (P) until it cools down and the
message is removed. Do not increase engine speed
above a normal idle. If it does not cool down, turn off
the engine and have it serviced before driving it again.
Severe engine damage can result from an overheated
engine. See ªEngine Overheatingº in the Index.
Page 187 of 371
3-8 Ventilation System
Your vehicle's flow-through ventilation system supplies
outside air into the vehicle when it is moving. Outside
air will also enter the vehicle when the heater or the air
conditioning fan is running.
The front outlets are located in the center and at each
side of the instrument panel. You can adjust the
direction of airflow by moving the center control levers
or you can stop the airflow by moving the thumbwheel
located on each outlet downward.Rear Ventilation
The direction and quantity of airflow for the rear seats
can also be adjusted at the back of the console. Heater
outlets are located under the front seat to warm the feet
of rear passengers.
Move the fan lever to adjust the blower speed from LO
to HI. Adjust the knob to direct the air flow. To reduce
airflow to the rear outlets, slide the fan lever all the way
to the left. Turning the knob to OFF will completely
stop airflow, no matter where the fan blower control
is set.