Page 98 of 328
2-31
Shifting Into PARK (P)
CAUTION:
It can be dangerous to get out of your vehicle if
the shift lever is not fully in PARK (P) with the
parking brake firmly set. Your vehicle can roll.
If you have left the engine running, the vehicle
can move suddenly. You or others could be
injured. To be sure your vehicle won't move, even
when you're on fairly level ground, use the steps
that follow. If you're pulling a trailer, see
ªTowing a Trailerº in the Index.
Console Shift Lever
1. Hold the brake pedal down with your right foot.
2. Move the shift lever into PARK (P) like this:
�Pull the button on the shift lever handle up
and then push the shift lever all the way toward
the front of your vehicle into PARK (P).
Release the button.
�With your right foot still holding the brake pedal
down, set the parking brake.
3. Turn the ignition key to LOCK.
4. Remove the ignition key and take it with you.
If you can leave your vehicle with the key in
your hand, your vehicle is in PARK (P).
Page 100 of 328
2-33
Shifting Out of PARK (P)
Your vehicle has an automatic transmission shift lock
control system. You have to fully apply your regular
brakes before you can shift from PARK (P) when the
ignition is in ON. See ªAutomatic Transmissionº in
the Index.
If you cannot shift out of PARK (P), ease pressure on
the shift lever
-- push the shift lever all the way into
PARK (P) as you maintain brake application. Then
move the shift lever into the gear you want. If you ever
hold the brake pedal down but still can't shift out of
PARK (P), try this:
1. Turn the ignition key to OFF. Open and close the
driver's door to turn off the Retained Accessory
Power (RAP) feature.
2. Apply and hold the brake until the end of Step 8.
3. With both hands, squeeze the base of the shift lever
boot (covering) together as shown.
4. Pull the upper part of the base out first and then slide
out the lower part of the base.
5. Lift the shift lever boot (covering) up to move it out
of your way.
Page 113 of 328

2-46 Headlamps
Turn the lamp knob all the way to the right to turn on
the low
-beam headlamps.
To turn on the high
-beam headlamps, the low-beam
headlamps must already be on. Push the turn signal lever
on the left side of the steering wheel away from you to
engage the high
-beam headlamps. Pull the lever toward
you to return to the low
-beam headlamps. For more
information, see ªHeadlamp High/Low Beamº in
the Index.
Turn the lamp knob all the way to the left to turn the
headlamps off.
If the headlamps are activated while driving and then
you turn your vehicle's ignition off while the lamp knob
is still turned on, the headlamps will turn off. If,
however, you open the driver's door while the lamp
knob is still turned on, a warning chime will sound
reminding you to turn the lamp knob to OFF. This will
stop the warning chime from sounding. (If you want the
headlamps to remain on, you must manually turn the
lamp knob off and then back on to the headlamp
position. The headlamps will stay on until manually
turned off again.)Your vehicle may be equipped with High Intensity
Discharge (HID) headlamps. Your headlamps come
on at a lower intensity and gradually increase to
full brightness.
Wiper
-Activated Headlamps
This feature activates the low
-beam headlamps,
parking lamps, sidemarker lamps and taillamps
after the windshield wipers have been in use for
about 20 seconds.
The wiper
-activated headlamps light the way in poor
weather and also make your vehicle more visible to
other drivers. If the wipers are on and the ignition switch
is turned off, the headlamps will immediately turn off.
The headlamps will also deactivate if the windshield
wipers have been turned off for about 20 seconds.
Perimeter Lighting
This feature turns on the low-beam headlamps, parking
lamps, sidemarker lamps and taillamps for about
20 seconds after the unlock button on the remote
keyless entry transmitter is pressed. Perimeter lighting
immediately ends when your vehicle's ignition is turned
to ON or START.
Page 117 of 328
2-50
Light Sensor
The light sensor for the
Twilight Sentinel is located
in the center of the front
defogger grille.
If you cover the sensor, it will read ªdarkº and the
parking lamps and low
-beam headlamps will come on.
Interior Lamps
Courtesy Lamps
To turn on the courtesy lamps, pull the exterior lamp
knob toward you. To turn the courtesy lamps off,
push the knob back in.
Instrument Panel Brightness Control
This control is located to the right of the fog lamp
button. As you turn the thumbwheel up, the instrument
panel lights will brighten.
Illuminated Entry
This system turns on the courtesy lamps (dome lamps
and door entry lamps) for about 20 seconds when any of
the following occur:
�if you manually unlock your vehicle with the key,
�if any door is opened,
�if you press the unlock button on the remote keyless
entry transmitter, or
�if the last door on your vehicle is closed.
Illuminated entry immediately ends when your vehicle's
ignition is turned to ON or START.
Page 121 of 328

2-54
Storage Compartments
Glove Box
The glove box is located in front of the passenger's seat.
To lock the glove box door, insert the key in the lock
cylinder and turn it counterclockwise. Turn the key
clockwise to unlock the door.
The glove box is air conditioned. This helps to keep
snack items cool while traveling. In order for cool air to
enter the glove box, the air conditioning must be turned
on. Use the slide lever inside and at the rear of the glove
box to turn the air flow on and off. Moving the lever
over the small hole turns the cool air off and moving the
lever away from the hole turns the cool air on.
Map Pockets
The map/storage pockets are located on each door as
well as on the passenger's and driver's front seatbacks.
Also located on the driver's door map pocket is a
coin holder.
Center Console Storage Area
The front storage area comes with a small storage bin
and a cupholder that pulls out for use. To open the lid of
the storage bin, press and hold the button at the front
edge of the storage lid and lift up the lid.
Rear Seat Cupholder
There is a cupholder for rear seat passengers located in
the rear seat center armrest. To access the cupholder,
fold the armrest down.
Convenience Net
The convenience net is on the floor of the trunk. Put
small loads, like grocery bags, under the net. It can help
keep them from moving around during sharp turns or
quick starts and stops.
The net is not meant for larger, heavier loads. Store
those in the trunk as far forward as you can. When not
using the net, hook it to the metal loops, securing it to
the floor.
Page 127 of 328

2-60
Safety and security services are provided by existing
governmental emergency service providers. OnStar will
use reasonable efforts to contact the appropriate
emergency service provider and request assistance but
cannot promise that they will respond to the call in a
timely manner or at all.
Assist Handles
A handle above each door can be used to assist you
when getting out of your vehicle.
Garment Hooks
For convenience, you will find garment hooks attached
to each assist handle.
Floor Mats
Your vehicle is equipped with rubber-backed front and
rear floor mats. Keep them clean by vacuuming and
using a spot cleaner, if necessary. Do not machine wash.
Sunroof (Option)
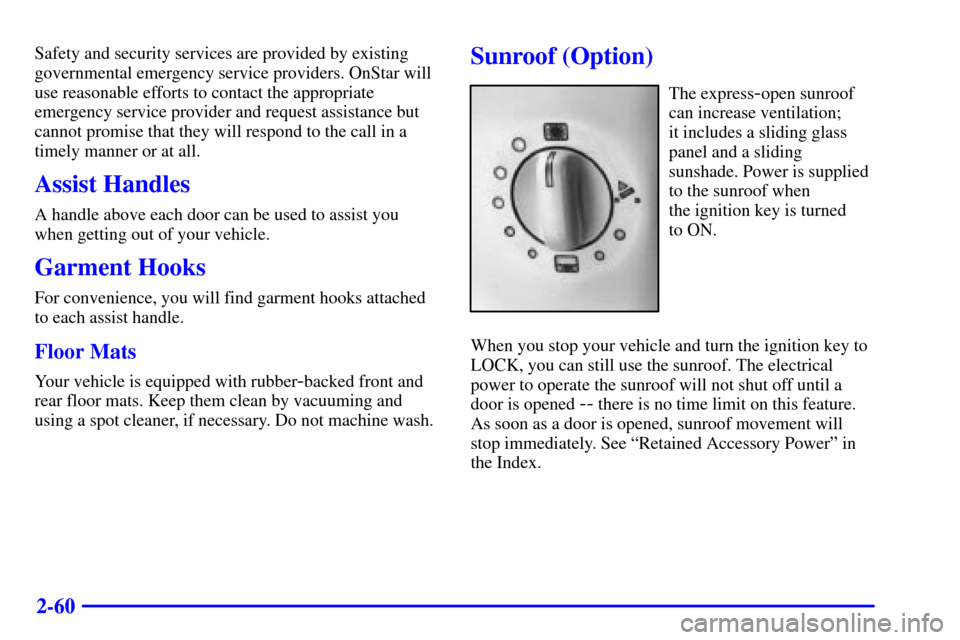
The express-open sunroof
can increase ventilation;
it includes a sliding glass
panel and a sliding
sunshade. Power is supplied
to the sunroof when
the ignition key is turned
to ON.
When you stop your vehicle and turn the ignition key to
LOCK, you can still use the sunroof. The electrical
power to operate the sunroof will not shut off until a
door is opened
-- there is no time limit on this feature.
As soon as a door is opened, sunroof movement will
stop immediately. See ªRetained Accessory Powerº in
the Index.
Page 139 of 328

2-72
Warning Lights, Gages
and Indicators
This part describes the warning lights and gages that
may be on your vehicle. The pictures will help you
locate them.
Warning lights and gages can signal that something is
wrong before it becomes serious enough to cause an
expensive repair or replacement. Paying attention to
your warning lights and gages could also save you
or others from injury.
Warning lights come on when there may be or is a
problem with one of your vehicle's functions. As you
will see in the details on the next few pages, some
warning lights come on briefly when you start the
engine just to let you know they're working. If you
are familiar with this section, you should not be alarmed
when this happens.
Gages can indicate when there may be or is a problem
with one of your vehicle's functions. Often gages and
warning lights work together to let you know when
there's a problem with your vehicle.When one of the warning lights comes on and stays on
when you are driving, or when one of the gages shows
there may be a problem, check the section that tells you
what to do about it. Please follow this manual's advice.
Waiting to do repairs can be costly
-- and even
dangerous. So please get to know your warning lights
and gages. They're a big help.
Safety Belt Reminder Light
When the key is turned to ON or START, a tone will
come on for about eight seconds to remind people to
fasten their safety belts, unless the driver's safety belt
is already buckled.
The safety belt light will
also come on and stay on
for about four seconds,
then it will flash for
about 60 seconds.
If the driver's belt is already buckled, neither the tone
nor the light will come on.
Page 140 of 328

2-73 Air Bag Readiness Light
There is an air bag readiness light on the instrument
panel, which shows the air bag symbol. The system
checks the air bag's electrical system for malfunctions.
The light tells you if there is an electrical problem. The
system check includes the air bag sensors, the air bag
modules, the wiring and the diagnostic module. For
more information on the air bag system, see ªAir Bagº
in the Index.
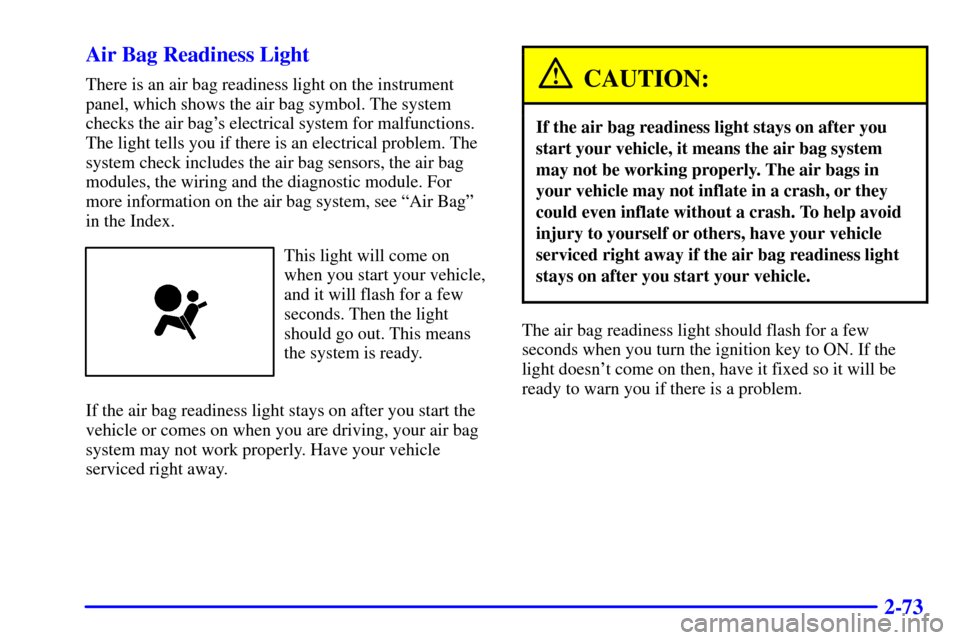
This light will come on
when you start your vehicle,
and it will flash for a few
seconds. Then the light
should go out. This means
the system is ready.
If the air bag readiness light stays on after you start the
vehicle or comes on when you are driving, your air bag
system may not work properly. Have your vehicle
serviced right away.
CAUTION:
If the air bag readiness light stays on after you
start your vehicle, it means the air bag system
may not be working properly. The air bags in
your vehicle may not inflate in a crash, or they
could even inflate without a crash. To help avoid
injury to yourself or others, have your vehicle
serviced right away if the air bag readiness light
stays on after you start your vehicle.
The air bag readiness light should flash for a few
seconds when you turn the ignition key to ON. If the
light doesn't come on then, have it fixed so it will be
ready to warn you if there is a problem.