2001 BUICK PARK AVENUE mode 6
[x] Cancel search: mode 6Page 19 of 392
1-7 Head Restraints
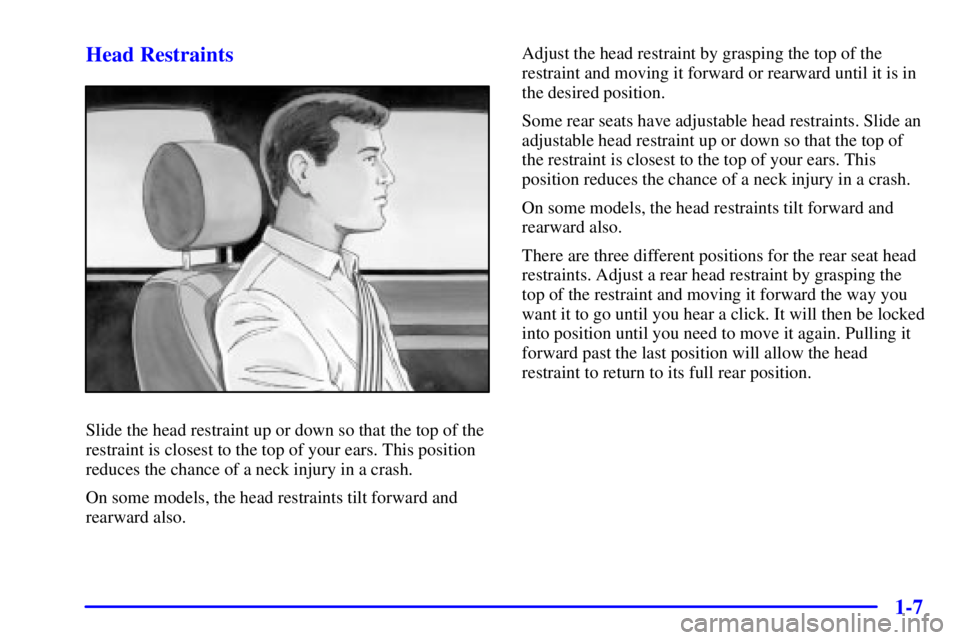
Slide the head restraint up or down so that the top of the
restraint is closest to the top of your ears. This position
reduces the chance of a neck injury in a crash.
On some models, the head restraints tilt forward and
rearward also.Adjust the head restraint by grasping the top of the
restraint and moving it forward or rearward until it is in
the desired position.
Some rear seats have adjustable head restraints. Slide an
adjustable head restraint up or down so that the top of
the restraint is closest to the top of your ears. This
position reduces the chance of a neck injury in a crash.
On some models, the head restraints tilt forward and
rearward also.
There are three different positions for the rear seat head
restraints. Adjust a rear head restraint by grasping the
top of the restraint and moving it forward the way you
want it to go until you hear a click. It will then be locked
into position until you need to move it again. Pulling it
forward past the last position will allow the head
restraint to return to its full rear position.
Page 34 of 392
1-22
Here are the most important things to know about the
air bag systems:
CAUTION:
You can be severely injured or killed in a crash if
you aren't wearing your safety belt
-- even if you
have air bags. Wearing your safety belt during a
crash helps reduce your chance of hitting things
inside the vehicle or being ejected from it. Air
bags are ªsupplemental restraintsº to the safety
belts. All air bags are designed to work with
safety belts but don't replace them.
CAUTION: (Continued)
CAUTION: (Continued)
Frontal air bags for the driver and right front
passenger are designed to work only in moderate
to severe crashes where the front of your vehicle
hits something. They aren't designed to inflate at
all in rollover, rear, side or low
-speed frontal
crashes. And, for unrestrained occupants, frontal
air bags may provide less protection in frontal
crashes than more forceful air bags have
provided in the past. The side impact air bags for
the driver and right front passenger are designed
to inflate only in moderate to severe crashes
where something hits the side of your vehicle.
They aren't designed to inflate in frontal, in
rollover or in rear crashes. Everyone in
your vehicle should wear a safety belt
properly
-- whether or not there's an air bag
for that person.
Page 38 of 392
1-26
CAUTION:
If something is between an occupant and an
air bag, the bag might not inflate properly or it
might force the object into that person. The path
of an inflating air bag must be kept clear. Don't
put anything between an occupant and an air
bag, and don't attach or put anything on the
steering wheel hub or on or near any other air
bag covering and don't let seat covers block the
inflation path of a side impact air bag.
When should an air bag inflate?
The driver's and right front passenger's frontal air bags
are designed to inflate in moderate to severe frontal or
near
-frontal crashes. But they are designed to inflate
only if the impact speed is above the system's
designed ªthreshold level.º
If your vehicle goes straight into a wall that doesn't move
or deform, the threshold level is about 9 to 15 mph
(14 to 24 km/h). The threshold level can vary, however,
with specific vehicle design, so that it can be somewhat
above or below this range.If your vehicle strikes something that will move or deform,
such as a parked car, the threshold level will be higher.
The driver's and right front passenger's frontal air bags are
not designed to inflate in rollovers, side impacts, or rear
impacts, because inflation would not help the occupant.
The side impact air bags are designed to inflate in
moderate to severe side crashes. A side impact air bag
will inflate if the crash severity is above the system's
designed ªthreshold level.º The threshold level can vary
with specific vehicle design. Side impact air bags are not
designed to inflate in frontal or near
-frontal impacts,
rollovers or rear impacts, because inflation would not
help the occupant. A side impact air bag will only
deploy on the side of the vehicle that is struck.
In any particular crash, no one can say whether an air
bag should have inflated simply because of the damage
to a vehicle or because of what the repair costs were. For
frontal air bags, inflation is determined by the angle of
the impact and how quickly the vehicle slows down in
frontal and near
-frontal impacts. For side impact air
bags, inflation is determined by the location and severity
of the impact.
Page 39 of 392

1-27
What makes an air bag inflate?
In an impact of sufficient severity, the air bag sensing
system detects that the vehicle is in a crash. For both
frontal and side impact air bags, the sensing system
triggers a release of gas from the inflator, which inflates
the air bag. The inflator, air bag and related hardware
are all part of the air bag modules inside the steering
wheel, instrument panel and the side of the front
seatbacks closest to the door.
How does an air bag restrain?
In moderate to severe frontal or near frontal collisions,
even belted occupants can contact the steering wheel or
the instrument panel. In moderate to severe side
collisions, even belted occupants can contact the inside
of the vehicle. The air bag supplements the protection
provided by safety belts. Air bags distribute the force of
the impact more evenly over the occupant's upper body,
stopping the occupant more gradually. But the frontal air
bags would not help you in many types of collisions,
including rollovers, rear impacts, and side impacts,
primarily because an occupant's motion is not toward
the air bag. Side impact air bags would not help you in
many types of collisions, including frontal or near
frontal collisions, rollovers, and rear impacts, primarily
because an occupant's motion is not toward
those air bags. Air bags should never be regarded as anything more
than a supplement to safety belts, and then only in
moderate to severe frontal or near
-frontal collisions for
the driver's and right front passenger's frontal air bags,
and only in moderate to severe side collisions for the
driver's and right front passenger's side impact air bags.
What will you see after an air bag inflates?
After an air bag inflates, it quickly deflates, so quickly that
some people may not even realize the air bag inflated.
Some components of the air bag module
-- the steering
wheel hub for the driver's air bag, the instrument panel for
the right front passenger's bag, the side of the seatback
closest to the door for the driver and right front
passenger's side impact air bags
-- will be hot for a short
time. The parts of the bag that come into contact with you
may be warm, but not too hot to touch. There will be
some smoke and dust coming from the vents in the
deflated air bags. Air bag inflation doesn't prevent the
driver from seeing or being able to steer the vehicle, nor
does it stop people from leaving the vehicle.
Page 50 of 392
1-38
CAUTION:
Children who are up against, or very close to, any
air bag when it inflates can be seriously injured
or killed. Air bags plus lap
-shoulder belts offer
outstanding protection for adults and older
children, but not for young children and infants.
Neither the vehicle's safety belt system nor its air
bag system is designed for them. Young children
and infants need the protection that a child
restraint system can provide.
Q:What are the different types of add-on
child restraints?
A:Add-on child restraints, which are purchased by the
vehicle's owner, are available in four basic types.
Selection of a particular restraint should take into
consideration not only the child's weight, height
and age but also whether or not the restraint will be
compatible with the motor vehicle in which it
will be used.
For most basic types of child restraints, there are many
different models available. When purchasing a child
restraint, be sure it is designed to be used in a motor
vehicle. If it is, the restraint will have a label saying that
it meets federal motor vehicle safety standards.
The restraint manufacturer's instructions that
come with the restraint state the weight and height
limitations for a particular child restraint. In
addition, there are many kinds of restraints
available for children with special needs.
Page 75 of 392
2-7 Central Door Unlocking System
From outside the vehicle, if the driver's door key is held
in the unlock position for more than two seconds, or if
the key is turned to the unlock position twice within
three seconds, all doors will unlock.
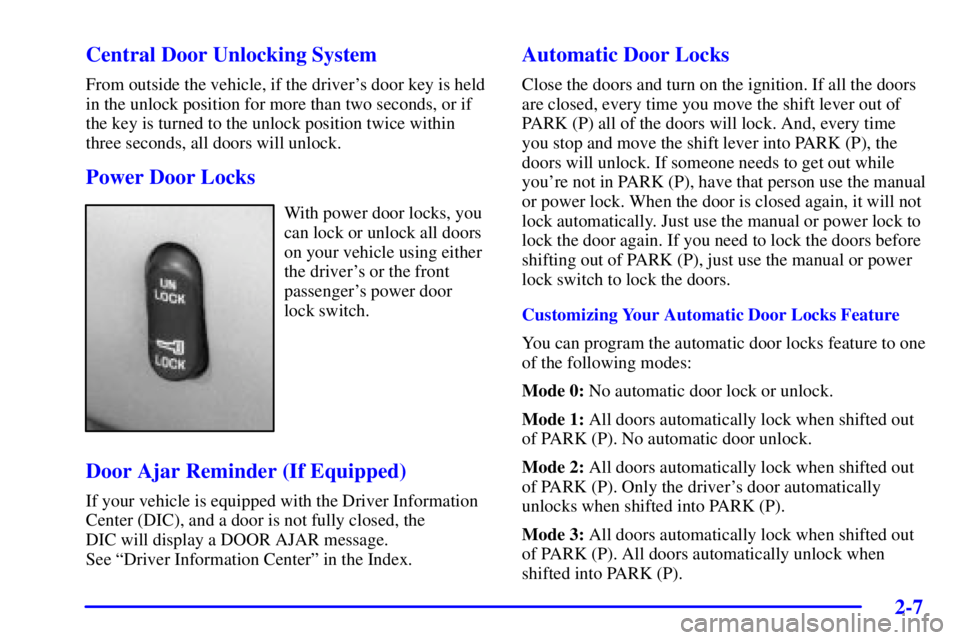
Power Door Locks
With power door locks, you
can lock or unlock all doors
on your vehicle using either
the driver's or the front
passenger's power door
lock switch.
Door Ajar Reminder (If Equipped)
If your vehicle is equipped with the Driver Information
Center (DIC), and a door is not fully closed, the
DIC will display a DOOR AJAR message.
See ªDriver Information Centerº in the Index.
Automatic Door Locks
Close the doors and turn on the ignition. If all the doors
are closed, every time you move the shift lever out of
PARK (P) all of the doors will lock. And, every time
you stop and move the shift lever into PARK (P), the
doors will unlock. If someone needs to get out while
you're not in PARK (P), have that person use the manual
or power lock. When the door is closed again, it will not
lock automatically. Just use the manual or power lock to
lock the door again. If you need to lock the doors before
shifting out of PARK (P), just use the manual or power
lock switch to lock the doors.
Customizing Your Automatic Door Locks Feature
You can program the automatic door locks feature to one
of the following modes:
Mode 0: No automatic door lock or unlock.
Mode 1: All doors automatically lock when shifted out
of PARK (P). No automatic door unlock.
Mode 2: All doors automatically lock when shifted out
of PARK (P). Only the driver's door automatically
unlocks when shifted into PARK (P).
Mode 3: All doors automatically lock when shifted out
of PARK (P). All doors automatically unlock when
shifted into PARK (P).
Page 76 of 392

2-8
Each remote keyless entry transmitter can be programmed
to a different mode according to the user's preference.
To change modes:
1. Close all the doors and turn the ignition on. Keep all
doors closed throughout this procedure.
2. Press and hold LOCK on the power door lock switch
on the driver's door through Step 4.
3. Press the button with the lock symbol on the remote
keyless entry transmitter to enter the programming
mode. The automatic door lock mode will remain in
the current mode.
4. Press the button with the lock symbol on the
transmitter again. Each time the button with the lock
symbol is pressed, the mode will advance by one,
going from Mode 3 to Mode 0 to Mode 1, etc.
For each press of the button with the lock symbol,
the door locks will activate in the same manner they
would activate in the corresponding automatic door
lock mode. For example, pressing the button with the
lock symbol on the transmitter to advance to Mode 2
would result in all doors locking and then, only the
driver's door would unlock. For Mode 0, no locking
or unlocking will occur.5. Release the power door lock switch and turn the
ignition off. The automatic door locks will remain in
the most recent mode selected.
You can also program the automatic door locks feature
using the Driver Information Center. See ªDriver
Information Center Personal Choice Programmingº in
the Index.
Delayed Locking
This feature lets the driver delay the actual locking of
the doors. When the power door lock switch or the
remote keyless entry button with the lock symbol is
pressed with the key removed from the ignition and the
driver's door open, a chime will sound three times to
signal that the lock delay mode is active. When all doors
have been closed, the doors will lock automatically after
five seconds. If any door is opened before this, the
five
-second timer will reset itself once all the doors have
been closed again.
Pressing the door lock switch or the remote keyless
entry button with the lock symbol a second time will
override this feature.
Page 77 of 392
2-9
The delayed locking feature can be turned on or off for
each remote keyless entry transmitter.
To turn the feature on do the following:
1. Press and hold LOCK on the power door lock switch
on the door throughout this procedure. All the doors
will lock.
2. Press the button with the unlock symbol on the
transmitter to enter the programming mode. The lock
delay is still off and all doors will remain locked.
3. Press the button with the unlock symbol on the
transmitter again. Lock delay is now active and all
doors will unlock.
4. Release the power door lock switch.
To turn this feature off, repeat the above procedure.
If your vehicle is equipped with the Driver Information
Center (DIC), you can also program these features
through the DIC. See ªDriver Information Centerº in
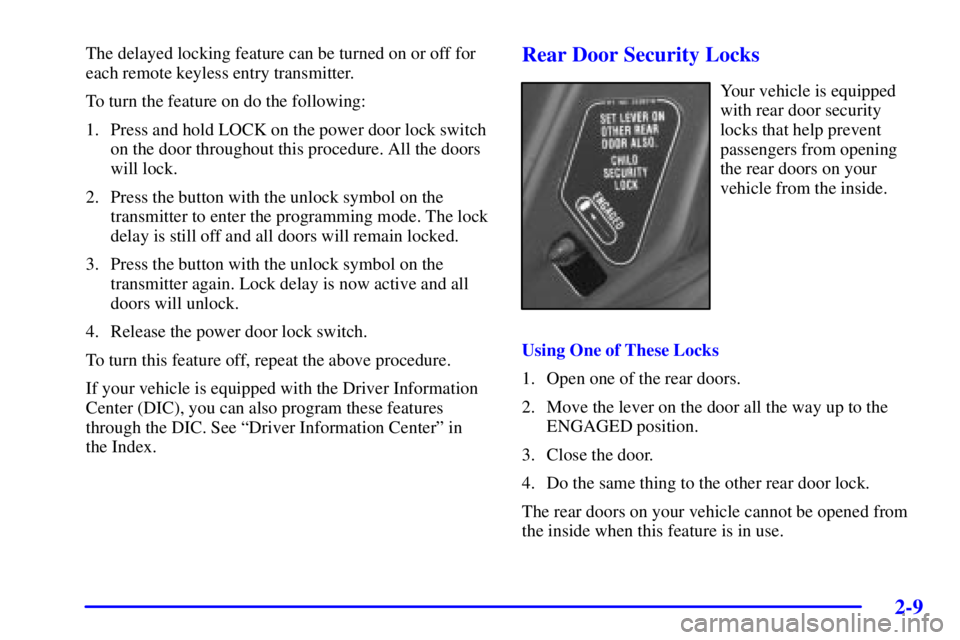
the Index.Rear Door Security Locks
Your vehicle is equipped
with rear door security
locks that help prevent
passengers from opening
the rear doors on your
vehicle from the inside.
Using One of These Locks
1. Open one of the rear doors.
2. Move the lever on the door all the way up to the
ENGAGED position.
3. Close the door.
4. Do the same thing to the other rear door lock.
The rear doors on your vehicle cannot be opened from
the inside when this feature is in use.