Page 105 of 238

IndexDataTechnologyRepairsCar careControlsOverview
105n
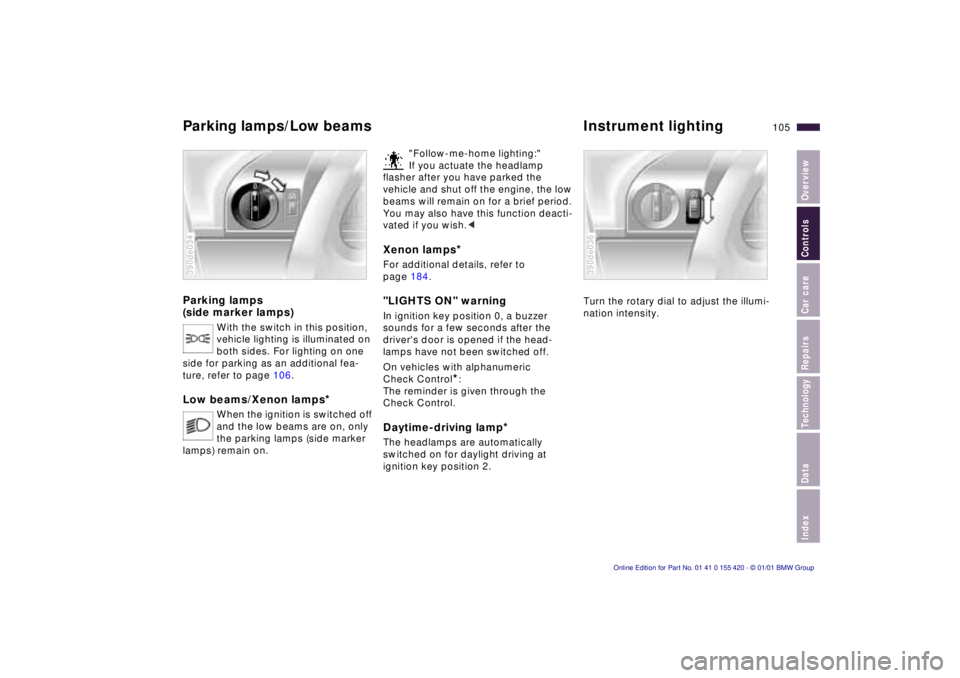
Parking lamps
(side marker lamps)
With the switch in this position,
vehicle lighting is illuminated on
both sides. For lighting on one
side for parking as an additional fea-
ture, refer to page 106.
Low beams/Xenon lamps
*
When the ignition is switched off
and the low beams are on, only
the parking lamps (side marker
lamps) remain on.
390de034
"Follow-me-home lighting:"
If you actuate the headlamp
flasher after you have parked the
vehicle and shut off the engine, the low
beams will remain on for a brief period.
You may also have this function deacti-
vated if you wish.<
Xenon lamps
*
For additional details, refer to
page 184."LIGHTS ON" warning In ignition key position 0, a buzzer
sounds for a few seconds after the
driver's door is opened if the head-
lamps have not been switched off
.
On vehicles with alphanumeric
Check Control
*:
The reminder is given through the
Check Control.
Daytime-driving lamp
*
The headlamps are automatically
switched on for daylight driving at
ignition key position 2.
Turn the rotary dial to adjust the illumi-
nation intensity.390de036
Parking lamps/Low beamsInstrument lighting
Page 106 of 238
106n
High beams/Parking lamps
Fog lamps Interior lamps
1 High beam (blue indicator lamp)
2 Headlamp flasher
(blue indicator lamp)
3 Parking lamps Parking lamp, left or rightAs an additional feature, you can
illuminate your vehicle on either side
for parking, if you wish to do so:
With the ignition key in position 0, push
the lever in the appropriate direction.
The lever engages in the turn signal
position.390de335
Front fog lamps
A green indicator lamp comes
on in the instrument cluster to
indicate that the front fog lamps
are on.
If the high beam is switched on, the fog
lamps go out.
390us037
The interior lamps operate automati-
cally.Switching interior lamps on
and offPress the button (arrow).
If you want the interior lamps to remain
off at all times, press and hold the
button for approx. 3 seconds.
Press the button briefly to revert to
normal operation.
The luggage compartment lamps in
the sport wagon function in the same
manner.390de638
Page 161 of 238
Index
Data
Technology
Repairs
Car care
Controls
Overview
161n
1 Auxiliary terminal for jump starting 200
2 Reservoir for brake fluid (under the housing of the microfilter) 168
3 Engine oil dipstick 165
4 Coolant expansion tank 167
5 Engine oil filler neck 165
6 Reservoir for intensive-cleaning system
*164
7 Reservoir for windshield and headlamp washer system
*164
Engine compartment – BMW 525i, 530i
Page 163 of 238
Index
Data
Technology
Repairs
Car care
Controls
Overview
163nEngine compartment – BMW 540i
1 Reservoir for brake fluid (under the
housing of the microfilter) 168
2 Auxiliary terminal for jump starting 200
3 Engine oil dipstick 165
4 Engine oil filler neck 165
5 Coolant expansion tank 167
6 Reservoir for intensive-cleaning system
*164
7 Reservoir for headlamp washer
* and
windshield washer system 164
Page 164 of 238

164nWasher fluids Washer nozzles
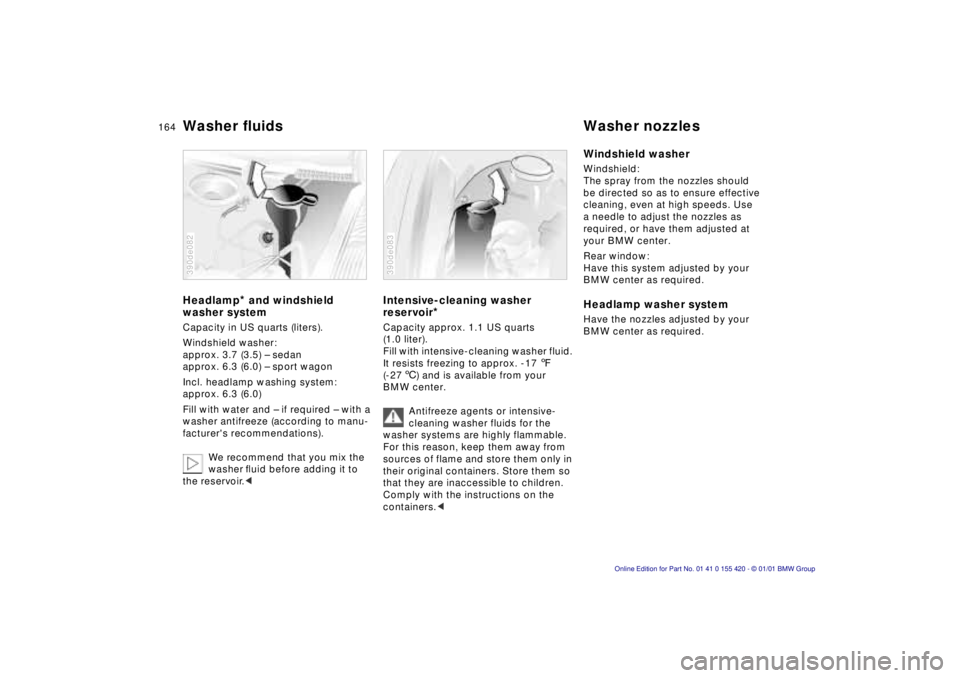
Headlamp* and windshield
washer system
Capacity in US quarts (liters).
Windshield washer:
approx. 3.7 (3.5) – sedan
approx. 6.3 (6.0) – sport wagon
Incl. headlamp washing system:
approx. 6.3 (6.0)
Fill with water and – if required – with a
washer antifreeze (according to manu-
facturer's recommendations).
We recommend that you mix the
washer fluid before adding it to
the reservoir. <
390de082
Intensive-cleaning washer
reservoir
*
Capacity approx. 1.1 US quarts
(1.0 liter).
Fill with intensive-cleaning washer fluid.
It resists freezing to approx. -17 7
(-27 6) and is available from your
BMW center.
Antifreeze agents or intensive-
cleaning washer fluids for the
washer systems are highly flammable.
For this reason, keep them away from
sources of flame and store them only in
their original containers. Store them so
that they are inaccessible to children.
Comply with the instructions on the
containers. <
390de083
Windshield washer
Windshield:
The spray from the nozzles should
be directed so as to ensure effective
cleaning, even at high speeds. Use
a needle to adjust the nozzles as
required, or have them adjusted at
your BMW center.
Rear window:
Have this system adjusted by your
BMW center as required.
Headlamp washer system
Have the nozzles adjusted by your
BMW center as required.
Page 171 of 238

Index
Data
Technology
Repairs
Car care
Controls
Overview
171nCaring for your car
Washing your car
You can have your new BMW washed
in an automatic car wash. Car wash
systems that do not employ brushes
are preferable.
Wipe away tough dirt and loosen and
remove dead insects before washing
the vehicle.
To prevent spots, avoid washing when
the hood is still warm, or immediately
after and during exposure to strong
sunlight.
When using an automatic car wash, be
sure that:
>The car wash system is suited for the
dimensions of your vehicle.
> No damage will occur on vehicles
with attached body accessories (such
as spoilers or antennas). If you are
uncertain, consult the manager of the
car wash.
> The wheels and tires of your vehicle
cannot be damaged by the convey-
ance devices of the car wash system.
> The vehicle is cleaned with minimum
brush pressure, and that ample water
is available for washing and rinsing. Vehicles with rain sensor
*:
Clean the windshield regularly. Wax
from automatic car washes or insects,
for example, can cause malfunctions in
the function of the rain sensor.
Turn the rain sensor off in auto-
matic car washes. If you do not,
damage may occur if the wipers switch
on unintentionally. <
Parts of the vehicle which are inacces-
sible to the automatic washer – such as
door sills, door and hood edges, etc. –
should be cleaned by hand.
In the winter months, it is especially im-
portant to ensure that the vehicle is
washed on a regular basis. Large quan-
tities of dirt and road salt are difficult to
remove, and they also cause damage to
the vehicle. If spray wands or high-pressure
washers are used, be sure to
maintain an adequate distance between
the spray source and the vehicle's sur-
face. Inadequate distance and exces-
sive pressure can damage or weaken
the finish, making it more susceptible to
subsequent attack. In addition, mois-
ture could penetrate to vehicle compo-
nents, leading to long-term damage. < When cleaning the headlamps,
please observe the following:
> Do not wipe dry (scratches). Never
use abrasives or strong
solvents to clean the covers
> Remove dirt and contamination (such
as insects) by soaking with BMW Car
Shampoo and then rinsing with plenty
of water
> Always use a deicer spray to remove
accumulated ice and snow – never
use an ice scraper. <
After washing the car, apply the
brakes briefly to dry them. Braking
efficiency might otherwise be reduced
by the moisture, and the brake rotors
could also be corroded. <
Page 183 of 238

Index
Data
Technology
Repairs
Car care
Controls
Overview
183nLamps and bulbs
The lamps and bulbs make essential
contributions to the safety of your vehi-
cle. For this reason, follow the instruc-
tions below carefully when replacing a
bulb. If you are not familiar with any of
the procedures, consult your BMW
center.
Do not touch the glass portion of a
new bulb with your bare hands
since even small amounts of impurities
burn into the surface and reduce the
service life of the bulb. Use a clean
cloth, paper napkin, or a similar mate-
rial, or hold the bulb by its metallic
base. <
A replacement bulb set is available from
your BMW center.
Whenever working on the electri-
cal system, switch off the electri-
cal accessory you are working on or
disconnect the cable from the negative
terminal of the battery. Failure to do this
could result in short circuits.
To prevent injuries and damage, com-
ply with any instructions provided by
the bulb manufacturer. <
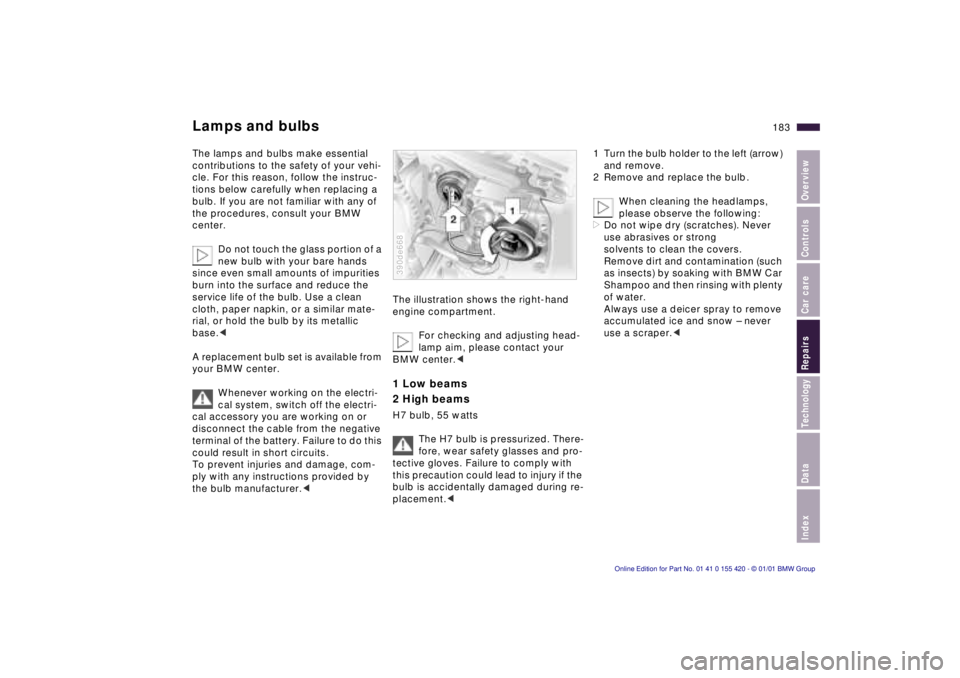
The illustration shows the right-hand
engine compartment.
For checking and adjusting head-
lamp aim, please contact your
BMW center. <
1 Low beams
2 High beams
H7 bulb, 55 watts
The H7 bulb is pressurized. There-
fore, wear safety glasses and pro-
tective gloves. Failure to comply with
this precaution could lead to injury if the
bulb is accidentally damaged during re-
placement. <
390de668
1 Turn the bulb holder to the left (arrow)
and remove.
2 Remove and replace the bulb.
When cleaning the headlamps,
please observe the following:
> Do not wipe dry (scratches). Never
use abrasives or strong
solvents to clean the covers.
Remove dirt and contamination (such
as insects) by soaking with BMW Car
Shampoo and then rinsing with plenty
of water.
Always use a deicer spray to remove
accumulated ice and snow – never
use a scraper. <
Page 185 of 238
Index
Data
Technology
Repairs
Car care
Controls
Overview
185nLamps and bulbs
Side turn signal indicators
5 watt bulb
1 Use finger pressure against the rear
end of the lens (arrow) to press it for-
ward for removal.
2 Press gently on the bulb and turn it to the left to remove it.
390de106
Front fog lamps
H8 bulb, 35 watt
The bulb is pressurized. There-
fore, wear safety glasses and pro-
tective gloves. Failure to comply with
this precaution could lead to injury if the
bulb is accidentally damaged during re-
placement. <
1 Using a screwdriver, remove the mounting clip for the air grill (arrow)
and remove the grill by bringing it
toward the front.
390de671
2 Loosen both screws (arrows).
3 Take off the cover panel next to the headlamp.
4 Turn the headlamp 90 3 to the left and
remove it by bringing it toward the
front.
5 Disconnect the plug.
6 Turn the lamp to the left and remove it.
390de672