2001 BMW 540I SEDAN stop start
[x] Cancel search: stop startPage 22 of 238

22n
Indicator and warning lampsTechnology that monitors itselfMany of the systems of your BMW
monitor themselves automatically, both
during engine starts and while you are
driving. Indicator and warning lamps
that are identified by "l" are tested for
proper functioning whenever the igni-
tion key is turned. They each light up
once for different periods of time.
If a fault should occur in one of these
systems, the corresponding lamp does
not go out after the engine is started or
it lights up while the vehicle is moving.
You will see how to react to this below.
Red: stop immediately
Battery charge current l
The battery is no longer being
charged. There is a malfunction
of the alternator V-belt or in the charg-
ing circuit of the alternator. Please con-
tact the nearest BMW center.
If the ribbed V-belt is defective, do
not continue driving. The engine
could be damaged due to overheating.
If the ribbed V-belt is defective, in-
creased steering effort is also re-
quired.<
Engine oil pressure l
Comes on while the engine is
running and the "STOP!ENGINE
OILPRESS" message appears in the
Check Control: stop vehicle immedi-
ately and switch off engine. Check level
of oil in engine, top up as required. If oil
level is correct: please contact the
nearest BMW center.
Do not continue driving. The en-
gine could be damaged because
of inadequate lubrication.<
Tire Pressure Control (RDC)
* l
In addition, there is an acousti-
cal warning signal: a tire failure
has occurred. Reduce vehicle speed
immediately and stop the vehicle. Avoid
hard brake applications. Do not over-
steer. For additional information: refer
to page 103.
Parking brake
*,
brake hydraulic system l
Comes on when you engage the
parking brake. For additional informa-
tion: refer to page 70.
Comes on although the parking brake is
released: have the brake fluid level
checked. Before driving further, be
sure to read the notes on pages 146
and 168.
Also comes on with the message
"CHECK BRAKE PADS" in the Check
Control.
Parking brake* warning lamp/
Brake hydraulic system for
Canadian models.
Page 74 of 238
74n
Automatic transmission
*
Electronic transmission control
module
If the indicator lamp comes on
or if the message "TRANS.
FAILSAFE PROG" appears in
the Check Control
*, there is a malfunc-
tion in the transmission system.
Bring the vehicle to a stop, select the
"Park" position, apply the parking brake
and shut the engine off (ignition key po-
sition 0). Restart the engine after a few
seconds. If the indicator lamp goes out
again after a few seconds, the normal
transmission functions have been re-
stored. You may continue to drive as
usual.
If the indicator lamp does not go out,
you can place the selector lever in all
positions. However, the vehicle will now
only drive forward with limited gear
selection.
Under these circumstances, avoid ex-
treme engine loads and consult the
nearest BMW center.
Do not work in the engine com-
partment when a drive gear (for-
ward or reverse) is engaged. If you do
this, the vehicle could move.<
For jump-starting, towing and tow-
starting, refer to pages 200 and 201.
Page 77 of 238
IndexDataTechnologyRepairsCar careControlsOverview
77n
Automatic transmission with Steptronic
*
Upshifts or downshifts will be carried
out by the ATC only at appropriate
engine speeds and road speeds. For
instance, if engine speed is too high, a
downshift will not be executed. The
gear selected will appear briefly in the
instrument cluster followed by the
current gear.
If you are driving in the manual
mode and wish to accelerate
rapidly from low road speeds (when
passing, for instance), you must shift
down manually or with the "Kickdown"
function.<
You can only change from "M/S" to
selector lever positions "P," "R," and
"N" via the "D" position.
In the following situations, the Step-
tronic "thinks" for you in the manual
mode:
>In order to prevent engine over-
speeding, the transmission shifts
automatically to the next higher gear.
shortly before the RPM cutoff point
>At low speeds, the transmission
shifts down automatically – you do
not have to act.
>In the "Kickdown" mode, the trans-
mission shifts down to the lowest
gear which is possible, depending on
the engine speed.
>According to the situation, for
instance in wintry conditions, the
vehicle can be started in 2nd or
3rd gear.Electronic transmission control
module
If the indicator lamp comes on
or the message "TRANS.FAIL-
SAFE PROG" appears in the
Check Control
*, there is a fault in the
transmission system.
Bring the vehicle to a stop. Move the
transmission selector lever to "P." Set
the parking brake and turn the engine
off (ignition key to position 0).
Wait a few seconds, then start the
engine.
If the indicator lamp goes out after a
few seconds, normal transmission
performance has been restored. You
may continue to drive as usual. If the
indicator lamp does not go out, you can
place the selector lever in all positions.
However, the vehicle will now only drive
forward with limited gear selection.
If this happens, avoid extreme engine
loads and consult the nearest BMW
center.
Do not work in the engine com-
partment when a drive gear (for-
ward or reverse) is engaged. If you do
this, the vehicle could move.<
For jump-starting, towing and tow-
starting, refer to pages 200 and 201.
Page 93 of 238
IndexDataTechnologyRepairsCar careControlsOverview
93n
Digital clock in the MID
*
Reminder signalYou can program a reminder signal
(Memo) to be heard every hour, so that
you are sure not to miss a news
broadcast .
Press the left side of the button.
Press.
MEMO OFF appears in the display for
entry and query buttons, and the tone
symbol will appear in the upper right of
the display.
A signal is then heard 15 seconds be-
fore each hour.
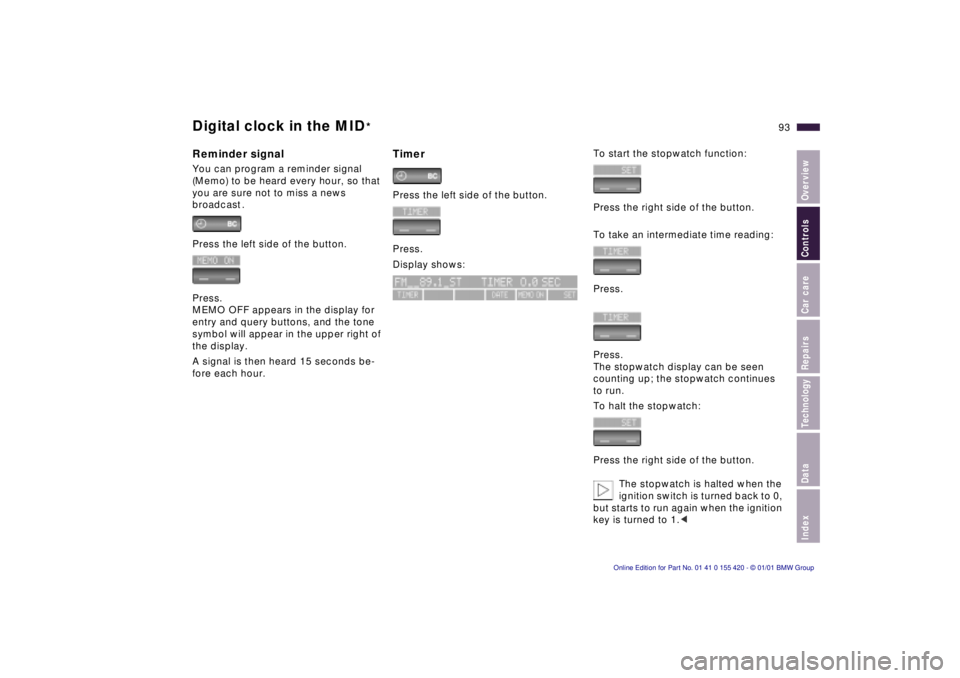
TimerPress the left side of the button.
Press.
Display shows:
To start the stopwatch function:
Press the right side of the button.
To take an intermediate time reading:
Press.
Press.
The stopwatch display can be seen
counting up; the stopwatch continues
to run.
To halt the stopwatch:
Press the right side of the button.
The stopwatch is halted when the
ignition switch is turned back to 0,
but starts to run again when the ignition
key is turned to 1.<
Page 117 of 238
IndexDataTechnologyRepairsCar careControlsOverview
117n
Automatic climate control
*
Air supply
In the "AUTO" program, the
airflow is controlled automati-
cally. AUTO will appear in the display 9
(refer to the overview on page 114).
Use "+" and "– " to vary the airflow.
When your setting is displayed by bars,
the automatic airflow is switched off.
Automatic air distribution maintains its
setting. You can reactivate the auto-
matic airflow by pressing the "AUTO"
button.
When you press "– " during operation at
minimum blower speed all displays are
canceled: the blower, heating and air
conditioner are switched off. The out-
side air supply is closed. By pressing
any button of the automatic climate
control (except the "MAX" button 16),
you can switch the system back on.
To defrost windshield and
windows
This program quickly re-
moves ice and condensation
from the windshield and the side win-
dows.
Air conditioner
The air is cooled and dehu-
midified and – depending on
the temperature setting – warmed again
when the air conditioner system is
switched on. Depending on the
weather, the windshield may fog over
briefly when the engine is started.
Use the button to switch off the air con-
ditioner at outside temperatures below
approx. +417 (+56). This will help to
prevent the windows from fogging up.
If the windows fog over after switching
the air conditioner off, switch it back
on.
Condensation forms in the air
conditioner system during opera-
tion, which then exits under the vehicle.
Traces of condensed water of this kind
are thus normal.<
Maximum cooling
You will get maximum
cooling capacity using this
program if the engine is running and
the outside temperature is above
+41 7(+5 6).
The temperature display 9 jumps to
+61 7 (+16 6), the system switches
over to the recirculated-air mode, and
the air will only stream out of the venti-
lation grill with the maximum amount of
air flow. That is why you need to keep
these open if you select this program.
Automatic recirculated-air
control (AUC)
You can respond to unpleas-
ant external odors by tempo-
rarily stopping the flow of outside air.
The system then recirculates the air
currently within the vehicle. Press the
button repeatedly to run through the
following control sequence:
>Indicator lamps off: outside airflow
operational.
Page 142 of 238
142nCatalytic converter
The catalytic converter reduces harmful
exhaust emissions, and is designed for
use with unleaded fuel only.
Even minute quantities of lead would be
enough to permanently damage both
the catalytic converter and the system
oxygen sensor.
To ensure efficient, trouble-free engine
operation and avoid potential damage:
>Be sure to comply with the scheduled
maintenance requirements.
> Fill the fuel tank well before it is
empty.
> Tow-start the vehicle only when the
engine is cold, since unburned fuel
may otherwise reach the catalytic
converter. It is better to start the vehi-
cle with an outside starting aid. >
Avoid other situations in which the
fuel is not burned, or burns incom-
pletely, such as engaging the starter
frequently or for extended periods, or
repeated start attempts in which the
engine does not start (stopping and
restarting an engine which is running
properly does not present a problem).
Never let the engine run with any of
the spark plug cables disconnected. Be sure to comply with the in-
structions above to prevent un-
burned fuel from reaching the catalytic
converter. Otherwise there is danger of
overheating and damage to the cata-
lytic converter.
Extreme temperatures occur at the cat-
alytic converter on this and every cata-
lyst-equipped vehicle. Heat shields are
installed adjacent to some sections of
the exhaust system. Never remove
these shields; do not apply undercoat-
ing to their surfaces. When driving,
standing at idle, and parking the vehi-
cle, take care to avoid contact between
the exhaust system and flammable ma-
terials (grass, hay, leaves, etc.). Such
contact could lead to a fire, resulting in
personal injury and property damage. <
Page 173 of 238
Index
Data
Technology
Repairs
Car care
Controls
Overview
173nCaring for your car
Caring for the vehicle finish
Regular washing is a preventive mea-
sure against long-term effects from
substances that are harmful to the vehi-
cle's finish, especially if you drive your
vehicle in areas with high levels of air
pollution or aggressive natural sub-
stances (tree resins, pollen).
Nevertheless, you should immediately
remove especially aggressive sub-
stances. Failure to do so can lead to
changes in the paint's chemical struc-
ture or to discoloration. Gasoline spilled
during refueling, oil, grease and brake
fluid should always be cleaned away
immediately, as should bird droppings
(finish damage).
Any contamination remaining on the
surface of the vehicle will be especially
conspicuous after washing. Use clean-
ing fluid or alcohol with a clean cloth or
cotton pad to remove. Remove tar
spots with tar remover. After cleaning,
the affected areas should be waxed to
ensure continued protection.
Use cleaning and car-care
products that you can obtain
at your BMW center. <
Waxing your car
Protect the finish using carnauba or
synthetic-based waxes only.
The best way to determine when the
finish needs to be waxed is by noting
when water stops beading on the sur-
face.
You can use a glass cleaner to remove
any wax or silicone that may have been
left on the windows during waxing.
Use cleaning and car-care
products that you can obtain
at your BMW center. <
Paint damage
You can touch up small areas of dam-
age with BMW spray paint or a BMW
touch-up stick.
The paint color code for your vehicle is
provided on a sticker located on the
right hand side under the hood and on
the first page of your Service and War-
ranty Information Booklet.
Damage caused by flying stones,
scratches, etc., must be touched up
without delay to prevent rust from form-
ing.
If corrosion has started to form in an
area with paint damage, remove all rust
and clean the area. Then prime the area
with a BMW Primer Stick. Finally, apply
the finish coat. After a few days, polish
and protect the touched-in areas.
More extensive paint damage should
be repaired professionally in accor-
dance with the manufacturer's instruc-
tions. Your BMW center uses original
BMW finish materials in accordance
with approved repair procedures.
Page 190 of 238

190nChanging a wheel
Safety measures in the event of a
flat tire or wheel change:
Stop the vehicle as far as possible from
passing traffic. Park on a firm, flat,
surface. Switch on the hazard warning
flashers.
Turn the steering wheel to the straight-
ahead position, remove the key and
engage the steering lock. Shift into 1st
or reverse (selector lever in Park with
automatic transmission) and engage
the parking brake.
All passengers should be outside the
vehicle and well away from your imme-
diate working area (behind a guardrail,
for instance).
If necessary, set up your warning trian-
gle or portable hazard warning lamp on
the roadside at an appropriate distance
from the rear of the vehicle. Comply
with all safety guidelines and regula-
tions.
Change the wheel only on a level, firm
surface which is not slippery. Avoid
jacking the vehicle on a soft or slippery
support surface (snow, ice, loose
gravel, etc.), since it could slide side-
ways.Position the jack on a firm support
surface.
Do not place wooden blocks or similar
objects under the jack. If this is done,
the jack might not be able to reach its
full support capacity because of the
limited height.
Do not lie under the vehicle or start the
engine when the vehicle is supported
by the jack – risk of fatal injury. <
What you will need
In order to avoid rattling noises later,
note the position of the tools when you
remove them and return them to their
original position when you are through
using them.
> Car jack
sedan: fold back the luggage com-
partment floor mat for access, then
unscrew the wingnut to release the
jack (arrow).
sport wagon: raise the floor panel
and spare tire cover (refer to
page 134).
When you have completed work,
screw the jack all the way back
down. Fold the handle back and in-
sert it in its holder
> Wedge (wheel chock)
Located next to the jack. Loosen the
wing nut to remove it
394de090