2001 BMW 540I SEDAN clock
[x] Cancel search: clockPage 10 of 238
Contents
Overview
Controls and features
Cockpit16
Instrument cluster18
Indicator and warning lamps22
Multifunction steering wheel
(MFL) 25
Sports steering wheel26
Hazard warning flashers27
Warning triangle 27
First-aid kit 27
Refueling28
Fuel specifications29
Tire inflation pressure29
Locks and security systems:
Keys36
Electronic vehicle
immobilizer37
Opening and closing –
from the outside38
With the key38
With the remote control39
Opening and closing –
from the inside42
Luggage compartment lid/
Tailgate43
Rear window43
Luggage compartment46
Alarm system47
Electric power windows49
Sliding/Tilt sunroof50
Adjustments:
Seats52
Steering wheel56
Mirrors56
Seat, mirror and steering wheel
memory58
Car Memory, Key Memory60
Passenger safety systems:
Safety belts61
Airbags62
Transporting children safely66
Driving:
Steering/Ignition lock68
Starting the engine68
Switching off the engine69
Parking brake70
Manual transmission70
Automatic transmission72
Automatic transmission with
Steptronic75
Indicator/Headlamp flasher78
Wiper/Washer system78
Rear window defroster80
Cruise control81
Everything under control:
Odometer, outside temperature
display83
Tachometer84
Energy control84
Fuel gauge84
Coolant temperature gauge85
Service Interval Display85
Check Control86
Computer89
Multi-information display
(MID)91
Digital clock in the MID92
Computer in the MID95
Page 34 of 238

34n
Locks and security systems:
Keys 36
Electronic vehicle immobilizer 37
Central locking system 38
Opening and closing –
from the outside 38
With the key 38
With the remote control 38
Opening and closing – from the inside 42
Luggage compartment lid/ Tailgate 43
Rear window 44
Luggage compartment 46
Alarm system 47
Electric power windows 49
Sliding/Tilt sunroof 50
Adjustments:
Seats 52
Steering wheel 56
Mirrors 56
Seat, mirror and steering wheel memory 58
Car Memory, Key Memory 60
Passenger safety systems:
Safety belts 61
Airbags 62
Transporting children safely 66Driving:
Steering/Ignition lock
68
Starting the engine 68
Switching off the engine 69
Parking brake 70
Manual transmission 70
Automatic transmission 72
Automatic transmission with Steptronic 75
Indicator/Headlamp flasher 78
Wiper/Washer system 78
Rear window defroster 80
Cruise control 81
Everything under control:
Odometer, outside temperature display 83
Tachometer 84
Energy control 84
Fuel gauge 84
Coolant temperature gauge 85
Service Interval Display 85
Check Control 86
Computer 89
Multi-information display (MID) 91
Digital clock in the MID 92
Computer in the MID 95
Page 91 of 238
IndexDataTechnologyRepairsCar careControlsOverview
91n
Multi-Information Display (MID)
*
Central displayThe MID serves as the central display
and operation for the following onboard
systems:
>Digital clock (e. g. time display, date)
>Audio systems (radio, cassette, CD)
>Computer ( e.g. fuel consumption,
cruising range)
>Cellular phone ( e.g. dialing)
You will find explanations and notes
for operating the digital clock and the
computer on the following pages.
Please refer to the separate Owner's
Manual for operating the audio
systems, the cellular phone and the
onboard monitor.
Any unrealistic numerical entries
will not be accepted.
All stored data will be lost if the power
supply is interrupted. Time display,
switch-on times for independent
heating and ventilation, distance and
cruise control speed limit may have to
be reset once the power supply has
been re-established.<
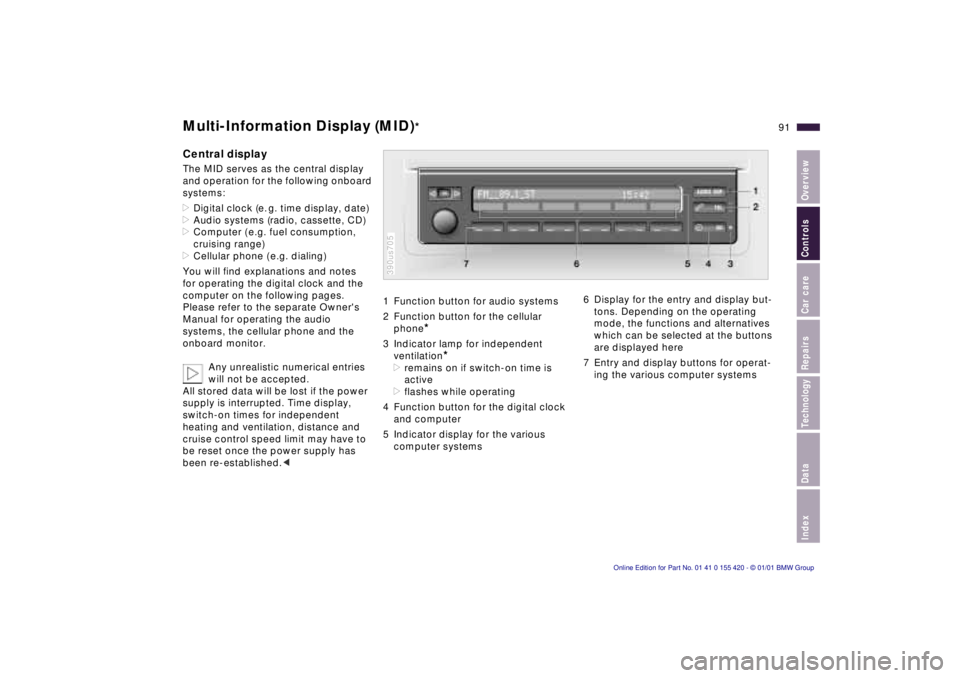
1 Function button for audio systems
2 Function button for the cellular
phone
*
3 Indicator lamp for independent
ventilation
*
>remains on if switch-on time is
active
>flashes while operating
4 Function button for the digital clock
and computer
5 Indicator display for the various
computer systems390us705
6 Display for the entry and display but-
tons. Depending on the operating
mode, the functions and alternatives
which can be selected at the buttons
are displayed here
7 Entry and display buttons for operat-
ing the various computer systems
Page 92 of 238
92n
Digital clock in the MID
*
Only make inputs when the vehi-
cle is standing still – to avoid
endangering yourself or other road
users.<
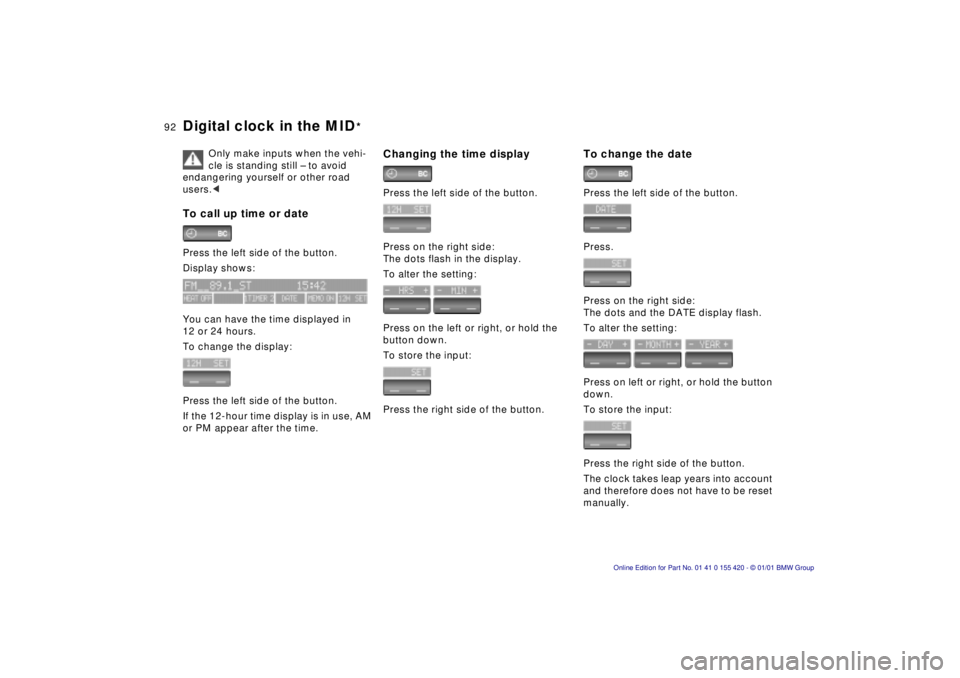
To call up time or datePress the left side of the button.
Display shows:
You can have the time displayed in
12 or 24 hours.
To change the display:
Press the left side of the button.
If the 12-hour time display is in use, AM
or PM appear after the time.
Changing the time displayPress the left side of the button.
Press on the right side:
The dots flash in the display.
To alter the setting:
Press on the left or right, or hold the
button down.
To store the input:
Press the right side of the button.
To change the datePress the left side of the button.
Press.
Press on the right side:
The dots and the DATE display flash.
To alter the setting:
Press on left or right, or hold the button
down.
To store the input:
Press the right side of the button.
The clock takes leap years into account
and therefore does not have to be reset
manually.
Page 93 of 238
IndexDataTechnologyRepairsCar careControlsOverview
93n
Digital clock in the MID
*
Reminder signalYou can program a reminder signal
(Memo) to be heard every hour, so that
you are sure not to miss a news
broadcast .
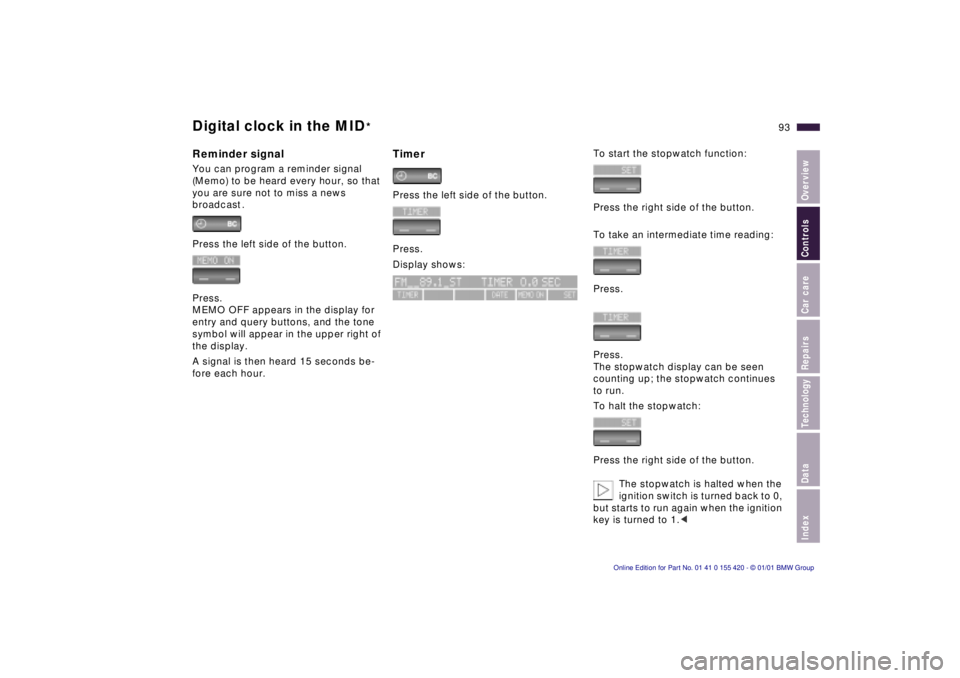
Press the left side of the button.
Press.
MEMO OFF appears in the display for
entry and query buttons, and the tone
symbol will appear in the upper right of
the display.
A signal is then heard 15 seconds be-
fore each hour.
TimerPress the left side of the button.
Press.
Display shows:
To start the stopwatch function:
Press the right side of the button.
To take an intermediate time reading:
Press.
Press.
The stopwatch display can be seen
counting up; the stopwatch continues
to run.
To halt the stopwatch:
Press the right side of the button.
The stopwatch is halted when the
ignition switch is turned back to 0,
but starts to run again when the ignition
key is turned to 1.<
Page 94 of 238
94n
Digital clock in the MID
*
Enter the switch-on times for the
independent ventilation*You can enter two different switch-on
times.
The ventilation will shut off
automatically after 30 minutes.
Please follow the instructions for
operating the independent ventila-
tion that start on page 120.<
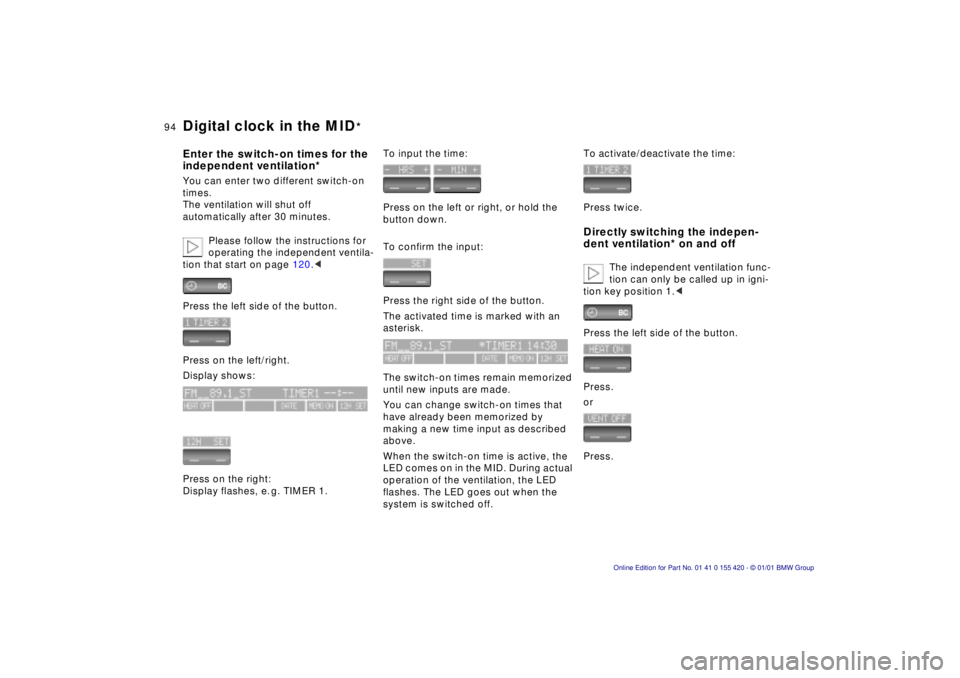
Press the left side of the button.
Press on the left/right.
Display shows:
Press on the right:
Display flashes, e. g. TIMER 1.
To input the time:
Press on the left or right, or hold the
button down.
To confirm the input:
Press the right side of the button.
The activated time is marked with an
asterisk.
The switch-on times remain memorized
until new inputs are made.
You can change switch-on times that
have already been memorized by
making a new time input as described
above.
When the switch-on time is active, the
LED comes on in the MID. During actual
operation of the ventilation, the LED
flashes. The LED goes out when the
system is switched off.
To activate/deactivate the time:
Press twice.Directly switching the indepen-
dent ventilation* on and off
The independent ventilation func-
tion can only be called up in igni-
tion key position 1.<
Press the left side of the button.
Press.
or
Press.
Page 110 of 238
110n
Air conditionerTips for a pleasant driving
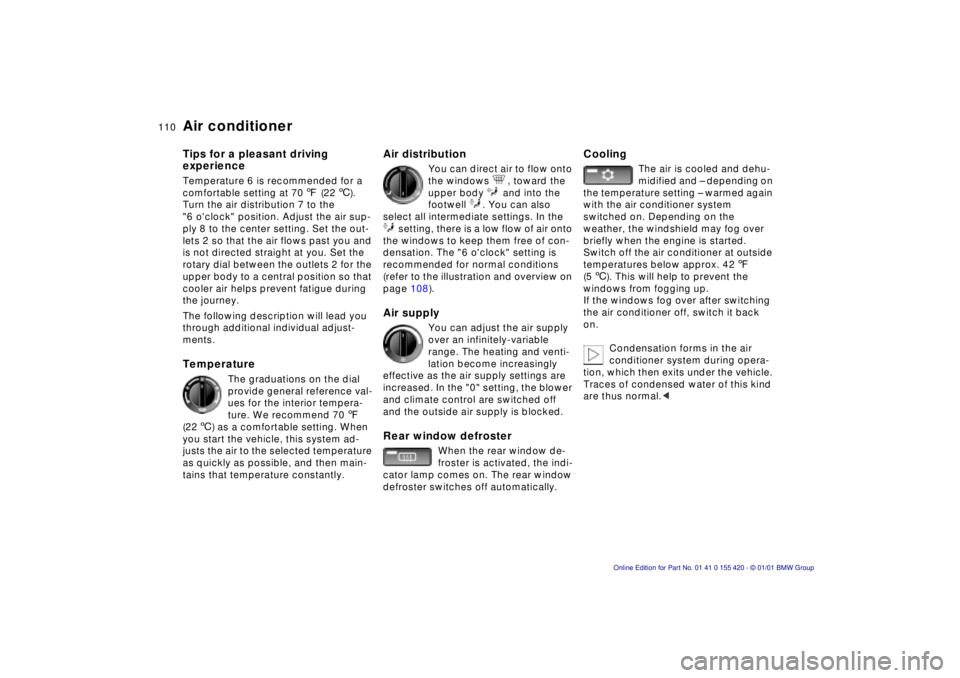
experienceTemperature 6 is recommended for a
comfortable setting at 707 (226).
Turn the air distribution 7 to the
"6 o'clock" position. Adjust the air sup-
ply 8 to the center setting. Set the out-
lets 2 so that the air flows past you and
is not directed straight at you. Set the
rotary dial between the outlets 2 for the
upper body to a central position so that
cooler air helps prevent fatigue during
the journey.
The following description will lead you
through additional individual adjust-
ments.Temperature
The graduations on the dial
provide general reference val-
ues for the interior tempera-
ture. We recommend 707
(226) as a comfortable setting. When
you start the vehicle, this system ad-
justs the air to the selected temperature
as quickly as possible, and then main-
tains that temperature constantly.
Air distribution
You can direct air to flow onto
the windows , toward the
upper body and into the
footwell . You can also
select all intermediate settings. In the
setting, there is a low flow of air onto
the windows to keep them free of con-
densation. The "6 o'clock" setting is
recommended for normal conditions
(refer to the illustration and overview on
page 108).
Air supply
You can adjust the air supply
over an infinitely-variable
range. The heating and venti-
lation become increasingly
effective as the air supply settings are
increased. In the "0" setting, the blower
and climate control are switched off
and the outside air supply is blocked.
Rear window defroster
When the rear window de-
froster is activated, the indi-
cator lamp comes on. The rear window
defroster switches off automatically.
Cooling
The air is cooled and dehu-
midified and – depending on
the temperature setting – warmed again
with the air conditioner system
switched on. Depending on the
weather, the windshield may fog over
briefly when the engine is started.
Switch off the air conditioner at outside
temperatures below approx. 427
(56). This will help to prevent the
windows from fogging up.
If the windows fog over after switching
the air conditioner off, switch it back
on.
Condensation forms in the air
conditioner system during opera-
tion, which then exits under the vehicle.
Traces of condensed water of this kind
are thus normal.<
Page 168 of 238
168nCoolant Brake fluid
Adding coolant
Wait until the engine cools before
removing the cap from the expansion
tank. The needle of the coolant temper-
ature gauge in the instrument cluster
must be located in the blue zone; other-
wise, there is a danger of scalding.
1 Start by turning the cap counter-
clockwise. Pause to allow any
accumulated pressure to escape,
then open.
2 If the coolant is low, slowly add coolant until the correct level is
reached – do not overfill.
The coolant is a mixture of water and
extended-duty antifreeze with corrosion
inhibitor. Always maintain the pre-
scribed all-season 50:50 mixture ratio
for year-round protection against inter-
nal corrosion. No other additives are re-
quired.
Replace the coolant every four years.
If the indicator lamp for the
brake hydraulic system comes
on or if the "CHECK BRAKE
FLUID" warning appears in the
Check Control
*: the brake fluid
level is too low in the reservoir.
The brake fluid reservoir is located
under the microfilter housing on the
driver's side of the car. Should you de-
termine that the brake fluid is low, refer
the problem to your BMW center, who
can trace and rectify any sources of
leakage when refilling the reservoir.
Your BMW center is familiar with the
specifications for approved brake
fluids (DOT 4).
Brake fluid loss results in extended
pedal travel. For this situation, refer to
the notes on page 146.
Brake fluid is hygroscopic, that is,
it absorbs moisture from the air
over time.
In order to ensure the safety and
reliability of the brake system, have
the brake fluid changed every two years
by an BMW center. Refer also to the
Service and Warranty Information
Booklet (US models) or to the Warranty
and Service Guide Booklet (Canadian
models).
Brake fluid is toxic and damages the
vehicle's paint. You should always store
it in its original container and in a loca-
tion which is out of reach of children.
Do not spill the fluid and do not fill the
brake fluid reservoir beyond the "MAX"
mark. The brake fluid could ignite upon
contact with hot engine parts and
cause serious burns. <
Comply with the applicable
environmental laws regulating the
disposal of brake fluid. <