2001 BMW 540I SEDAN remote control
[x] Cancel search: remote controlPage 49 of 238

IndexDataTechnologyRepairsCar careControlsOverview
49n
Electric power windowsOpen and close windowsFrom ignition key position 1:
>Depress the rocker switch until you
feel resistance:
The window continues moving for as
long as you maintain pressure on the
switch.
>Press the rocker switch beyond the
resistance point:
The window moves automatically.
Press the switch a second time to
stop the window.390de055
After the ignition has been switched off:
>You can still operate the windows as
long as neither of the front doors has
been opened. To open the window,
press the switch beyond the resis-
tance point.
Remove the key from the ignition
when you leave the vehicle, so
that children cannot operate the power
windows and possibly injure them-
selves.<
For the convenience mode via the door
lock or the remote control, refer to
pages 38 or 40.Safety featureA contact strip is integrated into the
inner side of each of the upper window
frame sections. If pressure is exerted
against this contact strip while a
window is being raised, the system
will respond by stopping the window
and then retracting it a small distance.
Despite this safety feature, be
extremely careful that the closing
path of the window is not obstructed
whenever it is closed. Otherwise, an
object might not touch the contact strip
in some situations (very thin objects, for
instance).
You can override this safety feature by
pressing the switch beyond the resis-
tance point and holding it.
Because the power windows are sealed
at high pressure to prevent wind noise
when closed, a powerful motor is
required for efficient closing. When
closing the windows, always be sure
that they are not obstructed in any way.
Unsupervised use of these systems can
result in serious personal injury.
Remove the ignition key to deactivate
the electric power windows whenever
you leave the car. Never leave the keys
in the vehicle with unsupervised chil-
dren.
Never place anything that could
obstruct the driver's vision on or next
to the windows.<
Page 50 of 238
50n
Electric power windows Sliding/Tilt sunroof
*
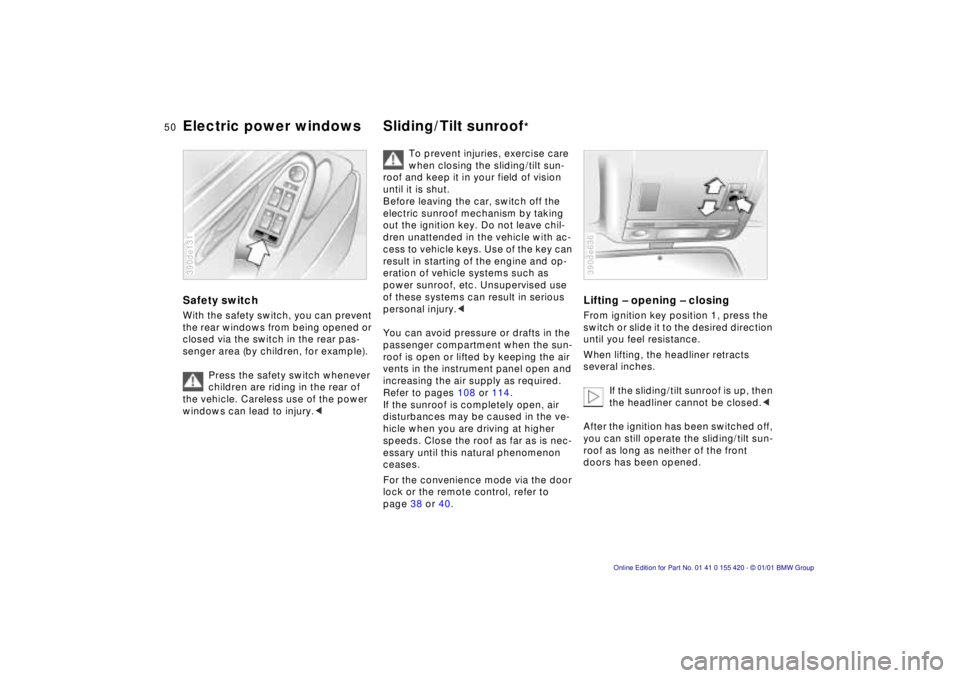
Safety switchWith the safety switch, you can prevent
the rear windows from being opened or
closed via the switch in the rear pas-
senger area (by children, for example).
Press the safety switch whenever
children are riding in the rear of
the vehicle. Careless use of the power
windows can lead to injury.< 390de131
To prevent injuries, exercise care
when closing the sliding/tilt sun-
roof and keep it in your field of vision
until it is shut.
Before leaving the car, switch off the
electric sunroof mechanism by taking
out the ignition key. Do not leave chil-
dren unattended in the vehicle with ac-
cess to vehicle keys. Use of the key can
result in starting of the engine and op-
eration of vehicle systems such as
power sunroof, etc. Unsupervised use
of these systems can result in serious
personal injury.<
You can avoid pressure or drafts in the
passenger compartment when the sun-
roof is open or lifted by keeping the air
vents in the instrument panel open and
increasing the air supply as required.
Refer to pages 108 or 114.
If the sunroof is completely open, air
disturbances may be caused in the ve-
hicle when you are driving at higher
speeds. Close the roof as far as is nec-
essary until this natural phenomenon
ceases.
For the convenience mode via the door
lock or the remote control, refer to
page 38 or 40.
Lifting – opening – closingFrom ignition key position 1, press the
switch or slide it to the desired direction
until you feel resistance.
When lifting, the headliner retracts
several inches.
If the sliding/tilt sunroof is up, then
the headliner cannot be closed.<
After the ignition has been switched off,
you can still operate the sliding/tilt sun-
roof as long as neither of the front
doors has been opened.390de636
Page 59 of 238
IndexDataTechnologyRepairsCar careControlsOverview
59n
Seat, mirror and steering wheel memoryPassenger side exterior mirror tilt
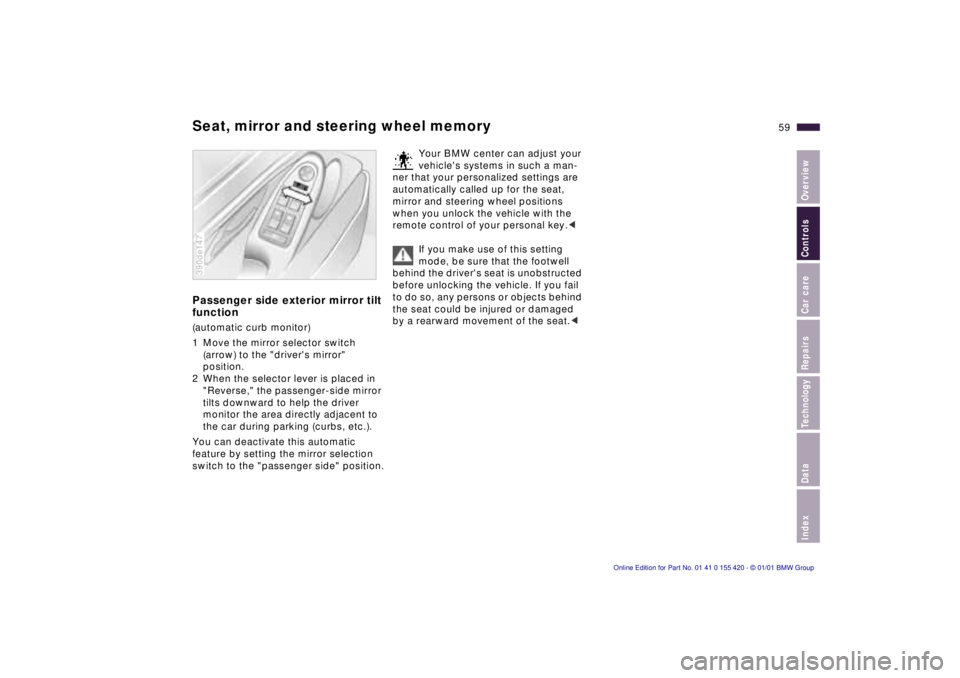
function(automatic curb monitor)
1 Move the mirror selector switch
(arrow) to the "driver's mirror"
position.
2 When the selector lever is placed in
"Reverse," the passenger-side mirror
tilts downward to help the driver
monitor the area directly adjacent to
the car during parking (curbs, etc.).
You can deactivate this automatic
feature by setting the mirror selection
switch to the "passenger side" position.390de147
Your BMW center can adjust your
vehicle's systems in such a man-
ner that your personalized settings are
automatically called up for the seat,
mirror and steering wheel positions
when you unlock the vehicle with the
remote control of your personal key.<
If you make use of this setting
mode, be sure that the footwell
behind the driver's seat is unobstructed
before unlocking the vehicle. If you fail
to do so, any persons or objects behind
the seat could be injured or damaged
by a rearward movement of the seat.<
Page 60 of 238
60n
Car Memory, Key MemoryHow the system functionsYou have probably frequently wished
that you could configure individual
functions of your vehicle to reflect your
own personal requirements. In engi-
neering your vehicle, BMW has included
several user-defined functions in the
vehicle's design. Your authorized BMW
center can make these settings for you.
There are settings related to the vehicle
("Car Memory") and settings related to
individuals ("Key Memory"). You can
have two different basic positions con-
figured for two different persons. The
only requirement is that each person
uses his or her own remote control key.463de029
When your vehicle is unlocked with the
remote control, the vehicle recognizes
the individual user by means of a data
exchange with the key, and makes
adjustments accordingly.
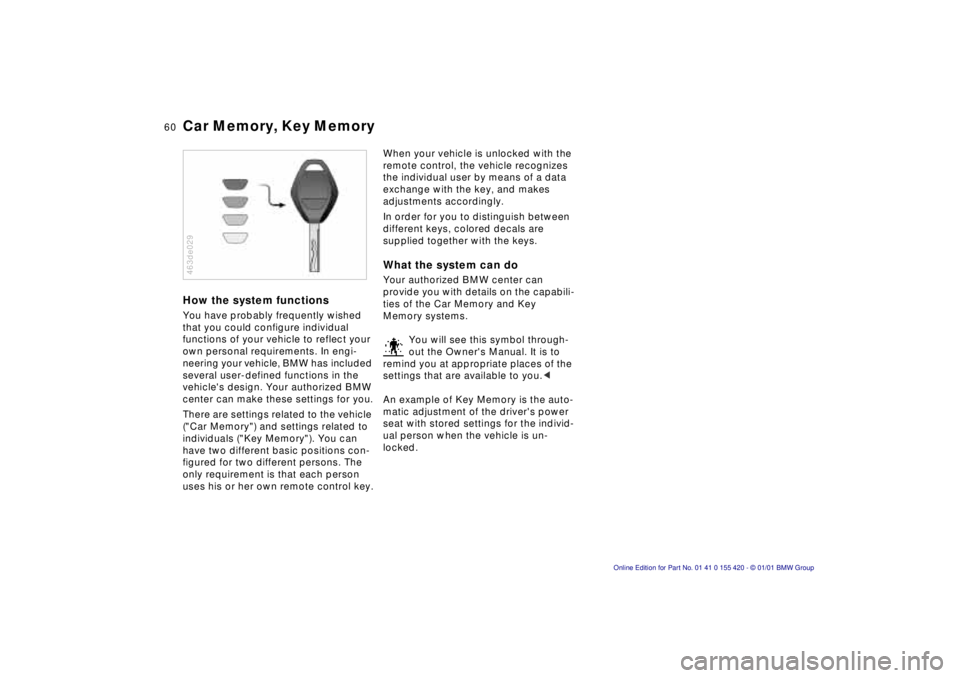
In order for you to distinguish between
different keys, colored decals are
supplied together with the keys.What the system can doYour authorized BMW center can
provide you with details on the capabili-
ties of the Car Memory and Key
Memory systems.
You will see this symbol through-
out the Owner's Manual. It is to
remind you at appropriate places of the
settings that are available to you.<
An example of Key Memory is the auto-
matic adjustment of the driver's power
seat with stored settings for the individ-
ual person when the vehicle is un-
locked.
Page 95 of 238
IndexDataTechnologyRepairsCar careControlsOverview
95n
Computer in the MID
*
Only make inputs when the
vehicle is standing still – to avoid
endangering yourself or other road
users.<
Computer calculations begin at the
start of the journey.
Information can also be called up in the
display by remote control, refer to
page 99.
Speed limitSpeed limit input:
You can input the road speed here
at which you wish to hear and see a
reminder signal: a signal will sound, the
word LIMIT will flash, and for a moment,
the speed limit warning stored in the
memory will appear on the instrument
cluster as an alphanumeric display
*,
along with the Check Control.
The speed limit reminder is only
repeated if the vehicle has in the
meantime been driven at least 3 mph
(approx. 5 km/h) slower.
Press the right side of the button.
Press.
Press the right side of the button.
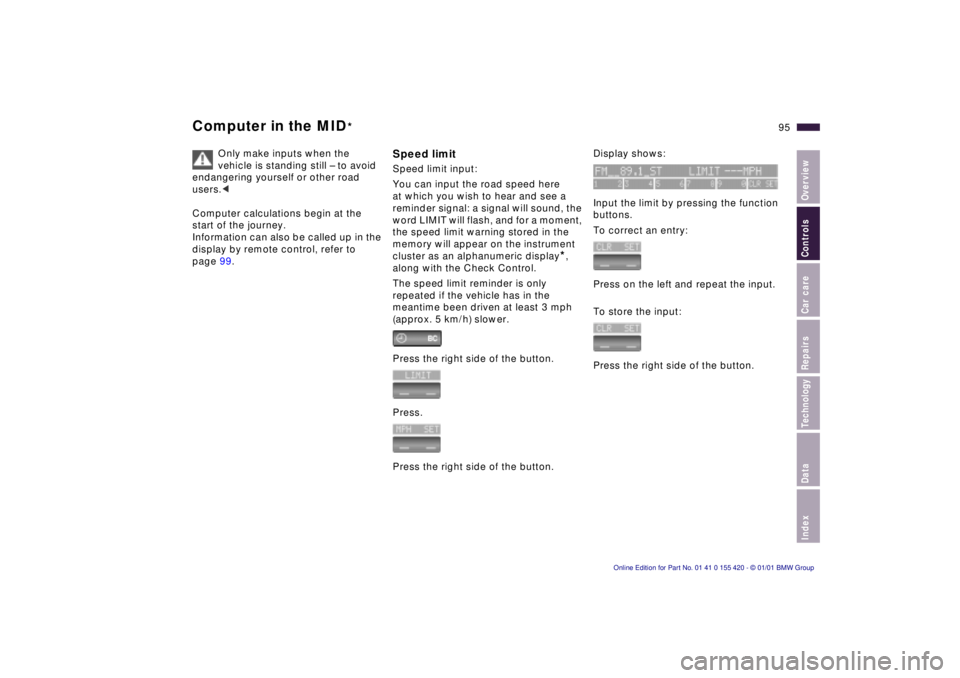
Display shows:
Input the limit by pressing the function
buttons.
To correct an entry:
Press on the left and repeat the input.
To store the input:
Press the right side of the button.
Page 99 of 238
IndexDataTechnologyRepairsCar careControlsOverview
99n
Computer in the MID
*
After three incorrect code inputs, or
three attempts to start the engine with-
out a code input, the alarm will sound
for 30 seconds on vehicles fitted with
an alarm.
Deactivating the alarm in an
emergency:
If you have forgotten the code, proceed
as follows:
1 Disconnect the battery, wait approx.
2 minutes, then reconnect it. Note
that on vehicles with an alarm, this
will sound.
2 Set the ignition key to position 1:
The time display will count down for
the next ten minutes.
3 After ten minutes, start the engine.
If the code becomes available
again in the meantime, it can be
input during the waiting period after
pressing the CODE button.<
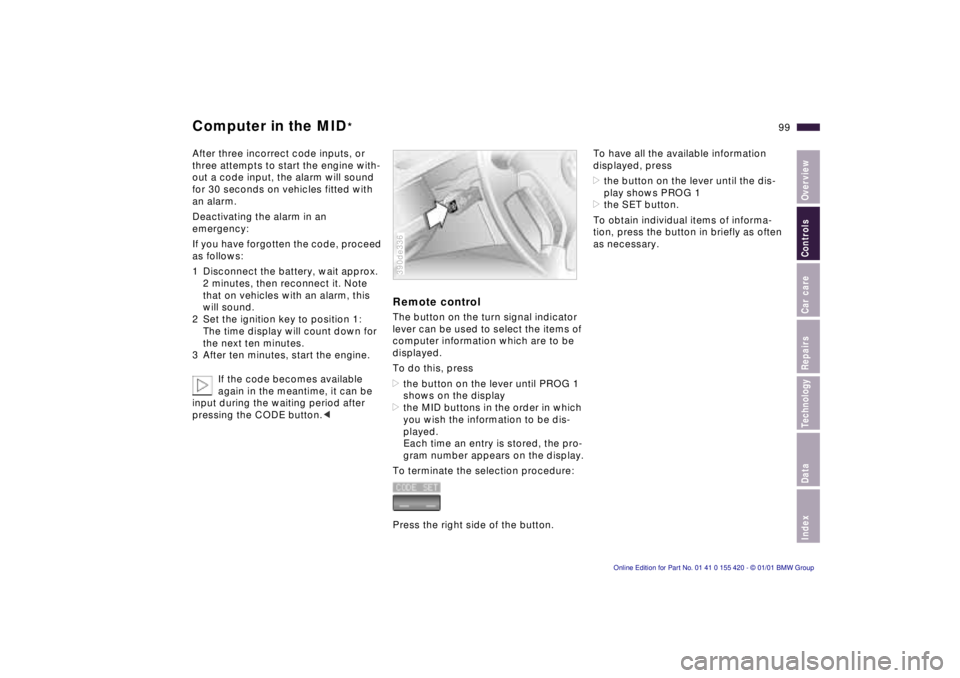
Remote controlThe button on the turn signal indicator
lever can be used to select the items of
computer information which are to be
displayed.
To do this, press
>the button on the lever until PROG 1
shows on the display
>the MID buttons in the order in which
you wish the information to be dis-
played.
Each time an entry is stored, the pro-
gram number appears on the display.
To terminate the selection procedure:
Press the right side of the button.390de336
To have all the available information
displayed, press
>the button on the lever until the dis-
play shows PROG 1
>the SET button.
To obtain individual items of informa-
tion, press the button in briefly as often
as necessary.
Page 116 of 238
116n
Automatic climate control
*
Tips for pleasant drivingUse the automatic system, that is,
press AUTO button 6. Select an interior
temperature that is comfortable for you
– we recommend 707 (226). When
the outside temperature is above 417
(56), you can also use the air condi-
tioner 12. This will dry the air and pre-
vent the window from fogging (for ex-
ample if people are wearing damp
clothes in the vehicle). Set the outlets 2
so that the airflows past you and is not
directed straight at you. Set the rotary
dial between the outlets 2 for the upper
body to a central position. This will pro-
vide cooler air, and help to prevent fa-
tigue during the journey.
Detailed setting options are described
for you in the following section.
You can make the settings of your
vehicle in such a manner that,
when you unlock the vehicle with the
remote control of your personal key,
your own personalized setting for the
automatic climate control is initiated.<
Automatic air distribution
The AUTO program assumes
the adjustment of the air
distribution and the air supply for you
and also adapts the temperature to
external influences (summer, winter) to
meet preferences you can specify. This
program maintains a comfortable in-car
climate regardless of the season. Select
an interior temperature that is pleasant
for you – we recommend 707 (226).
The selected temperature and AUTO
for the airflow appear in the display 9.
Refer to the overview on page 114.
Open the ventilation outlets for the
upper body. Switch on the air condi-
tioner 12 in warm weather. The maxi-
mum cooling capacity is achieved when
you set the rotary dial 3 (refer to
page 118) to cold.
Individual air distribution
You can cancel the AUTO
program by selecting specific
distribution patterns to suit
your own individual require-
ments. You can direct air to flow onto
the windows , toward the upper body
and into the footwell .
Temperature
You can make individual
temperature settings on the
driver's side or the front
passenger side. Your settings will be
shown in the display 9. The displayed
temperatures are reference values for
the interior temperature. We recom-
mend 707 (226) as a comfortable
setting, whether the air conditioner is
operating or not. When you start the
vehicle, the system ensures that the
selected temperature is achieved as
quickly as possible. It then maintains
this temperature, regardless of the
season.
Set the rotary dial 3 (refer to "Draft-free
ventilation" on page 118) to a medium
position to provide somewhat cooler
air. This helps to promote driving with-
out fatigue. Make use of this means of
mixing air especially for making minor
adjustments for personal comfort.
You can set uncontrolled heater
output at up to 907 (326). Full
cooling output is available from the air
conditioner down to 607 (166).<
Page 121 of 238
IndexDataTechnologyRepairsCar careControlsOverview
121n
The conceptThe BMW Universal Transmitter re-
places up to three hand-held transmit-
ters that control different devices such
as a garage door opener, alarm sys-
tems or a door locking system. The
BMW Universal Transmitter recognizes
and "learns" the transmitted signal from
each of the original hand-held transmit-
ters.
The signal of an original hand-held
transmitter can be programmed to one
of three channel buttons. Following
that, each of the devices can be oper-
ated with the channel button that you
have programmed for it. A transmission
of the signal is indicated by the indica-
tor lamp.
Before you sell your vehicle, the pro-
grammed channel buttons should be
cleared. Refer to page 123 for the de-
scription of this process.
To prevent potential injuries or
damage during the programming
operation and before every remote trig-
gering of a programmed device using
the BMW Universal Transmitter, be sure
that there are no persons, animals or
objects within the range of movement
of the respective device.
Read and comply with the safety in-
structions for the original hand-held
transmitter also.<
To Canadian residents:
During programming, your hand-
held transmitter may automatically stop
transmitting after two seconds. This
may not be long enough to program the
BMW Universal Transmitter. If you are
programming from one of these hand-
held transmitters, the Universal Trans-
mitter's lamp may begin to flash in a se-
ries of double flashes. If this occurs,
continue to hold the button on the Uni-
versal Transmitter while you reactivate
your hand-held transmitter. You may
have to repeat this function several
times while programming.<
Before programming, read the
"User's information" section on
page 123.< The original hand-held transmitter
If this symbol is depicted on the
packaging or in the user's in-
structions for the original hand-
held transmitter, it may be assumed
that this original hand-held transmitter
is compatible with the BMW Universal
Transmitter.
Checking for the change codeIn order to determine whether the origi-
nal hand-held transmitter is equipped
with a change code system, you may
either refer to the instructions for the
original hand-held transmitter or pro-
gram a channel button as described in
the left column on page 122 under
"Programming."
Following that, press and hold the pro-
grammed channel button of the BMW
Universal Transmitter. If the indicator
lamp of the BMW Universal Transmitter
flashes rapidly for two seconds and
then stays on continuously, the original
hand-held transmitter is equipped with
a change code system. If the change
code system is available, program the
channel buttons as described in the
right-hand column on page 122 under
"Programming a hand-held transmitter
with change code."
If you have additional questions,
please consult your BMW center
or call 1-800-355-3515.<
BMW Universal Transmitter
*