2001 BMW 540I SEDAN battery
[x] Cancel search: batteryPage 69 of 238

IndexDataTechnologyRepairsCar careControlsOverview
69n
Starting the engine Switching off the engineStarting the engine>Start the engine. Do not press the
accelerator pedal.
Do not actuate the starter for too
short a time. Do not turn it for
more than approx. 20 seconds. Release
the ignition key immediately as soon as
the engine starts.
Do not allow the engine to warm up by
leaving it running while the vehicle re-
mains stationary. Instead, begin driving
immediately at a moderate engine
speed.
BMW 540i with automatic transmission:
Your BMW is equipped with the conve-
nience starting feature. Simply turn the
key to position 3 (starter) and then re-
lease it immediately.
The starter continues to operate auto-
matically.
The automatic starting mode will not
operate if the battery voltage is low.
Should this condition arise, it remains
possible to jump-start the engine (refer
to page 200).<
Should the engine fail to start on the
first attempt (if it is very hot or cold, for
instance):
>Press the accelerator pedal halfway
down while engaging the starter.
Cold starts at extremely low tempera-
tures, from approx. +57 (–156)
and at elevations above 3,300 ft
(1,000 meters):
>Be sure to let the starter remain
engaged somewhat longer the first
time (approx. 10 seconds).
>Press the accelerator pedal halfway
down while engaging the starter.
Engine idle speed is controlled by the
engine computer system. Increased
speeds at start-up are normal and
should decrease as the engine warms
up. If engine speed does not decrease,
service is required.
To prevent the battery from discharg-
ing, always deactivate electrical de-
vices which are not in use. Switch the
ignition off when the vehicle is not
being driven.Turn the ignition key to position 1 or 0.
Never remove the ignition key
while the vehicle is rolling. The
steering locks, making it impossible to
steer the vehicle.
Always remove the ignition key and en-
gage the steering lock before leaving
the vehicle.
Vehicles with manual transmission:
Always engage the parking brake
when parking on slopes and inclined
surfaces, since not even placing the
lever in 1st gear or reverse may not
provide adequate resistance to rolling.
Vehicles with automatic transmission:
Place the selector lever in "Park."<
Vehicles with automatic transmission
*:
The vehicle must be stationary and the
selector lever in "Park" before you can
remove the ignition key.
Page 99 of 238
IndexDataTechnologyRepairsCar careControlsOverview
99n
Computer in the MID
*
After three incorrect code inputs, or
three attempts to start the engine with-
out a code input, the alarm will sound
for 30 seconds on vehicles fitted with
an alarm.
Deactivating the alarm in an
emergency:
If you have forgotten the code, proceed
as follows:
1 Disconnect the battery, wait approx.
2 minutes, then reconnect it. Note
that on vehicles with an alarm, this
will sound.
2 Set the ignition key to position 1:
The time display will count down for
the next ten minutes.
3 After ten minutes, start the engine.
If the code becomes available
again in the meantime, it can be
input during the waiting period after
pressing the CODE button.<
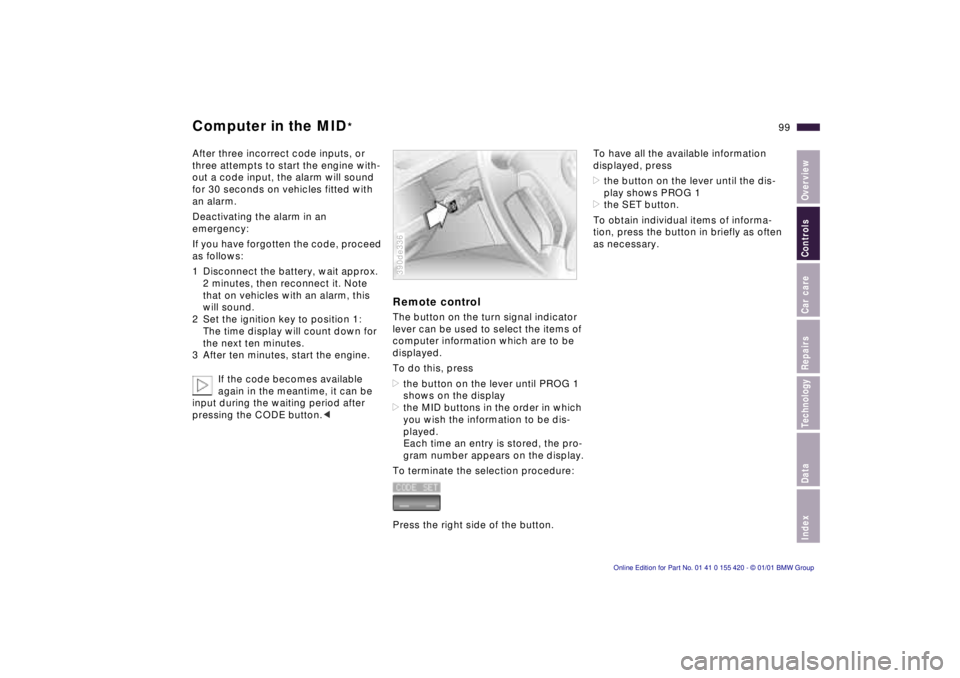
Remote controlThe button on the turn signal indicator
lever can be used to select the items of
computer information which are to be
displayed.
To do this, press
>the button on the lever until PROG 1
shows on the display
>the MID buttons in the order in which
you wish the information to be dis-
played.
Each time an entry is stored, the pro-
gram number appears on the display.
To terminate the selection procedure:
Press the right side of the button.390de336
To have all the available information
displayed, press
>the button on the lever until the dis-
play shows PROG 1
>the SET button.
To obtain individual items of informa-
tion, press the button in briefly as often
as necessary.
Page 107 of 238
IndexDataTechnologyRepairsCar careControlsOverview
107n
Interior lamps Reading lampsFootwell lamps The footwell lamps operate in the same
way as the interior lamps.
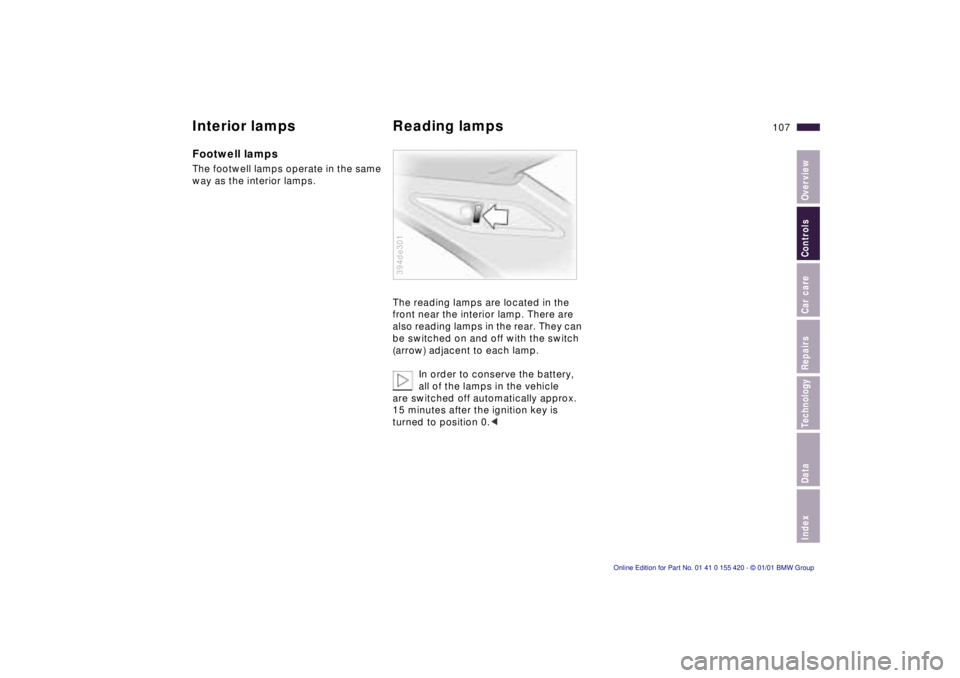
The reading lamps are located in the
front near the interior lamp. There are
also reading lamps in the rear. They can
be switched on and off with the switch
(arrow) adjacent to each lamp.
In order to conserve the battery,
all of the lamps in the vehicle
are switched off automatically approx.
15 minutes after the ignition key is
turned to position 0.<
394de301
Page 118 of 238
118n
Automatic climate control
*
>Left-hand indicator lamp on – AUC
mode: the system recognizes pollut-
ants in the outside air and blocks the
flow of air when necessary. The sys-
tem then recirculates the air currently
within the vehicle.
Depending on the air quality, the au-
tomatic system then switches back
and forth between outside air supply
and recirculation of the air within the
vehicle.
>Right-hand indicator lamp on: the
flow of external air into the vehicle is
permanently blocked. The system
then recirculates the air currently
within the vehicle.
If you have a multifunction steering
wheel with the recirculated-air button
(refer to page 25), you can also use it to
switch between "Off" and the recircu-
lated-air mode or AUC and the recircu-
lated-air mode.
If the windows should fog over in
the recirculated air mode, switch
the recirculated air mode off and in-
crease the air supply as required.<
Rear window defroster
When the rear window de-
froster is activated, the indica-
tor lamp comes on. The rear window
defroster switches off automatically.
Residual heating mode
The heat which is stored in
the engine is utilized for
heating the interior when the engine
has been switched off (while waiting at
a railroad crossing, for instance).
In ignition key position 1, you can alter
the settings of the automatic climate
control. In ignition key position 0, the
system automatically directs heated air
to the windshield, side windows and
footwells.
This function may be activated
when the outside temperature is
below approx. 597 (156), the engine
is at operating temperature, and the
battery is adequately charged. The LED
on the button will light up when all con-
ditions have been met.<
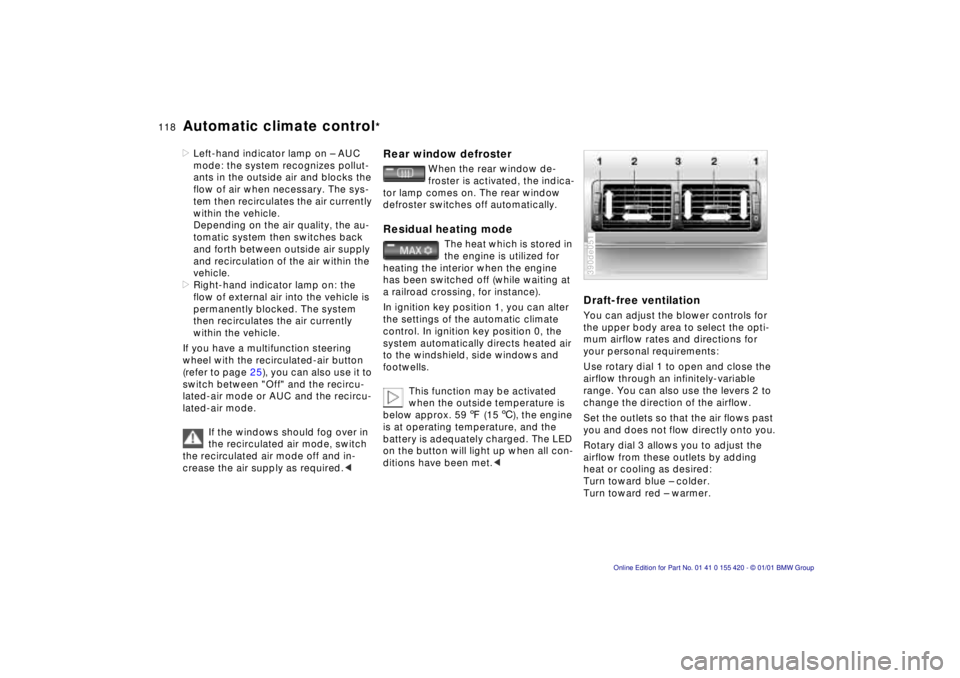
Draft-free ventilationYou can adjust the blower controls for
the upper body area to select the opti-
mum airflow rates and directions for
your personal requirements:
Use rotary dial 1 to open and close the
airflow through an infinitely-variable
range. You can also use the levers 2 to
change the direction of the airflow.
Set the outlets so that the air flows past
you and does not flow directly onto you.
Rotary dial 3 allows you to adjust the
airflow from these outlets by adding
heat or cooling as desired:
Turn toward blue – colder.
Turn toward red – warmer.390de051
Page 120 of 238
120n
Steering wheel heating
*
Roller sun blind
*
Independent ventilation
*
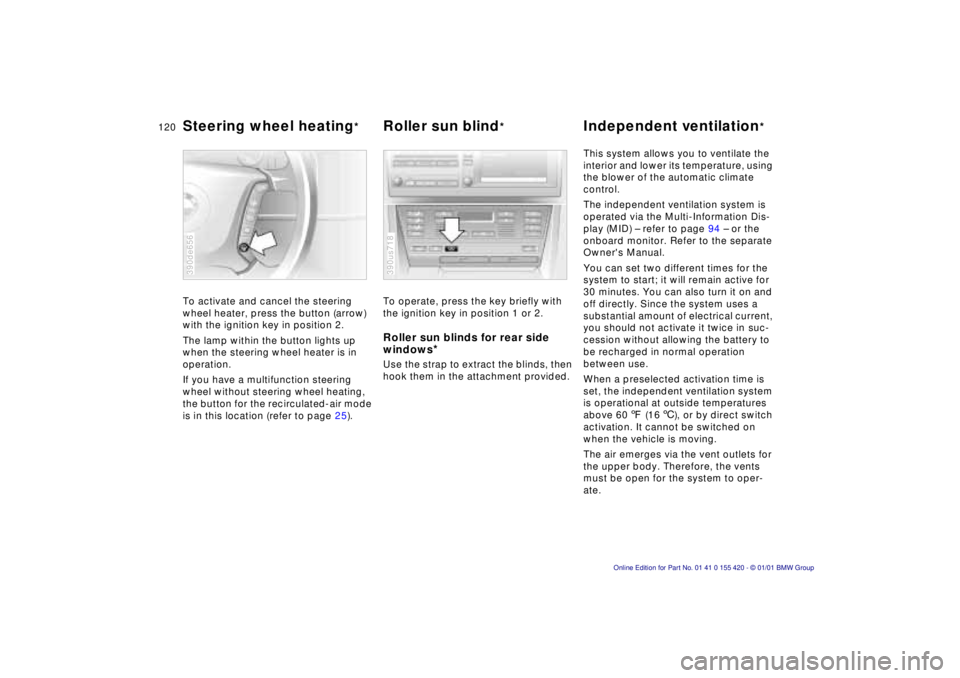
To activate and cancel the steering
wheel heater, press the button (arrow)
with the ignition key in position 2.
The lamp within the button lights up
when the steering wheel heater is in
operation.
If you have a multifunction steering
wheel without steering wheel heating,
the button for the recirculated-air mode
is in this location (refer to page 25).390de656
To operate, press the key briefly with
the ignition key in position 1 or 2.Roller sun blinds for rear side
windows
*
Use the strap to extract the blinds, then
hook them in the attachment provided.390us718
This system allows you to ventilate the
interior and lower its temperature, using
the blower of the automatic climate
control.
The independent ventilation system is
operated via the Multi-Information Dis-
play (MID) – refer to page 94 – or the
onboard monitor. Refer to the separate
Owner's Manual.
You can set two different times for the
system to start; it will remain active for
30 minutes. You can also turn it on and
off directly. Since the system uses a
substantial amount of electrical current,
you should not activate it twice in suc-
cession without allowing the battery to
be recharged in normal operation
between use.
When a preselected activation time is
set, the independent ventilation system
is operational at outside temperatures
above 607 (166), or by direct switch
activation. It cannot be switched on
when the vehicle is moving.
The air emerges via the vent outlets for
the upper body. Therefore, the vents
must be open for the system to oper-
ate.
Page 159 of 238
Index
Data
Technology
Repairs
Car care
Controls
Overview
159nHood
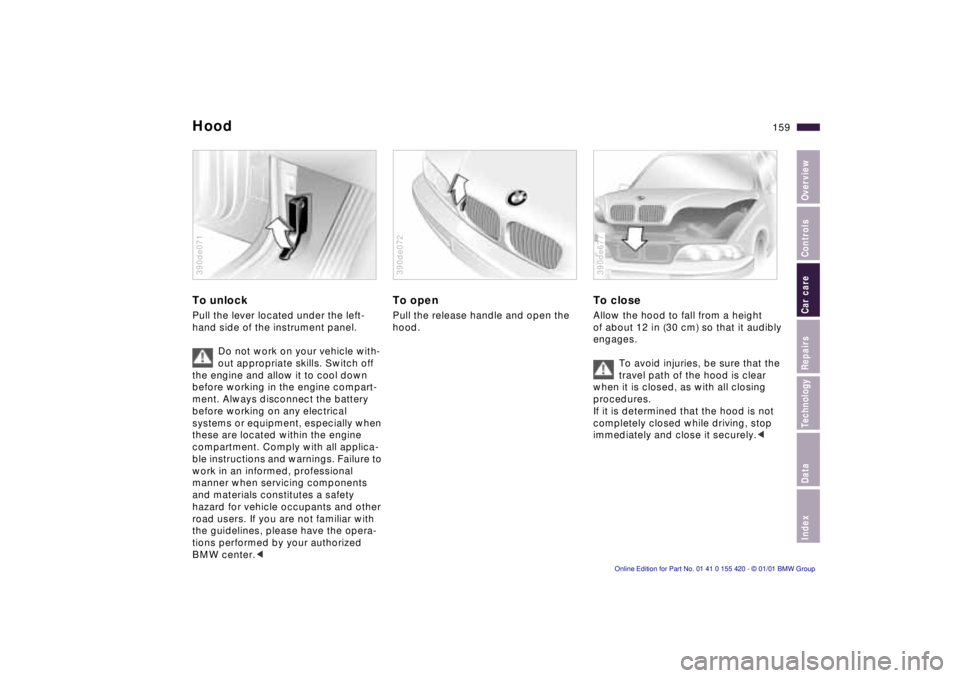
To unlock
Pull the lever located under the left-
hand side of the instrument panel.
Do not work on your vehicle with-
out appropriate skills. Switch off
the engine and allow it to cool down
before working in the engine compart-
ment. Always disconnect the battery
before working on any electrical
systems or equipment, especially when
these are located within the engine
compartment. Comply with all applica-
ble instructions and warnings. Failure to
work in an informed, professional
manner when servicing components
and materials constitutes a safety
hazard for vehicle occupants and other
road users. If you are not familiar with
the guidelines, please have the opera-
tions performed by your authorized
BMW center. <
390de071
To open
Pull the release handle and open the
hood.
390de072
To close
Allow the hood to fall from a height
of about 12 in (30 cm) so that it audibly
engages.
To avoid injuries, be sure that the
travel path of the hood is clear
when it is closed, as with all closing
procedures.
If it is determined that the hood is not
completely closed while driving, stop
immediately and close it securely. <
390de677
Page 181 of 238
Index
Data
Technology
Repairs
Car care
Controls
Overview
Overview
Controls and features Operation, care
and maintenance
Owner service procedures
Technical dataIndex
Advanced technology
181
n
Replacement procedures:
Onboard tool kit 182
Wiper blades 182
Lamps and bulbs 183
Changing a wheel 190
Battery 193
Fuses 196
In case of electrical
malfunction:
Fuel filler door 198
Sliding/Tilt sunroof 198
Tailgate 199
Assistance, giving and
receiving:
Jump-starting 200
Towing the vehicle 201
Page 183 of 238
Index
Data
Technology
Repairs
Car care
Controls
Overview
183nLamps and bulbs
The lamps and bulbs make essential
contributions to the safety of your vehi-
cle. For this reason, follow the instruc-
tions below carefully when replacing a
bulb. If you are not familiar with any of
the procedures, consult your BMW
center.
Do not touch the glass portion of a
new bulb with your bare hands
since even small amounts of impurities
burn into the surface and reduce the
service life of the bulb. Use a clean
cloth, paper napkin, or a similar mate-
rial, or hold the bulb by its metallic
base. <
A replacement bulb set is available from
your BMW center.
Whenever working on the electri-
cal system, switch off the electri-
cal accessory you are working on or
disconnect the cable from the negative
terminal of the battery. Failure to do this
could result in short circuits.
To prevent injuries and damage, com-
ply with any instructions provided by
the bulb manufacturer. <
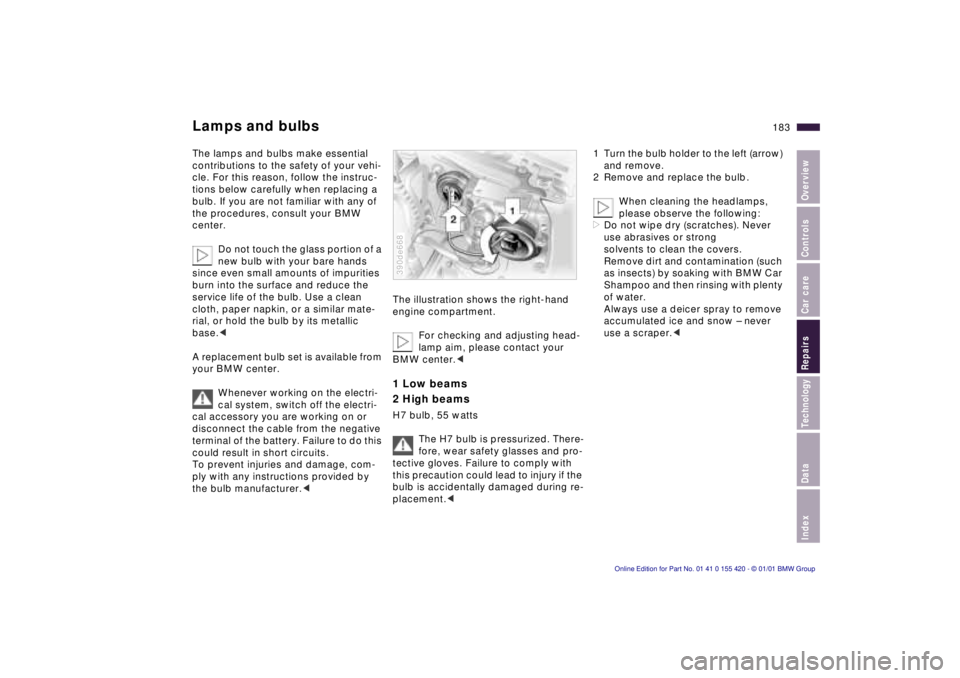
The illustration shows the right-hand
engine compartment.
For checking and adjusting head-
lamp aim, please contact your
BMW center. <
1 Low beams
2 High beams
H7 bulb, 55 watts
The H7 bulb is pressurized. There-
fore, wear safety glasses and pro-
tective gloves. Failure to comply with
this precaution could lead to injury if the
bulb is accidentally damaged during re-
placement. <
390de668
1 Turn the bulb holder to the left (arrow)
and remove.
2 Remove and replace the bulb.
When cleaning the headlamps,
please observe the following:
> Do not wipe dry (scratches). Never
use abrasives or strong
solvents to clean the covers.
Remove dirt and contamination (such
as insects) by soaking with BMW Car
Shampoo and then rinsing with plenty
of water.
Always use a deicer spray to remove
accumulated ice and snow – never
use a scraper. <