2001 BMW 525I SPORT WAGON light
[x] Cancel search: lightPage 124 of 238
124n
Glove compartment Storage facilities
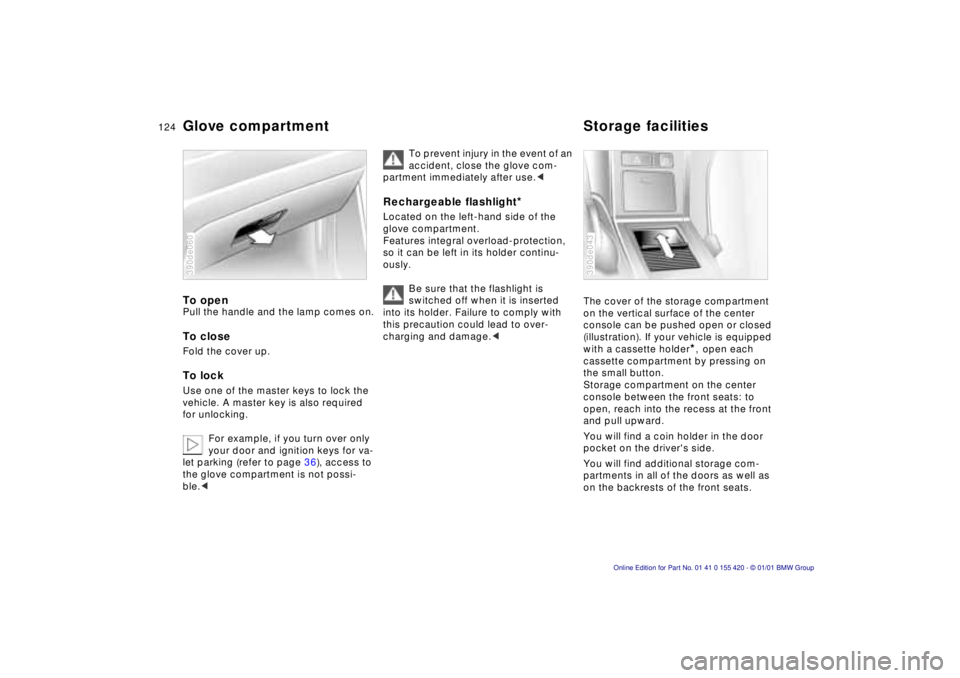
To open
Pull the handle and the lamp comes on.
To close
Fold the cover up.
To lock
Use one of the master keys to lock the
vehicle. A master key is also required
for unlocking.
For example, if you turn over only
your door and ignition keys for va-
let parking (refer to page 36), access to
the glove compartment is not possi-
ble.
<
390de060
To prevent injury in the event of an
accident, close the glove com-
partment immediately after use.
<
Rechargeable flashlight
*
Located on the left-hand side of the
glove compartment.
Features integral overload-protection,
so it can be left in its holder continu-
ously.
Be sure that the flashlight is
switched off when it is inserted
into its holder. Failure to comply with
this precaution could lead to over-
charging and damage.
<
The cover of the storage compartment
on the vertical surface of the center
console can be pushed open or closed
(illustration). If your vehicle is equipped
with a cassette holder
*
,
open each
cassette compartment by pressing on
the small button.
Storage compartment on the center
console between the front seats: to
open, reach into the recess at the front
and pull upward.
You will find a coin holder in the door
pocket on the driver's side.
You will find additional storage com-
partments in all of the doors as well as
on the backrests of the front seats.
390de043
Page 126 of 238
126nAshtray, front Cigarette lighter*
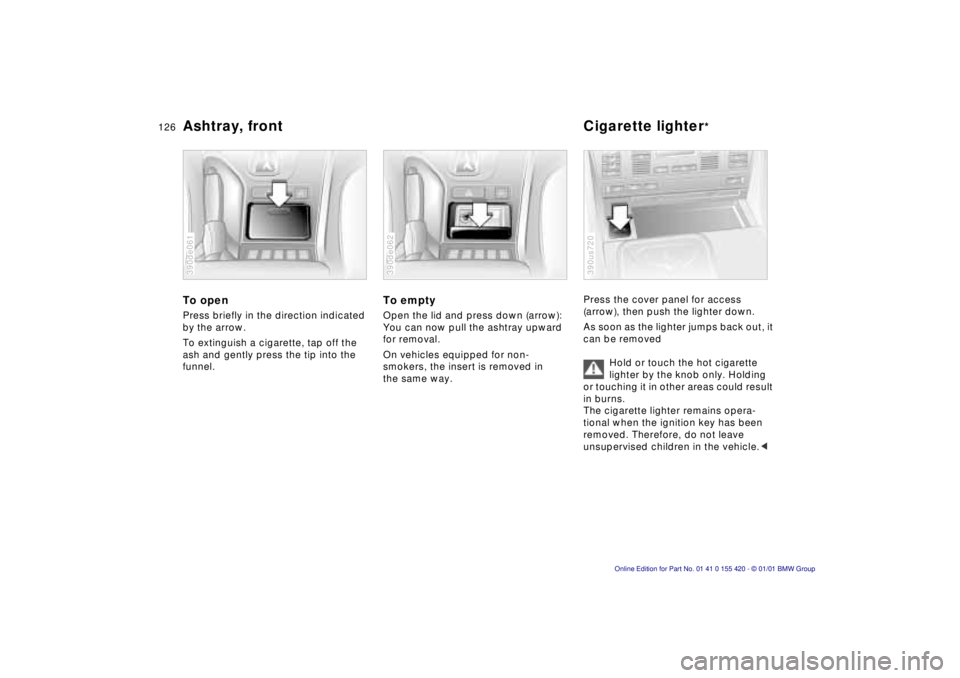
To open
Press briefly in the direction indicated
by the arrow.
To extinguish a cigarette, tap off the
ash and gently press the tip into the
funnel.
390de061
To empty
Open the lid and press down (arrow):
You can now pull the ashtray upward
for removal.
On vehicles equipped for non-
smokers, the insert is removed in
the same way.
390de062
Press the cover panel for access
(arrow), then push the lighter down.
As soon as the lighter jumps back out, it
can be removed
Hold or touch the hot cigarette
lighter by the knob only. Holding
or touching it in other areas could result
in burns.
The cigarette lighter remains opera-
tional when the ignition key has been
removed. Therefore, do not leave
unsupervised children in the vehicle. <
390us720
Page 127 of 238
Index
Data
Technology
Repairs
Car care
Controls
Overview
127nCigarette lighter*Ashtray, rear
Cigarette lighter socket
Suitable for attaching power supplies
for flashlights, car vacuum cleaners,
etc., up to a rating of approx. 200 watts
at 12 volts. Avoid damage to the socket
caused by inserting plugs of different
shapes or sizes.
Non-smoker's equipment
package
On vehicles with the non-smoker's
equipment package, the socket is
concealed by a cover.
For access to the socket: lift off the
cover.
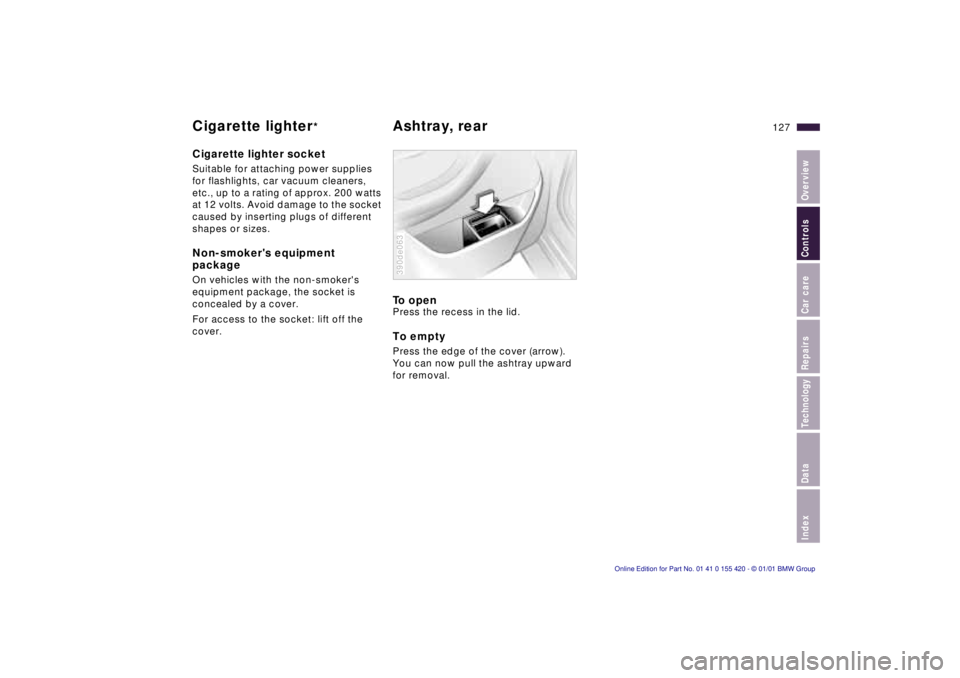
To openPress the recess in the lid.
To empty
Press the edge of the cover (arrow).
You can now pull the ashtray upward
for removal.
390de063
Page 132 of 238
132nLuggage compartment – sport wagon
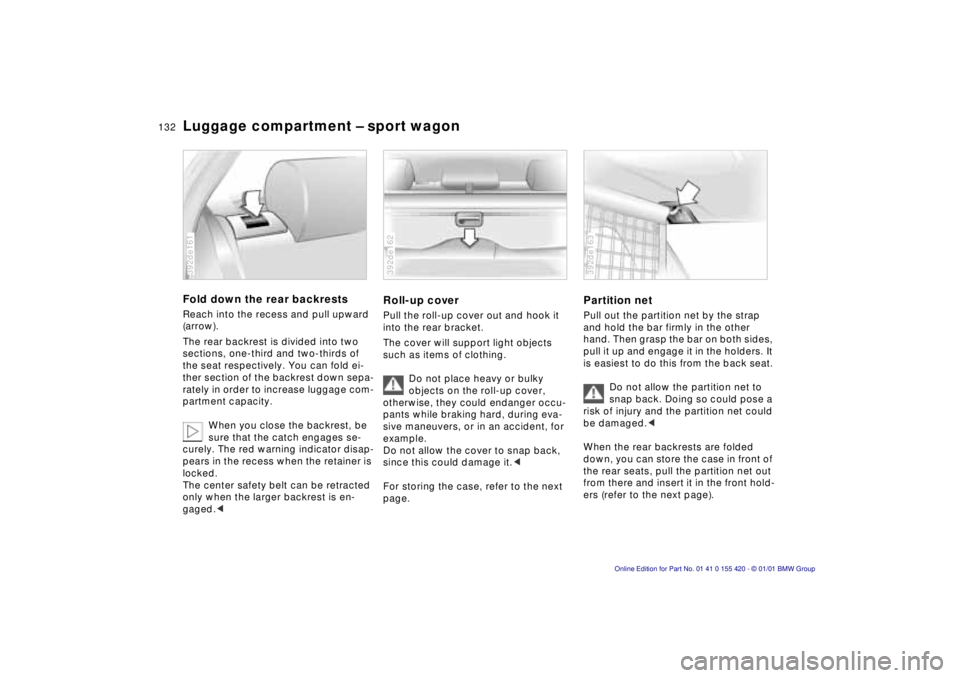
Fold down the rear backrests
Reach into the recess and pull upward
(arrow).
The rear backrest is divided into two
sections, one-third and two-thirds of
the seat respectively. You can fold ei-
ther section of the backrest down sepa-
rately in order to increase luggage com-
partment capacity.
When you close the backrest, be
sure that the catch engages se-
curely. The red warning indicator disap-
pears in the recess when the retainer is
locked.
The center safety belt can be retracted
only when the larger backrest is en-
gaged. <
392de161
Roll-up cover
Pull the roll-up cover out and hook it
into the rear bracket.
The cover will support light objects
such as items of clothing.
Do not place heavy or bulky
objects on the roll-up cover,
otherwise, they could endanger occu-
pants while braking hard, during eva-
sive maneuvers, or in an accident, for
example.
Do not allow the cover to snap back,
since this could damage it. <
For storing the case, refer to the next
page.
392de162
Partition net
Pull out the partition net by the strap
and hold the bar firmly in the other
hand. Then grasp the bar on both sides,
pull it up and engage it in the holders. It
is easiest to do this from the back seat. Do not allow the partition net to
snap back. Doing so could pose a
risk of injury and the partition net could
be damaged. <
When the rear backrests are folded
down, you can store the case in front of
the rear seats, pull the partition net out
from there and insert it in the front hold-
ers (refer to the next page).
392de163
Page 136 of 238
136nCargo loading
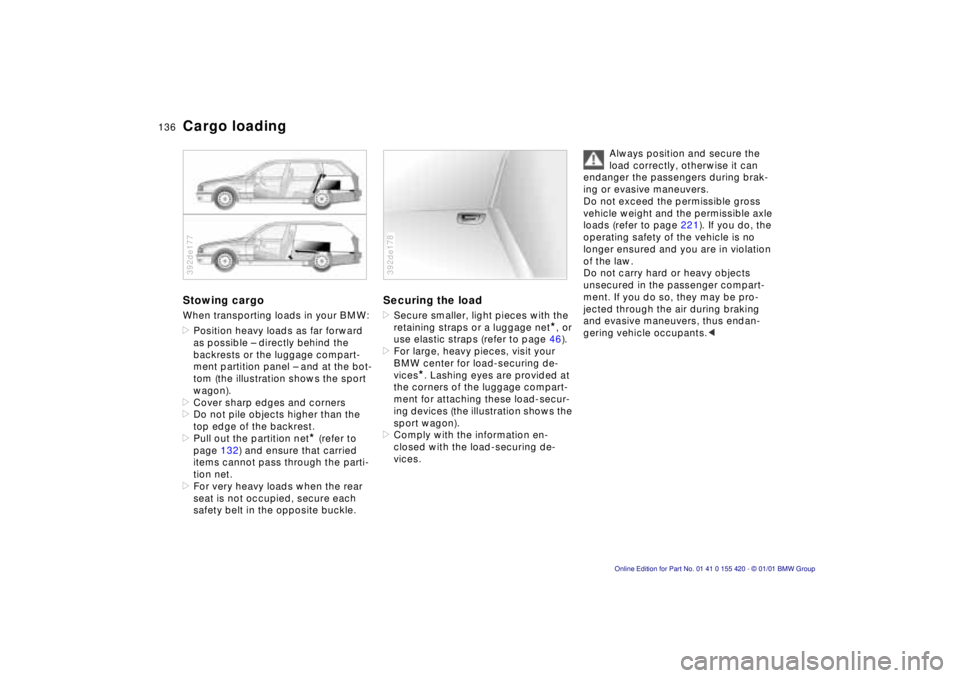
Stowing cargo
When transporting loads in your BMW:
>Position heavy loads as far forward
as possible – directly behind the
backrests or the luggage compart-
ment partition panel – and at the bot-
tom (the illustration shows the sport
wagon).
> Cover sharp edges and corners
> Do not pile objects higher than the
top edge of the backrest.
> Pull out the partition net
* (refer to
page 132) and ensure that carried
items cannot pass through the parti-
tion net.
> For very heavy loads when the rear
seat is not occupied, secure each
safety belt in the opposite buckle.
392de177
Securing the load
>Secure smaller, light pieces with the
retaining straps or a luggage net
*, or
use elastic straps (refer to page 46).
> For large, heavy pieces, visit your
BMW center for load-securing de-
vices
*. Lashing eyes are provided at
the corners of the luggage compart-
ment for attaching these load-secur-
ing devices (the illustration shows the
sport wagon).
> Comply with the information en-
closed with the load-securing de-
vices.
392de178
Always position and secure the
load correctly, otherwise it can
endanger the passengers during brak-
ing or evasive maneuvers.
Do not exceed the permissible gross
vehicle weight and the permissible axle
loads (refer to page 221). If you do, the
operating safety of the vehicle is no
longer ensured and you are in violation
of the law.
Do not carry hard or heavy objects
unsecured in the passenger compart-
ment. If you do so, they may be pro-
jected through the air during braking
and evasive maneuvers, thus endan-
gering vehicle occupants. <
Page 140 of 238

140nBreak-in procedure
To ensure that your vehicle provides
maximum economy throughout a long
service life, we request that you ob-
serve the following.
Engine and differential
Up to 1,200 miles (2,000 km):
Drive at varying engine speeds and
road speeds, but do not exceed
4,500 rpm and the following road
speeds during this initial period:
BMW 525i, 530i: 100 mph (160 km/h)
BMW 540i: 106 mph (170 km/h)
Obey your local and state maximum
speed limits.
Refrain from using full throttle and avoid
pressing the accelerator beyond the
kickdown point.
Once you have driven 1,200 miles
(2,000 km), engine and vehicle speeds
can gradually be increased.
You should also comply with these
break-in procedures if the engine or dif-
ferential is replaced later in the course
of the vehicle service life.
Tires
Due to technical factors associated
with their manufacture, tires do not
achieve their full traction potential until
an initial break-in period has elapsed
for this reason, drive with extra care
during the initial 200 miles (300 km).
Obey your local and state maximum
speed limits.
When the vehicle is operated on
wet or slushy roads, a wedge of
water may form between the tire and
the road surface. This phenomenon is
referred to as aquaplaning, or hydro-
planing, and can lead to partial or com-
plete loss of traction, vehicle control
and braking effectiveness. Reduce your
speed on wet roads. <
Brake system
Approximately 300 miles (500 km) must
elapse before the brake pads and ro-
tors achieve the optimal pad-surface
and wear patterns required for trouble-
free operation and long service life later
on.
To break in the separate parking brake
drums, apply the parking brake lightly
when coasting to a standstill (at a traffic
signal, for instance), provided that traf-
fic conditions allow you to do so. To
avoid corrosion, repeat this procedure
from time to time.
The brake lamps do not come on
when the parking brake is applied.
Vacuum for the brake system servo unit
on your BMW is available only when the
engine is running. When you move the
car with the engine shut off – when
towing, for instance – substantially
higher levels of pedal force will be
required to brake the vehicle. <
Clutch
The clutch will also begin to function
optimally after about 300 miles
(500 km). Engage the gears carefully
during the break-in period.
Page 141 of 238

Index
Data
Technology
Repairs
Car care
Controls
Overview
141nDriving notes
Brakes:
Do not drive with your foot resting
on the brake pedal. Even light but con-
sistent pedal pressure can lead to high
temperatures, brake wear and possibly
even brake failure.
Aquaplaning:
When driving on wet or slushy roads,
reduce road speed. If you do not, a
wedge of water can form between tires
and road surface. This phenomenon is
referred to as aquaplaning or hydro-
planing. It is characterized by a partial
or complete loss of contact between
the tires and the road surface. The ulti-
mate results are loss of steering and
braking control.
Driving through water:
Do not drive through water more than
1 ft (30 cm) deep. Drive only at walking
speed. Driving at a faster speed could
cause damage to the engine, the elec-
trical system and the transmission.Rear parcel tray:
Do not use the rear parcel tray to store
heavy or bulky objects. They could
pose a danger to the occupants during
braking, evasive maneuvers, or in an
accident.
Clothes hooks:
Hang items of clothing from the hooks
so that they will not obstruct the driver's
vision. Do not hang any heavy objects
on the hooks, as otherwise passengers
could be injured, e.g. during any hard
braking or evasive maneuvers, or dur-
ing an accident. <
Page 145 of 238
Index
Data
Technology
Repairs
Car care
Controls
Overview
145nDisc brakes
Driving notes
When driving in wet conditions and in
heavy rain, it is effective to apply light
pressure to the brake pedal every few
miles (kilometers). Watch traffic condi-
tions to ensure that this maneuver does
not endanger other road users. The
heat which is generated by the brake
applications helps to dry the brake
pads and rotors.
Maximum braking force is obtained
while the wheels continue to rotate,
peaking when the wheels remain on the
verge of locking without actually doing
so. ABS maintains this state automati-
cally. If the ABS fails, you should revert
to the staggered braking technique
described below (refer to page 147).
Extended or steep mountain descents
should be driven in the gear in which
only minimal periodic brake applica-
tions is required. This avoids excessive
strain on the brakes and possible im-
pairment of the braking effect.
The braking effect of the engine can be
further increased by downshifting, into
first gear, if necessary. In the manual
mode of the automatic transmission,
you can also downshift into first gear.
Refer to page 76. Should engine braking prove inade-
quate, you should still avoid extended,
continuous braking. Instead of main-
taining low to moderate pressure over
an extended period of time, you should
decelerate by applying more substantial
pressure to the brake pedal (watch for
following traffic!), then releasing the
pedal, then repeating the application.
This staggered braking technique
allows the brakes to cool in the intervals
between active braking phases,
preventing overheating and ensuring
that full braking capacity remains avail-
able at all times.
Do not coast with the clutch de-
pressed or with the transmission
or selector lever in Neutral. Do not
coast with the engine shut off. The
engine provides no braking effect when
the clutch is depressed or the transmis-
sion is in neutral, and there is no
power-assist for braking or steering
when the engine is not running.
Never allow floor mats, carpets or any
other objects to protrude into the area
around the accelerator, clutch and
brake pedals and obstruct their move-
ment. <
Dynamic Brake Control (DBC)*
If you apply the brakes rapidly, this
system automatically produces the
maximum braking force boost and thus
helps to achieve the shortest possible
braking distance during "panic stops."
All of the benefits of the ABS system
are exploited under these circum-
stances.
Do not reduce the pressure on the
brake pedal for the duration of the
brake application. When the brake
pedal is released, the DBC is deacti-
vated.
In the event of a malfunction, the yellow
warning lamp comes on. Conventional
braking efficiency is available without
limitations.
Have the system checked and repaired
at your BMW center as soon as possi-
ble.
For "Information for your safety"
covering the ABS system, refer to
page 144. This information also gener-
ally applies for DBC. <