2001 BMW 325XI driver
[x] Cancel search: driverPage 4 of 211
© 2000 BMW AG
Munich, Germany
Reprinting, including excerpts, only with the
written consent of BMW AG, Munich.
Order number 01 41 0 155 476
US English IX/00
Printed in Germany
Printed on environmentally friendly paper
(bleached without chlorine, suitable for recycling).
4n
Notes on the Owner's Manual
We have made every effort to ensure
that you are able to find what you need
in this Owner's Manual as quickly as
possible. The fastest way to find certain
topics is by using the detailed index at
the end. If you wish to gain only an initial
overview of your vehicle, you will find
this in the first chapter.
The detailed list of contents that directly
follows the summary of contents is
intended to stimulate your curiosity
regarding your BMW and to encourage
you to read the manual.
Should you wish to sell your BMW at
some time in the future, please
remember to hand over this Owner's
Manual to the new owner; it is part of
the vehicle.
Should you have any further questions,
your BMW center will be glad to assist
at any time.
Symbols used
Indicates instructions or precau-
tions that must be followed
precisely in order to avoid the possi-
bility of personal injury and serious
damage to the vehicle.
<
Contains information that will
assist you in gaining the optimum
benefit from your vehicle and enable
you to care more effectively for your
vehicle.
<
Refers to measures that can
be taken to help protect the
environment.
<
<
Marks the end of a specific item of
information.
*
Indicates special equipment, country-
specific equipment and optional extras.
Identifies systems or components,
which your BMW center can either
activate or adapt to suit an individual
driver's requirements ("Car Memory",
"Key Memory"). Refer to page 53.
<
The individual vehicle
On purchasing your BMW, you have
decided in favor of a model with individ-
ualized equipment and features. This
Owner's Manual describes all models
and equipment that BMW offers within
the same group.
We hope you will understand that
equipment and features are included
which you might not have chosen for
your vehicle. Any differences can easily
be identified, since all optional acces-
sories and special equipment are
marked with an asterisk
*
.
If your BMW features equipment which
is not described in this Owner's Manual
(car radio or telephone, for instance),
Supplementary Owner's Manuals are
enclosed. We ask you to read these
manuals as well.
Notes
Symbols
The individual vehicle
Page 28 of 211

28n
Fuel specifications Tire inflation pressure The engine uses lead-free gasoline
only.
Required fuel:
>Premium Unleaded Gasoline,
min. 91 AKI.
AKI = Anti Knock Index
Do not use leaded fuels. The use
of leaded fuels will cause perma-
nent damage to the system's oxygen
sensor and the catalytic converter.<
Proper inflation pressures are on a
sticker attached to the B-pillar and
visible with the driver's door open.Check tire pressuresOn the next page you will find all the tire
pressure and ambient air temperature
specifications stated in the units usually
used in your country (psi; kilopascal).
For vehicles with Tire Pressure Control
(RDC):
After a correction of the tire inflation
pressure, reactivate the system. Refer
to page 86.460de163
Check tire inflation pressures Ð
including the space-saver spare
tire, or spare tire Ð regularly, at least
every two weeks and before beginning
a longer trip. Incorrect tire pressure can
otherwise lead to tire damage and acci-
dents.
Inflate the spare tire to the highest tire
inflation pressure specified for your
vehicle.<
Page 34 of 211
34n
Central locking system Opening and closing Ð from the outside The conceptThe central locking system is ready for
operation whenever the driver's door is
closed. The system engages and
releases the locks on the
>doors,
>luggage compartment lid and
>fuel filler door.
The central locking system can be
operated
>from outside via the door lock and
using the remote control
>from inside by pressing a button.
Activating it from inside does not lock
the fuel filler door (see page 38). When
the system is actuated from the
outside, the antitheft system is acti-
vated simultaneously. Both the door
locks and the safety lock buttons
remain locked. The alarm system is also
armed or disarmed.
If locked from the inside, the central
locking system unlocks automatically in
the event of an accident. In addition,
the hazard warning flashers and interior
lamps come on.
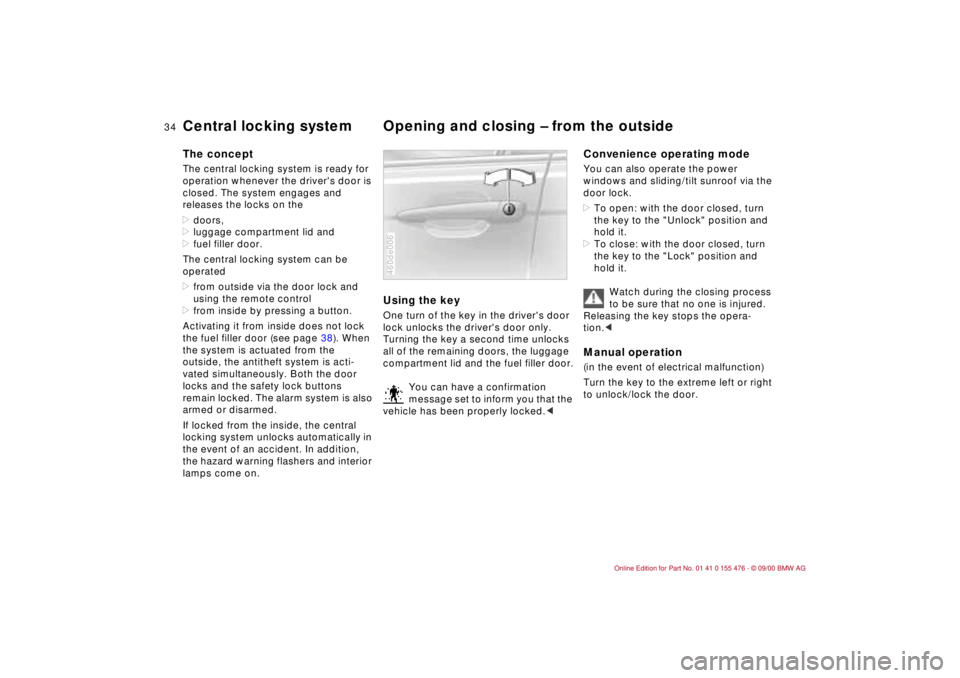
Using the keyOne turn of the key in the driver's door
lock unlocks the driver's door only.
Turning the key a second time unlocks
all of the remaining doors, the luggage
compartment lid and the fuel filler door.
You can have a confirmation
message set to inform you that the
vehicle has been properly locked.<460de006
Convenience operating modeYou can also operate the power
windows and sliding/tilt sunroof via the
door lock.
>To open: with the door closed, turn
the key to the "Unlock" position and
hold it.
>To close: with the door closed, turn
the key to the "Lock" position and
hold it.
Watch during the closing process
to be sure that no one is injured.
Releasing the key stops the opera-
tion.
to unlock/lock the door.
Page 36 of 211

36n
Opening and closing Ð from the outsideTo unlock the vehiclePress button 1 to unlock the driver's
door only.
After unlocking the driver's door, press
button 1 twice to unlock the entire
vehicle.Convenience opening modePress and hold button 1. The power
windows and the sliding/tilt sunroof are
opened.463de025
To lock and securePress button 2.46cde057
To switch on the interior lampsAfter locking the vehicle, press button 2
again.To switch off the tilt alarm
* and
interior motion sensor
*
Press button 2 again immediately after
locking.
For additional information, refer to
page 43.46cde057
Page 38 of 211
38n
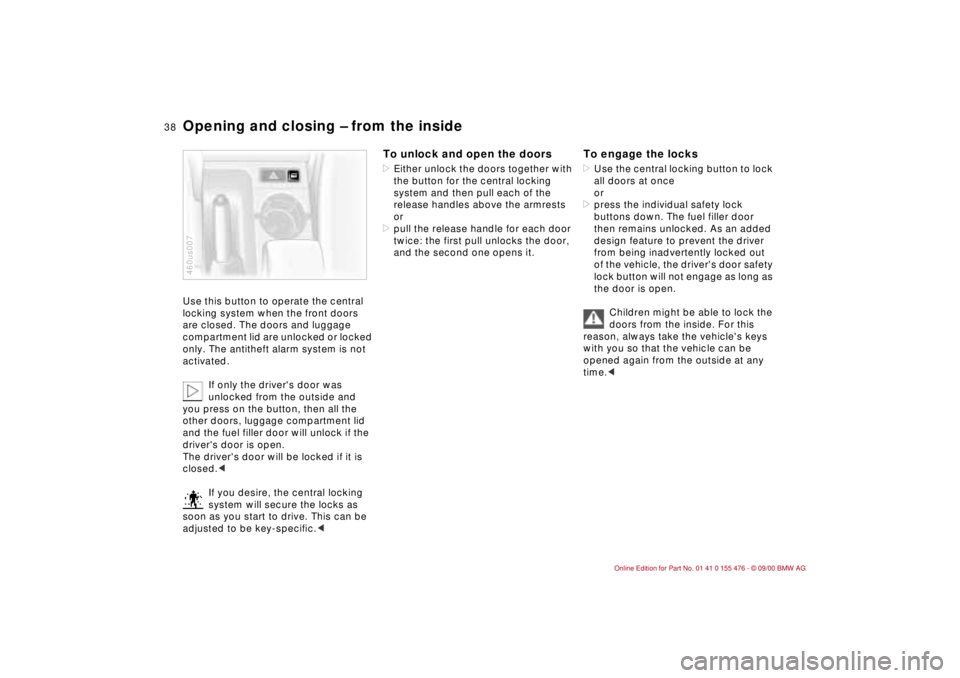
Opening and closing Ð from the inside Use this button to operate the central
locking system when the front doors
are closed. The doors and luggage
compartment lid are unlocked or locked
only. The antitheft alarm system is not
activated.
If only the driver's door was
unlocked from the outside and
you press on the button, then all the
other doors, luggage compartment lid
and the fuel filler door will unlock if the
driver's door is open.
The driver's door will be locked if it is
closed.<
If you desire, the central locking
system will secure the locks as
soon as you start to drive. This can be
adjusted to be key-specific.<460us007
To unlock and open the doors>Either unlock the doors together with
the button for the central locking
system and then pull each of the
release handles above the armrests
or
>pull the release handle for each door
twice: the first pull unlocks the door,
and the second one opens it.
To engage the locks>Use the central locking button to lock
all doors at once
or
>press the individual safety lock
buttons down. The fuel filler door
then remains unlocked. As an added
design feature to prevent the driver
from being inadvertently locked out
of the vehicle, the driver's door safety
lock button will not engage as long as
the door is open.
Children might be able to lock the
doors from the inside. For this
reason, always take the vehicle's keys
with you so that the vehicle can be
opened again from the outside at any
time.<
Page 40 of 211
40n
Luggage compartment lidOpening from the inside
*
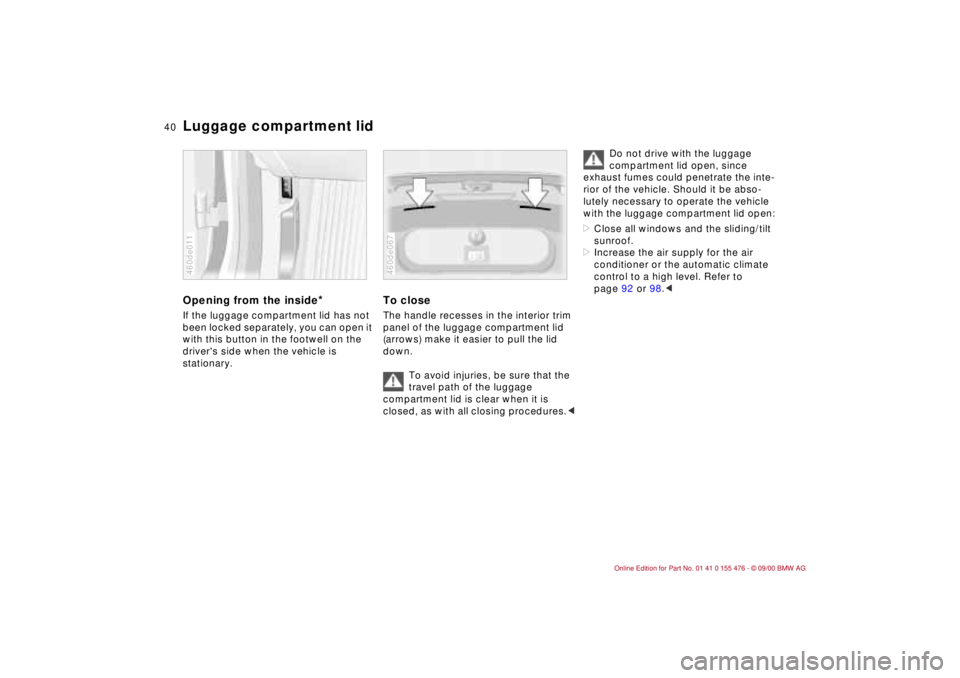
If the luggage compartment lid has not
been locked separately, you can open it
with this button in the footwell on the
driver's side when the vehicle is
stationary.460de011
To closeThe handle recesses in the interior trim
panel of the luggage compartment lid
(arrows) make it easier to pull the lid
down.
To avoid injuries, be sure that the
travel path of the luggage
compartment lid is clear when it is
closed, as with all closing procedures.<460de067
Do not drive with the luggage
compartment lid open, since
exhaust fumes could penetrate the inte-
rior of the vehicle. Should it be abso-
lutely necessary to operate the vehicle
with the luggage compartment lid open:
>Close all windows and the sliding/tilt
sunroof.
>Increase the air supply for the air
conditioner or the automatic climate
control to a high level. Refer to
page 92 or 98.<
Page 50 of 211
50n
Power seat
*
Seat and mirror memory
*
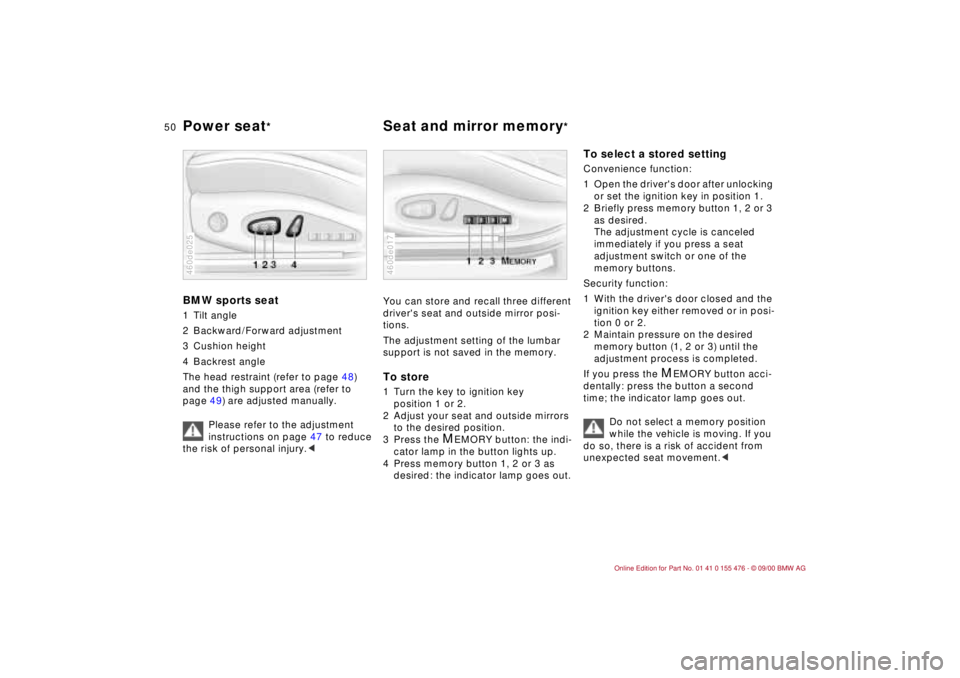
BMW sports seat1 Tilt angle
2 Backward/Forward adjustment
3 Cushion height
4 Backrest angle
The head restraint (refer to page 48)
and the thigh support area (refer to
page 49) are adjusted manually.
Please refer to the adjustment
instructions on page 47 to reduce
the risk of personal injury.<460de025
You can store and recall three different
driver's seat and outside mirror posi-
tions.
The adjustment setting of the lumbar
support is not saved in the memory.To store1 Turn the key to ignition key
position 1 or 2.
2 Adjust your seat and outside mirrors
to the desired position.
3 Press the
M
EMORY button: the indi-
cator lamp in the button lights up.
4 Press memory button 1, 2 or 3 as
desired: the indicator lamp goes out.
460de017
To select a stored setting Convenience function:
1 Open the driver's door after unlocking
or set the ignition key in position 1.
2 Briefly press memory button 1, 2 or 3
as desired.
The adjustment cycle is canceled
immediately if you press a seat
adjustment switch or one of the
memory buttons.
Security function:
1 With the driver's door closed and the
ignition key either removed or in posi-
tion 0 or 2.
2 Maintain pressure on the desired
memory button (1, 2 or 3) until the
adjustment process is completed.
If you press the
M
EMORY button acci-
dentally: press the button a second
time; the indicator lamp goes out.
Do not select a memory position
while the vehicle is moving. If you
do so, there is a risk of accident from
unexpected seat movement.<
Page 51 of 211
51n
IndexDataTechnologyRepairsCar careControlsOverview
Seat and mirror memory
*
Adjusting steering wheel
Your BMW center can adjust your
vehicle's systems in such a
manner that your personalized settings
are automatically set for the seat and
outside mirror positions when you
unlock the vehicle with your personal
remote control.<
If you make use of this method of
adjustment, be sure that the foot-
well behind the driver's seat is unob-
structed before unlocking the vehicle.
If you fail to do so, persons or objects
could be injured or damaged if the seat
should move backward.<
Passenger side exterior mirror tilt
function(automatic curb monitor)
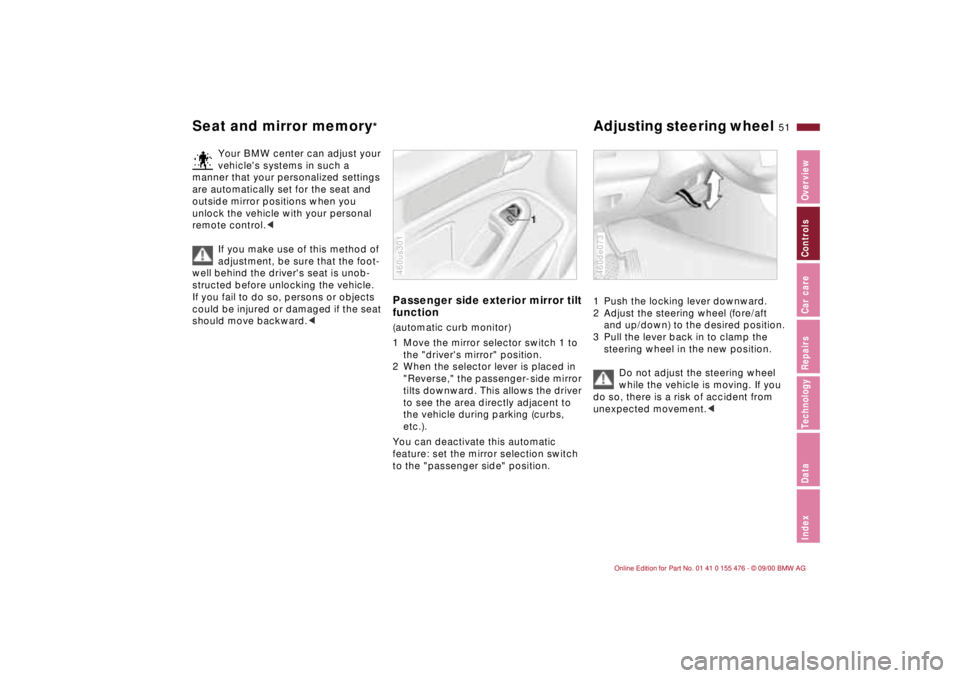
1 Move the mirror selector switch 1 to
the "driver's mirror" position.
2 When the selector lever is placed in
"Reverse," the passenger-side mirror
tilts downward. This allows the driver
to see the area directly adjacent to
the vehicle during parking (curbs,
etc.).
You can deactivate this automatic
feature: set the mirror selection switch
to the "passenger side" position.460us301
1 Push the locking lever downward.
2 Adjust the steering wheel (fore/aft
and up/down) to the desired position.
3 Pull the lever back in to clamp the
steering wheel in the new position.
Do not adjust the steering wheel
while the vehicle is moving. If you
do so, there is a risk of accident from
unexpected movement.<460de073