2001 BMW 325i SEDAN ignition
[x] Cancel search: ignitionPage 68 of 211
68n
Automatic transmission with Steptronic
*
In the following situations, the Step-
tronic "thinks" for you in the manual
mode:
>In order to prevent the engine from
overrevving, the transmission shifts
automatically to the next higher gear
just before the engine speed cutoff
point.
>If you do not do anything to inter-
vene, it will automatically downshift
at lower speeds.
>In kickdown, it will downshift into
the lowest gear possible, depending
on the engine speed.
>According to the situation, for
instance in wintry conditions, the
vehicle can be started in 2nd or
3rd gear.
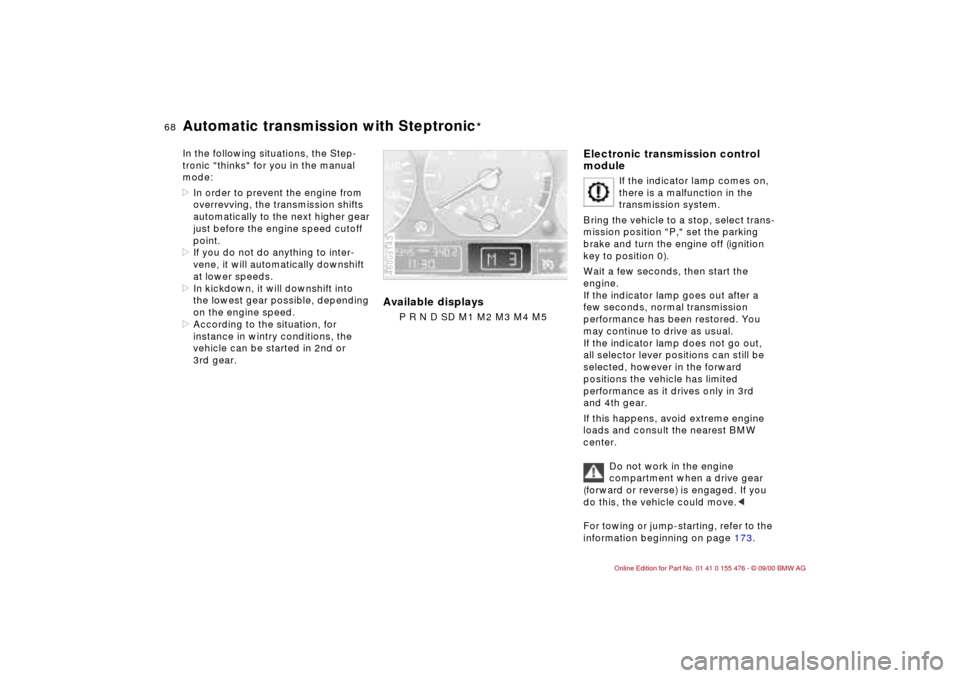
Available displays
P R N D SD M1 M2 M3 M4 M5460us143
Electronic transmission control
module
If the indicator lamp comes on,
there is a malfunction in the
transmission system.
Bring the vehicle to a stop, select trans-
mission position "P," set the parking
brake and turn the engine off (ignition
key to position 0).
Wait a few seconds, then start the
engine.
If the indicator lamp goes out after a
few seconds, normal transmission
performance has been restored. You
may continue to drive as usual.
If the indicator lamp does not go out,
all selector lever positions can still be
selected, however in the forward
positions the vehicle has limited
performance as it drives only in 3rd
and 4th gear.
If this happens, avoid extreme engine
loads and consult the nearest BMW
center.
Do not work in the engine
compartment when a drive gear
(forward or reverse) is engaged. If you
do this, the vehicle could move.<
For towing or jump-starting, refer to the
information beginning on page 173.
Page 70 of 211

70n
Wiper/Washer system1 Intermittent mode or rain
sensor
*
Intermittent mode:
You can use rotary dial 6 to select from
four wipe intervals.
In addition, the wipe interval automati-
cally adapts to variations in road speed.
Rain sensor:
The rain sensor is positioned on the
windshield, directly ahead of the inte-
rior rearview mirror. When the rain
sensor is activated, the windshield
wiper is controlled automatically,
depending on the degree of wetness of
the windshield (in both snow and rain).
You do not have to be concerned with
switching the windshield wiper on or off
or adjusting the wipe interval between
intermittent and full wipe. Instead, you 460de023
can concentrate fully on the traffic
conditions. This is especially important
under adverse weather conditions.
To activate the rain sensor:
In ignition key position 1, move the
lever to position 1. The wipers travel
once across the windshield, regardless
of the weather.
You can leave the lever permanently in
position 1, and then activate the rain
sensor from ignition key position 1. To
do this,
>turn rotary dial 6 briefly or
>use cleaning windshield 5.
To adjust the sensitivity of the rain
sensor:
Turn rotary dial 6.
Deactivating the rain sensor:
Put lever in position 0.
Turn the rain sensor off when
passing through an automatic car
wash. Failure to do so could result in
damage caused by undesired wiper
activation.<
2 Normal wiper speedWhen the vehicle is stationary, the
wipers switch automatically to intermit-
tent wipe (not on vehicles with rain
sensor).3 Fast wiper speedWhen the vehicle is stationary, the
wipers operate at normal speed (not on
vehicles with rain sensor).5 Cleaning windshieldThe system sprays washer fluid against
the windshield and activates the wipers
for a brief period.
If you pull the lever only briefly, the
system sprays washer fluid onto the
windshield without activating the
wipers.
Page 71 of 211
71n
IndexDataTechnologyRepairsCar careControlsOverview
Wiper/Washer system Rear window defroster Cleaning headlamps
*
When the vehicle's lighting system is
switched on, the headlamps will also be
cleaned every fifth time cleaning wind-
shield 5 is activated.
Do not use the washers if there
is any danger that the fluid will
freeze on the windshield. If you do so,
your vision could be obscured. Use an
antifreeze agent. Refer to page 138.
Do not use the washers when the reser-
voir is empty. If you do so, the washer
pump could be damaged.
automatically when the ignition key is in
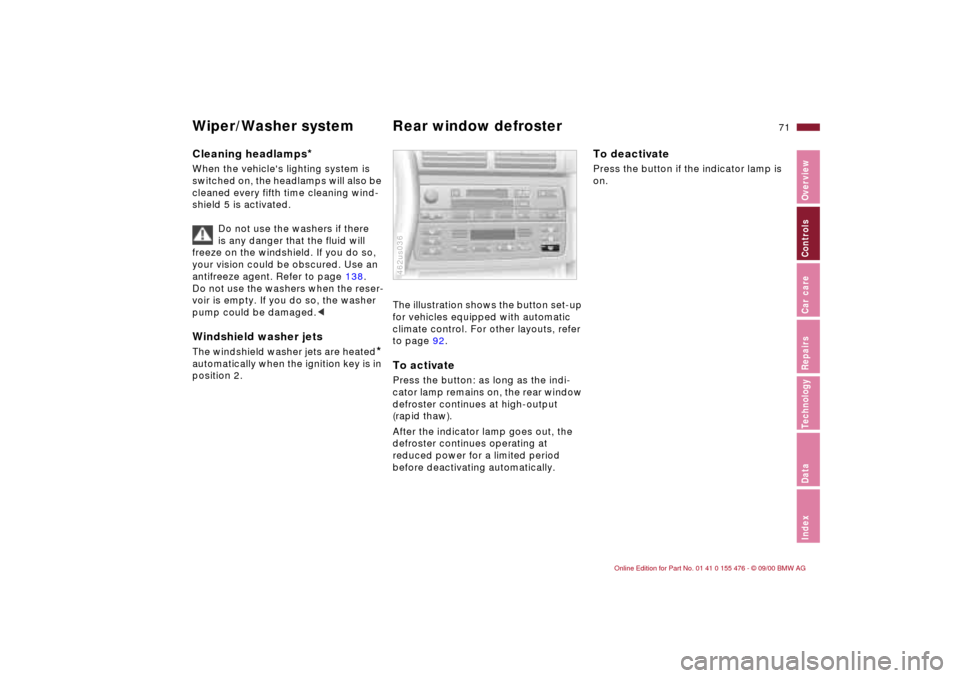
position 2.The illustration shows the button set-up
for vehicles equipped with automatic
climate control. For other layouts, refer
to page 92.To activatePress the button: as long as the indi-
cator lamp remains on, the rear window
defroster continues at high-output
(rapid thaw).
After the indicator lamp goes out, the
defroster continues operating at
reduced power for a limited period
before deactivating automatically. 462us036
To deactivatePress the button if the indicator lamp is
on.
Page 72 of 211
72n
Cruise control
*
You can store and automatically main-
tain any desired vehicle speed above
approx. 20 mph (30 km/h).
Do not use cruise control on
twisting roads, when high traffic
density prevents driving at a constant
speed, when the road surface is slick
(snow, rain, ice), or when the road
surface is loose (rocks, sand).
the instrument cluster comes on. You
can now use the cruise control.460de077
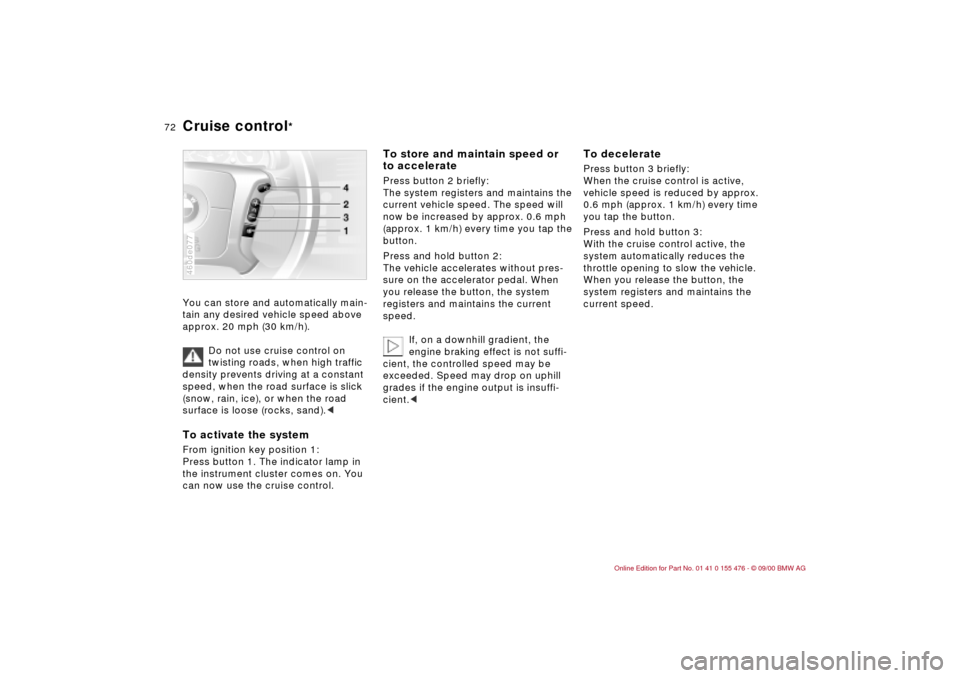
To store and maintain speed or
to accelerate Press button 2 briefly:
The system registers and maintains the
current vehicle speed. The speed will
now be increased by approx. 0.6 mph
(approx. 1 km/h) every time you tap the
button.
Press and hold button 2:
The vehicle accelerates without pres-
sure on the accelerator pedal. When
you release the button, the system
registers and maintains the current
speed.
If, on a downhill gradient, the
engine braking effect is not suffi-
cient, the controlled speed may be
exceeded. Speed may drop on uphill
grades if the engine output is insuffi-
cient.<
To deceleratePress button 3 briefly:
When the cruise control is active,
vehicle speed is reduced by approx.
0.6 mph (approx. 1 km/h) every time
you tap the button.
Press and hold button 3:
With the cruise control active, the
system automatically reduces the
throttle opening to slow the vehicle.
When you release the button, the
system registers and maintains the
current speed.
Page 73 of 211

73n
IndexDataTechnologyRepairsCar careControlsOverview
Cruise control
*
To cancel the cruise control When the system is activated, press
and hold button 1. The indicator lamp
stays on. You can use the cruise control
again as desired.
In addition, cruise control is canceled
automatically:
>if the brakes are applied
>if the clutch is depressed or the auto-
matic transmission selector lever is
moved from "Drive" to "Neutral"
>if you exceed or fall below the
programmed speed for an extended
period (by depressing the acceler-
ator, for example).
To resume the stored settingPress button 4:
The vehicle accelerates to and main-
tains the last speed stored. When you
turn the ignition key to position 0, the
stored speed is deleted from the
system's memory and the system is
deactivated.
To deactivate the system When the cruise control has been
canceled, press button 1 again.
The indicator lamp goes off and the
stored speed is canceled.
Page 74 of 211
74n
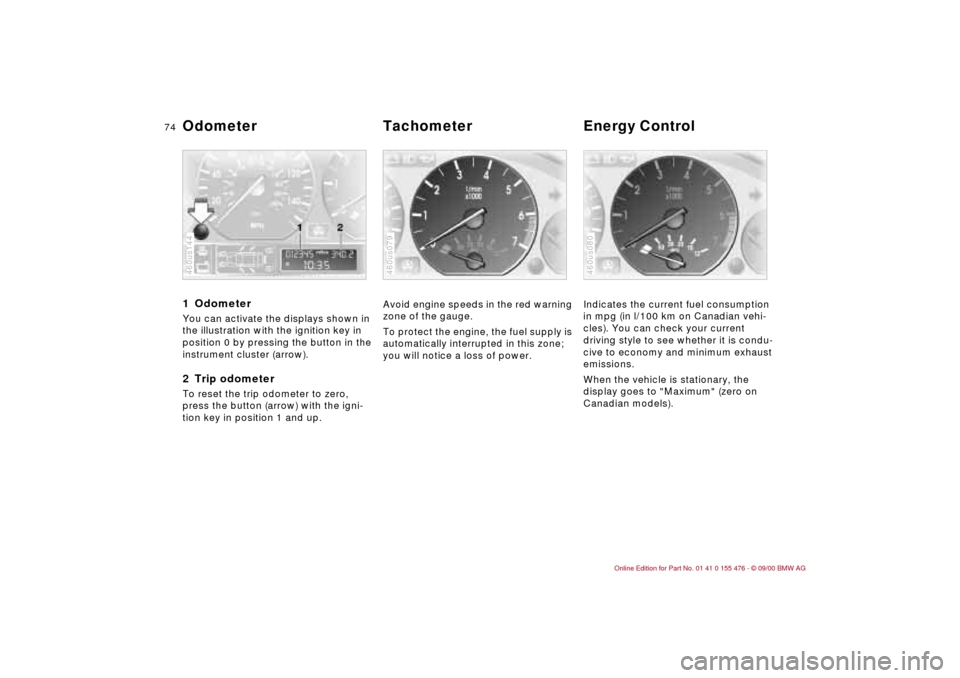
1 Odometer You can activate the displays shown in
the illustration with the ignition key in
position 0 by pressing the button in the
instrument cluster (arrow).2 Trip odometerTo reset the trip odometer to zero,
press the button (arrow) with the igni-
tion key in position 1 and up.460us144
Avoid engine speeds in the red warning
zone of the gauge.
To protect the engine, the fuel supply is
automatically interrupted in this zone;
you will notice a loss of power.460us079
Indicates the current fuel consumption
in mpg (in l/100 km on Canadian vehi-
cles). You can check your current
driving style to see whether it is condu-
cive to economy and minimum exhaust
emissions.
When the vehicle is stationary, the
display goes to "Maximum" (zero on
Canadian models).460us080
Odometer Tachometer Energy Control
Page 75 of 211
75n
IndexDataTechnologyRepairsCar careControlsOverview
Fuel gauge Temperature gauge Service Interval Display When you switch on the ignition, the
indicator lamp comes on briefly to
confirm that the system is stationary.
Once the indicator lamp begins to light
up continuously, there are still approx.
2 gallons (8 liters) of fuel in the fuel
tank.
Tank capacity: refer to page 195.
If the tilt of the vehicle varies (extended
driving in mountainous areas, for
example), there may be slight fluctua-
tions of the needle.
Fill the fuel tank well before it is
empty. Driving to the last drop of
fuel can result in damage to the engine
and/or the catalytic converter.<460us081
BlueThe engine is still cold. Drive at
moderate engine and vehicle speeds.RedWhen you switch on the ignition, the
indicator lamp comes on briefly to
confirm that the system is operational.
If the lamp comes on while operating
the vehicle: the engine is overheated.
Stop and switch the engine off immedi-
ately and allow it to cool down.Between the blue and red zonesNormal operating range. It is not
unusual for the needle to rise as far as
the edge of the red zone in response to
high outside temperatures or severe
operating conditions. Checking coolant
level: refer to page 142.460de082
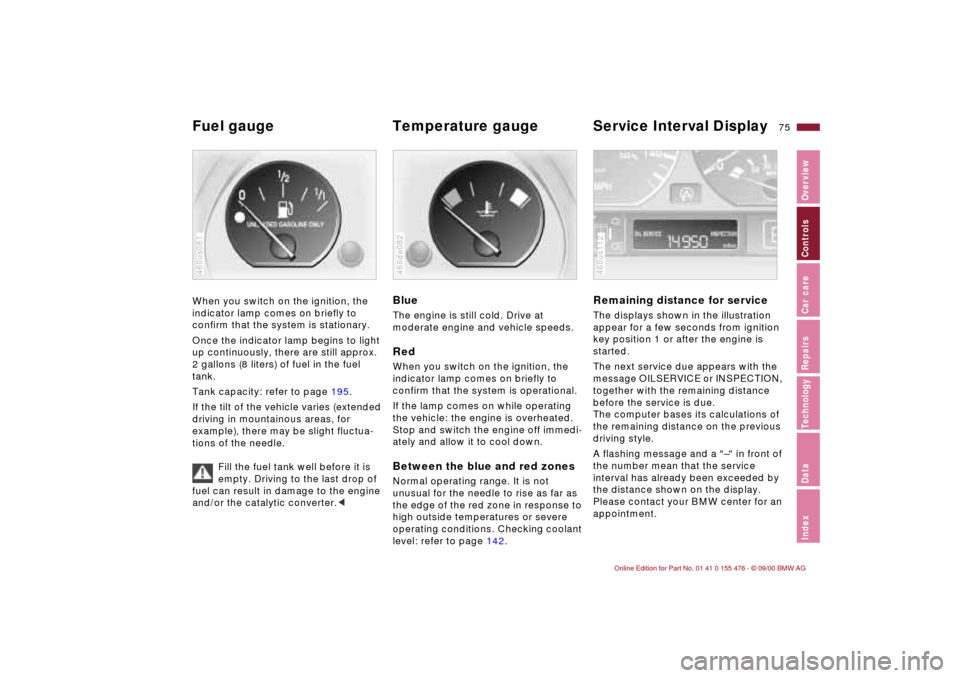
Remaining distance for serviceThe displays shown in the illustration
appear for a few seconds from ignition
key position 1 or after the engine is
started.
The next service due appears with the
message OILSERVICE or INSPECTION,
together with the remaining distance
before the service is due.
The computer bases its calculations of
the remaining distance on the previous
driving style.
A flashing message and a "Ð" in front of
the number mean that the service
interval has already been exceeded by
the distance shown on the display.
Please contact your BMW center for an
appointment.460us112
Page 76 of 211

76n
The following information and/or condi-
tions are indicated using symbols,
starting with the ignition key position 2,
until the condition has been corrected.
1 Inspect the low beam and high beam
headlamps, as well as the side lamps
2 Door open
3 Luggage compartment lid open
4 Check brake and tail lamps.
After the completion of a trip and when
the driver's door is opened, an acous-
tical signal is given for "Lamps on" if the
lamps have not been switched off.
When you open the driver's door after
stopping with the lights still on, a
warning signal sounds for LIGHTS ON.
460de083
If you wish to have a permanent time
display, you can make this adjustment
in the radio display (refer to the Radio
Owner's Manual).
You can adjust the clock and the time
display in the car radio as follows.
AdjustmentsFrom ignition key position 1.
To set ahead: turn the right knob to the
right.
To set back: turn the right knob to the
left.
The adjustment speed will increase the
longer you continue to hold the knob.
To change the display mode: press the
knob briefly.
Every time you press the knob, the
clock display alternates between the
12-hour or 24-hour mode.
In ignition key position 0: the time is
displayed for a few seconds after you
press the left button (refer to
"Odometer" on page 74).460us078
Check Control Clock