Page 69 of 211
69n
IndexDataTechnologyRepairsCar careControlsOverview
Turn signal indicator/Headlamp flasher Wiper/Washer system 1 High beams (blue indicator)
2 Headlamp flasher (blue indicator)
3 Turn signal indicator (green indicator
lamp accompanied by periodic
clicking sound from the relay)
If the indicator lamp and the clicking
from the relay are both faster than
normal, one of the turn signal indicators
has failed. 460de085
To signal brieflyPress the lever up to but not beyond
the detent. It then returns to the center
position when released.
0 Wipers retracted
1 Intermittent mode or rain sensor
2 Normal wipe
3 Fast wipe
4 Brief wipe
5 Cleaning windshield
6 Rotary dial for control of the wipe
interval or the sensitivity of the rain
sensor
460de023
Page 76 of 211

76n
The following information and/or condi-
tions are indicated using symbols,
starting with the ignition key position 2,
until the condition has been corrected.
1 Inspect the low beam and high beam
headlamps, as well as the side lamps
2 Door open
3 Luggage compartment lid open
4 Check brake and tail lamps.
After the completion of a trip and when
the driver's door is opened, an acous-
tical signal is given for "Lamps on" if the
lamps have not been switched off.
When you open the driver's door after
stopping with the lights still on, a
warning signal sounds for LIGHTS ON.
460de083
If you wish to have a permanent time
display, you can make this adjustment
in the radio display (refer to the Radio
Owner's Manual).
You can adjust the clock and the time
display in the car radio as follows.
AdjustmentsFrom ignition key position 1.
To set ahead: turn the right knob to the
right.
To set back: turn the right knob to the
left.
The adjustment speed will increase the
longer you continue to hold the knob.
To change the display mode: press the
knob briefly.
Every time you press the knob, the
clock display alternates between the
12-hour or 24-hour mode.
In ignition key position 0: the time is
displayed for a few seconds after you
press the left button (refer to
"Odometer" on page 74).460us078
Check Control Clock
Page 77 of 211

77n
IndexDataTechnologyRepairsCar careControlsOverview
Computer
*
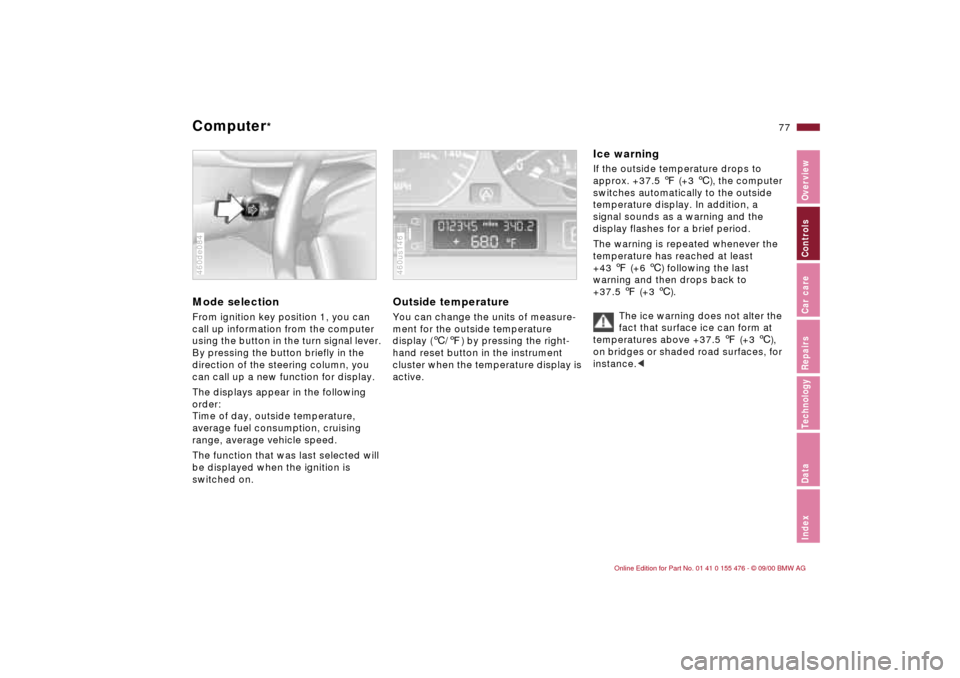
Mode selection
From ignition key position 1, you can
call up information from the computer
using the button in the turn signal lever.
By pressing the button briefly in the
direction of the steering column, you
can call up a new function for display.
The displays appear in the following
order:
Time of day, outside temperature,
average fuel consumption, cruising
range, average vehicle speed.
The function that was last selected will
be displayed when the ignition is
switched on.460de084
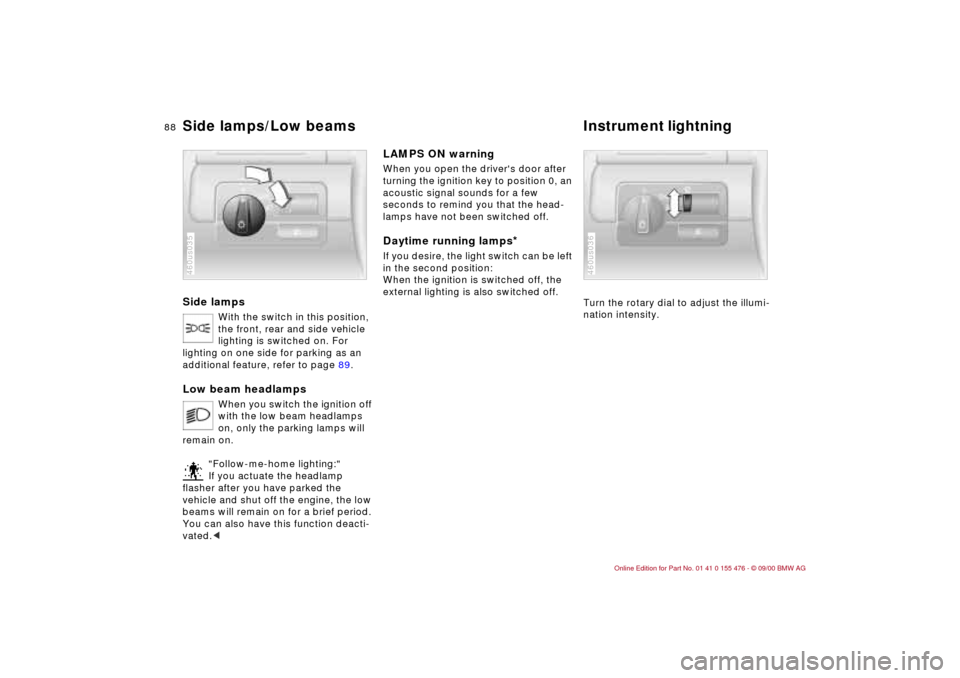
Outside temperature
You can change the units of measure-
ment for the outside temperature
display (
6
/
7
) by pressing the right-
hand reset button in the instrument
cluster when the temperature display is
active.
460us146
Ice warning
If the outside temperature drops to
approx. +37.5
7
(+3
6
), the computer
switches automatically to the outside
temperature display. In addition, a
signal sounds as a warning and the
display flashes for a brief period.
The warning is repeated whenever the
temperature has reached at least
+43
7
(+6
6
) following the last
warning and then drops back to
+37.5
7
(+3
6
).
The ice warning does not alter the
fact that surface ice can form at
temperatures above +37.5
7
(+3
6
),
on bridges or shaded road surfaces, for
instance.
<
Page 78 of 211
78n
Computer
*
Average fuel consumption If you continue to hold the button on the
turn signal lever, the average fuel
consumption last displayed is recalcu-
lated from that point.460us296
Range The computer bases its calculations of
the cruising range on the previous
driving style and the amount of fuel
remaining.460us148
Average speed If you continue to hold the button on the
turn signal lever, the average fuel
consumption last displayed for that
speed is recalculated from that point in
time.
Any time spent when the vehicle is
stationary and the engine is shut off is
ignored for the calculation.460us149
Page 88 of 211

88n
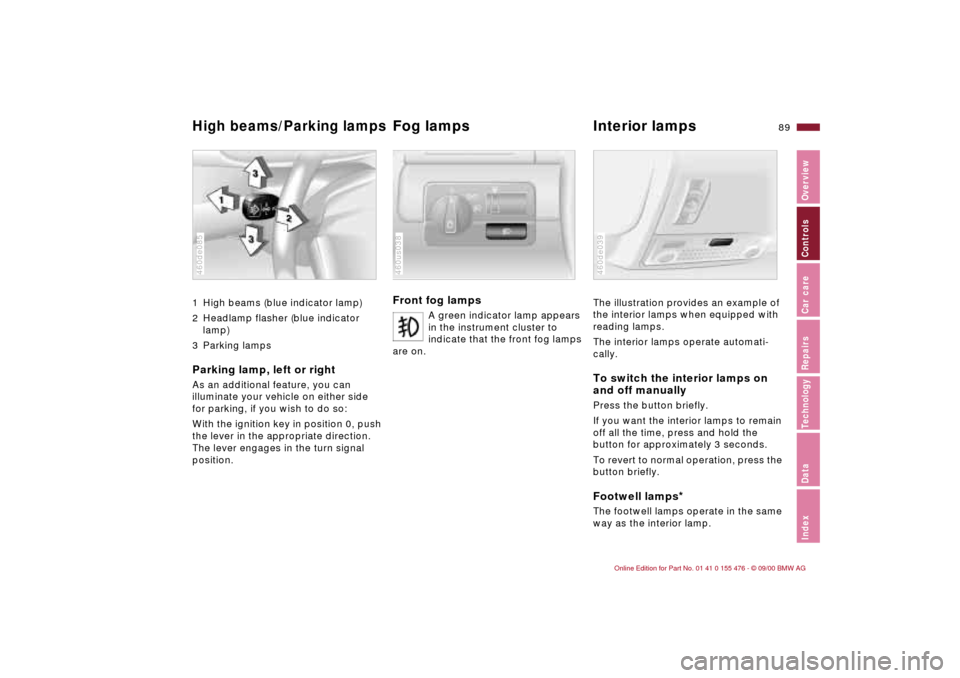
Side lamps
With the switch in this position,
the front, rear and side vehicle
lighting is switched on. For
lighting on one side for parking as an
additional feature, refer to page 89.
Low beam headlamps
When you switch the ignition off
with the low beam headlamps
on, only the parking lamps will
remain on.
"Follow-me-home lighting:"
If you actuate the headlamp
flasher after you have parked the
vehicle and shut off the engine, the low
beams will remain on for a brief period.
You can also have this function deacti-
vated.<
460us035
LAMPS ON warningWhen you open the driver's door after
turning the ignition key to position 0, an
acoustic signal sounds for a few
seconds to remind you that the head-
lamps have not been switched off.Daytime running lamps
*
If you desire, the light switch can be left
in the second position:
When the ignition is switched off, the
external lighting is also switched off.
Turn the rotary dial to adjust the illumi-
nation intensity.
460us036
Side lamps/Low beams Instrument lightning
Page 89 of 211

89n
IndexDataTechnologyRepairsCar careControlsOverview
High beams/Parking lamps
Fog lamps Interior lamps
1 High beams (blue indicator lamp)
2 Headlamp flasher (blue indicator
lamp)
3 Parking lamps
Parking lamp, left or right
As an additional feature, you can
illuminate your vehicle on either side
for parking, if you wish to do so:
With the ignition key in position 0, push
the lever in the appropriate direction.
The lever engages in the turn signal
position.460de085
Front fog lamps
A green indicator lamp appears
in the instrument cluster to
indicate that the front fog lamps
are on.
460us038
The illustration provides an example of
the interior lamps when equipped with
reading lamps.
The interior lamps operate automati-
cally.
To switch the interior lamps on
and off manually
Press the button briefly.
If you want the interior lamps to remain
off all the time, press and hold the
button for approximately 3 seconds.
To revert to normal operation, press the
button briefly.
Footwell lamps
*
The footwell lamps operate in the same
way as the interior lamp.460de039
Page 160 of 211
160n
Lamps and bulbsThe illustration shows the left-hand side
of the engine compartment.Parking lamps 5 watt bulb
1 Turn the bulb holder to the left (arrow)
and remove it
2 Remove and replace the bulb.460de171
Front turn signal indicator 21 watt bulb
1 Using a screwdriver, release the inner
hook through the upper opening
2 Pull the lamp toward the front
3 Applying light pressure, turn the bulb
to the left. Remove and exchange the
bulb460de133
4 Insert the 2 pins on the lamp into the
guides on the vehicle
5 Guide the lamp into position. Apply
gentle pressure until you hear it
engage.460de134
Page 161 of 211
161n
IndexDataTechnologyRepairsCar careControlsOverview
Lamps and bulbsSide turn signal indicators
5 watt bulb
1 Use finger pressure against the rear
end of the lens (arrow) to press it
forward for removal
2 Apply gentle pressure to the bulb
while turning it to the left to remove.460de135
Front fog lamps
*
HB4, 55 watt bulb
The bulb is pressurized. There-
fore, wear safety glasses and
protective gloves. Failure to comply
with this precaution could lead to injury
if the bulb is accidentally damaged
during replacement.<
1 Using a screwdriver, carefully loosen
the lamp
2 Applying light pressure, turn the bulb
to the left. Remove and exchange the
bulb.460de132
Tail lamps Tail lamps (4): bulbs 21/4 watts
Remaining bulbs: 21 watts
1 Turn signal indicator yellow
2 Backup lamp white
3 Tail lamp red
4 Tail lamp/Brake lamp red460us046