2001 BMW 325i SEDAN roof
[x] Cancel search: roofPage 43 of 211

43n
IndexDataTechnologyRepairsCar careControlsOverview
Alarm system
*
>If the indicator lamp flashes for
10 seconds when the system is
disarmed: an attempted entry has
been detected in the period since the
system was armed.
Following triggering of an alarm, the
indicator lamp will flash continuously.Avoiding an unintentional alarmThe tilt alarm sensor and interior motion
sensor may be switched off at the same
time. You can do this to prevent a false
alarm from being triggered (in garages
with elevator ramps, for instance), or
when the vehicle is transported by
trailer or train:
Lock the vehicle twice (= arm the
system). Press button 2 on the remote
control twice in succession or lock the
vehicle twice with the key (refer to
page 36).
The indicator lamp lights up briefly and
then flashes continuously. The tilt alarm
sensor and the interior motion sensor
are deactivated as long as the system is
armed.
Activate the alarm to reactivate the tilt
alarm sensor and the interior motion
sensor.
Interior motion sensorThe transmitter and receiver of the inte-
rior motion sensor are located in a trim
panel in the vehicle's roof.
In order for the interior motion sensor to
function properly, the windows and
sliding/tilt sunroof must be completely
closed.
However, you should switch off the inte-
rior motion sensor (see previous column
under the heading "Avoiding an unin-
tentional alarm") if you wish to leave the
windows or sliding/tilt sunroof open.460de159
Page 45 of 211
45n
IndexDataTechnologyRepairsCar careControlsOverview
Electric power windows Sliding/tilt sunroof
*
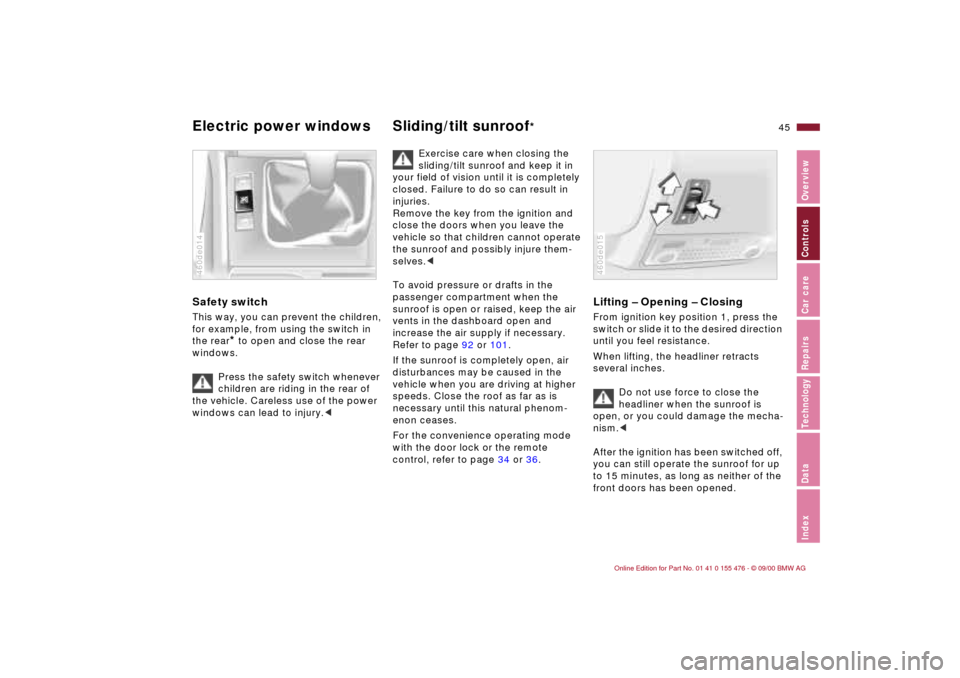
Safety switch This way, you can prevent the children,
for example, from using the switch in
the rear
* to open and close the rear
windows.
Press the safety switch whenever
children are riding in the rear of
the vehicle. Careless use of the power
windows can lead to injury.<
460de014
Exercise care when closing the
sliding/tilt sunroof and keep it in
your field of vision until it is completely
closed. Failure to do so can result in
injuries.
Remove the key from the ignition and
close the doors when you leave the
vehicle so that children cannot operate
the sunroof and possibly injure them-
selves.<
To avoid pressure or drafts in the
passenger compartment when the
sunroof is open or raised, keep the air
vents in the dashboard open and
increase the air supply if necessary.
Refer to page 92 or 101.
If the sunroof is completely open, air
disturbances may be caused in the
vehicle when you are driving at higher
speeds. Close the roof as far as is
necessary until this natural phenom-
enon ceases.
For the convenience operating mode
with the door lock or the remote
control, refer to page 34 or 36.
Lifting Ð Opening Ð ClosingFrom ignition key position 1, press the
switch or slide it to the desired direction
until you feel resistance.
When lifting, the headliner retracts
several inches.
Do not use force to close the
headliner when the sunroof is
open, or you could damage the mecha-
nism.<
After the ignition has been switched off,
you can still operate the sunroof for up
to 15 minutes, as long as neither of the
front doors has been opened.460de015
Page 46 of 211

46n
Sliding/tilt sunroof
*
Automatic opening and closing>Press the switch past the resistance
point briefly: the sunroof travels to
either the fully-closed or fully-open
position.
>With the sunroof open, press the
switch briefly toward "Lift:" the
sunroof automatically extends to its
fully raised position.
Pressing the switch again briefly stops
the motion immediately.
Safety featureIf the sliding/tilt sunroof encounters
resistance at a point roughly past the
middle of its travel when it is closing,
the closing cycle is interrupted and the
sunroof will open again slightly.
Despite this safety feature, always
be careful to ensure that the
closing path of the roof is not
obstructed. Otherwise, an object might
not touch the contact strip in some situ-
ations (very thin objects, for instance).
You can disable this safety feature by
pressing the switch beyond the resis-
tance point and holding it.<
Power loss or malfunctionIn the event of an electrical system
malfunction, the sliding/tilt sunroof can
be manually operated. Refer to
page 172.
Page 56 of 211
56n
Airbags
The side airbags in the rear
passenger area
* of your vehicle
may already have been deactivated
either at the time of manufacture or by a
BMW center. You may have them acti-
vated if you desire to do so. Please
contact your BMW center for additional
information.<
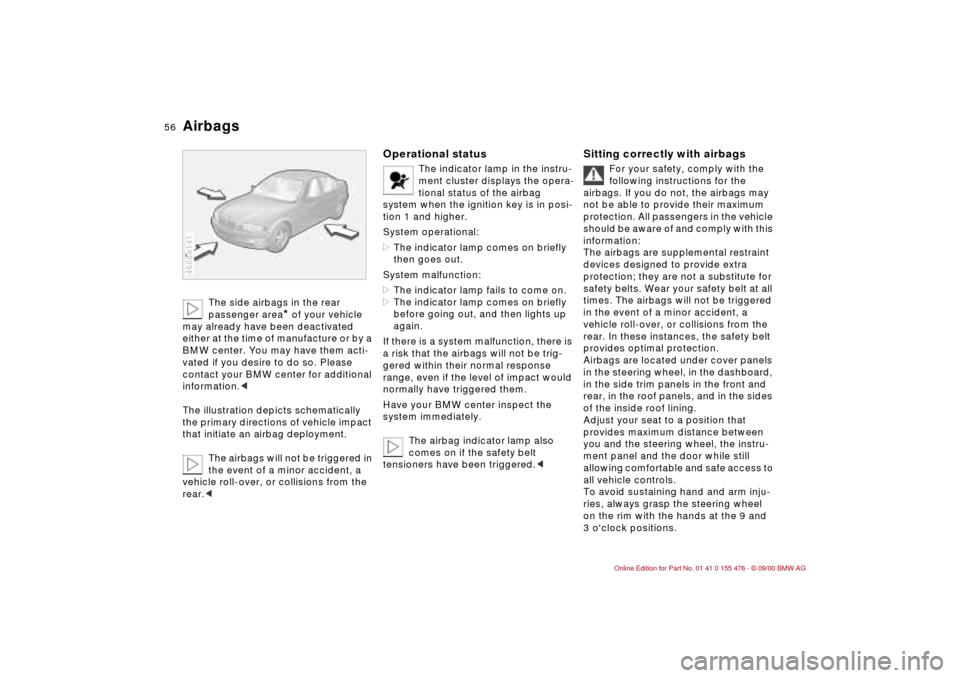
The illustration depicts schematically
the primary directions of vehicle impact
that initiate an airbag deployment.
The airbags will not be triggered in
the event of a minor accident, a
vehicle roll-over, or collisions from the
rear.c
460de141
Operational status
The indicator lamp in the instru-
ment cluster displays the opera-
tional status of the airbag
system when the ignition key is in posi-
tion 1 and higher.
System operational:
>The indicator lamp comes on briefly
then goes out.
System malfunction:
>The indicator lamp fails to come on.
>The indicator lamp comes on briefly
before going out, and then lights up
again.
If there is a system malfunction, there is
a risk that the airbags will not be trig-
gered within their normal response
range, even if the level of impact would
normally have triggered them.
Have your BMW center inspect the
system immediately.
The airbag indicator lamp also
comes on if the safety belt
tensioners have been triggered.<
Sitting correctly with airbags
For your safety, comply with the
following instructions for the
airbags. If you do not, the airbags may
not be able to provide their maximum
protection. All passengers in the vehicle
should be aware of and comply with this
information:
The airbags are supplemental restraint
devices designed to provide extra
protection; they are not a substitute for
safety belts. Wear your safety belt at all
times. The airbags will not be triggered
in the event of a minor accident, a
vehicle roll-over, or collisions from the
rear. In these instances, the safety belt
provides optimal protection.
Airbags are located under cover panels
in the steering wheel, in the dashboard,
in the side trim panels in the front and
rear, in the roof panels, and in the sides
of the inside roof lining.
Adjust your seat to a position that
provides maximum distance between
you and the steering wheel, the instru-
ment panel and the door while still
allowing comfortable and safe access to
all vehicle controls.
To avoid sustaining hand and arm inju-
ries, always grasp the steering wheel
on the rim with the hands at the 9 and
3 o'clock positions.
Page 113 of 211

113n
IndexDataTechnologyRepairsCar careControlsOverview
Cargo loading Roof-mounted luggage rack
*
Always position and secure the
load correctly. If you do not, it can
endanger the passengers during brak-
ing or evasive maneuvers.
Do not exceed the permissible gross
vehicle weight and the permissible axle
loads (refer to page 194). If you do, the
operating safety of the vehicle is no
longer ensured and you are in violation
of the law.
Do not carry hard or heavy objects
unsecured in the passenger compart-
ment. If you do so, they may be
projected through the air during braking
and evasive maneuvers, thus
endangering vehicle occupants.<
AnchorsAccess to the anchors:
To open the cover (arrow), please use
the tool included with the luggage rack
system.
A special roof-rack system is available
for your BMW as an optional extra.
Please comply with the precautions in-
cluded with the installation instructions.
Because roof racks raise the center of
gravity of the vehicle when loaded, they
exercise a major effect on its handling
and steering response.
You should therefore always remember
not to exceed the approved roof weight,
the approved gross vehicle weight or
the axle weights when loading the rack.
You will find the specifications under
"Technical Data" on page 194.462de271
Make sure that the load is not too heavy,
and attempt to distribute it evenly.
Always load the heaviest pieces first (on
the bottom). Be sure that adequate
clearance is maintained for raising the
sliding/tilt sunroof, and that objects do
not project into the opening path of the
luggage compartment lid.
Secure the roof luggage correctly and
securely to prevent it from shifting or
being lost during driving (danger to
following traffic).
Drive smoothly and avoid sudden ac-
celeration or braking. Do not corner at
high speeds.
The roof load increases the aerody-
namic resistance. Increased fuel
consumption and additional stresses
on the vehicle's body result from this.
Page 152 of 211
152n
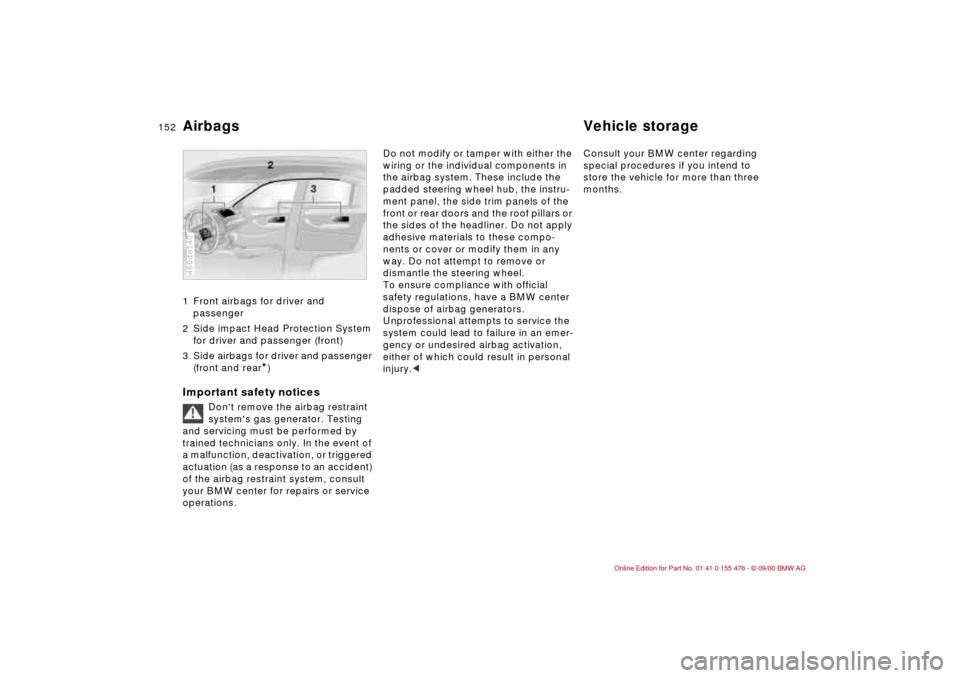
Airbags Vehicle storage1 Front airbags for driver and
passenger
2 Side impact Head Protection System
for driver and passenger (front)
3 Side airbags for driver and passenger
(front and rear
*)
Important safety notices
Don't remove the airbag restraint
system's gas generator. Testing
and servicing must be performed by
trained technicians only. In the event of
a malfunction, deactivation, or triggered
actuation (as a response to an accident)
of the airbag restraint system, consult
your BMW center for repairs or service
operations.
460de140
Do not modify or tamper with either the
wiring or the individual components in
the airbag system. These include the
padded steering wheel hub, the instru-
ment panel, the side trim panels of the
front or rear doors and the roof pillars or
the sides of the headliner. Do not apply
adhesive materials to these compo-
nents or cover or modify them in any
way. Do not attempt to remove or
dismantle the steering wheel.
To ensure compliance with official
safety regulations, have a BMW center
dispose of airbag generators.
Unprofessional attempts to service the
system could lead to failure in an emer-
gency or undesired airbag activation,
either of which could result in personal
injury.
store the vehicle for more than three
months.
Page 157 of 211
Overview
Controls and features
Operation, care
and maintenance
Owner service procedures
Technical data
Index Advanced technology
157n
IndexDataTechnologyRepairsCar careControlsOverview
Repairs
Replacement procedures:
Onboard tool kit158
Windshield wiper blades158
Lamps and bulbs158
Changing a wheel165
Battery168
Fuses170
Microfilter171
In case of electrical
malfunction:
Fuel filler door172
Sliding/tilt sunroof172
Assistance, giving and
receiving:
Jump-starting173
Towing the vehicle174
Page 172 of 211
172n
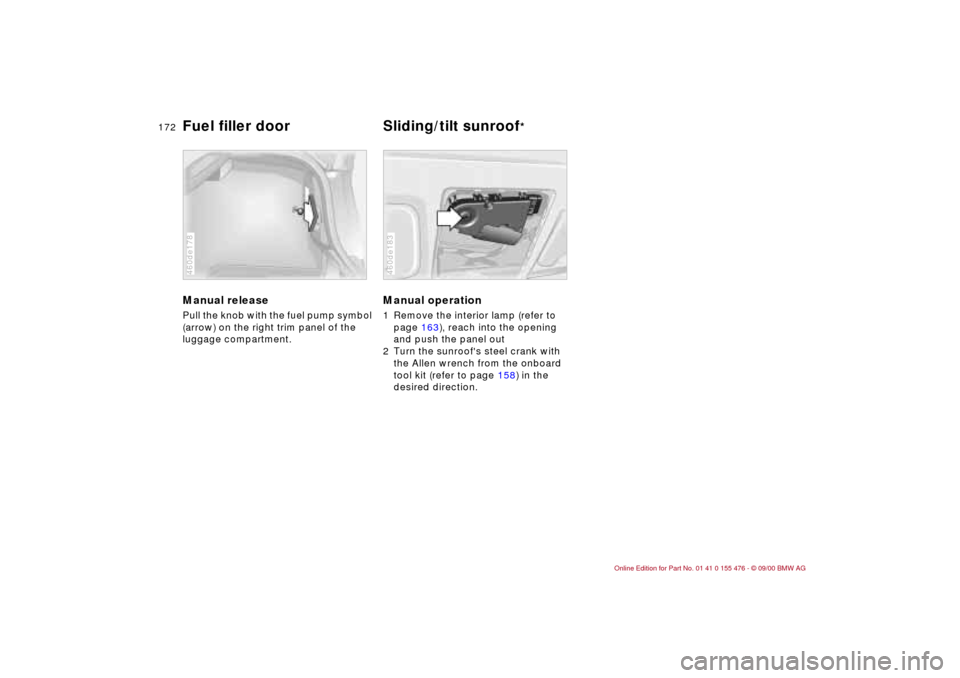
Manual release Pull the knob with the fuel pump symbol
(arrow) on the right trim panel of the
luggage compartment. 460de178
Manual operation 1 Remove the interior lamp (refer to
page 163), reach into the opening
and push the panel out
2 Turn the sunroof's steel crank with
the Allen wrench from the onboard
tool kit (refer to page 158) in the
desired direction.460de183
Fuel filler door Sliding/tilt sunroof
*