2001 BMW 325i SEDAN fuel
[x] Cancel search: fuelPage 33 of 211
33n
IndexDataTechnologyRepairsCar careControlsOverview
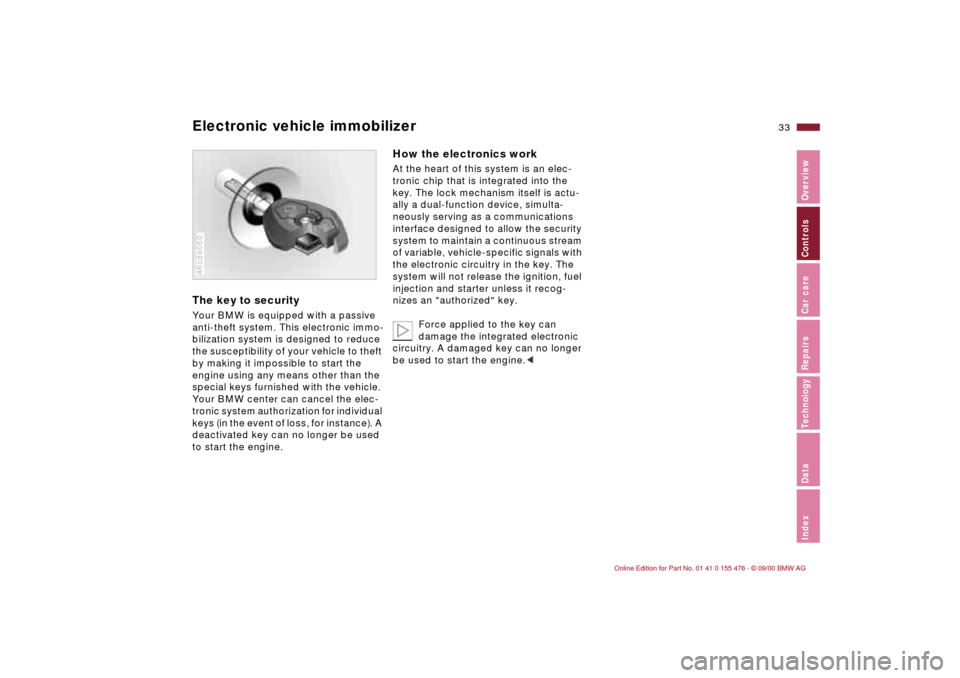
Electronic vehicle immobilizer The key to securityYour BMW is equipped with a passive
anti-theft system. This electronic immo-
bilization system is designed to reduce
the susceptibility of your vehicle to theft
by making it impossible to start the
engine using any means other than the
special keys furnished with the vehicle.
Your BMW center can cancel the elec-
tronic system authorization for individual
keys (in the event of loss, for instance). A
deactivated key can no longer be used
to start the engine.46cde060
How the electronics workAt the heart of this system is an elec-
tronic chip that is integrated into the
key. The lock mechanism itself is actu-
ally a dual-function device, simulta-
neously serving as a communications
interface designed to allow the security
system to maintain a continuous stream
of variable, vehicle-specific signals with
the electronic circuitry in the key. The
system will not release the ignition, fuel
injection and starter unless it recog-
nizes an "authorized" key.
Force applied to the key can
damage the integrated electronic
circuitry. A damaged key can no longer
be used to start the engine.<
Page 34 of 211
34n
Central locking system Opening and closing Ð from the outside The conceptThe central locking system is ready for
operation whenever the driver's door is
closed. The system engages and
releases the locks on the
>doors,
>luggage compartment lid and
>fuel filler door.
The central locking system can be
operated
>from outside via the door lock and
using the remote control
>from inside by pressing a button.
Activating it from inside does not lock
the fuel filler door (see page 38). When
the system is actuated from the
outside, the antitheft system is acti-
vated simultaneously. Both the door
locks and the safety lock buttons
remain locked. The alarm system is also
armed or disarmed.
If locked from the inside, the central
locking system unlocks automatically in
the event of an accident. In addition,
the hazard warning flashers and interior
lamps come on.
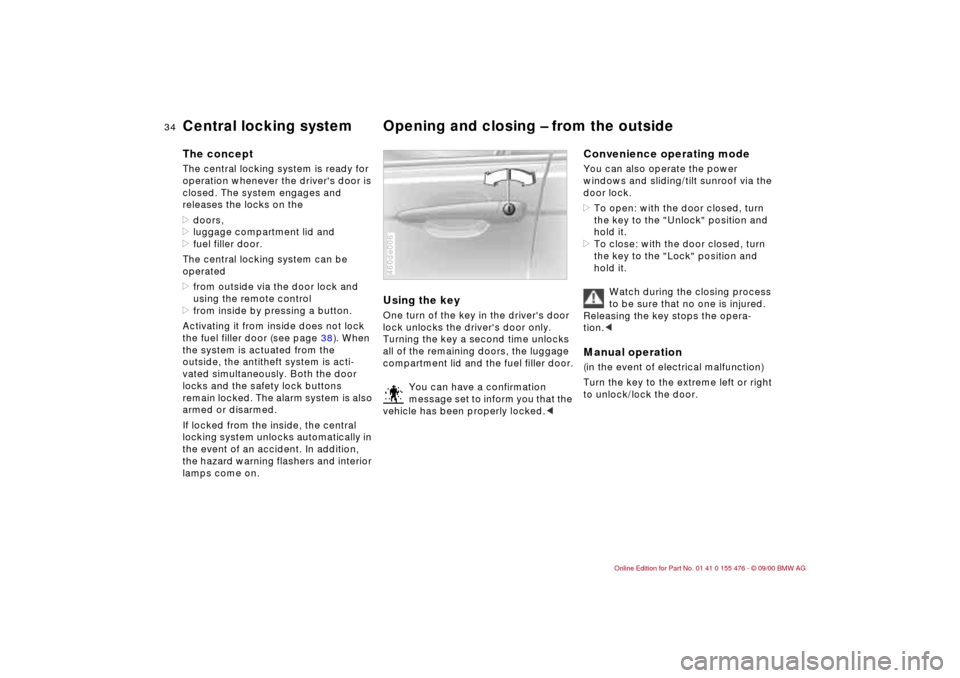
Using the keyOne turn of the key in the driver's door
lock unlocks the driver's door only.
Turning the key a second time unlocks
all of the remaining doors, the luggage
compartment lid and the fuel filler door.
You can have a confirmation
message set to inform you that the
vehicle has been properly locked.<460de006
Convenience operating modeYou can also operate the power
windows and sliding/tilt sunroof via the
door lock.
>To open: with the door closed, turn
the key to the "Unlock" position and
hold it.
>To close: with the door closed, turn
the key to the "Lock" position and
hold it.
Watch during the closing process
to be sure that no one is injured.
Releasing the key stops the opera-
tion.
to unlock/lock the door.
Page 38 of 211
38n
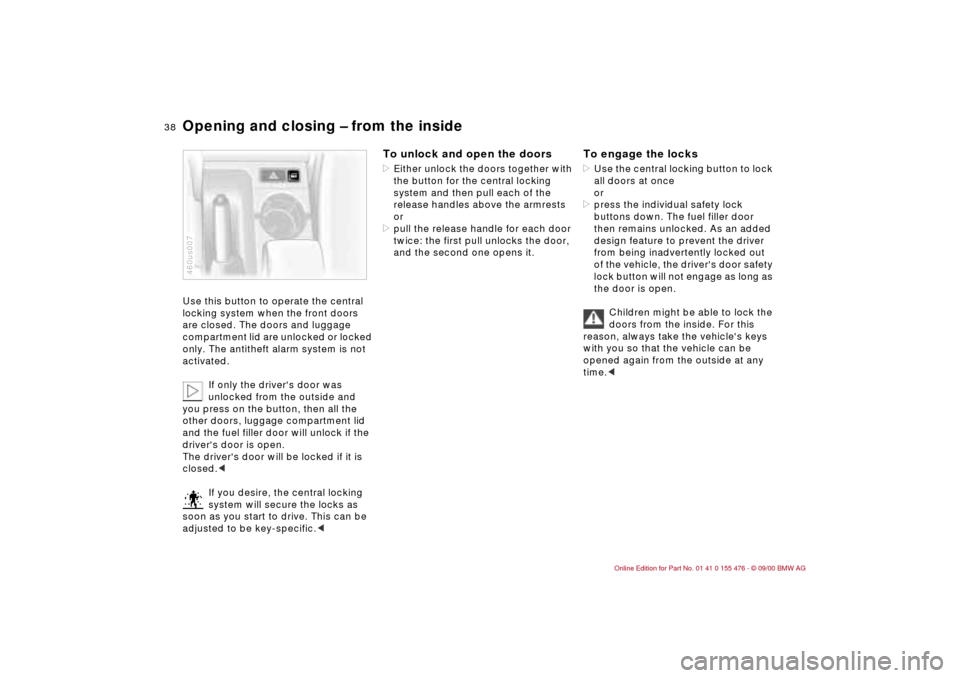
Opening and closing Ð from the inside Use this button to operate the central
locking system when the front doors
are closed. The doors and luggage
compartment lid are unlocked or locked
only. The antitheft alarm system is not
activated.
If only the driver's door was
unlocked from the outside and
you press on the button, then all the
other doors, luggage compartment lid
and the fuel filler door will unlock if the
driver's door is open.
The driver's door will be locked if it is
closed.<
If you desire, the central locking
system will secure the locks as
soon as you start to drive. This can be
adjusted to be key-specific.<460us007
To unlock and open the doors>Either unlock the doors together with
the button for the central locking
system and then pull each of the
release handles above the armrests
or
>pull the release handle for each door
twice: the first pull unlocks the door,
and the second one opens it.
To engage the locks>Use the central locking button to lock
all doors at once
or
>press the individual safety lock
buttons down. The fuel filler door
then remains unlocked. As an added
design feature to prevent the driver
from being inadvertently locked out
of the vehicle, the driver's door safety
lock button will not engage as long as
the door is open.
Children might be able to lock the
doors from the inside. For this
reason, always take the vehicle's keys
with you so that the vehicle can be
opened again from the outside at any
time.<
Page 74 of 211
74n
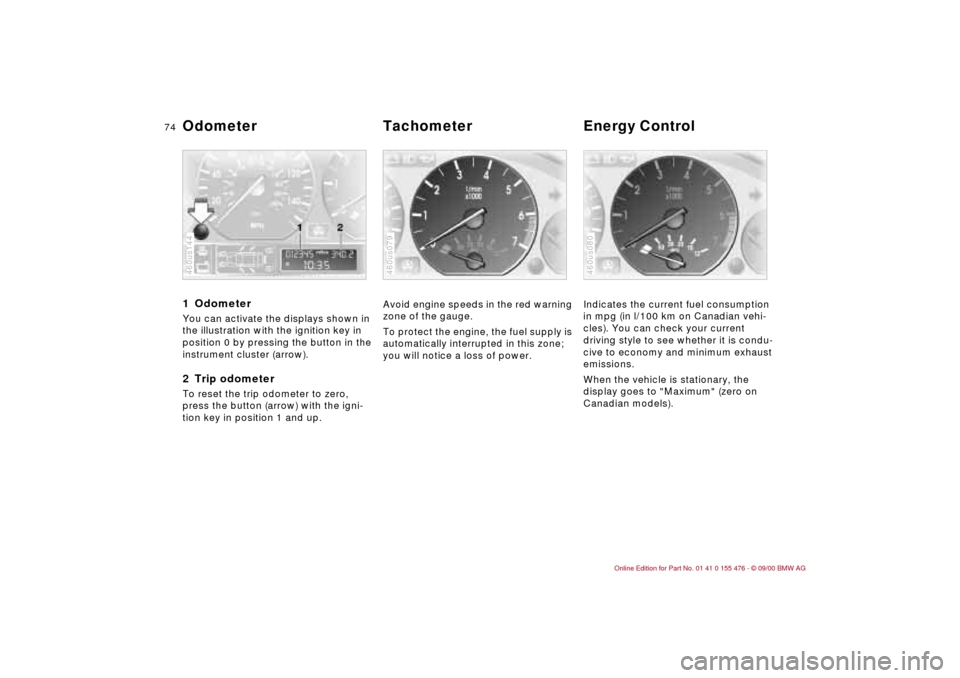
1 Odometer You can activate the displays shown in
the illustration with the ignition key in
position 0 by pressing the button in the
instrument cluster (arrow).2 Trip odometerTo reset the trip odometer to zero,
press the button (arrow) with the igni-
tion key in position 1 and up.460us144
Avoid engine speeds in the red warning
zone of the gauge.
To protect the engine, the fuel supply is
automatically interrupted in this zone;
you will notice a loss of power.460us079
Indicates the current fuel consumption
in mpg (in l/100 km on Canadian vehi-
cles). You can check your current
driving style to see whether it is condu-
cive to economy and minimum exhaust
emissions.
When the vehicle is stationary, the
display goes to "Maximum" (zero on
Canadian models).460us080
Odometer Tachometer Energy Control
Page 75 of 211
75n
IndexDataTechnologyRepairsCar careControlsOverview
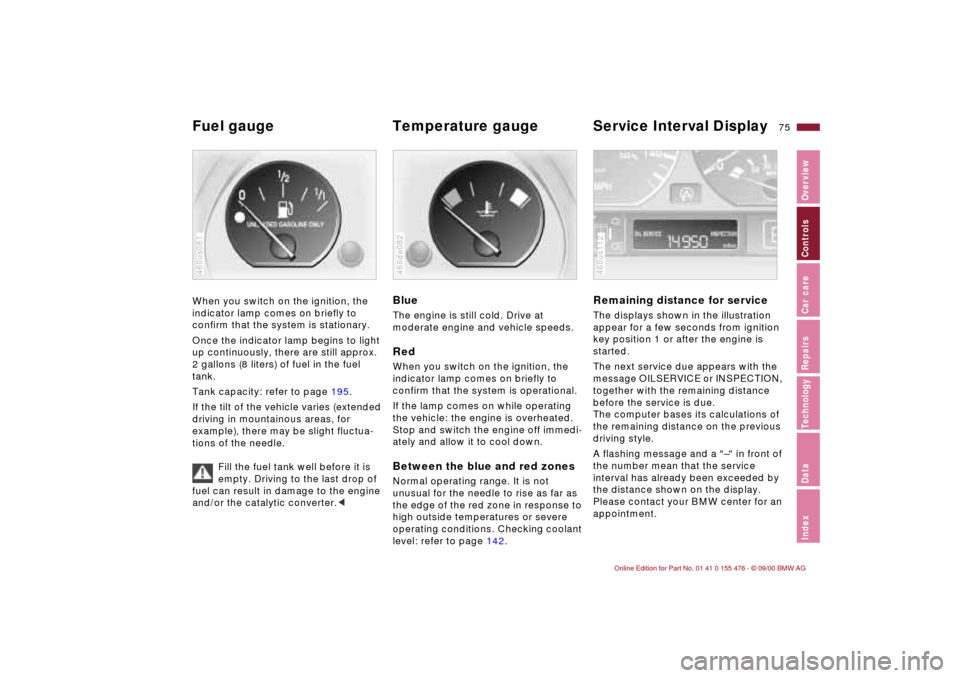
Fuel gauge Temperature gauge Service Interval Display When you switch on the ignition, the
indicator lamp comes on briefly to
confirm that the system is stationary.
Once the indicator lamp begins to light
up continuously, there are still approx.
2 gallons (8 liters) of fuel in the fuel
tank.
Tank capacity: refer to page 195.
If the tilt of the vehicle varies (extended
driving in mountainous areas, for
example), there may be slight fluctua-
tions of the needle.
Fill the fuel tank well before it is
empty. Driving to the last drop of
fuel can result in damage to the engine
and/or the catalytic converter.<460us081
BlueThe engine is still cold. Drive at
moderate engine and vehicle speeds.RedWhen you switch on the ignition, the
indicator lamp comes on briefly to
confirm that the system is operational.
If the lamp comes on while operating
the vehicle: the engine is overheated.
Stop and switch the engine off immedi-
ately and allow it to cool down.Between the blue and red zonesNormal operating range. It is not
unusual for the needle to rise as far as
the edge of the red zone in response to
high outside temperatures or severe
operating conditions. Checking coolant
level: refer to page 142.460de082
Remaining distance for serviceThe displays shown in the illustration
appear for a few seconds from ignition
key position 1 or after the engine is
started.
The next service due appears with the
message OILSERVICE or INSPECTION,
together with the remaining distance
before the service is due.
The computer bases its calculations of
the remaining distance on the previous
driving style.
A flashing message and a "Ð" in front of
the number mean that the service
interval has already been exceeded by
the distance shown on the display.
Please contact your BMW center for an
appointment.460us112
Page 77 of 211
77n
IndexDataTechnologyRepairsCar careControlsOverview
Computer
*
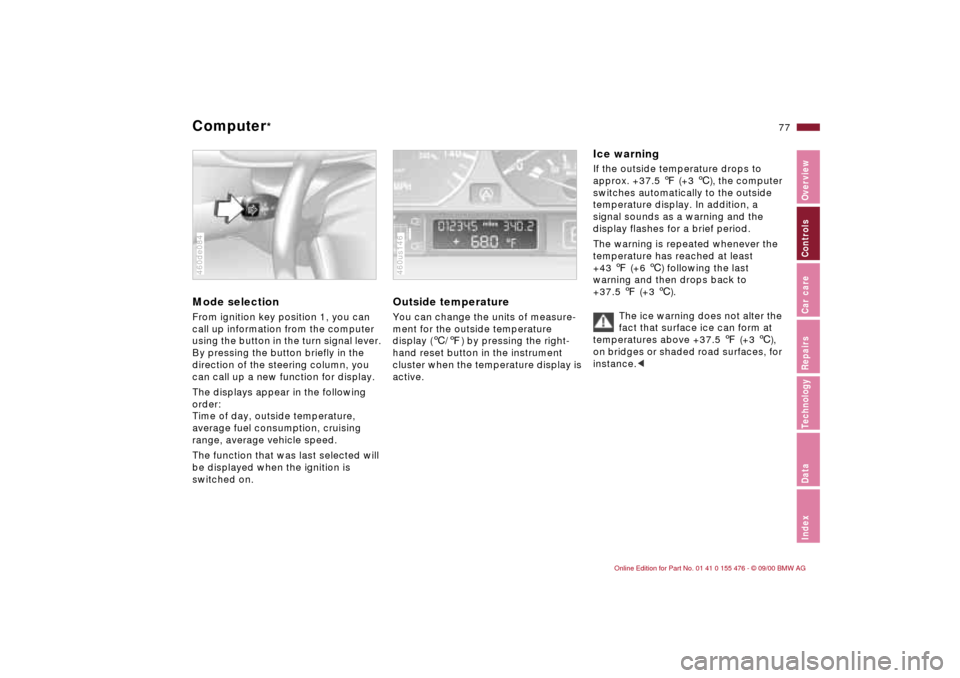
Mode selection
From ignition key position 1, you can
call up information from the computer
using the button in the turn signal lever.
By pressing the button briefly in the
direction of the steering column, you
can call up a new function for display.
The displays appear in the following
order:
Time of day, outside temperature,
average fuel consumption, cruising
range, average vehicle speed.
The function that was last selected will
be displayed when the ignition is
switched on.460de084
Outside temperature
You can change the units of measure-
ment for the outside temperature
display (
6
/
7
) by pressing the right-
hand reset button in the instrument
cluster when the temperature display is
active.
460us146
Ice warning
If the outside temperature drops to
approx. +37.5
7
(+3
6
), the computer
switches automatically to the outside
temperature display. In addition, a
signal sounds as a warning and the
display flashes for a brief period.
The warning is repeated whenever the
temperature has reached at least
+43
7
(+6
6
) following the last
warning and then drops back to
+37.5
7
(+3
6
).
The ice warning does not alter the
fact that surface ice can form at
temperatures above +37.5
7
(+3
6
),
on bridges or shaded road surfaces, for
instance.
<
Page 78 of 211
78n
Computer
*
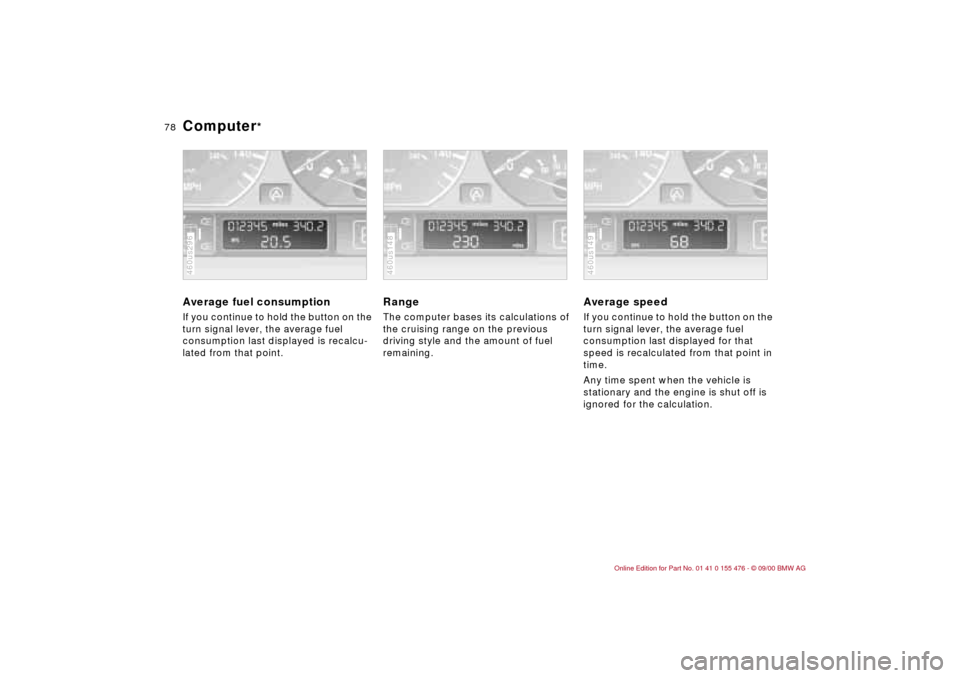
Average fuel consumption If you continue to hold the button on the
turn signal lever, the average fuel
consumption last displayed is recalcu-
lated from that point.460us296
Range The computer bases its calculations of
the cruising range on the previous
driving style and the amount of fuel
remaining.460us148
Average speed If you continue to hold the button on the
turn signal lever, the average fuel
consumption last displayed for that
speed is recalculated from that point in
time.
Any time spent when the vehicle is
stationary and the engine is shut off is
ignored for the calculation.460us149
Page 113 of 211

113n
IndexDataTechnologyRepairsCar careControlsOverview
Cargo loading Roof-mounted luggage rack
*
Always position and secure the
load correctly. If you do not, it can
endanger the passengers during brak-
ing or evasive maneuvers.
Do not exceed the permissible gross
vehicle weight and the permissible axle
loads (refer to page 194). If you do, the
operating safety of the vehicle is no
longer ensured and you are in violation
of the law.
Do not carry hard or heavy objects
unsecured in the passenger compart-
ment. If you do so, they may be
projected through the air during braking
and evasive maneuvers, thus
endangering vehicle occupants.<
AnchorsAccess to the anchors:
To open the cover (arrow), please use
the tool included with the luggage rack
system.
A special roof-rack system is available
for your BMW as an optional extra.
Please comply with the precautions in-
cluded with the installation instructions.
Because roof racks raise the center of
gravity of the vehicle when loaded, they
exercise a major effect on its handling
and steering response.
You should therefore always remember
not to exceed the approved roof weight,
the approved gross vehicle weight or
the axle weights when loading the rack.
You will find the specifications under
"Technical Data" on page 194.462de271
Make sure that the load is not too heavy,
and attempt to distribute it evenly.
Always load the heaviest pieces first (on
the bottom). Be sure that adequate
clearance is maintained for raising the
sliding/tilt sunroof, and that objects do
not project into the opening path of the
luggage compartment lid.
Secure the roof luggage correctly and
securely to prevent it from shifting or
being lost during driving (danger to
following traffic).
Drive smoothly and avoid sudden ac-
celeration or braking. Do not corner at
high speeds.
The roof load increases the aerody-
namic resistance. Increased fuel
consumption and additional stresses
on the vehicle's body result from this.