2001 BMW 325Ci CONVERTIBLE key
[x] Cancel search: keyPage 94 of 215
94n
High beams/Parking lamps
Fog lamps
Interior lamps
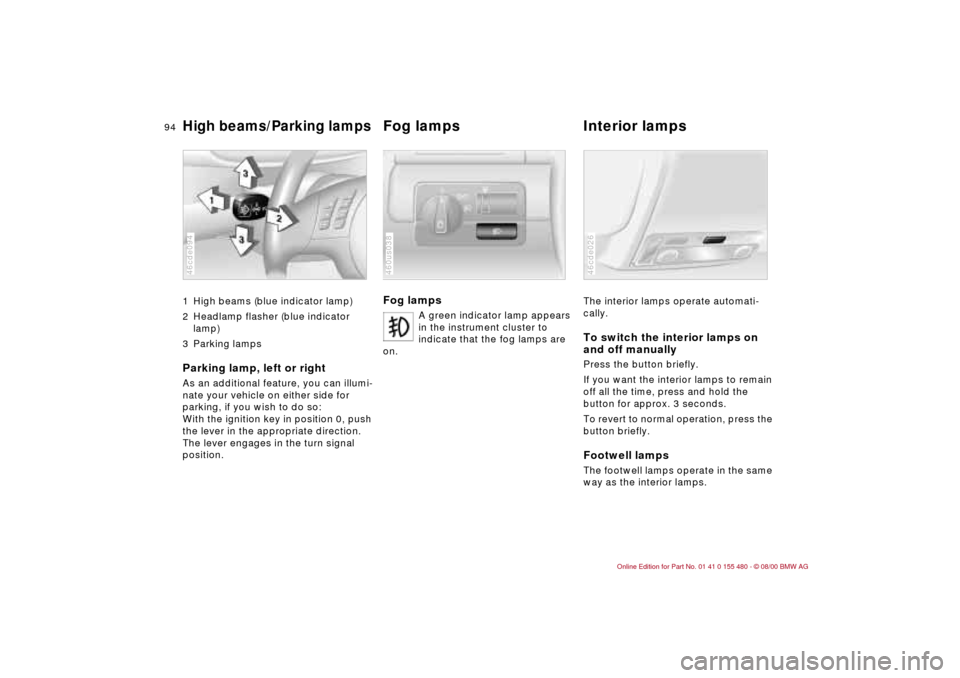
1 High beams (blue indicator lamp)
2 Headlamp flasher (blue indicator
lamp)
3 Parking lampsParking lamp, left or rightAs an additional feature, you can illumi-
nate your vehicle on either side for
parking, if you wish to do so:
With the ignition key in position 0, push
the lever in the appropriate direction.
The lever engages in the turn signal
position.46cde094
Fog lamps
A green indicator lamp appears
in the instrument cluster to
indicate that the fog lamps are
on.
460us038
The interior lamps operate automati-
cally.To switch the interior lamps on
and off manuallyPress the button briefly.
If you want the interior lamps to remain
off all the time, press and hold the
button for approx. 3 seconds.
To revert to normal operation, press the
button briefly.Footwell lampsThe footwell lamps operate in the same
way as the interior lamps.46cde026
Page 95 of 215
95n
IndexDataTechnologyRepairsCar careControlsOverview
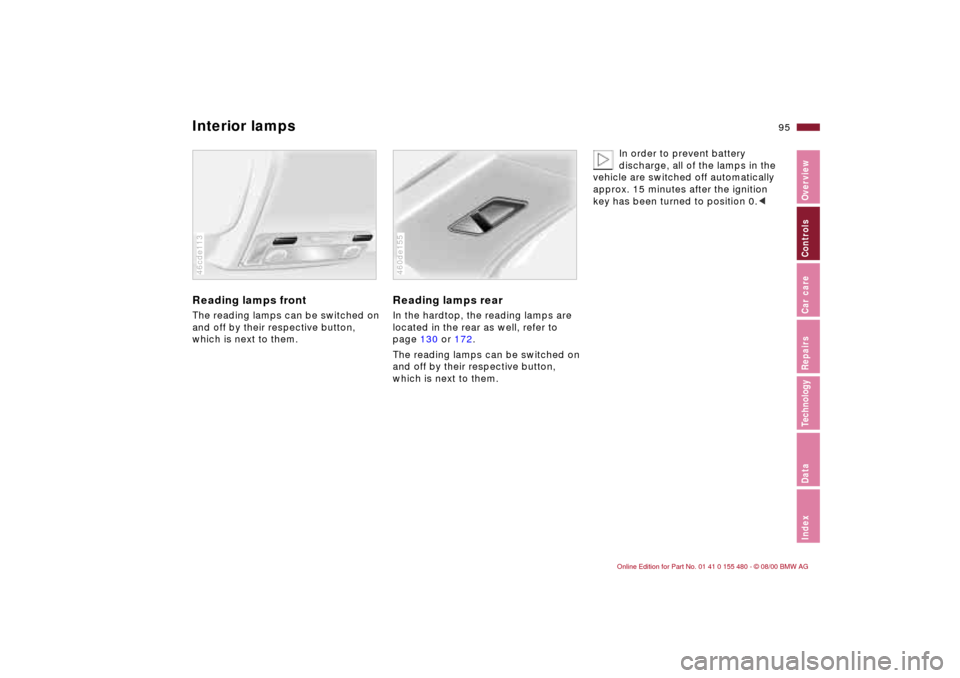
Interior lampsReading lamps frontThe reading lamps can be switched on
and off by their respective button,
which is next to them.46cde113
Reading lamps rearIn the hardtop, the reading lamps are
located in the rear as well, refer to
page 130 or 172.
The reading lamps can be switched on
and off by their respective button,
which is next to them.460de155
In order to prevent battery
discharge, all of the lamps in the
vehicle are switched off automatically
approx. 15 minutes after the ignition
key has been turned to position 0.<
Page 107 of 215
107n
IndexDataTechnologyRepairsCar careControlsOverview
The seat cushion and backrest can be
heated with ignition key in position 2.
You can call up different heating modes
by repeatedly pressing the button.
When the three indicator lamps are illu-
minated, the highest heating mode is
activated. One lamp indicates the
lowest heating mode. The temperature
is regulated with a thermostat in each
mode.
You can also switch the higher heating
modes off directly:
Press the button and hold it slightly
longer.46cus047
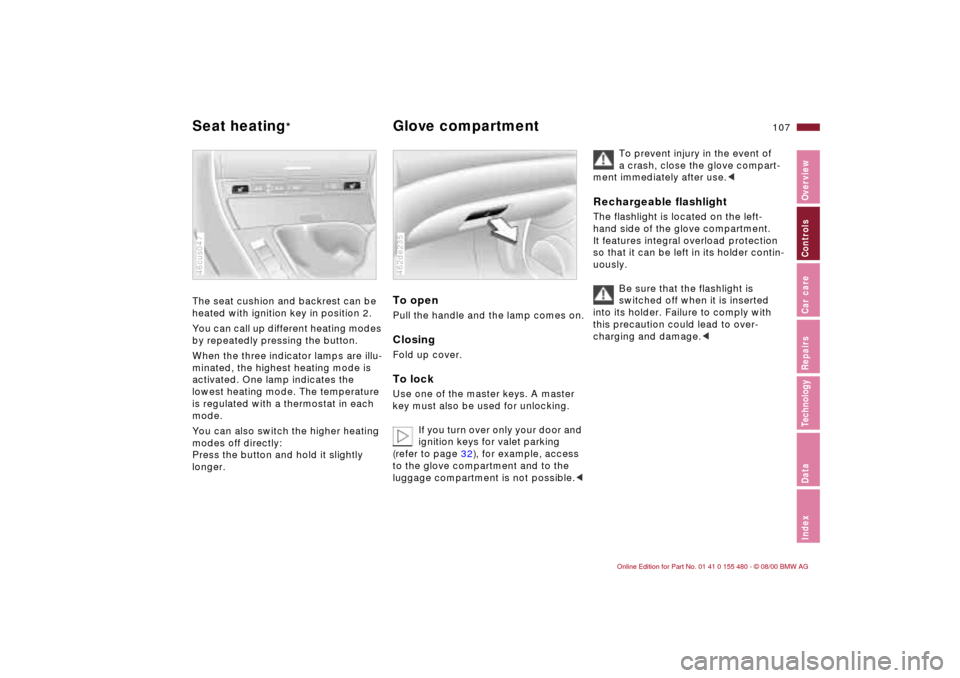
To openPull the handle and the lamp comes on.ClosingFold up cover.To lockUse one of the master keys. A master
key must also be used for unlocking.
If you turn over only your door and
ignition keys for valet parking
(refer to page 32), for example, access
to the glove compartment and to the
luggage compartment is not possible.<462de235
To prevent injury in the event of
a crash, close the glove compart-
ment immediately after use.<
Rechargeable flashlightThe flashlight is located on the left-
hand side of the glove compartment.
It features integral overload protection
so that it can be left in its holder contin-
uously.
Be sure that the flashlight is
switched off when it is inserted
into its holder. Failure to comply with
this precaution could lead to over-
charging and damage.<
Seat heating
*
Glove compartment
Page 108 of 215
108n
BMW Universal Transmitter
*
The concept The BMW Universal Transmitter
replaces up to three handheld transmit-
ters of different devices such as
garage-door openers, alarm systems,
or door locking systems. The BMW
Universal Transmitter recognizes and
"learns" the transmitted signal of each
of the original handheld transmitters.
The signal of an original handheld
transmitter can be programmed on one
of the three channel keys. Following
that, each of the devices can be actu-
ated with the appropriately-
programmed channel key. The indicator
lamp flashes to confirm transmission of
the signal.
If the vehicle is sold, the memory of the
channel keys should be cleared as
described on page 110.
During programming and before
every remote actuation of a
programmed device by the BMW
Universal Transmitter, check to be sure
that there are no persons, animals or
objects within the actuation range of
the device in order to prevent possible
injuries or damage. Also, comply with
the safety precautions of the original
handheld transmitter.<
To Canadian residents:
During programming, your hand-
held transmitter may automatically stop
transmitting after two seconds. This
may not be long enough to program the
BMW Universal Transmitter. If you are
programming from one of these hand-
held transmitters, the Universal Trans-
mitter's light may begin to flash in a
series of double-blinks. If this occurs,
continue to hold the button of the
Universal Transmitter while you reacti-
vate your hand-held transmitter. You
may have to repeat this function several
times while programming.<
Before programming, read the
"User information" section on
page 110.<
Original handheld transmitter
If this symbol is present on the
packaging or in the instructions
of the original handheld trans-
mitter, it may be assumed that this
handheld transmitter is compatible with
the BMW Universal Transmitter.
Checking for the conversion code To determine whether the original
handheld transmitter is provided with a
conversion-code system, you may
either read the instructions for the orig-
inal handheld transmitter or program a
channel key as described on the next
page (left-hand column under
"Programming").
Then press and hold the programmed
channel key of the BMW Universal
Transmitter. If the indicator lamp of the
BMW Universal Transmitter flashes for
two seconds and then comes on
steadily, the original handheld trans-
mitter is provided with a conversion-
code system. With a conversion code
system, program the channel keys as
described on the next page (right-hand
column under "Programming a hand-
held transmitter with conversion code").
If you have additional questions,
please consult your BMW center
or call 1-800-355-3515.
You can also visit this website
www.bmwusa.com.<
Page 109 of 215

109n
IndexDataTechnologyRepairsCar careControlsOverview
BMW Universal Transmitter
*
Programming 1 Channel keys
2 Indicator lamp
Read and comply with the safety
precautions on the previous
page.<
1 Turn the ignition key to position 2.
2 For initial use: press and hold both
outside keys 1 until the indicator
lamp 2 flashes, and then release
them. The three channel keys are
cleared.46cus023
3 Hold the original handheld transmitter
up to the receiver integrated into the
mirror, i. e. near the buttons, a
maximum of 2 in (5 cm) away.
4 Press the transmission key of the
original handheld transmitter
(arrow 2) and the desired channel key
of the Integrated Universal Remote
Control (arrow 1) simultaneously.
Release both keys as soon as the
indicator lamp flashes rapidly.
5 To program other original handheld
transmitters, repeat steps 3 and 4.
The corresponding channel key is now
programmed with the signal of the orig-
inal handheld transmitter. 46cus024
Programming a handheld
transmitter with conversion code
Read and comply with the safety
precautions on the previous
page.<
When programming the BMW Universal
Transmitter, consult the instructions for
the specific device. For using the BMW
Universal Transmitter with a conver-
sion-code system, note the following
supplemental programming instruc-
tions:
A second person facilitates
programming of the BMW
Universal Transmitter.<
1 Program the BMW Universal Trans-
mitter as described previously under
"Programming".
2 Press and hold the programming key
on the receiver of the device for
approximately two seconds until the
programming lamp on the device
comes on.
3 Press the desired channel key of the
BMW Universal Transmitter three
times.
If you have additional questions,
please consult your BMW
center.<
Page 110 of 215
110n
BMW Universal Transmitter
*
Storage facilities
Clearing the channel keys
Read and comply with the safety
precautions on page 108.<
The memory of individual channel keys
cannot be deleted. However, the three
channel keys can be cleared together
as follows:
>Press and hold both outside keys of
the BMW Universal Transmitter until
the indicator lamp flashes, and then
release them.
All of the channel keys are cleared.
User informationDo not use this BMW Universal Trans-
mitter with any garage door opener that
lacks safety "stop" and "reverse"
features as required by federal safety
standards (this includes any garage
door opener model manufactured
before April 1, 1982).
This device complies with Section 15 of
the FCC Rules. Operation is subject to
the following two conditions: as defined
in the regulations, this device must not
emit harmful interference, and must be
shielded against interference from
external sources to prevent unautho-
rized or inadvertent activation.To
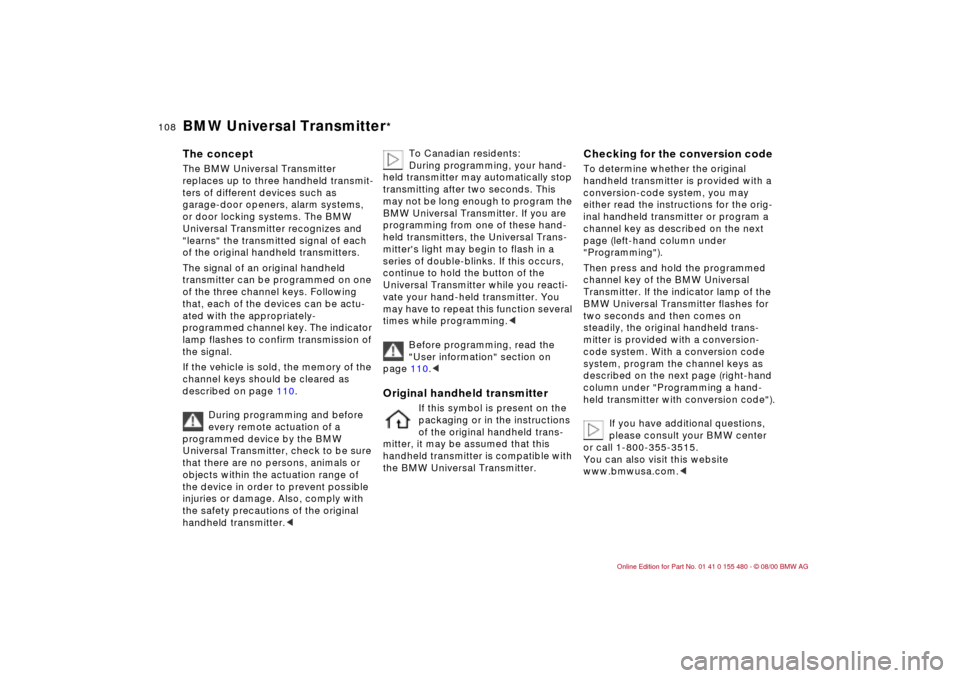
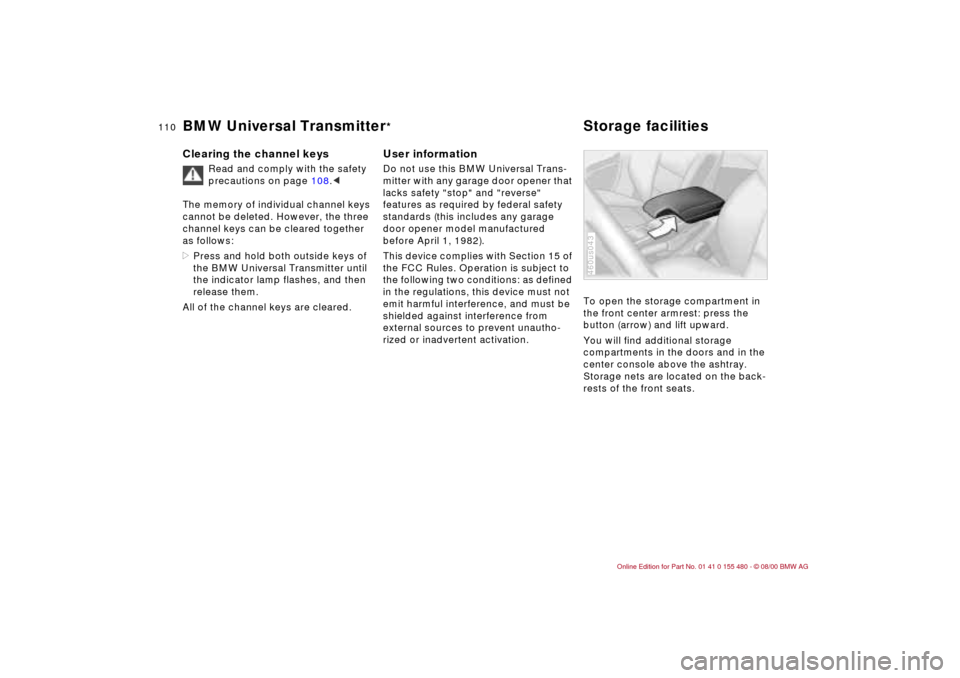
open the storage compartment in
the front center armrest: press the
button (arrow) and lift upward.
You will find additional storage
compartments in the doors and in the
center console above the ashtray.
Storage nets are located on the back-
rests of the front seats.460us043
Page 112 of 215
112n
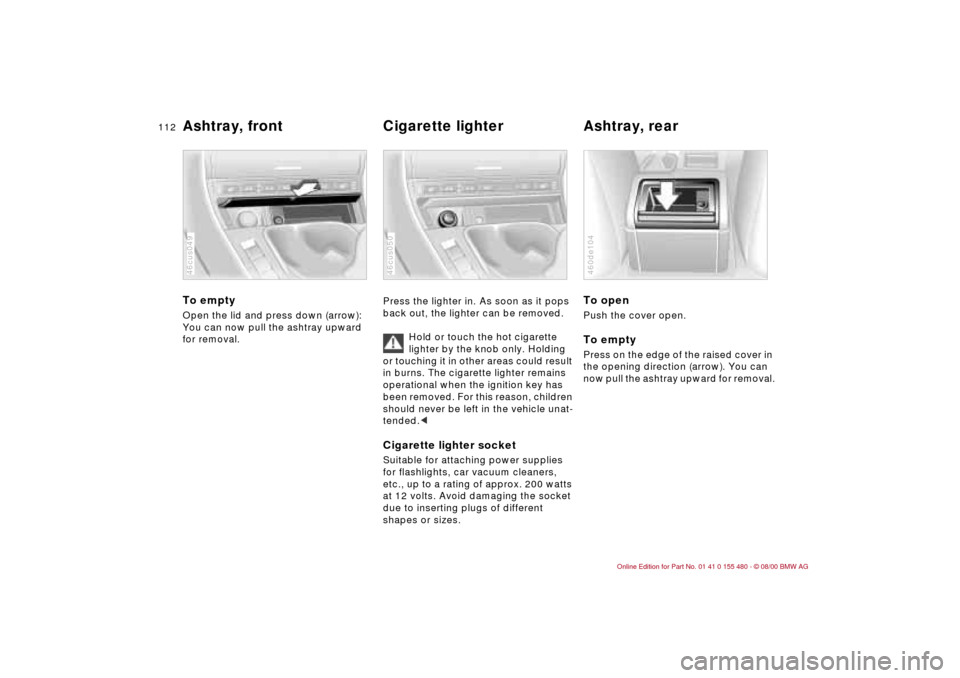
Ashtray, front Cigarette lighter Ashtray, rear To emptyOpen the lid and press down (arrow):
You can now pull the ashtray upward
for removal.46cus049
Press the lighter in. As soon as it pops
back out, the lighter can be removed.
Hold or touch the hot cigarette
lighter by the knob only. Holding
or touching it in other areas could result
in burns. The cigarette lighter remains
operational when the ignition key has
been removed. For this reason, children
should never be left in the vehicle unat-
tended.
etc., up to a rating of approx. 200 watts
at 12 volts. Avoid damaging the socket
due to inserting plugs of different
shapes or sizes.46cus050
To openPush the cover open.To emptyPress on the edge of the raised cover in
the opening direction (arrow). You can
now pull the ashtray upward for removal.460de104
Page 173 of 215
173n
IndexDataTechnologyRepairsCar careControlsOverview
Changing a wheel
Take these precautionary
measures if you have either a flat
tire or are changing the tire:
Stop the vehicle as far as possible from
passing traffic. Park on a firm, flat
surface. Switch on the hazard warning
flashers. Turn the steering wheel to the
straight-ahead position, remove the key
and engage the steering lock. Shift into
1st or reverse gear (selector lever in
"Park" with automatic transmission) and
engage the parking brake.
All passengers should be outside the
vehicle and well away from your imme-
diate working area (behind a guardrail,
for instance).
Set up a warning triangle
* or portable
hazard warning on the roadside at an
appropriate distance from the rear of
the vehicle. Comply with all safety
guidelines and regulations.
Change the wheel only on a level, firm
surface which is not slippery. Avoid
jacking the vehicle on a soft or slippery
support surface (snow, ice, loose
gravel, etc.), as it could slide sideways.
Position the jack on a firm support
surface.
Do not place wooden blocks or similar
objects under the jack. If this is done,
the jack might not be able to reach its
full support capacity because of the
limited height.
Do not lie under the vehicle or start the
engine when the vehicle is supported
by the jack. Failure to comply with this
creates a risk of fatal injury.<
Your BMW has a space-saver spare tire
for temporary use to ensure your
mobility.
To remove the space-saver spare
tire, take out the floor panel in the
luggage compartment completely (refer
to page 41).<
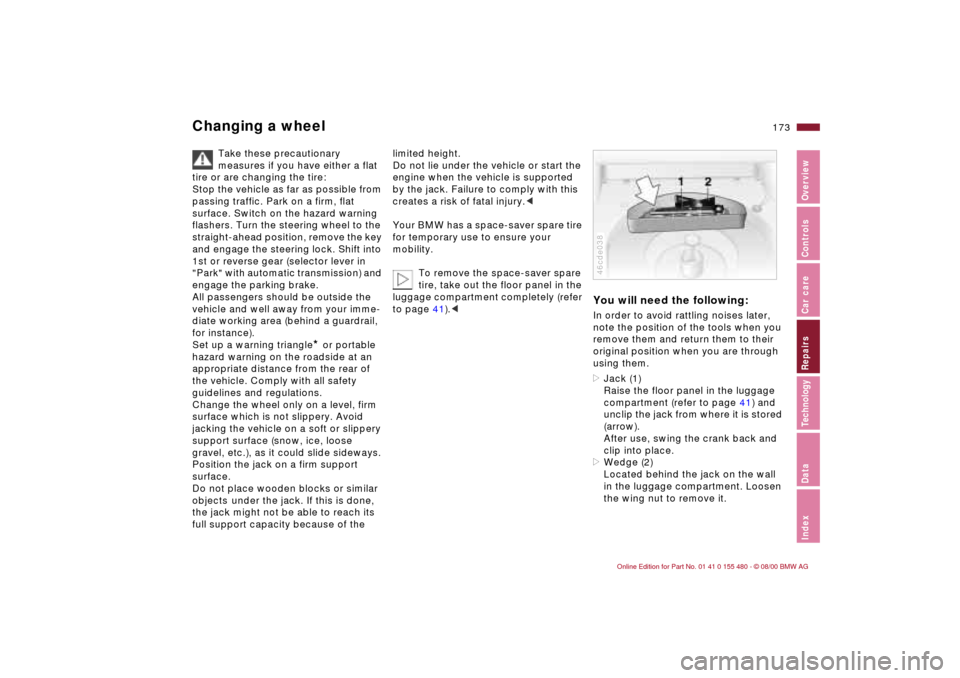
You will need the following:In order to avoid rattling noises later,
note the position of the tools when you
remove them and return them to their
original position when you are through
using them.
>Jack (1)
Raise the floor panel in the luggage
compartment (refer to page 41) and
unclip the jack from where it is stored
(arrow).
After use, swing the crank back and
clip into place.
>Wedge (2)
Located behind the jack on the wall
in the luggage compartment. Loosen
the wing nut to remove it.46cde038