2000 YAMAHA YZF600 coolant level
[x] Cancel search: coolant levelPage 14 of 109
3
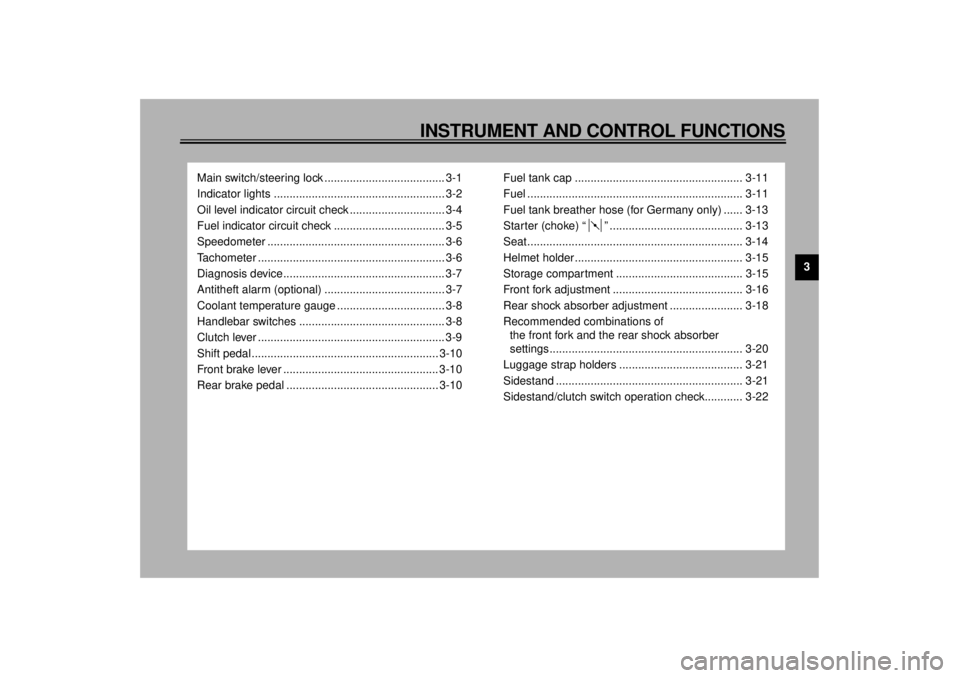
INSTRUMENT AND CONTROL FUNCTIONS
Main switch/steering lock ...................................... 3-1
Indicator lights ...................................................... 3-2
Oil level indicator circuit check .............................. 3-4
Fuel indicator circuit check ................................... 3-5
Speedometer ........................................................ 3-6
Tachometer ........................................................... 3-6
Diagnosis device................................................... 3-7
Antitheft alarm (optional) ...................................... 3-7
Coolant temperature gauge .................................. 3-8
Handlebar switches .............................................. 3-8
Clutch lever ........................................................... 3-9
Shift pedal ........................................................... 3-10
Front brake lever ................................................. 3-10
Rear brake pedal ................................................ 3-10Fuel tank cap ..................................................... 3-11
Fuel .................................................................... 3-11
Fuel tank breather hose (for Germany only) ...... 3-13
Starter (choke) “ ” .......................................... 3-13
Seat.................................................................... 3-14
Helmet holder..................................................... 3-15
Storage compartment ........................................ 3-15
Front fork adjustment ......................................... 3-16
Rear shock absorber adjustment ....................... 3-18
Recommended combinations of
the front fork and the rear shock absorber
settings............................................................. 3-20
Luggage strap holders ....................................... 3-21
Sidestand ........................................................... 3-21
Sidestand/clutch switch operation check............ 3-22
E_4tv_FunctionsTOC.fm Page 1 Wednesday, September 1, 1999 11:09 AM
Page 39 of 109
4-1
4
EAU01114
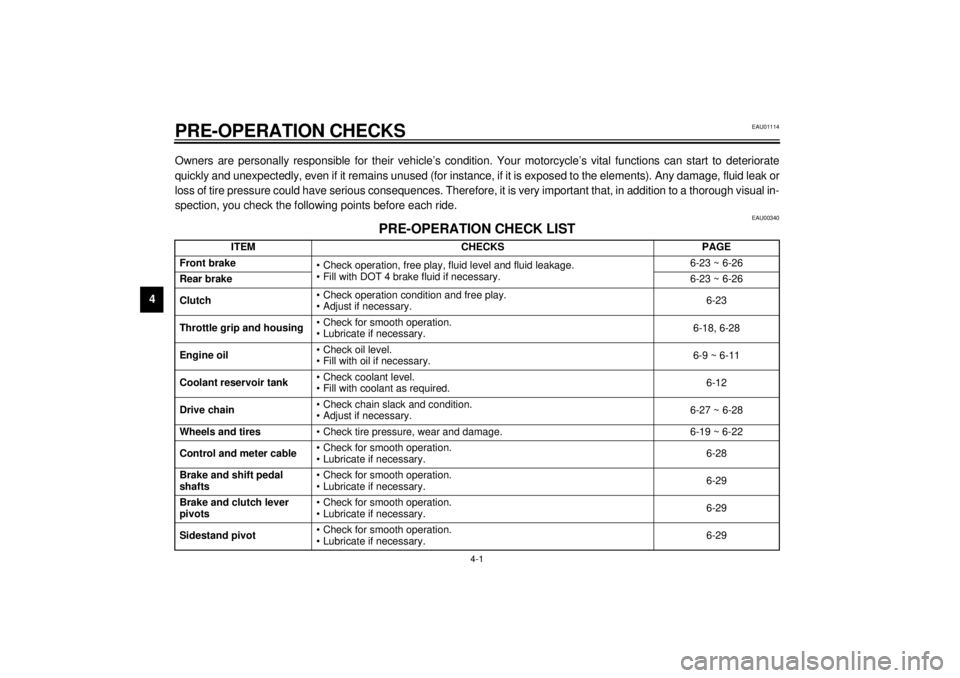
4-PRE-OPERATION CHECKSOwners are personally responsible for their vehicle’s condition. Your motorcycle’s vital functions can start to deteriorate
quickly and unexpectedly, even if it remains unused (for instance, if it is exposed to the elements). Any damage, fluid leak or
loss of tire pressure could have serious consequences. Therefore, it is very important that, in addition to a thorough visual in-
spection, you check the following points before each ride.
EAU00340
PRE-OPERATION CHECK LIST
ITEM CHECKS PAGE
Front brake
• Check operation, free play, fluid level and fluid leakage.
• Fill with DOT 4 brake fluid if necessary.6-23 ~ 6-26
Rear brake
6-23 ~ 6-26
Clutch• Check operation condition and free play.
• Adjust if necessary.6-23
Throttle grip and housing• Check for smooth operation.
• Lubricate if necessary.6-18, 6-28
Engine oil• Check oil level.
• Fill with oil if necessary.6-9 ~ 6-11
Coolant reservoir tank• Check coolant level.
• Fill with coolant as required.6-12
Drive chain• Check chain slack and condition.
• Adjust if necessary.6-27 ~ 6-28
Wheels and tires
• Check tire pressure, wear and damage. 6-19 ~ 6-22
Control and meter cable• Check for smooth operation.
• Lubricate if necessary.6-28
Brake and shift pedal
shafts• Check for smooth operation.
• Lubricate if necessary.6-29
Brake and clutch lever
pivots• Check for smooth operation.
• Lubricate if necessary.6-29
Sidestand pivot• Check for smooth operation.
• Lubricate if necessary.6-29
E_4tv_Preop.fm Page 1 Wednesday, September 1, 1999 11:11 AM
Page 50 of 109
6
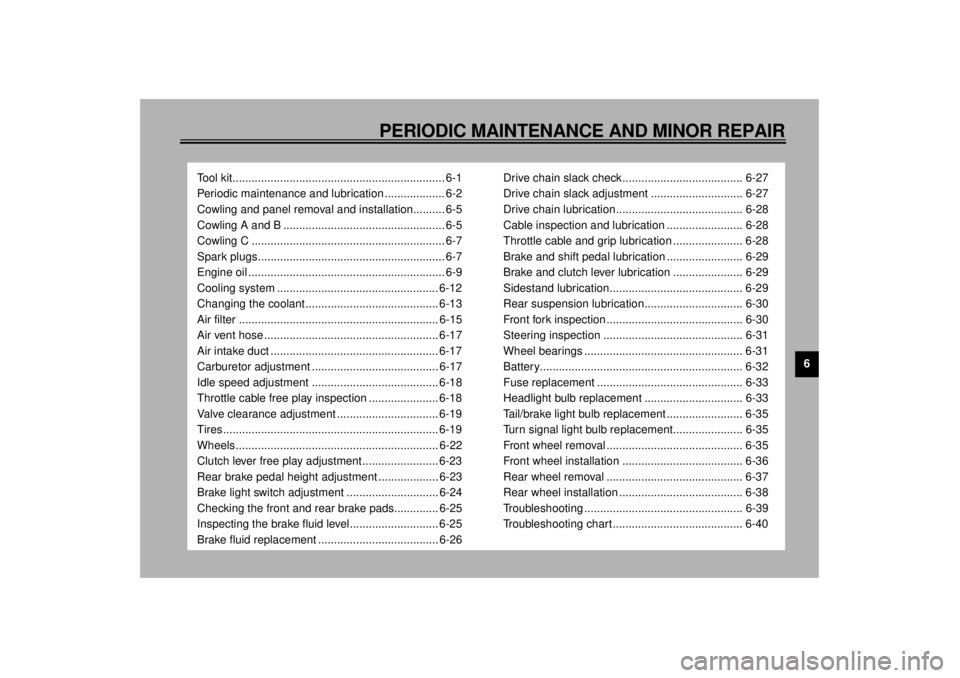
PERIODIC MAINTENANCE AND MINOR REPAIR
Tool kit................................................................... 6-1
Periodic maintenance and lubrication ................... 6-2
Cowling and panel removal and installation.......... 6-5
Cowling A and B ................................................... 6-5
Cowling C ............................................................. 6-7
Spark plugs........................................................... 6-7
Engine oil .............................................................. 6-9
Cooling system ................................................... 6-12
Changing the coolant.......................................... 6-13
Air filter ............................................................... 6-15
Air vent hose ....................................................... 6-17
Air intake duct ..................................................... 6-17
Carburetor adjustment ........................................ 6-17
Idle speed adjustment ........................................ 6-18
Throttle cable free play inspection ...................... 6-18
Valve clearance adjustment ................................ 6-19
Tires .................................................................... 6-19
Wheels................................................................ 6-22
Clutch lever free play adjustment........................ 6-23
Rear brake pedal height adjustment ................... 6-23
Brake light switch adjustment ............................. 6-24
Checking the front and rear brake pads.............. 6-25
Inspecting the brake fluid level............................ 6-25
Brake fluid replacement ...................................... 6-26Drive chain slack check...................................... 6-27
Drive chain slack adjustment ............................. 6-27
Drive chain lubrication........................................ 6-28
Cable inspection and lubrication ........................ 6-28
Throttle cable and grip lubrication ...................... 6-28
Brake and shift pedal lubrication ........................ 6-29
Brake and clutch lever lubrication ...................... 6-29
Sidestand lubrication.......................................... 6-29
Rear suspension lubrication............................... 6-30
Front fork inspection ........................................... 6-30
Steering inspection ............................................ 6-31
Wheel bearings .................................................. 6-31
Battery................................................................ 6-32
Fuse replacement .............................................. 6-33
Headlight bulb replacement ............................... 6-33
Tail/brake light bulb replacement ........................ 6-35
Turn signal light bulb replacement...................... 6-35
Front wheel removal ........................................... 6-35
Front wheel installation ...................................... 6-36
Rear wheel removal ........................................... 6-37
Rear wheel installation ....................................... 6-38
Troubleshooting .................................................. 6-39
Troubleshooting chart......................................... 6-40
E_4tv_PeriodicTOC.fm Page 1 Wednesday, September 1, 1999 11:11 AM
Page 54 of 109
PERIODIC MAINTENANCE AND MINOR REPAIR
6-4
6
* Since these items require special tools, data and technical skills, they should be serviced by a Yamaha dealer.
EAU02970*
NOTE:@ l
The air filter needs more frequent service if you are riding in unusually wet or dusty areas.
l
Hydraulic brake system
• When disassembling the master cylinder or caliper cylinder, always replace the brake fluid. Check the brake fluid level
regularly and fill as required.
• Replace the oil seals on the inner parts of the master cylinder and caliper cylinder every two years.
• Replace the brake hoses every four years or if cracked or damaged.
@21
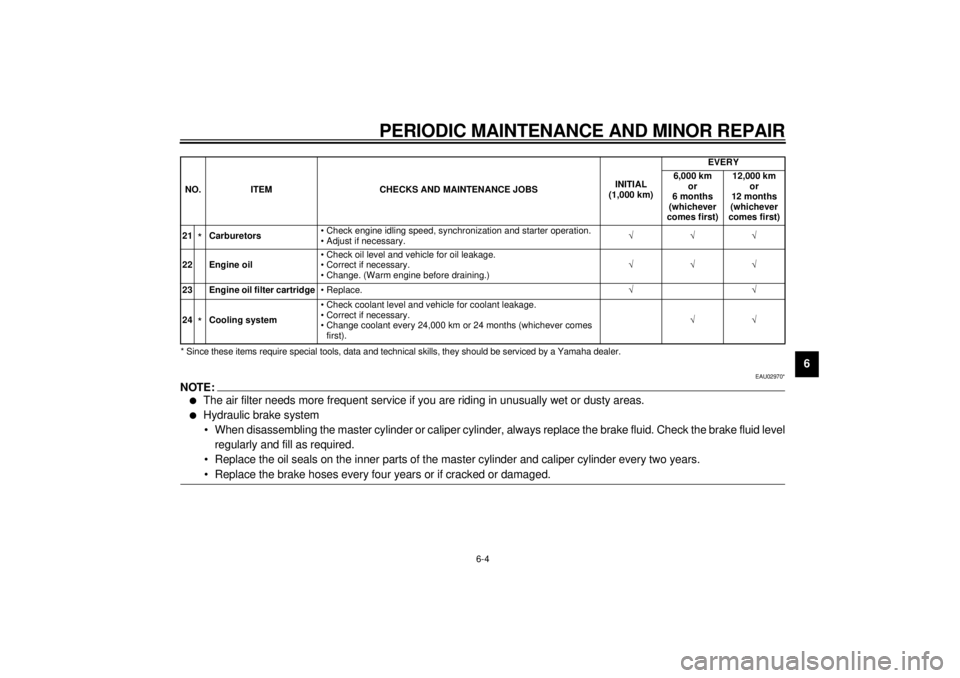
*Carburetors• Check engine idling speed, synchronization and starter operation.
• Adjust if necessary.ÖÖÖ
22 Engine oil• Check oil level and vehicle for oil leakage.
• Correct if necessary.
• Change. (Warm engine before draining.)ÖÖÖ
23 Engine oil filter cartridge
• Replace.ÖÖ
24*Cooling system• Check coolant level and vehicle for coolant leakage.
• Correct if necessary.
• Change coolant every 24,000 km or 24 months (whichever comes
first).ÖÖ NO. ITEM CHECKS AND MAINTENANCE JOBSINITIAL
(1,000 km)EVERY
6,000 km
or
6 months
(whichever
comes first)12,000 km
or
12 months
(whichever
comes first)
E_4tv_Periodic.fm Page 4 Wednesday, September 1, 1999 11:12 AM
Page 62 of 109
PERIODIC MAINTENANCE AND MINOR REPAIR
6-12
6
EAU03024
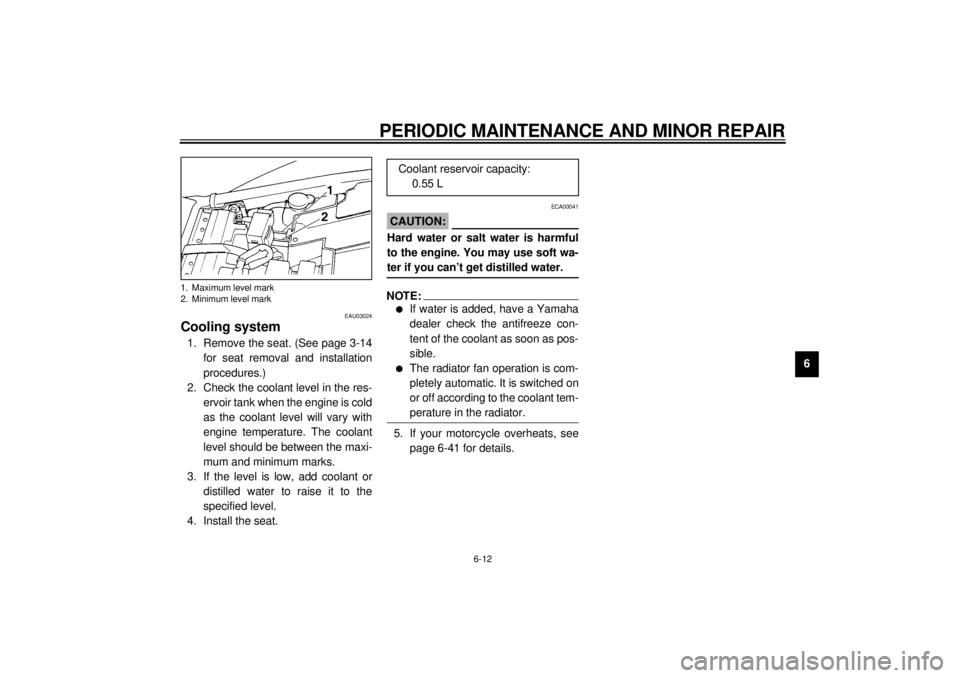
Cooling system1. Remove the seat. (See page 3-14
for seat removal and installation
procedures.)
2. Check the coolant level in the res-
ervoir tank when the engine is cold
as the coolant level will vary with
engine temperature. The coolant
level should be between the maxi-
mum and minimum marks.
3. If the level is low, add coolant or
distilled water to raise it to the
specified level.
4. Install the seat.
ECA00041
CAUTION:@ Hard water or salt water is harmful
to the engine. You may use soft wa-
ter if you can’t get distilled water. @NOTE:@ l
If water is added, have a Yamaha
dealer check the antifreeze con-
tent of the coolant as soon as pos-
sible.
l
The radiator fan operation is com-
pletely automatic. It is switched on
or off according to the coolant tem-
perature in the radiator.
@5. If your motorcycle overheats, see
page 6-41 for details.
1. Maximum level mark
2. Minimum level mark
Coolant reservoir capacity:
0.55 L
E_4tv_Periodic.fm Page 12 Wednesday, September 1, 1999 11:12 AM
Page 63 of 109
PERIODIC MAINTENANCE AND MINOR REPAIR
6-13
6
EAU03025
Changing the coolant1. Put the motorcycle on a level place.
2. Remove the seat. (See page 3-14
for removal and installation proce-
dures.)
3. Remove cowling C. (See page 6-7
for removal and installation proce-
dures.)
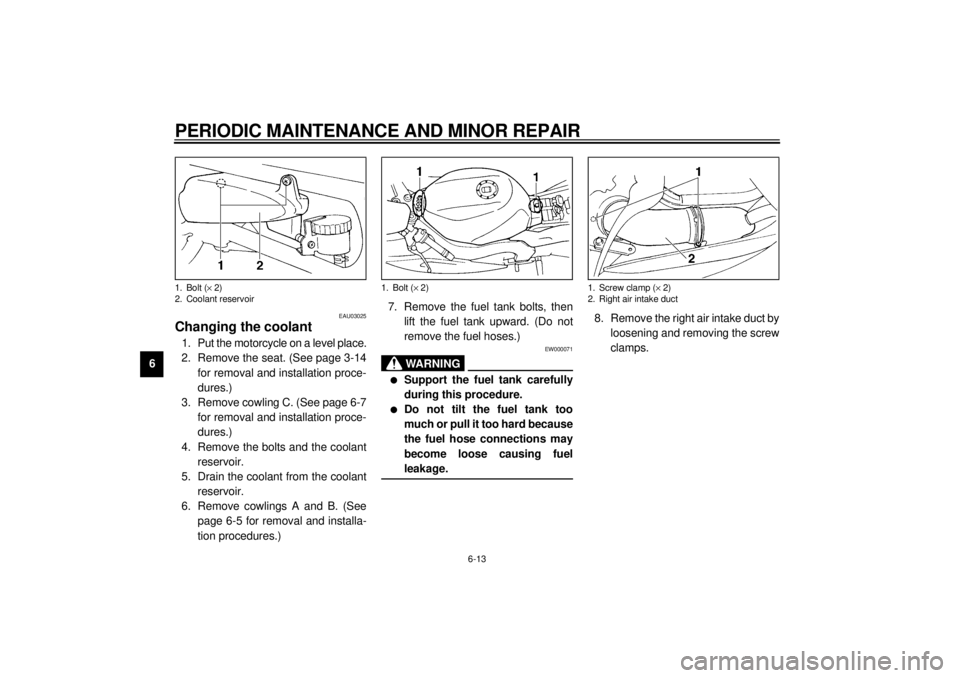
4. Remove the bolts and the coolant
reservoir.
5. Drain the coolant from the coolant
reservoir.
6. Remove cowlings A and B. (See
page 6-5 for removal and installa-
tion procedures.)7. Remove the fuel tank bolts, then
lift the fuel tank upward. (Do not
remove the fuel hoses.)
EW000071
WARNING
@ l
Support the fuel tank carefully
during this procedure.
l
Do not tilt the fuel tank too
much or pull it too hard because
the fuel hose connections may
become loose causing fuel
leakage.
@
8. Remove the right air intake duct by
loosening and removing the screw
clamps.
1. Bolt (´ 2)
2. Coolant reservoir
1. Bolt (´ 2)
1. Screw clamp (´ 2)
2. Right air intake duct
E_4tv_Periodic.fm Page 13 Wednesday, September 1, 1999 11:12 AM
Page 64 of 109
PERIODIC MAINTENANCE AND MINOR REPAIR
6-14
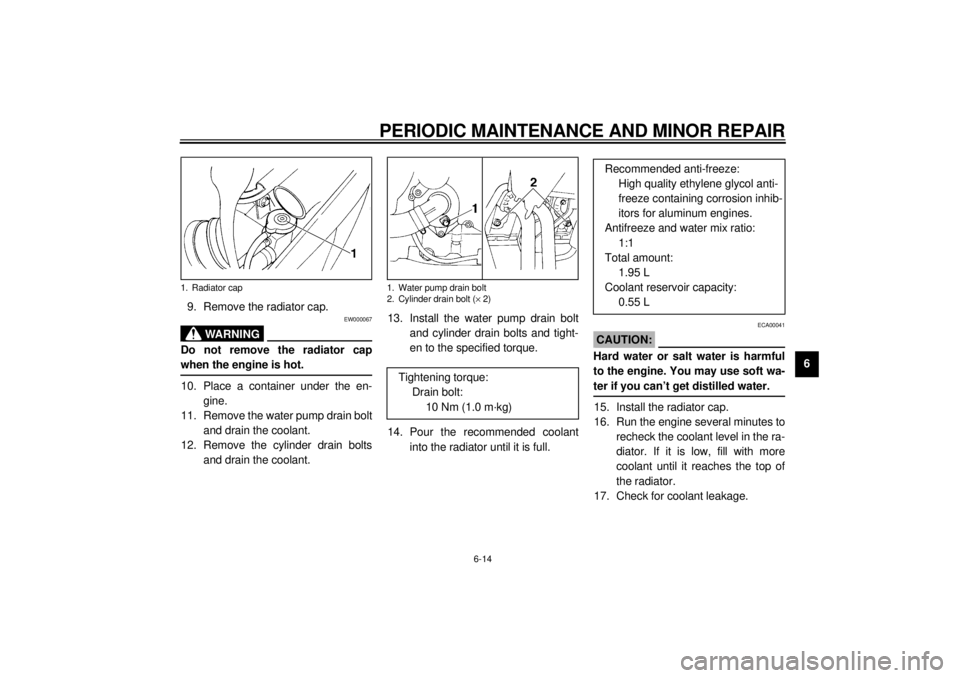
6 9. Remove the radiator cap.
EW000067
WARNING
@ Do not remove the radiator cap
when the engine is hot. @10. Place a container under the en-
gine.
11. Remove the water pump drain bolt
and drain the coolant.
12. Remove the cylinder drain bolts
and drain the coolant.13. Install the water pump drain bolt
and cylinder drain bolts and tight-
en to the specified torque.
14. Pour the recommended coolant
into the radiator until it is full.
ECA00041
CAUTION:@ Hard water or salt water is harmful
to the engine. You may use soft wa-
ter if you can’t get distilled water. @15. Install the radiator cap.
16. Run the engine several minutes to
recheck the coolant level in the ra-
diator. If it is low, fill with more
coolant until it reaches the top of
the radiator.
17. Check for coolant leakage.
1. Radiator cap
1. Water pump drain bolt
2. Cylinder drain bolt (´ 2)
Tightening torque:
Drain bolt:
10 Nm (1.0 m·kg)
Recommended anti-freeze:
High quality ethylene glycol anti-
freeze containing corrosion inhib-
itors for aluminum engines.
Antifreeze and water mix ratio:
1:1
Total amount:
1.95 L
Coolant reservoir capacity:
0.55 L
E_4tv_Periodic.fm Page 14 Wednesday, September 1, 1999 11:12 AM
Page 65 of 109
PERIODIC MAINTENANCE AND MINOR REPAIR
6-15
6
NOTE:@ If you find any leaks, ask a Yamaha
dealer to inspect. @18. Install the right air intake duct, then
install and tighten the screw
clamps.
19. Install the fuel tank and fuel tank
bolts.
20. Install the coolant reservoir and
bolts.
21. Fill the coolant reservoir with the
recommended coolant to the
specified level.
22. Install cowlings A and B.
23. Install cowling C.
24. Install the seat.
EAU01475
Air filterThe air filter should be cleaned at the
specified intervals. It should be cleaned
more frequently if you are riding in un-
usually wet or dusty areas.
1. Remove the seat.
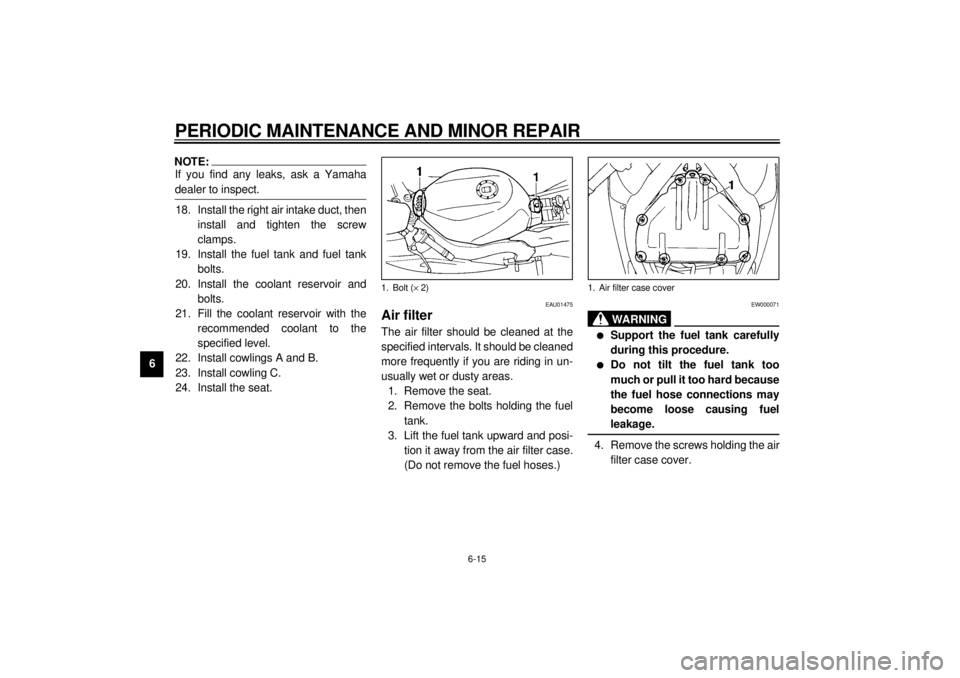
2. Remove the bolts holding the fuel
tank.
3. Lift the fuel tank upward and posi-
tion it away from the air filter case.
(Do not remove the fuel hoses.)
EW000071
WA R N I N G
@ l
Support the fuel tank carefully
during this procedure.
l
Do not tilt the fuel tank too
much or pull it too hard because
the fuel hose connections may
become loose causing fuel
leakage.
@4. Remove the screws holding the air
filter case cover.
1. Bolt (´ 2)
1. Air filter case cover
E_4tv_Periodic.fm Page 15 Wednesday, September 1, 1999 11:12 AM