Page 195 of 474
You can
minutes
(pinch protection) the window
Notes
th e battery is disconnec ted and
then reconnected, if the battery
comes completely discharged, the tic activated and
dows are completely
one more time.
-
Turn the key to the lock position a second
time and hold the key in the lock position
for at least 1 second.
mediately. Automatic
opening is now reacti-
or o pe n ed
fr om the outside . To do
Page 199 of 474
3-
With the ignition
with EDL is switched on auto
by briefly pressing the switch.
When the system is switched
and
AND EQUIPMENT
5 -Emergency
The emergency flasher works when the
ignition is off or on.
flash too.
To avoid being struck by another
vehicle, move your vehicle a safe distance off the road when stalled or stopped for repairs. Do not park
or operate the vehicle in areas
where the hot exhaust system may come in contact with dry grass,
brush, fuel
The rear defogger works only
the ignition on.
Press the switch
to turn on the rear window
defogger.
The control light
in the switch
Switch off the defogger when the rear window is clear. When
you save electricity, you use less fuel. See
VISION --------------------43
Page 200 of 474
utes. The
The rear window defogger is not designed
to melt snow. Therefore. always remove
heavy snow
and ice accumulations before
driving off.
7-n
passenger
With the ignition on. the seat cushion and
backres t of the passenger's seat can be
heated.
The heating eleme nts
in the seats can be
turned on and regulated with the thumb
wheel switch.
To switch off the seat heating, turn the
t humbwh eel switch to the detent position.
Switches in the driver's door
A -
up the switch to unlock the fuel filler
flap . The switch works also with the ignition
off .
B -Rear
up the switch to unlock the rear lid.
The switch works also
with the ignition off.
A warning light in the instrument cluster
comes
on when the ignition is on and the
rear lid is open. Additionally a warning tone*
wi ll sound an d a warning text* is shown
in
the display of the instrument cluster. This is to remind you to close the rear lid. The ligh
should go out when the rear lid is closed
Page 203 of 474
Rear window
wiper
Switching on:
Lever at posi tion 6.
The wipers work approxima tely every
6
conds .
Switching off:
Washer I Wiper
Switching on:
the way forwa rd 7 the was her
the washer system
Use an
and wipe dry with a free or a
Do not use the wiper/washer in freezing weather without first warming the
To prevent scratching the avoid running the wiper
A scratched
VISION--------------------47
Page 219 of 474
Luggage compartment
the rear seatback forward to
crease the size of the
behaves. For best
heavy cargo as far forwa rd as
Be sure to keep these
to reduce window
on the side of the
Never exceed the Gross
fety
weight ratings can change the way
the
Do not
in the
haust gas from being drawn into
the
Page 223 of 474
Two-door ve hic les
Roof rack installing
The roof rack system must be in
The marking are found above each rear side windows. The securing
points at the front are the same as
for four door
F our-do or veh ic les
it is best to ask the car wash operator if
it
duce wind noise, improve
Page 231 of 474

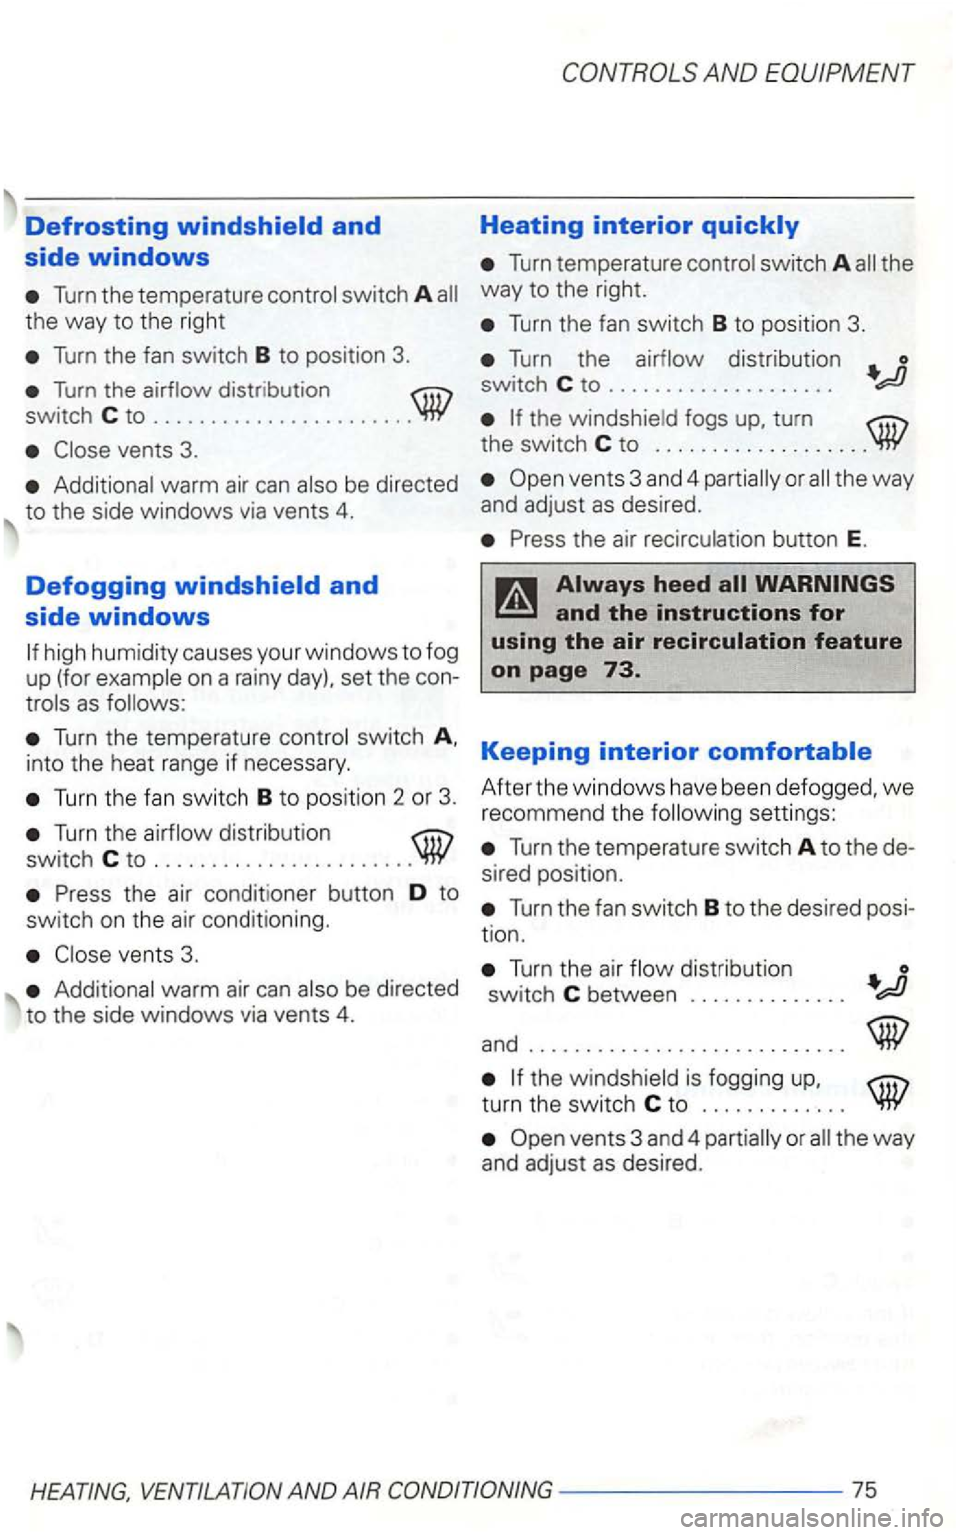
Heating interior
Turn temperature control switch A all the
Turn the temperature control switch A all way to the right.
the
way to the right Turn the fan switch B to position 3.
Turn the fan switch B to pos ition 3.
Turn the airflo w distribut io n sw itch C to ...................... .
vents 3.
Turn the airflow distribution o switch C to . . . . . . . . . . . . . . . . . . . .
the switch C to ...................
Additional warm air can also be directed
trols as follows:
the air recirculation button E.
Turn the temperature control switch into th e heat range if necessary . Keeping interior
Turn th e fan switch B to pos ition 2 o r 3. After the windows have been defogged , we recommend the following settings:
.......
Additional warm air can also be directed
to the side windows via vents 4.
Turn the temperature switch A to the
Turn the fan switch B to the desired
Turn the air flow distri butio n
switch C between ........... .. .
and ..
............ ......... .... .
the w indshield is fogging
vents 3 and 4 partially or all the way
and adjust as desired.
Page 232 of 474

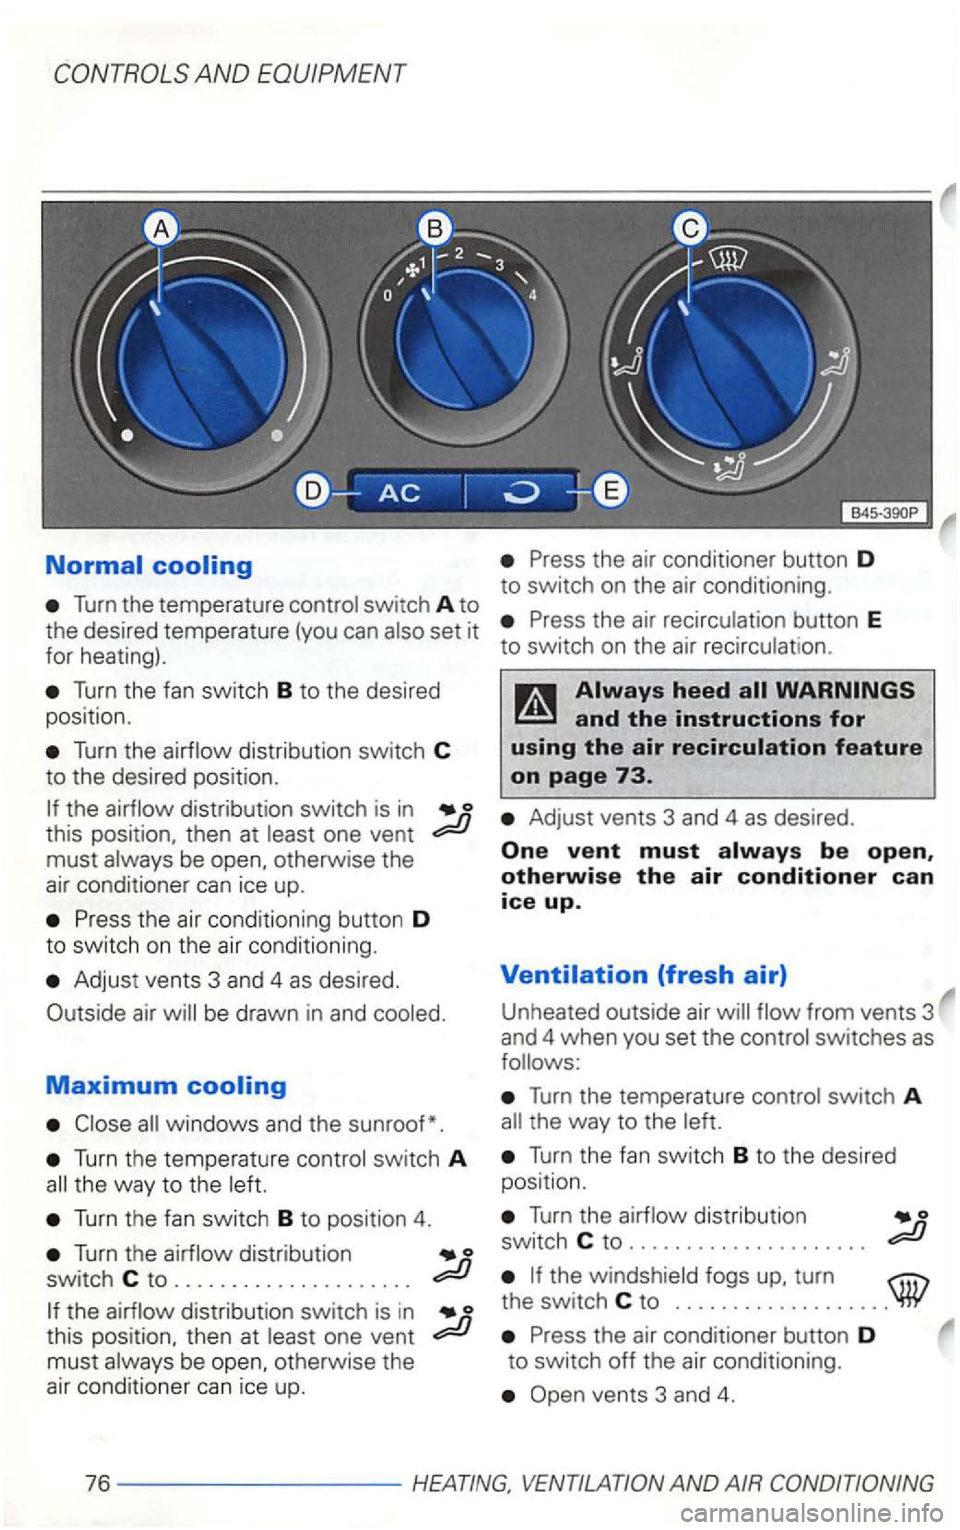
Turn the temperature control switch A to
the desired temperature (you can set it
for heating).
Turn the fan switch B to the desired
posit ion.
Turn the airflow distribution switch C
to the desired position.
this position, then at least one vent
must always be open, otherwise the
air conditioner can ice up.
Press the air conditioning button D
to switch on the air conditioning.
Adjust vents 3 and 4 as desired.
be drawn in and cooled.
Maximum
Close windows and the sunroof*.
Turn the temperature control switch A
Turn the fan switch B to position 4.
Turn the airflow distribution switch C to .................... .
this position, then at least one vent must always be open, otherwise the
air conditioner can ice up.
Press the air conditioner button D to switch on the air conditioning.
Press the air recirculation button E
to switch on the air recirculation.
Adjust vents 3 and 4 as desired.
from vents 3
and 4 when you set the control switches as
Turn the temperature control switch A the way to the left.
Turn the fan switch B to the desired
position.
Turn the airflow distribution switch C to .................... .
Press the air conditioner button D to switch off the air conditioning.