00 SIENNA(U)
75
NOTICE
Do not perform any of the following
changes without consulting your
Toyota dealer. Such changes can
interfere with proper operation of the
SRS airbag system in some cases.
�Installation of electronic devices
such as a mobile two−way radio,
cassette tape player or compact
disc player
�Modification of the suspension sys-
tem
�Modification of the front end struc-
ture
�Attachment of a grille guard (bull
bar, kangaroo bar, etc.), snowplow,
winches or any other equipment to
the front end
�Repairs made on or near the front
fenders, front end structure, con-
sole, steering column, steering
wheel or dashboard near the front
passenger airbag
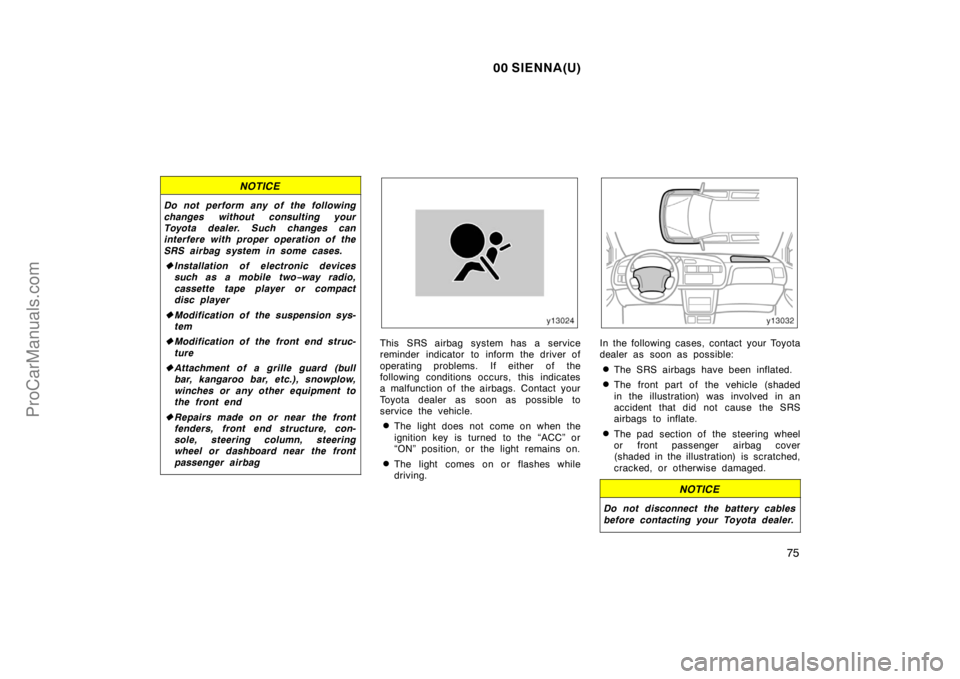
This SRS airbag system has a service
reminder indicator to inform the driver of
operating problems. If either of the
following conditions occurs, this indicates
a malfunction of the airbags. Contact your
Toyota dealer as soon as possible to
service the vehicle.
�The light does not come on when the
ignition key is turned to the “ACC” or
“ON” position, or the light remains on.
�The light comes on or flashes while
driving.
In the following cases, contact your Toyota
dealer as soon as possible:
�The SRS airbags have been inflated.
�The front part of the vehicle (shaded
in the illustration) was involved in an
accident that did not cause the SRS
airbags to inflate.
�The pad section of the steering wheel
or front passenger airbag cover
(shaded in the illustration) is scratched,
cracked, or otherwise damaged.
NOTICE
Do not disconnect the battery cables
before contacting your Toyota dealer.
ProCarManuals.com
00 SIENNA(U)
108
NOTICE
To prevent the battery from being dis-
charged, do not leave the lights on
for a long period when the engine is
not running.
Daytime running light system
(on some models)
The headlights turn on at reduced intensi-
ty when the parking brake is released with
the engine started, even with the light
switch in the “OFF” position. They will not
go off until the ignition switch is turned
off.
To turn on the other exterior lights and
instrument panel lights, twist the knob to
the position 1.
Twist the knob to the position 2 to turn
the headlights to full intensity for driving
at night.
High−Low beams—For high beams, turn
the headlights on and push the lever away
from you (position 1). Pull the lever to-
ward you (position 2) for low beams.
The headlight high beam indicator light
(blue light) on the instrument panel will
tell you that the high beams are on.
Flashing the high beam headlights
(position 3)—Pull the lever all the way
back. The high beam headlights turn off
when you release the lever.
You can flash the high beam headlights
with the knob turned to “OFF”.TURN SIGNALS
To signal a turn, push the headlight/
turn signal lever up or down to position
1.
The key must be in the “ON” position.
The lever automatically returns after you
make a turn, but you may have to return
it by hand after you change lanes.
To signal a lane change, move the lever
up or down to the pressure point (position
2) and hold it.
If the turn signal indicator lights (green
lights) on the instrument panel flash faster
than normal, a front or rear turn signal
bulb is burned out.
ProCarManuals.com

108
NOTICE
To prevent the battery from being dis-
charged, do not leave the lights on
for a long period when the engine is
not running.
Daytime running light system
(on some models)
The")