Page 5 of 376
Table of Contents (cont'd)
Defensive Driving
Drunken Driving
Conrol of a Vehicle
Braking
SteeringDriving Tips for Various Road Conditions
Recreational Vehicle Towing
Loading Your Vehicle
Towing a Trailer Heating and Air Conditioning
Setting the Radio Clock
Radio/Cassette Player/CD PlayerRadio Theft-Deterrent Feature
Steering Wheel Controls (If Equipped)
Hazard Warning Flashers
Jump Starting
Towing Your VehicleEngine Overheating
Changing a Flat Tire
If You're Stuck
Problems on the Road
Section
3
Section
4
Section
5
Your Driving and the Road Comfort Controls and Audio Systems
iii
Page 76 of 376

2-8
Your keyless entry system operates on a radio frequency
subject to Federal Communications Commission (FCC)
Rules and with Industry Canada.
This device complies with Part 15 of the FCC Rules.
Operation is subject to the following two conditions:
(1) this device may not cause harmful interference,
and (2) this device must accept any interference
received, including interference that may cause
undesired operation.
This device complies with RSS
-210 of Industry Canada.
Operation is subject to the following two conditions:
(1) this device may not cause interference, and
(2) this device must accept any interference received,
including interference that may cause undesired
operation of the device.
Changes or modifications to this system by other than an
authorized service facility could void authorization to
use this equipment.At times you may notice a decrease in range. This is
normal for any remote keyless entry system. If the
transmitter does not work or if you have to stand closer
to your vehicle for the transmitter to work, try this:
�Check the distance. You may be too far from your
vehicle. You may need to stand closer during rainy
or snowy weather.
�Check the location. Other vehicles or objects may be
blocking the signal. Take a few steps to the left or
right, hold the transmitter higher, and try again.
�Check to determine if battery replacement or
resynchronization is necessary. See the instructions
that follow.
�If you're still having trouble, see your dealer or a
qualified technician for service.
Page 95 of 376

2-27
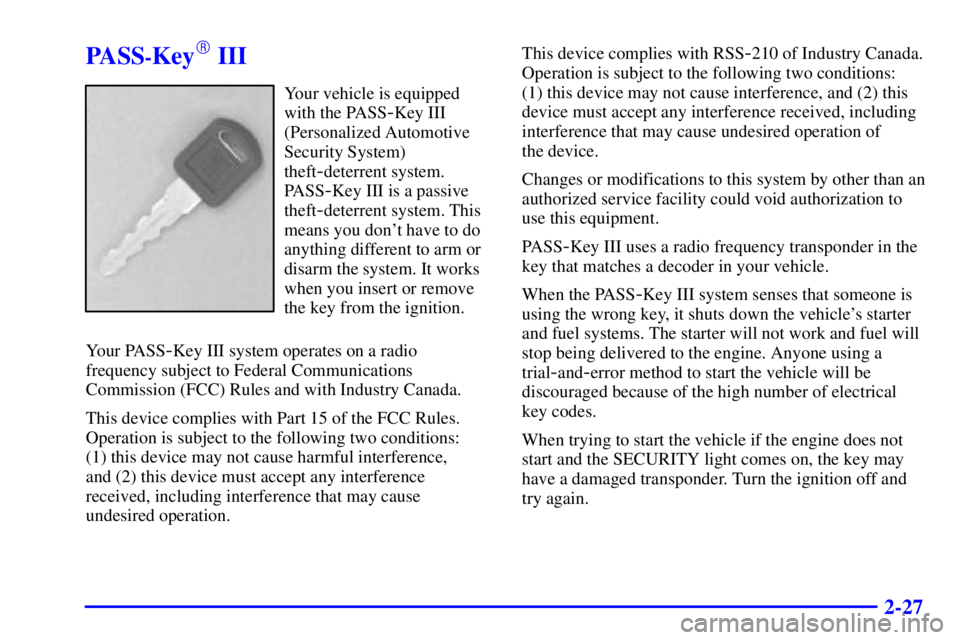
PASS-Key� III
Your vehicle is equipped
with the PASS
-Key III
(Personalized Automotive
Security System)
theft
-deterrent system.
PASS
-Key III is a passive
theft
-deterrent system. This
means you don't have to do
anything different to arm or
disarm the system. It works
when you insert or remove
the key from the ignition.
Your PASS
-Key III system operates on a radio
frequency subject to Federal Communications
Commission (FCC) Rules and with Industry Canada.
This device complies with Part 15 of the FCC Rules.
Operation is subject to the following two conditions:
(1) this device may not cause harmful interference,
and (2) this device must accept any interference
received, including interference that may cause
undesired operation.This device complies with RSS
-210 of Industry Canada.
Operation is subject to the following two conditions:
(1) this device may not cause interference, and (2) this
device must accept any interference received, including
interference that may cause undesired operation of
the device.
Changes or modifications to this system by other than an
authorized service facility could void authorization to
use this equipment.
PASS
-Key III uses a radio frequency transponder in the
key that matches a decoder in your vehicle.
When the PASS
-Key III system senses that someone is
using the wrong key, it shuts down the vehicle's starter
and fuel systems. The starter will not work and fuel will
stop being delivered to the engine. Anyone using a
trial
-and-error method to start the vehicle will be
discouraged because of the high number of electrical
key codes.
When trying to start the vehicle if the engine does not
start and the SECURITY light comes on, the key may
have a damaged transponder. Turn the ignition off and
try again.
Page 97 of 376

2-29
New Vehicle ªBreak-Inº
NOTICE:
Your vehicle doesn't need an elaborate
ªbreak
-in.º But it will perform better in the long
run if you follow these guidelines:
�Don't drive at any one speed -- fast or
slow
-- for the first 500 miles (805 km).
Don't make full
-throttle starts.
�Avoid making hard stops for the first
200 miles (322 km) or so. During this time
your new brake linings aren't yet broken
in. Hard stops with new linings can mean
premature wear and earlier replacement.
Follow this breaking
-in guideline every
time you get new brake linings.
�Don't tow a trailer during break
-in.
See ªTowing a Trailerº in the Index for
more information.
Ignition Positions
The ignition switch is located on the right side of the
steering column. With the key in the ignition switch,
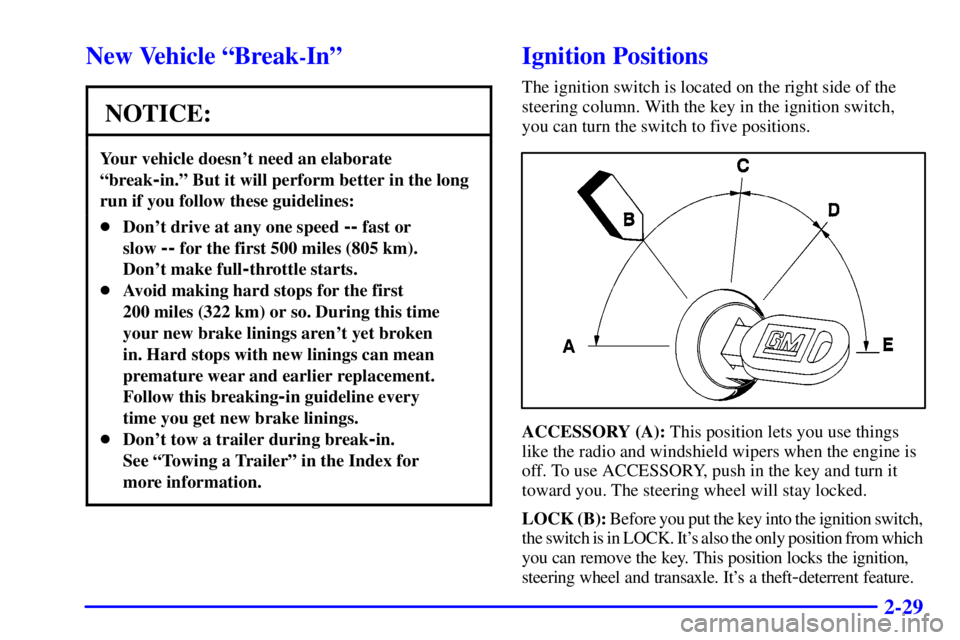
you can turn the switch to five positions.
ACCESSORY (A): This position lets you use things
like the radio and windshield wipers when the engine is
off. To use ACCESSORY, push in the key and turn it
toward you. The steering wheel will stay locked.
LOCK (B): Before you put the key into the ignition switch,
the switch is in LOCK. It's also the only position from which
you can remove the key. This position locks the ignition,
steering wheel and transaxle. It's a theft
-deterrent feature.
Page 140 of 376

2-72 Charging System Light
The charging system light
will come on briefly when
you turn on the ignition,
as a check to show you
it's working. Then it will
go out.
If it stays on, or comes on while you are driving, you
may have a problem with the electrical charging system.
It could indicate that you have a loose drive belt or
another electrical problem. Have it checked right away.
Driving while this light is on could drain your battery.
If you must drive a short distance with the light on, be
certain to turn off all your accessories, such as the radio
and air conditioner.
Brake System Warning Light
Your vehicle's hydraulic brake system is divided into
two parts. If one part isn't working, the other part can
still work and stop you. For good braking, though, you
need both parts working well.
If the warning light comes on, there is a brake problem.
Have your brake system inspected right away.
United States Canada
This light should come on when you turn the key to
RUN. If it doesn't come on then, have it fixed so it will
be ready to warn you if there's a problem.
Page 152 of 376

2-84
Head-Up Display (Option)
CAUTION:
If the HUD image is too bright, or too high in
your field of view, it may take you more time to
see things you need to see when it's dark outside.
Be sure to keep the HUD image dim and placed
low in your field of view.
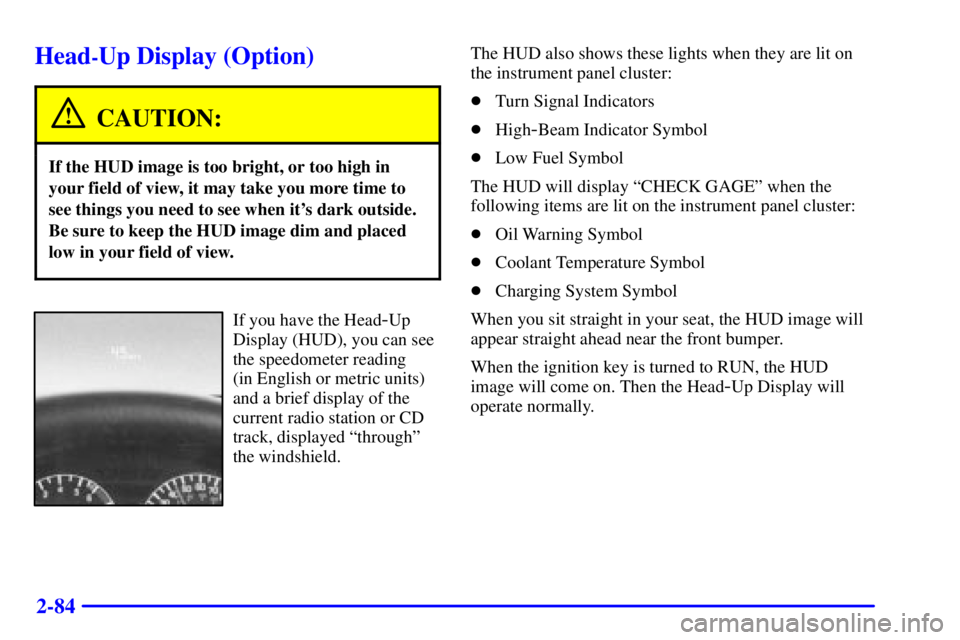
If you have the Head-Up
Display (HUD), you can see
the speedometer reading
(in English or metric units)
and a brief display of the
current radio station or CD
track, displayed ªthroughº
the windshield.The HUD also shows these lights when they are lit on
the instrument panel cluster:
�Turn Signal Indicators
�High
-Beam Indicator Symbol
�Low Fuel Symbol
The HUD will display ªCHECK GAGEº when the
following items are lit on the instrument panel cluster:
�Oil Warning Symbol
�Coolant Temperature Symbol
�Charging System Symbol
When you sit straight in your seat, the HUD image will
appear straight ahead near the front bumper.
When the ignition key is turned to RUN, the HUD
image will come on. Then the Head
-Up Display will
operate normally.
Page 153 of 376

2-85
NOTICE:
Although the HUD image appears to be near the
front of the vehicle, do not use it as a parking aid.
The HUD was not designed for that purpose.
If you try to use it that way, such as in a parking
lot, you may misjudge distance and run
into something.
When the HUD is on, the speedometer reading will be
displayed continually. The current radio station or CD
track number will only be displayed for three seconds
after the radio or CD track status changes. This will
happen whenever one of the radio controls is pressed,
either on the radio itself or on the optional steering
wheel controls.To adjust the HUD so you can see it properly:
1. Start your engine and turn the DIM thumbwheel to
the desired HUD image brightness.
2. Adjust your seat, if necessary, to a
comfortable position.
3. Press the top of the UP/DN switch until the HUD image
stops moving. Then press the bottom of the switch until
the image is as low as possible but in full view.
4. Turn the DIM thumbwheel down until the HUD
image is no brighter than necessary. To turn the HUD
off, turn the DIM thumbwheel all the way down.
Page 162 of 376

3-
3-1
Section 3 Comfort Controls and Audio Systems
In this section, you'll find out how to operate the comfort control and audio systems offered with your vehicle.
Be sure to read about the particular systems supplied with your vehicle.
3
-2 Comfort Controls
3
-2 Air Conditioning with Electronic Controls
3
-4 Air Conditioning with Automatic and
Auxiliary Temperature Control (If Equipped)
3
-8 Rear Window Defogger
3
-9 Ventilation System
3
-10 Audio Systems
3
-10 Setting the Clock
3
-10 AM-FM Stereo with Cassette Tape Player
3
-14 AM-FM Stereo with Compact Disc Player
(If Equipped)
3
-17 AM-FM Stereo with Compact Disc Player and
Equalizer (If Equipped)3
-20 Trunk-Mounted CD Changer (Option)
3
-23 Theft-Deterrent Feature
3
-26 Audio Steering Wheel Controls (If Equipped)
3
-27 Understanding Radio Reception
3
-27 Tips About Your Audio System
3
-28 Care of Your Cassette Tape Player
3
-29 Care of Your Compact Discs
3
-29 Care of Your Compact Disc Player
3
-29 Fixed Mast Antenna
3
-30 Backglass Antenna (If Equipped)