Page 263 of 402
5-20
The following steps will tell you how to use the jack and
change a tire.
Removing the Spare Tire and Tools
The equipment you'll need is in the trunk.
1. Pull the carpeting from the floor of the trunk.
2. Remove the retainer then lift and remove the cover.
3. Remove the spare tire. See ªCompact Spare Tireº
later in this section for more information about the
compact spare.
4. Unscrew the wing nuts to remove the container that
holds the wrench and jack.
5. Remove the wheel wrench, jack and the spare tire
from the trunk.
Page 268 of 402
5-25
4. Raise the vehicle by turning the wheel wrench
clockwise. Raise the vehicle far enough off the
ground so there is enough room for the spare tire
to fit.
5. Remove all the wheel nuts and take off the flat tire.
6. Remove any rust or dirt
from the wheel bolts,
mounting surfaces and
spare wheel.
CAUTION:
Rust or dirt on the wheel, or on the parts to
which it is fastened, can make the wheel nuts
become loose after a time. The wheel could come
off and cause an accident. When you change a
wheel, remove any rust or dirt from the places
where the wheel attaches to the vehicle. In an
emergency, you can use a cloth or a paper towel
to do this; but be sure to use a scraper or wire
brush later, if you need to, to get all the rust or
dirt off.
Page 320 of 402

6-45
4. The display should change to read TIRE PRESSURE
RESET. If TIRE PRESSURE RESET does not
appear on the display after about five seconds,
see your dealer for service.
5. When you release the button after seeing the TIRE
PRESSURE RESET message, the display will
change to read TIRE PRESSURE NORMAL.
To reset (calibrate) the system with a systems monitor:
�Turn the ignition switch to RUN.
�Press and hold the TIRE PRESS RESET button for
about five seconds.
�The TIRE PRESS light on the systems monitor
should begin to flash. If the TIRE PRESS light does
not begin to flash after about five seconds, see your
dealer for service.
�Release the TIRE PRESS RESET button and the
system should reset (the TIRE PRESS telltale light
goes out).
The system completes the calibration process during
driving. Calibration time can take 45 to 90 minutes,
depending on your driving habits. After the system
has been calibrated, the system will alert the driver
that a tire is low, up to a maximum speed of
65 mph (105 km/h).Tire Inspection and Rotation
Tires should be rotated every 6,000 to 8,000 miles
(10 000 to 13 000 km). Any time you notice unusual
wear, rotate your tires as soon as possible and check
wheel alignment. Also check for damaged tires or wheels.
See ªWhen It's Time for New Tiresº and ªWheel
Replacementº later in this section for more information.
The purpose of regular rotation is to achieve more
uniform wear for all tires on the vehicle. The first
rotation is the most important. See ªScheduled
Maintenance Servicesº in the Index for scheduled
rotation intervals.
When rotating your tires, always use the correct rotation
pattern shown here.
Page 321 of 402

6-46
Don't include the compact spare tire in your
tire rotation.
After the tires have been rotated, adjust the front and
rear inflation pressures as shown on the Tire
-Loading
Information label. Reset the Check Tire Pressure
System. See ªCheck Tire Pressure Systemº in the Index.
Make certain that all wheel nuts are properly tightened.
See ªWheel Nut Torqueº in the Index.
CAUTION:
Rust or dirt on a wheel, or on the parts to which
it is fastened, can make wheel nuts become loose
after a time. The wheel could come off and cause
an accident. When you change a wheel, remove
any rust or dirt from places where the wheel
attaches to the vehicle. In an emergency, you can
use a cloth or a paper towel to do this; but be
sure to use a scraper or wire brush later,
if you need to, to get all the rust or dirt off.
(See ªChanging a Flat Tireº in the Index.)
When It's Time for New Tires
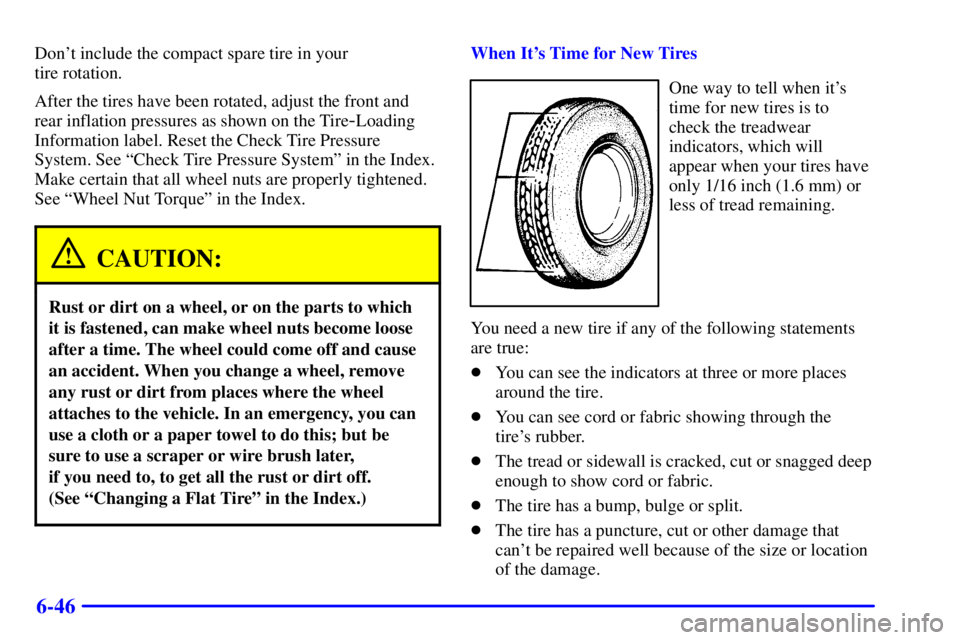
One way to tell when it's
time for new tires is to
check the treadwear
indicators, which will
appear when your tires have
only 1/16 inch (1.6 mm) or
less of tread remaining.
You need a new tire if any of the following statements
are true:
�You can see the indicators at three or more places
around the tire.
�You can see cord or fabric showing through the
tire's rubber.
�The tread or sidewall is cracked, cut or snagged deep
enough to show cord or fabric.
�The tire has a bump, bulge or split.
�The tire has a puncture, cut or other damage that
can't be repaired well because of the size or location
of the damage.
Page 345 of 402

6-70 Wheel Nut Torque
100 lb-ft (140 N´m)
Capacities
Automatic Transaxle (Overdrive)
Pan Removal and
Replacement7.4 quarts (7.0 L) . . . . . . . . . . . . .
Complete Overhaul 10.0 quarts (9.5 L). . . . . . . .
When draining or replacing torque converter, more
fluid may be needed.
Cooling System10.0 quarts (9.5 L) . . . . . . . . . . . . .
Engine Crankcase4.5 quarts (4.3L) . . . . . . . . . . .
Oil change with filter change
Fuel Tank18.5 gallons (70.0 L) . . . . . . . . . . . . . . .
Air Conditioning RefrigerantSee refrigerant . . . .
charge label under the hood.
All capacities are approximate. When adding, be sure
to fill to the appropriate level, as recommended in
this manual.
Normal Maintenance
Replacement Parts
Air Cleaner Filter AC Type A-1096C . . . . . . . . . . . . .
Passenger Compartment Air Filter
(HVAC Air Filter) GM Part No. 25654414. . . . . . . .
Engine Oil Filter AC Type PF
-47 . . . . . . . . . . . . . . . .
Fuel Filter AC Type GF
-627 . . . . . . . . . . . . . . . . . . . .
Transaxle Filter GM Part No. 8651909. . . . . . . . . . . .
Spark Plugs AC Type 41
-921* . . . . . . . . . . . . . . . . .
Gap: 0.060 inch (1.52 mm)
Windshield Wiper Blades
Type Shepard's Hook. . . . . . . . . . . . . . . . . . . . . . . . .
Length 22 inches (56 cm). . . . . . . . . . . . . . . . . . . . .
*On 3800 V6 Supercharged Engine (Code 1) only, this
replaces original spark plug NGK Type PTR4B
-15.