Page 99 of 327
2-34
Tilt Wheel
A tilt steering wheel allows you to adjust the steering
wheel before you drive.
You can also raise it to the highest level to give your
legs more room when you exit and enter the vehicle.
To tilt the wheel, hold the steering wheel and pull the
lever toward you.
Move the steering wheel to a comfortable level, then
release the lever to lock the wheel in place.
Turn Signal/Multifunction Lever
The lever on the left side of the steering column
includes your:
�Turn Signal and Lane Change Indicator
�Headlamp High/Low Beam Changer
�Park Lamps and Headlamps Control Switch
Page 100 of 327

2-35 Turn Signal On Chime
If your turn signal is left on for more than 3/4 of a mile
(1.2 km), a chime will sound at each flash of the turn
signal. To turn off the chime, move the turn signal lever
to the off position.
Turn and Lane Change Signals
The turn signal has two upward (for right) and two
downward (for left) positions. These positions allow
you to signal a turn or a lane change.
To signal a turn, move the lever all the way up or
down. When the turn is finished, the lever will
return automatically.
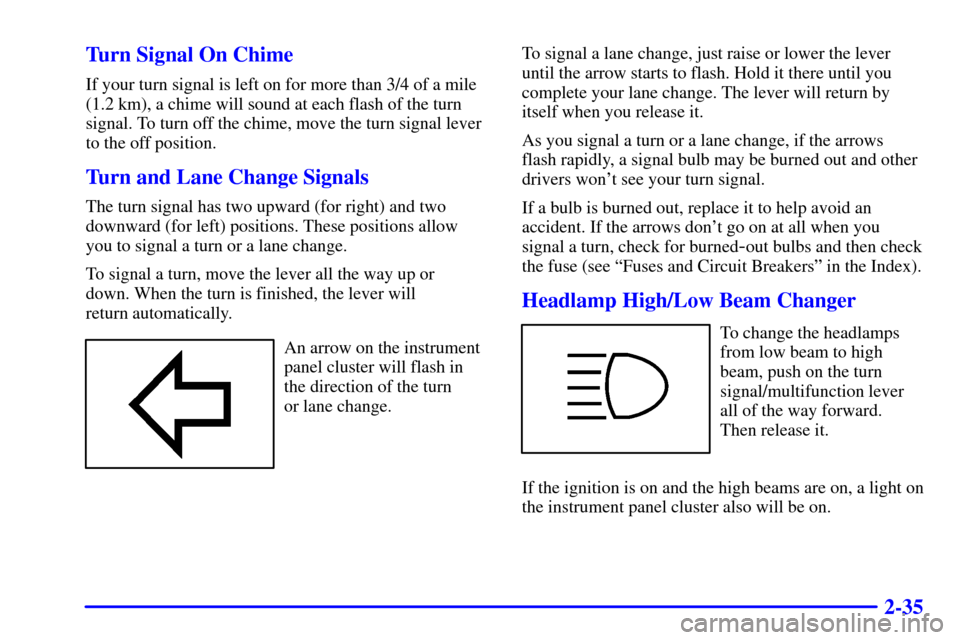
An arrow on the instrument
panel cluster will flash in
the direction of the turn
or lane change.To signal a lane change, just raise or lower the lever
until the arrow starts to flash. Hold it there until you
complete your lane change. The lever will return by
itself when you release it.
As you signal a turn or a lane change, if the arrows
flash rapidly, a signal bulb may be burned out and other
drivers won't see your turn signal.
If a bulb is burned out, replace it to help avoid an
accident. If the arrows don't go on at all when you
signal a turn, check for burned
-out bulbs and then check
the fuse (see ªFuses and Circuit Breakersº in the Index).
Headlamp High/Low Beam Changer
To change the headlamps
from low beam to high
beam, push on the turn
signal/multifunction lever
all of the way forward.
Then release it.
If the ignition is on and the high beams are on, a light on
the instrument panel cluster also will be on.
Page 153 of 327

3-19
TONE: Press this button to select a tone while playing
a compact disc. The tone that you set will be activated
each time you play a compact disc.
SEEK: Press the down arrow to go to the start of the
current track if more than eight seconds have played.
Press the up arrow to go to the next track. If you hold
the button or press it more than once, the player will
continue moving rearward or forward through the disc.
SCAN: Press this button to listen to each selection
for a few seconds. The disc will go to the next selection,
stop for a few seconds, then go on to the next selection.
Press this button again to stop scanning. The sound will
mute while scanning, SCAN will appear on the display.
RCL: Press this button to see which track is playing.
Press it again within five seconds to see how long it has
been playing. To change what is normally shown on the
display (track or elapsed time), press the button until
you see the display you want, then hold the button
until the display flashes. While elapsed time is showing,
EL TM will appear on the display.AM FM: Press this button to play the radio when a
disc is in the player.
TAPE CD: Press this button to change to the tape or
disc function when the radio is on and either a tape or
CD is inserted. Press AM
-FM to return to the radio
while a CD or tape is playing. The inactive tape or CD
will remain safely inside the radio for future listening. If
you have the optional CD changer and the CD changer
is loaded, the TAPE
-CD button will activate the changer
and a box will be lighted around CDC in the display.
EJECT: Press this button to remove the compact disc
or cassette tape. The icon with the box around it on the
display will eject and the radio will play. EJECT may be
activated with either the ignition or radio off. Cassettes
and compact discs may be loaded with the radio and
ignition off if this button is pressed first.