Page 101 of 327

2-36 Flash-to-Pass
This feature lets you use your high-beam headlamps to
signal a driver in front of you that you want to pass.
To use it, pull the turn signal/multifunction lever toward
you until the high
-beam headlamps come on, then
release the lever to turn them off.
Windshield Wipers
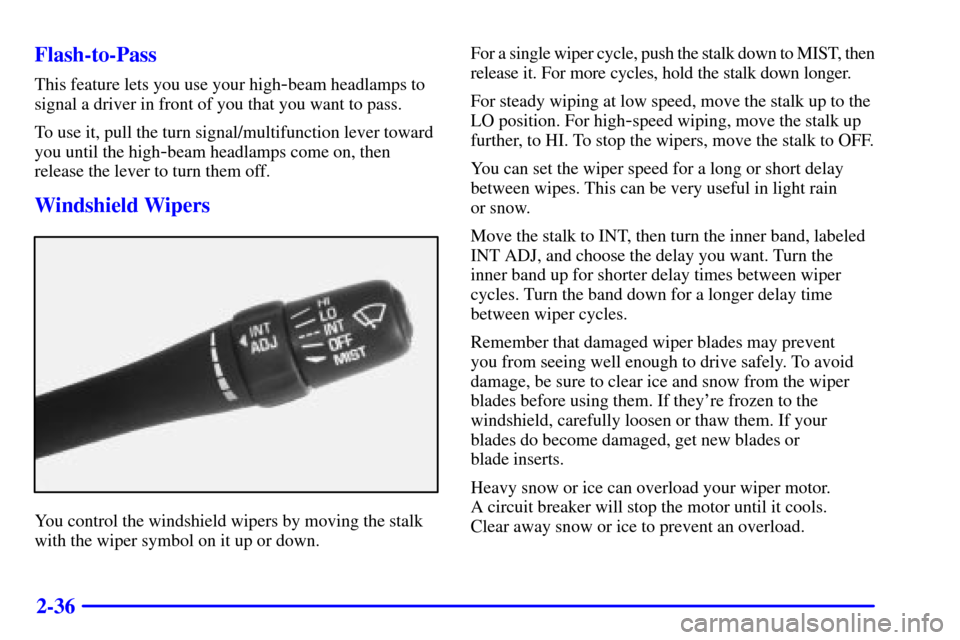
You control the windshield wipers by moving the stalk
with the wiper symbol on it up or down.For a single wiper cycle, push the stalk down to MIST, then
release it. For more cycles, hold the stalk down longer.
For steady wiping at low speed, move the stalk up to the
LO position. For high
-speed wiping, move the stalk up
further, to HI. To stop the wipers, move the stalk to OFF.
You can set the wiper speed for a long or short delay
between wipes. This can be very useful in light rain
or snow.
Move the stalk to INT, then turn the inner band, labeled
INT ADJ, and choose the delay you want. Turn the
inner band up for shorter delay times between wiper
cycles. Turn the band down for a longer delay time
between wiper cycles.
Remember that damaged wiper blades may prevent
you from seeing well enough to drive safely. To avoid
damage, be sure to clear ice and snow from the wiper
blades before using them. If they're frozen to the
windshield, carefully loosen or thaw them. If your
blades do become damaged, get new blades or
blade inserts.
Heavy snow or ice can overload your wiper motor.
A circuit breaker will stop the motor until it cools.
Clear away snow or ice to prevent an overload.
Page 111 of 327
2-46
Mirrors
Inside Day/Night Rearview Mirror
This mirror can be adjusted two ways. First, to adjust
the height of the mirror, adjust the arm that connects the
mirror to the windshield. Then adjust the angle of the
mirror, by moving the mirror to a position that allows
you to see out of the back window.
To reduce glare from lights behind you, move the lever
toward you to the night position. To return the mirror to
the daytime position, move the lever away from you.
Manual Remote Control Mirror
The outside rearview mirror should be adjusted so you
can just see the side of your vehicle when you are sitting
in a comfortable driving position.
Adjust the driver's side outside mirror with the control
lever on the driver's door.
To adjust your passenger's side mirror, sit in the driver's
seat and have a passenger adjust the mirror for you.
Power Remote Control Mirror (If Equipped)
This selector controls both
outside rearview mirrors.
Page 122 of 327

2-57
United States Canada
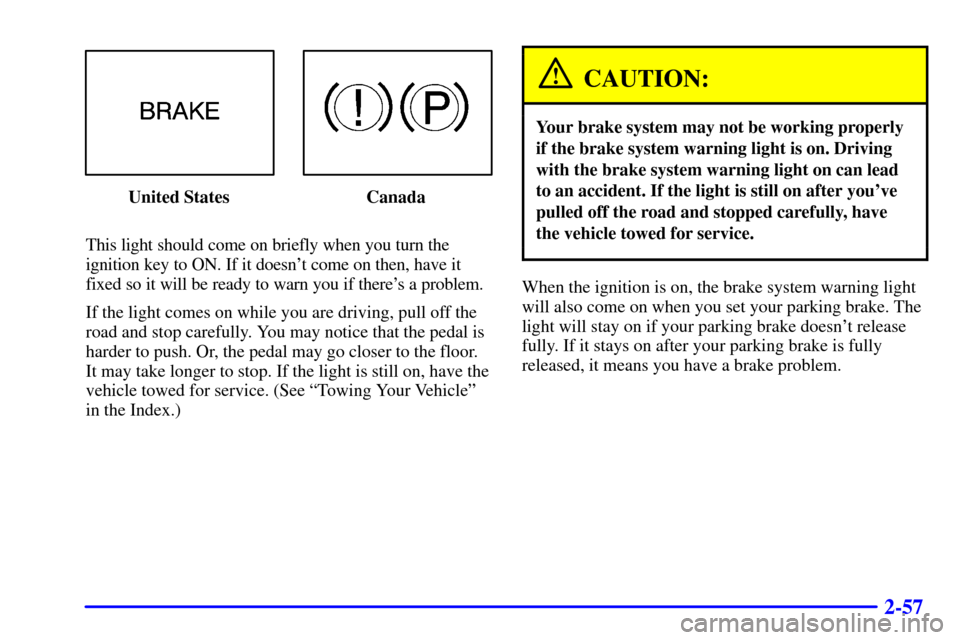
This light should come on briefly when you turn the
ignition key to ON. If it doesn't come on then, have it
fixed so it will be ready to warn you if there's a problem.
If the light comes on while you are driving, pull off the
road and stop carefully. You may notice that the pedal is
harder to push. Or, the pedal may go closer to the floor.
It may take longer to stop. If the light is still on, have the
vehicle towed for service. (See ªTowing Your Vehicleº
in the Index.)
CAUTION:
Your brake system may not be working properly
if the brake system warning light is on. Driving
with the brake system warning light on can lead
to an accident. If the light is still on after you've
pulled off the road and stopped carefully, have
the vehicle towed for service.
When the ignition is on, the brake system warning light
will also come on when you set your parking brake. The
light will stay on if your parking brake doesn't release
fully. If it stays on after your parking brake is fully
released, it means you have a brake problem.
Page 128 of 327

2-63
NOTICE:
Modifications made to the engine, transaxle,
exhaust or fuel system of your vehicle or the
replacement of the original tires with other than
those of the same Tire Performance Criteria
(TPC) can affect your vehicle's emission controls
and may cause the SERVICE ENGINE SOON
or the CHECK ENGINE light to come on.
Modifications to these systems could lead to
costly repairs not covered by your warranty.
This may also result in a failure to pass a
required Emission Inspection/Maintenance test.
This light should come on, as a check to show you it is
working, when the ignition is on and the engine is not
running. If the light doesn't come on, have it repaired.
This light will also come on during a malfunction in one
of two ways:
�Light Flashing
-- A misfire condition has been
detected. A misfire increases vehicle emissions and
may damage the emission control system on your
vehicle. Dealer or qualified service center diagnosis
and service may be required.�Light On Steady
-- An emission control
system malfunction has been detected on your
vehicle. Dealer or qualified service center diagnosis
and service may be required.
If the Light Is Flashing
The following may prevent more serious damage to
your vehicle:
�Reducing vehicle speed.
�Avoiding hard accelerations.
�Avoiding steep uphill grades.
�If you are towing a trailer, reduce the amount of
cargo being hauled as soon as it is possible.
If the light stops flashing and remains on steady,
see ªIf the Light Is On Steadyº following.
If the light continues to flash, when it is safe to do so,
stop the vehicle. Find a safe place to park your vehicle.
Turn the key off, wait at least 10 seconds and restart the
engine. If the light remains on steady, see ªIf the Light
Is On Steadyº following. If the light is still flashing,
follow the previous steps, and drive the vehicle to your
dealer or qualified service center for service.
Page 138 of 327

3-4 Heating
On cold days, use FLOOR and the outside air button
with the temperature knob all the way in the red area.
The system will bring in outside air, heat it and send
it to the floor outlets.
Your vehicle has heat ducts that are directed toward the
rear seat. Keep the area under the front seats clear of
obstructions so that the heated air can reach the rear
seat passengers.
If your vehicle has an engine coolant heater, you can use
it to help your system provide warm air faster when it's
cold outside (0�F (
-18�C) or lower). An engine
coolant heater warms the coolant your engine and
heating system use to provide heat. See ªEngine
Coolant Heaterº in the Index.
Defogging and Defrosting Windows
Your system has two settings for clearing the front and
side windows. For each setting, adjust the temperature
control as desired.
To defrost the front window quickly, turn the temperature
control knob all the way in the red area. Use FRONT
DEFROST and adjust the fan to the highest speed.
To warm passengers while keeping the front window
clean, use DEFOG.
If you select RECIRCULATION while in VENT,
BI
-LEVEL or FLOOR modes, humid air can recirculate
inside the vehicle and allow moisture to form on the
windows. If this happens, either press the A/C button
to on or select DEFROST or the DEFOG modes.
Your vehicle is equipped with side window defogger
vents. The side window defogger vents are located on the
outside of the side instrument panel vents. To defrost the
side windows, turn the temperature control knob all the
way in the red area. Use FLOOR and adjust the fan to the
highest speed. To control fogging of the windows, turn
the temperature control knob all the way in the red area.
Use DEFOG and adjust the fan to the highest speed.
Page 139 of 327

3-5
To defog the side windows while using air conditioning,
use BI
-LEVEL and adjust the fan to the highest speed
and press the A/C button so that the indicator light is
glowing. For added airflow to the side windows aim the
side vents toward the windows and close the center vents.
Rear Window Defogger
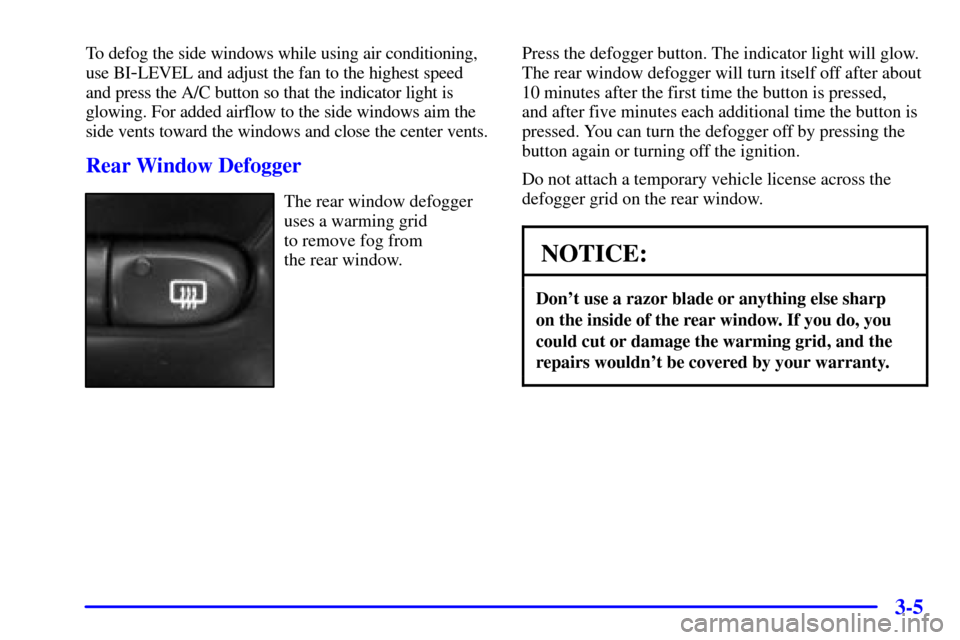
The rear window defogger
uses a warming grid
to remove fog from
the rear window.Press the defogger button. The indicator light will glow.
The rear window defogger will turn itself off after about
10 minutes after the first time the button is pressed,
and after five minutes each additional time the button is
pressed. You can turn the defogger off by pressing the
button again or turning off the ignition.
Do not attach a temporary vehicle license across the
defogger grid on the rear window.
NOTICE:
Don't use a razor blade or anything else sharp
on the inside of the rear window. If you do, you
could cut or damage the warming grid, and the
repairs wouldn't be covered by your warranty.
Page 159 of 327
4-
4-1
Section 4 Your Driving and the Road
Here you'll find information about driving on different kinds of roads and in varying weather conditions.
We've also included many other useful tips on driving.
4
-2 Defensive Driving
4
-3 Drunken Driving
4
-6 Control of a Vehicle
4
-6 Braking
4
-11 Steering
4
-13 Off-Road Recovery
4
-13 Passing
4
-15 Loss of Control
4
-16 Driving at Night
4
-17 Driving in Rain and on Wet Roads4
-20 City Driving
4
-21 Freeway Driving
4
-22 Before Leaving on a Long Trip
4
-23 Highway Hypnosis
4
-23 Hill and Mountain Roads
4
-25 Winter Driving
4
-29 Recreational Vehicle Towing
4
-31 Loading Your Vehicle
4
-33 Towing a Trailer
4
-40 Towing a Trailer (2.4L L4 Engine)
Page 187 of 327

4-29
Then, shut the engine off and close the window almost
all the way to preserve the heat. Start the engine again
and repeat this only when you feel really uncomfortable
from the cold. But do it as little as possible. Preserve the
fuel as long as you can. To help keep warm, you can get
out of the vehicle and do some fairly vigorous exercises
every half hour or so until help comes.
Recreational Vehicle Towing
You can tow your vehicle behind another vehicle for use
at your destination. Be sure to use the proper towing
equipment designed for recreational towing. Follow the
instructions for the towing equipment.
Towing Your Vehicle from the Front
There are two ways to tow your vehicle from the front.
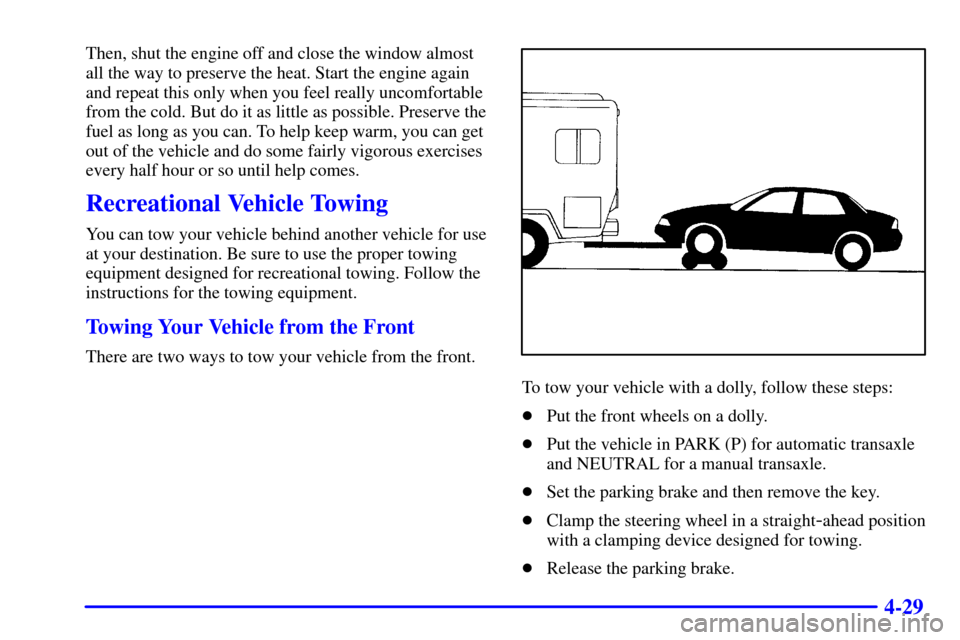
To tow your vehicle with a dolly, follow these steps:
�Put the front wheels on a dolly.
�Put the vehicle in PARK (P) for automatic transaxle
and NEUTRAL for a manual transaxle.
�Set the parking brake and then remove the key.
�Clamp the steering wheel in a straight
-ahead position
with a clamping device designed for towing.
�Release the parking brake.