2000 NISSAN PATHFINDER mirror
[x] Cancel search: mirrorPage 53 of 265

2 Instruments and controlsInstrument panel ....................................................... 2-2
Meters and gauges ................................................... 2-3
Speedometer and odometer ..................................... 2-3
Tachometer ............................................................... 2-4
Engine coolant temperature gauge ........................... 2-4
Fuel gauge ................................................................ 2-5
Compass and outside temperature display (if so
equipped) .................................................................. 2-6
Outside temperature display ..................................... 2-6
Compass display ....................................................... 2-7
Warning/indicator lights and chimes ......................... 2-9
Checking bulbs.......................................................... 2-9
Warning lights ........................................................... 2-9
Indicator lights ......................................................... 2-12
Chimes .................................................................... 2-13
Security systems ..................................................... 2-14
Theft warning (if so equipped) ................................ 2-14
Nissan vehicle immobilizer system ......................... 2-15
Windshield wiper and washer switch ...................... 2-16
Rear window wiper and washer switch................... 2-16
Glass hatch and outside mirror (if so equipped)
defogger switch ...................................................... 2-17
Headlight and turn signal switch ............................. 2-17
Headlight switch ...................................................... 2-17Turn signal switch ................................................... 2-20
Fog light switch (if so equipped) ............................. 2-20
Front fog light switch ............................................... 2-20
Hazard warning flasher switch ................................ 2-21
Horn......................................................................... 2-21
Heated seats (if so equipped) ................................. 2-22
Power outlet ............................................................ 2-23
Cigarette lighter and ashtray (Accessory)............... 2-23
Storage .................................................................... 2-24
Tray ......................................................................... 2-24
Glasses case........................................................... 2-24
Cup holders ............................................................. 2-25
Glove box ................................................................ 2-26
Console box ............................................................ 2-27
Luggage hooks........................................................ 2-28
Cargo net (if so equipped) ...................................... 2-30
Tonneau cover (if so equipped) .............................. 2-30
Luggage rack (if so equipped) ................................ 2-31
Windows .................................................................. 2-32
Power windows (if so equipped) ............................. 2-32
Sunroof (if so equipped) ......................................... 2-33
Automatic sunroof ................................................... 2-33
Interior lights............................................................ 2-34
Personal lights......................................................... 2-35
Z
00.1.17/R50-D/V5
X
Page 54 of 265

Vanity mirror light (if so equipped) .......................... 2-36
Integrated HomeLink
Universal Transceiver (if so
equipped) ................................................................ 2-36
Programming HomeLink........................................ 2-37
Programming HomeLinkfor Canadian
customers ................................................................ 2-38
Operating the integrated HomeLink
Universal
Transceiver.............................................................. 2-38Programming problem-diagnosis ............................ 2-38
Clearing the programmed information .................... 2-38
Rolling code programming ...................................... 2-39
Reprogramming a single HomeLink
button .......... 2-39
If your vehicle is stolen ........................................... 2-39
Z
00.1.17/R50-D/V5
X
Page 55 of 265

Driver's supplemental air bag (P.1-10)Cruise control
set switch
(P.5-17)
Outside mirror remote control
(P.3-15) Headlight/dimmer/turn signal switch (P.2-17)
Front fog light switch (P.2-20)Meter/gauge (P.2-3)
Windshield
and rear
window wiper/
washer
switch
(P.2-16)Hazard warning flasher switch (P.2-21)
Center ventilator (P.4-2)
Heater/air conditioner control (P.4-3)Compass/outside air temperature display (P.2-6)
Passenger supplemental air bag (P.1-10)
Side ventilator (P.4-2)
Glove box (P.2-26)
Cigarette lighter (P.2-23)
Radio/CD player (P.4-19)/clock (P.4-15)
Glass hatch/outside mirror
defogger switch (P.2-17)
Ignition switch/steering lock (P.5-6)Heated seat switch (P.2-22)
Tilting steering wheel adjust lever (P.3-13)Hood release handle (P.3-9) Fuse box cover (P.8-22)/Tray (P.2-24)Security indicator light (P.2-14) Cruise control main switch (P.5-17)
Instrument brightness control (P.2-18)
SIC1327
See the page indicated in parentheses for operating details.
INSTRUMENT PANEL2-2
Instruments and controls
Z
00.1.17/R50-D/V5
X
Page 70 of 265

CAUTION
IDo not operate the washer continu-
ously for more than 30 seconds.
IDo not operate the washer if reservoir
tank is empty.
IThe rear window wiper will not operate
when the glass hatch is open.
The rear window wiper will not operate if
the glass hatch is closed with the wiper
switch on. To operate the window wiper,
turn the switch to off and then to on.
IThe glass hatch will not open while the
rear window wiper is operating.
WARNING
In freezing temperatures the washer so-
lution may freeze on the glass hatch and
obscure your vision. Warm the glass
hatch with the defroster before you
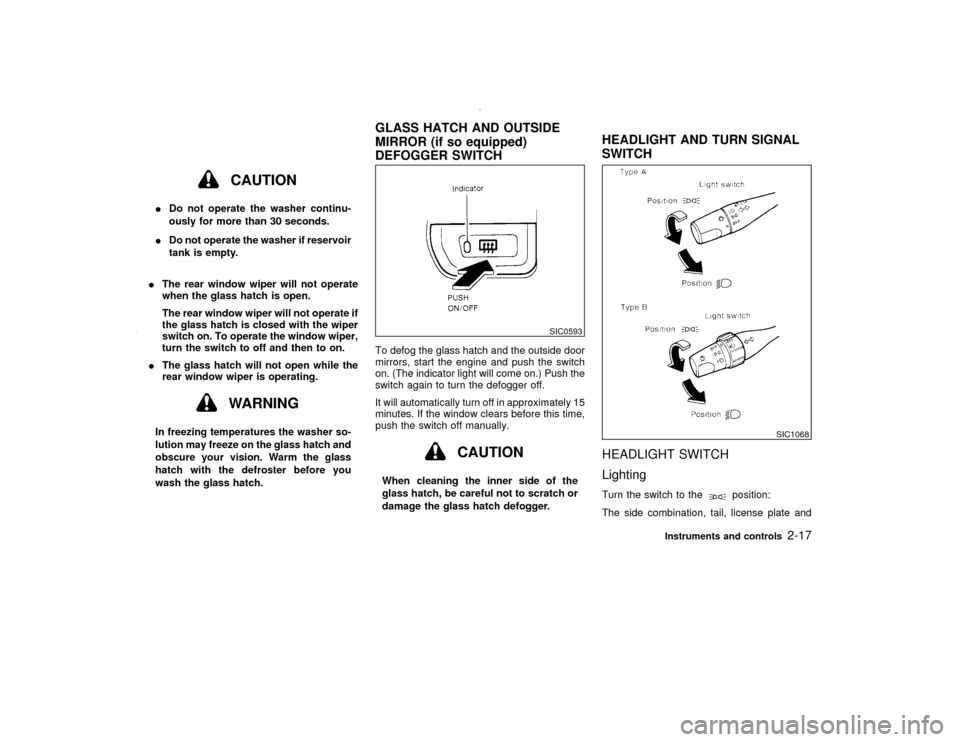
wash the glass hatch.To defog the glass hatch and the outside door
mirrors, start the engine and push the switch
on. (The indicator light will come on.) Push the
switch again to turn the defogger off.
It will automatically turn off in approximately 15
minutes. If the window clears before this time,
push the switch off manually.
CAUTION
When cleaning the inner side of the
glass hatch, be careful not to scratch or
damage the glass hatch defogger.
HEADLIGHT SWITCH
LightingTurn the switch to the
position:
The side combination, tail, license plate and
SIC0593
SIC1068
GLASS HATCH AND OUTSIDE
MIRROR (if so equipped)
DEFOGGER SWITCHHEADLIGHT AND TURN SIGNAL
SWITCH
Instruments and controls
2-17
Z
00.1.17/R50-D/V5
X
Page 88 of 265

The ceiling light will stay on for about 30
seconds when:
IThe driver's door is unlocked by the multi-
remote controller or a key when all doors
are locked.
IThe driver's door is unlocked while the key
is removed from the ignition switch.
IThe key is removed from the ignition switch
and the driver's door is opened and then
closed.
IThe key is removed from the ignition switch
while all doors are closed.
The light will turn off while the 30 second timer
is activated when:
IThe driver's door is locked either with the
multi-remote controller, a key, the door lock
knob or the lock-unlock switch.
IThe ignition switch is turned ON.
When the interior light or the personal light
switch is in the ON position, the interior,
personal, and vanity mirror lights will auto-
matically turn off 10 minutes after the igni-
tion switch has been turned to the OFF
position. To turn on the light again, insert
the key into the ignition switch and move it
to the ON position.After the above procedure, the interior, per-
sonal, or vanity mirror lights will automatically
turn off 10 minutes after the latest operation of
the following:
IOpening or closing any door
ILocking or unlocking the driver's door
IInserting or removing a key from the ignition
switch
These lights will turn on again when any of the
above operations is performed after the lights
have turned off automatically. (The lights will
turn off 10 minutes after the latest operation of
the above as well.)
CAUTION
ITurn off the interior, personal and
vanity mirror lights when you leave
the vehicle.
IDo not use for extended periods of
time with the engine stopped. This
could result in a discharged battery.When the interior light or the personal light
switch is in the ON position, the interior,
personal, and vanity mirror lights will auto-
matically turn off 10 minutes after the igni-
tion switch has been turned to the OFF
position. To turn on the light again, insert
the key into the ignition switch and move it
to the ON position.
After the above procedure, the interior, per-
sonal, or vanity mirror lights will automatically
turn off 10 minutes after the latest operation of
the following:
IOpening or closing any door
ILocking or unlocking the driver's door
SIC0565
PERSONAL LIGHTS
Instruments and controls
2-35
Z
00.1.17/R50-D/V5
X
Page 89 of 265

IInserting or removing a key from the ignition
switch
These lights will turn on again when any of the
above operations is performed after the lights
have turned off automatically. (The lights will
turn off 10 minutes after the latest operation of
the above as well.)
CAUTION
ITurn off the interior, personal and
vanity mirror lights when you leave
the vehicle.
IDo not use for extended periods of
time with the engine stopped. This
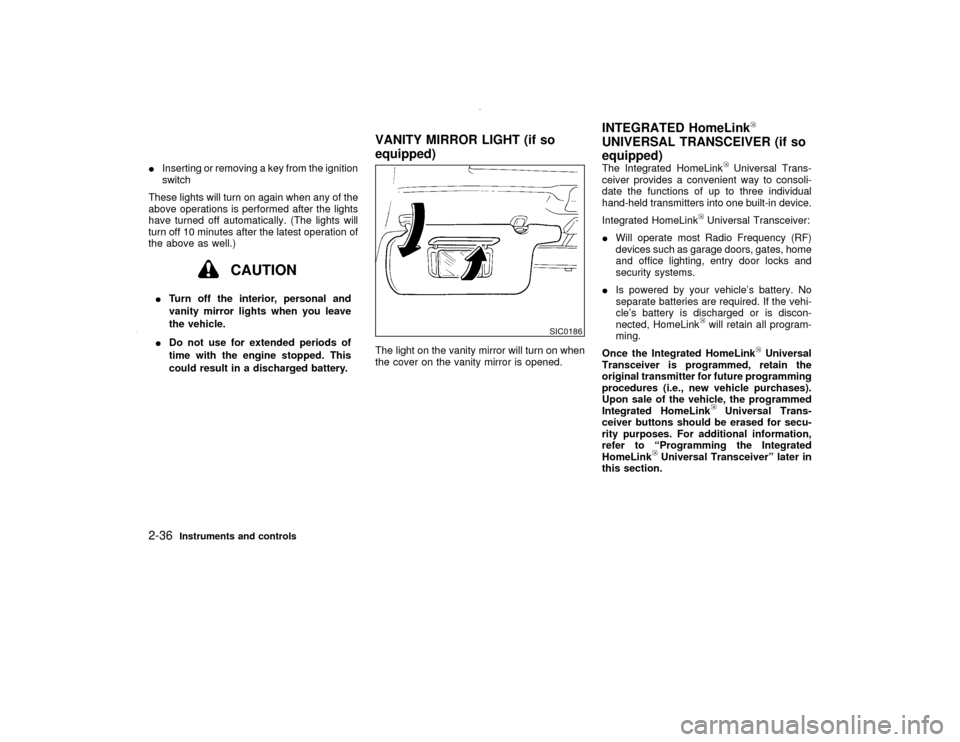
could result in a discharged battery.The light on the vanity mirror will turn on when
the cover on the vanity mirror is opened.The Integrated HomeLink
Universal Trans-
ceiver provides a convenient way to consoli-
date the functions of up to three individual
hand-held transmitters into one built-in device.
Integrated HomeLink
Universal Transceiver:
IWill operate most Radio Frequency (RF)
devices such as garage doors, gates, home
and office lighting, entry door locks and
security systems.
IIs powered by your vehicle's battery. No
separate batteries are required. If the vehi-
cle's battery is discharged or is discon-
nected, HomeLinkwill retain all program-
ming.
Once the Integrated HomeLink
Universal
Transceiver is programmed, retain the
original transmitter for future programming
procedures (i.e., new vehicle purchases).
Upon sale of the vehicle, the programmed
Integrated HomeLink
Universal Trans-
ceiver buttons should be erased for secu-
rity purposes. For additional information,
refer to ªProgramming the Integrated
HomeLink
Universal Transceiverº later in
this section.
SIC0186
VANITY MIRROR LIGHT (if so
equipped)INTEGRATED HomeLink
UNIVERSAL TRANSCEIVER (if so
equipped)
2-36
Instruments and controls
Z
00.1.17/R50-D/V5
X
Page 94 of 265

3 Pre-driving checks and adjustmentsKeys .......................................................................... 3-2
Doors ......................................................................... 3-2
Locking with key ........................................................ 3-3
Locking with inside lock knob ................................... 3-3
Locking with power door lock switch (if so
equipped) .................................................................. 3-4
Child safety rear door lock ........................................ 3-4
Multi-remote control system (if so equipped)............ 3-5
How to use multi-remote control system .................. 3-5
Hood .......................................................................... 3-9
Rear door .................................................................. 3-9
Key operation ............................................................ 3-9
Spare tire carrier (if so equipped) ........................... 3-10Glass hatch ............................................................. 3-11
Key operation .......................................................... 3-11
Fuel filler lid ............................................................. 3-12
Opener operation .................................................... 3-12
Fuel filler cap ........................................................... 3-12
Steering wheel ........................................................ 3-13
Tilt operation ........................................................... 3-13
Sun visors ............................................................... 3-14
Using the sun visors ............................................... 3-14
Mirrors ..................................................................... 3-14
Inside mirror ............................................................ 3-14
Outside mirrors ........................................................ 3-15
Z
00.1.17/R50-D/V5
X
Page 107 of 265

USING THE SUN VISORS1. To block out glare from the front, swing
down the main sun visor.
2. To block glare from the side, remove the
main sun visor from the center mount and
swing it to the side.
3. Then, to block glare from the front too,
swing down the sub-sun visor (if so
equipped).
4. To adjust the glare block position, slide the
sub-sun visor to the left.
CAUTION
IDo not store the main sun visor be-
fore storing the sub-sun visor.
IDo not pull the sub-sun visor forcedly
downwards.
INSIDE MIRRORThe night position will reduce glare from the
headlights of vehicles behind you at night.
WARNING
Use the night position only when neces-
sary, because it reduces rear view clar-
ity.
SPA0395
PD1006M
SUN VISORS MIRRORS3-14
Pre-driving checks and adjustments
Z
00.1.17/R50-D/V5
X