2000 MERCEDES-BENZ SLK320 door lock
[x] Cancel search: door lockPage 133 of 273
130 Tele Aid
Te ch n ica l
data Instruments
and controlsOperationDrivingInstrument
cluster displayPractical hints Car care Index
Te l e A i d
Important!
The initial activation of the Tele Aid system may only be
performed by completing the subscriber agreement and
placing an acquaintance call using the “SOS” button.
Failure to complete either of these steps will result in a
system that is not activated. If the system is not
activated the indicator lamp in the “SOS” button stays
on after turning electronic key in starter switch to
position 2.
If you have any questions regarding activation, please
call the Response Center at 1-800-756-9018 (in the USA)
or 1-888-923-8367 (in Canada).
(Te l ematic Alarm Identification on Demand)
The Tele Aid system consists of three types of response;
automatic and manual emergency, roadside assistance
and information.
The Tele Aid system is operational providing that the
vehicle’s battery is charged and properly connected, not
damaged and cellular and GPS coverage is available. To
activate, press the “SOS” button, the Roadside
Assistance button or the Information button¡,
depending on the type of response required.Shortly after the completion of your Acquaintance Call,
you will receive a user ID and password via first call
mail. By visiting www.mbusa.com and selecting
“Tele Aid” (USA only), you will have access to account
information, remote door unlock and more.
System self-check
Initially, after turning the key in steering lock to
position 2, malfunctions are detected and indicated (the
indicator lamps in the “SOS” button, the Roadside
Assistance button and the Information
button¡ stay on longer than 10 seconds or do not
come on).
Important!
Always make sure that the indicator lamps in the
“SOS” button, in the “Roadside Assistance” button and
in the “Information” button do not remain illuminated
constantly in red after the system self check.
If a malfunction is indicated as outlined above, have the
system checked at the nearest Mercedes-Benz Center as
soon as possible.
Page 139 of 273
136 Tele Aid
Te ch n ica l
data Instruments
and controlsOperationDrivingInstrument
cluster displayPractical hints Car care Index
Remote door unlock
In t he c ase you have your vehicle locked unintentionally
(e.g. key inside vehicle), and the reserve key is not
handy, contact the Mercedes-Benz Response Center at
1-800-756-9018 (in the USA) or 1-888-923-8367 (in
Canada). You will be asked to provide your password
which you provided when you completed the subscriber
agreement.
Then return to your vehicle and pull outside trunk
handle for a minimum of 20 seconds.
The Response Center will then unlock your vehicle with
the remote door unlocking feature.
Note:
The remote door unlock feature is available if the
relevant cellular phone network is available.
The SOS button will flash to indicate receipt of the door
unlock command. Once the vehicle is unlocked, a
Response Center specialist will attempt to establish
voice contact with the vehicle occupants.
If th e trunk h andl e was pull ed for more th an 20 second s
before door unlock authorization was received by the
Response Center, you must wait 15 minutes before
pulling the trunk handle again.Stolen vehicle tracking services
In the event your vehicle was stolen, report the incident
to the police who will issue numbered incident report.
Pass this number on to the Mercedes-Benz Response
Center.
The Response Center will then attempt to covertly
contact the vehicle’s Tele Aid system. Once the vehicle
is located, the Response Center will contact the local
Law Enforcement and you. The vehicle’s location will
only be provided to Law Enforcement.
Page 144 of 273
141 Steering lock
Te ch n ica l
data Instruments
and controlsOperationDrivingInstrument
cluster displayPractical hints Car care Index Notes:
A warning sounds when the driver’s door is opened
while the key is in steering lock position 1 or 0.
With the engine at idle speed, the charging rate of the
alternator (output) is limited.
It is therefore recommended that you turn off
unnecessary electrical consumers while driving in stop-
a nd-go tra ff ic. This preca ution h elps to avoid d ra ining of
the battery.
Unnecessary strain on the battery and charging system
may be minimized by turning off the following power
consumers, for example: Heated seats, rear window
defroster.Caution!
To prevent accelerated battery discharge and a possible
dead battery, always remove the key from the steering
lock. Do not leave the key in steering lock position 0.
Page 219 of 273
216 Towing the vehicle
Te ch n ica l
data Instruments
and controlsOperation DrivingInstrument
cluster displayPractical hintsCar care Index
Important!
When towing the vehicle, please, note the following:
With the automatic central locking activated and the
key in steering lock position 2, the vehicle doors lock if
the left front wheel as well as the right rear wheel are
turning at vehicle speeds of approximately 9 mph
(15 km / h) or more.
To prevent the vehicle door locks from locking,
deactivate the automatic central locking.Note:
To signal turns while being towed with hazard warning
f lash er in u se, turn key in steering l ock to position 2 a nd
activate combination switch for left or right turn signal
in usual manner – only the selected turn signal will
operate. Upon canceling the turn signal, the hazard
warning flasher will operate again.
Caution!
If the vehicle is towed with the front axle raised, the
engine must be shut off (key in steering lock position 0
or 1). Otherwise, the ESP will immediately be engaged
and will apply the rear wheel brakes. Switch off the
tow-away alarm as well as the ESP, see page 37 and 170.
Page 229 of 273
226 Emergency engine shut-down
Te ch n ica l
data Instruments
and controlsOperation DrivingInstrument
cluster displayPractical hintsCar care Index
Emergency engine shut-down
If the engine can no longer be stopped using the key, the
engine can be turned off by removing two fuses.
For easy removal of fuses use the fuse extractor
(supplied with vehicle tool kit) to pull out the fuses
marked on the fuse chart as “ENGINE EMERGENCY
OFF”.
The fuse chart is also located in the vehicle tool kit,
see page 196.
For fuses see page 188.Raising hardtop manually
In case of malfunction, the hardtop can also be raised
manually. This procedure should be performed with
great care by 2 persons.
Prior to raising the hardtop manually, make certain that
all points listed under Retractable Hardtop (see
page 120) were observed.
A hex-socket wrench, located on the inside of the
right-hand cover in the trunk, is required for this job.
1.Open doors or lower windows.
2.For safety reasons, remove key from steering lock.
3.Open trunk.
Page 265 of 273
262 Index
Te ch n ica l
data Instruments
and controlsOperation DrivingInstrument
cluster displayPractical hints Car careIndex
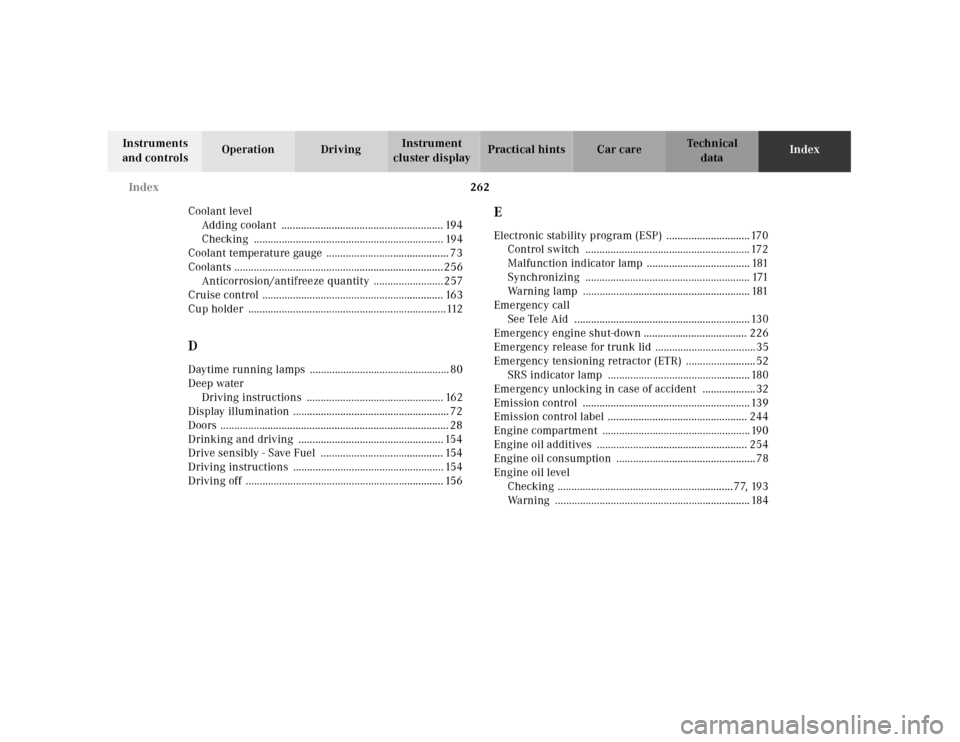
Coolant level
Adding coolant .......................................................... 194
Checking .................................................................... 194
Coolant temperature gauge ............................................ 73
Coolants ...........................................................................256
Anticorrosion/antifreeze quantity .........................257
Cruise control ................................................................. 163
Cup holder .......................................................................112
DDaytime running lamps .................................................. 80
Deep water
Driving instructions ................................................. 162
Display illumination ........................................................ 72
Doors .................................................................................. 28
Drinking and driving .................................................... 154
Drive sensibly - Save Fuel ............................................ 154
Driving instructions ...................................................... 154
Driving off ....................................................................... 156
EElectronic stability program (ESP) ..............................170
Control switch ........................................................... 172
Malfunction indicator lamp ..................................... 181
Synchronizing ........................................................... 171
Warning lamp ............................................................ 181
Emergency call
See Tele Aid ............................................................... 130
Emergency engine shut-down ..................................... 226
Emergency release for trunk lid ....................................35
Emergency tensioning retractor (ETR) .........................52
SRS indicator lamp ................................................... 180
Emergency unlocking in case of accident ...................32
Emission control ............................................................ 139
Emission control label .................................................. 244
Engine compartment ..................................................... 190
Engine oil additives ...................................................... 254
Engine oil consumption ..................................................78
Engine oil level
Checking ...............................................................77, 193
Warning ...................................................................... 184
Page 266 of 273
263 Index
Te ch n ica l
data Instruments
and controlsOperation DrivingInstrument
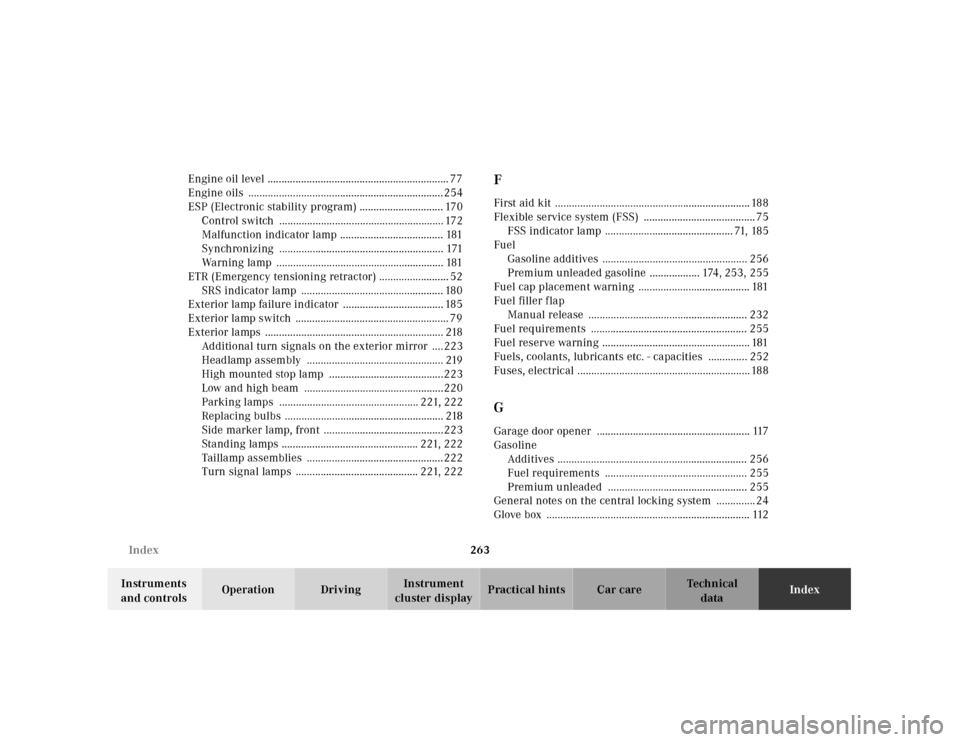
cluster displayPractical hints Car careIndex Engine oil level ................................................................. 77
Engine oils ......................................................................254
ESP (Electronic stability program) .............................. 170
Control switch ........................................................... 172
Malfunction indicator lamp ..................................... 181
Synchronizing ........................................................... 171
Warning lamp ............................................................ 181
ETR (Emergency tensioning retractor) ......................... 52
SRS indicator lamp ................................................... 180
Exterior lamp failure indicator .................................... 185
Exterior lamp switch ....................................................... 79
Exterior lamps ................................................................ 218
Additional turn signals on the exterior mirror ....223
Headlamp assembly ................................................. 219
High mounted stop lamp .........................................223
Low and high beam ..................................................220
Parking lamps .................................................. 221, 222
Replacing bulbs ......................................................... 218
Side marker lamp, front ...........................................223
Standing lamps ................................................. 221, 222
Taillamp assemblies .................................................222
Turn signal lamps ............................................ 221, 222
FFirst aid kit ...................................................................... 188
Flexible service system (FSS) ........................................ 75
FSS indicator lamp .............................................. 71, 185
Fuel
Gasoline additives .................................................... 256
Premium unleaded gasoline .................. 174, 253, 255
Fuel cap placement warning ........................................ 181
Fuel filler f lap
Manual release ......................................................... 232
Fuel requirements ........................................................ 255
Fuel reserve warning ..................................................... 181
Fuels, coolants, lubricants etc. - capacities .............. 252
Fuses, electrical .............................................................. 188GGarage door opener ....................................................... 117
Gasoline
Additives .................................................................... 256
Fuel requirements ................................................... 255
Premium unleaded .................................................. 255
General notes on the central locking system .............. 24
Glove box ......................................................................... 112