2000 MERCEDES-BENZ SLK230 TRUNK LIGHT
[x] Cancel search: TRUNK LIGHTPage 29 of 273
26 Central locking system
Te ch n ica l
data Instruments
and controlsOperationDrivingInstrument
cluster displayPractical hints Car care Index
Locking and unlocking with remote control
Unlocking:
Press transmit button Œ. All turn signal lamps blink
once to indicate that the vehicle is unlocked.
The remote control can be programmed for two kinds of
unlocking modes (see below):
Selective unlocking mode –
Press transmit button Œ once to unlock driver’s door,
storage compartment in armrest, and fuel filler flap.
Press transmit button Πtwice to unlock both doors,
storage compartment in armrest, fuel filler flap, and
trunk.
Global unlocking mode –
Press transmit button Πonce to unlock both doors,
storage compartment in armrest, fuel filler flap, and
trunk.
Notes:
The presently active unlocking mode (selective or
global) can only be determined by unlocking the vehicle
with the remote control (see below for changing mode).If within 40 seconds of unlocking with the remote
control, neither door is opened, the key is not inserted
in the steering lock, or the central locking switch is not
activated, the vehicle will automatically lock.
Locking:
Press transmit button ‹ once. All turn signal lamps
blink three times to indicate that the vehicle is locked.
If the turn signal lamps do not blink, a door or trunk is
not closed properly.
Note:
If the vehicle cannot be locked or unlocked by pressing
the transmit button, then it may be necessary to change
the batteries in the remote control (if ok, battery check
lamp in transmitter will light briefly when transmitting)
or to synchronize the remote control, see page 224
and 225.
Choosing global or selective mode on remote control
Press and hold transmit buttons ‹ and Œ
simultaneously for five seconds to reprogram the
remote control. Battery check lamp will blink two times
indicating the completed mode change.
Page 113 of 273
110 Interior equipment
Te ch n ica l
data Instruments
and controlsOperationDrivingInstrument
cluster displayPractical hints Car care Index
Interior lighting
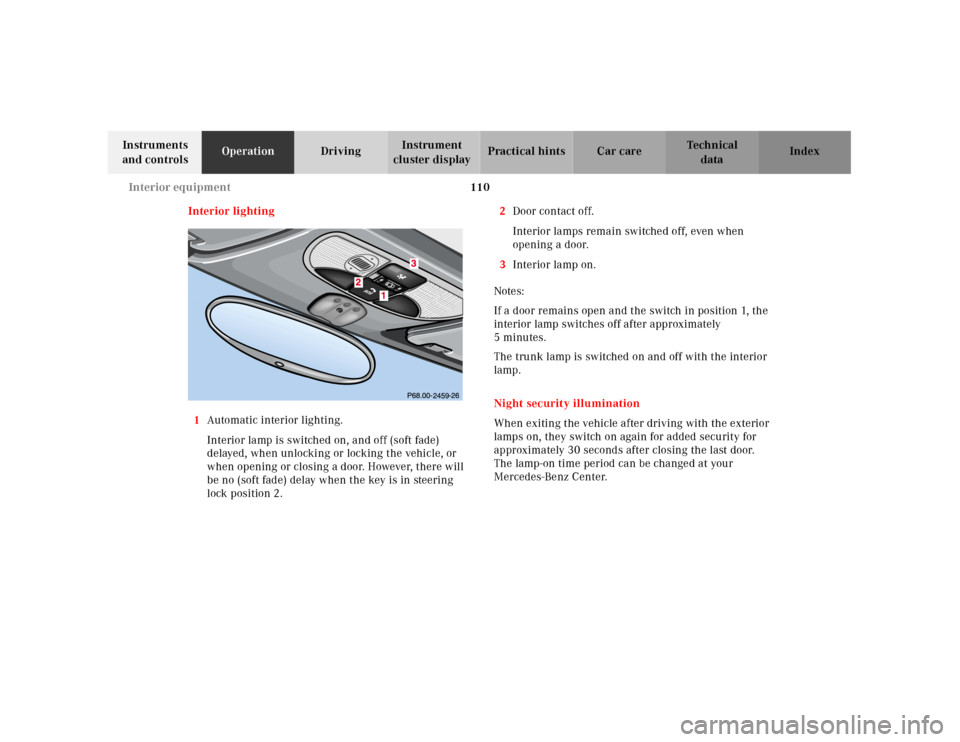
1Automatic interior lighting.
Interior lamp is switched on, and off (soft fade)
delayed, when unlocking or locking the vehicle, or
when opening or closing a door. However, there will
be no (soft fade) delay when the key is in steering
lock position 2.2Door contact off.
Interior lamps remain switched off, even when
opening a door.
3Interior lamp on.
Notes:
If a door remains open and the switch in position 1, the
interior lamp switches off after approximately
5minutes.
The trunk lamp is switched on and off with the interior
lamp.
Night security illumination
When exiting the vehicle after driving with the exterior
lamps on, they switch on again for added security for
approximately 30 seconds after closing the last door.
The lamp-on time period can be changed at your
Mercedes-Benz Center.
Page 125 of 273
122 Retractable hardtop
Te ch n ica l
data Instruments
and controlsOperationDrivingInstrument
cluster displayPractical hints Car care Index
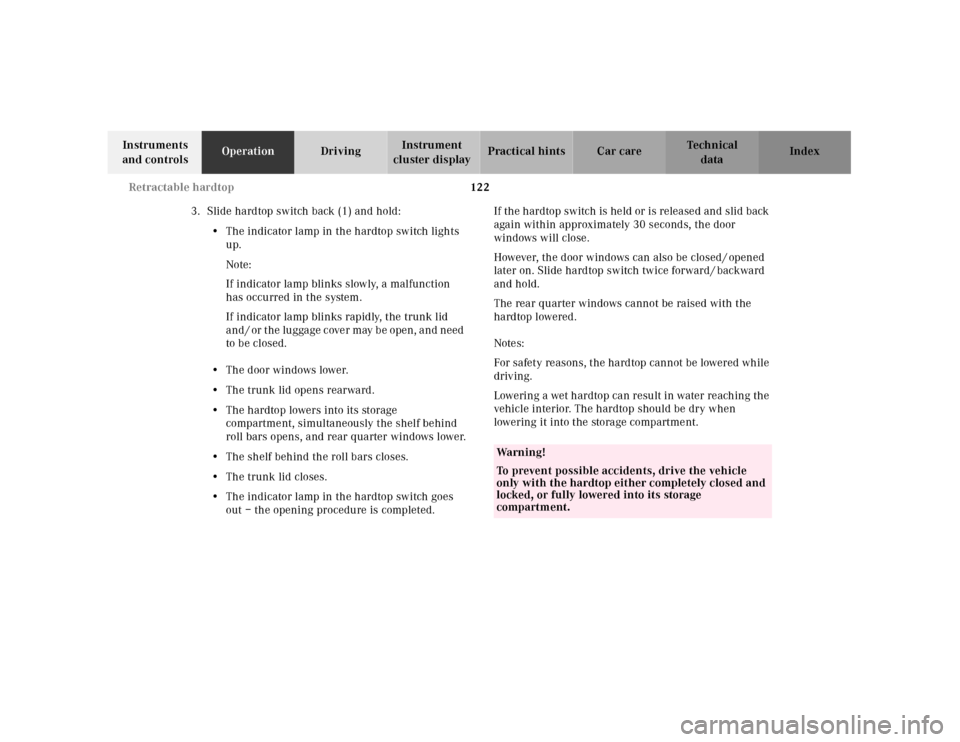
3.Slide hardtop switch back (1) and hold:
•The indicator lamp in the hardtop switch lights
up.
Note:
If indicator lamp blinks slowly, a malfunction
has occurred in the system.
If indicator lamp blinks rapidly, the trunk lid
and / or the luggage cover may be open, and need
to be closed.
•The door windows lower.
•The trunk lid opens rearward.
•The hardtop lowers into its storage
compartment, simultaneously the shelf behind
roll bars opens, and rear quarter windows lower.
•The shelf behind the roll bars closes.
•The trunk lid closes.
•The indicator lamp in the hardtop switch goes
out – the opening procedure is completed.If the hardtop switch is held or is released and slid back
again within approximately 30 seconds, the door
windows will close.
However, the door windows can also be closed / opened
later on. Slide hardtop switch twice forward / backward
and hold.
The rear quarter windows cannot be raised with the
hardtop lowered.
Notes:
For safety reasons, the hardtop cannot be lowered while
driving.
Lowering a wet hardtop can result in water reaching the
vehicle interior. The hardtop should be dry when
lowering it into the storage compartment.
Wa r n i n g !
To prevent possible accidents, drive the vehicle
only with the hardtop either completely closed and
locked, or fully lowered into its storage
compartment.
Page 126 of 273
123 Retractable hardtop
Te ch n ica l
data Instruments
and controlsOperationDrivingInstrument
cluster displayPractical hints Car care Index Raising Hardtop
1.E n ga g e p a r k i n g b ra ke .
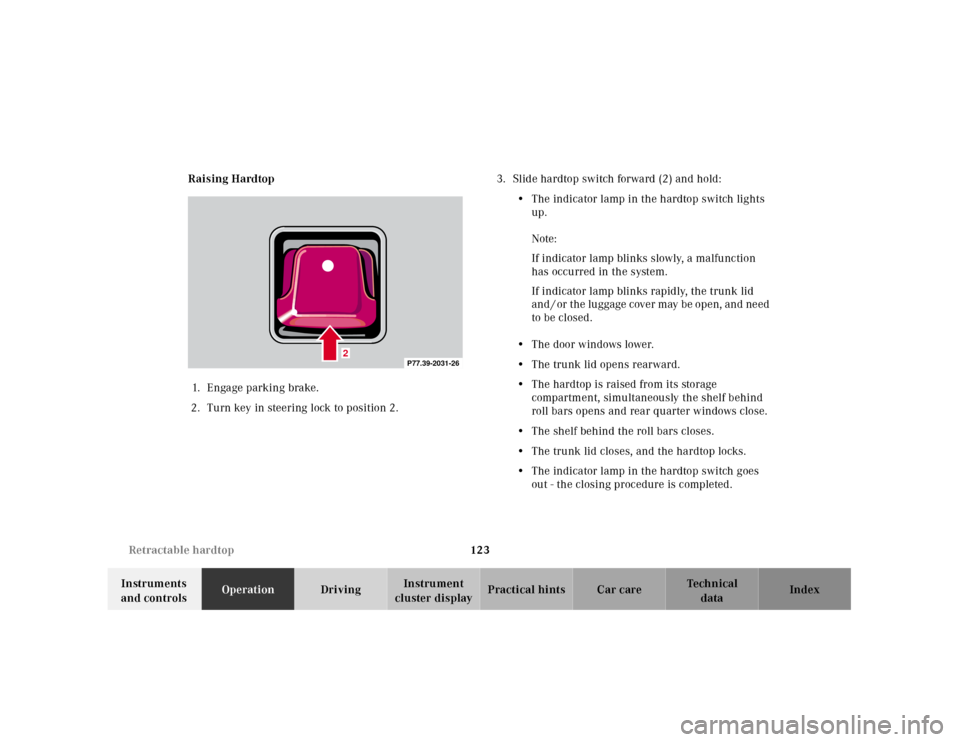
2.Turn key in steering lock to position 2.3.Slide hardtop switch forward (2) and hold:
•The indicator lamp in the hardtop switch lights
up.
Note:
If indicator lamp blinks slowly, a malfunction
has occurred in the system.
If indicator lamp blinks rapidly, the trunk lid
and / or the luggage cover may be open, and need
to be closed.
•The door windows lower.
•The trunk lid opens rearward.
•The hardtop is raised from its storage
compartment, simultaneously the shelf behind
roll bars opens and rear quarter windows close.
•The shelf behind the roll bars closes.
•The trunk lid closes, and the hardtop locks.
•The indicator lamp in the hardtop switch goes
out - the closing procedure is completed.
2
P77.39-2031-26
Page 210 of 273
207 Tires, wheels
Te ch n ica l
data Instruments
and controlsOperation DrivingInstrument
cluster displayPractical hintsCar care Index Inflating the collapsible spare tire
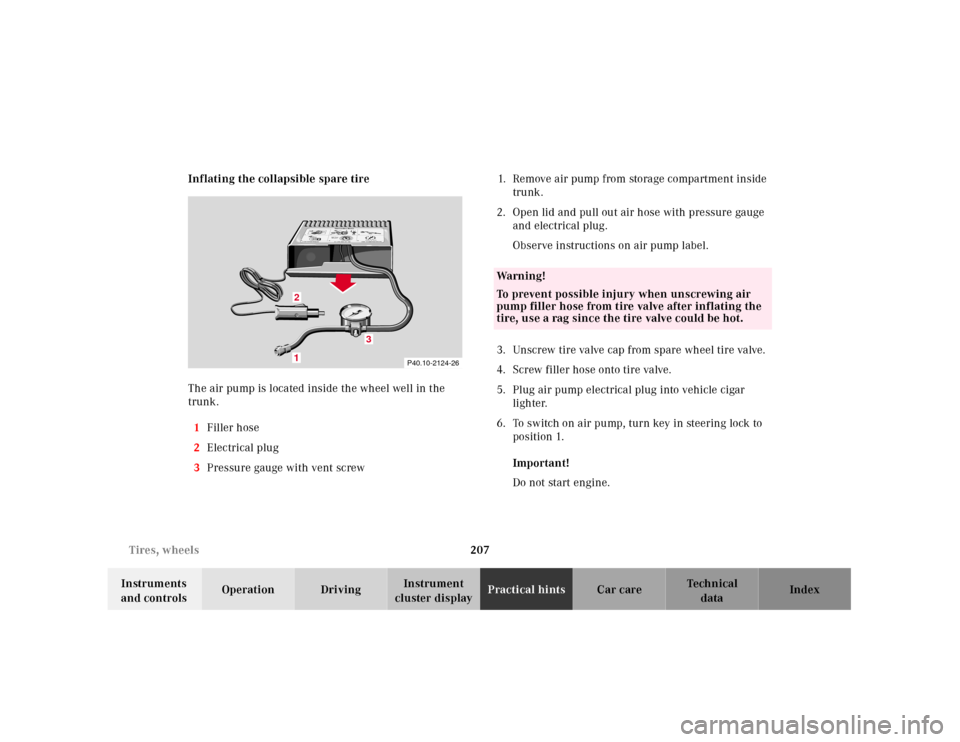
The air pump is located inside the wheel well in the
trunk.
1Filler hose
2Electrical plug
3Pressure gauge with vent screw1.Remove air pump from storage compartment inside
trunk.
2.Open lid and pull out air hose with pressure gauge
and electrical plug.
Observe instructions on air pump label.
3.Unscrew tire valve cap from spare wheel tire valve.
4.Screw filler hose onto tire valve.
5.Plug air pump electrical plug into vehicle cigar
lighter.
6.To switch on air pump, turn key in steering lock to
position 1.
Important!
Do not start engine.
P40.10-2124-26
1
0
45 6max. 6 min
A 170 584 01 38 AIR COMPRESSOR 23
Mercedes-Benz
2
3
2 1
1
2,5 bar
36 psi1
0 23
4
5
620PSI
BAR40
60
80
LUFTPRESSER12
12
3
Wa r n i n g !
To prevent possible injury when unscrewing air
pump filler hose from tire valve after inflating the
tire, use a rag since the tire valve could be hot.
Page 271 of 273
268 Index
Te ch n ica l
data Instruments
and controlsOperation DrivingInstrument
cluster displayPractical hints Car careIndex
Tire traction ............................................................... 159
Winter driving instructions .................................... 160
Tow-away alarm ................................................................ 37
Towing the vehicle ......................................................... 214
Transmission selector lever,
manually unlocking .................................................. 217
Traveling abroad ............................................................ 162
Trip Odometer .................................................................. 74
Trunk ................................................................................. 33
Separately locked ........................................................ 33
Trunk lid
Emergency release ..................................................... 35
Release switch ............................................................. 33
Turn signal failure ........................................................... 81
Turn signals ...................................................................... 81
VVanity Mirror ................................................................... 111
Vehicle jack ..................................................................... 197
Vehicle tools .................................................................... 196
WWarranty Coverage ....................................................... 242
Washing the vehicle ..................................................... 236
What you should know at the gas station .................. 174
Wheels ............................................................................. 198
Changing ................................................................... 202
Light alloy wheels .................................................... 238
Rims and tires .......................................................... 249
Rotating ...................................................................... 199
Spare wheel ............................................................... 200
Where to find it ................................................................ 11
Wind screen ....................................................................125
Windshield and headlamp washer system ................ 195
Low fluid level warning lamp .................................. 183
Winter driving ................................................................ 161
Winter driving instructions .......................................... 160
Wiper blade
Replacing insert ........................................................231