2000 MERCEDES-BENZ SL600 start
[x] Cancel search: startPage 217 of 297
213 Malfunction and warning messages
Technical
data Instruments
and controlsOperation DrivingInstrument
cluster displayPractical hints Car care Index High beam indicator lamp
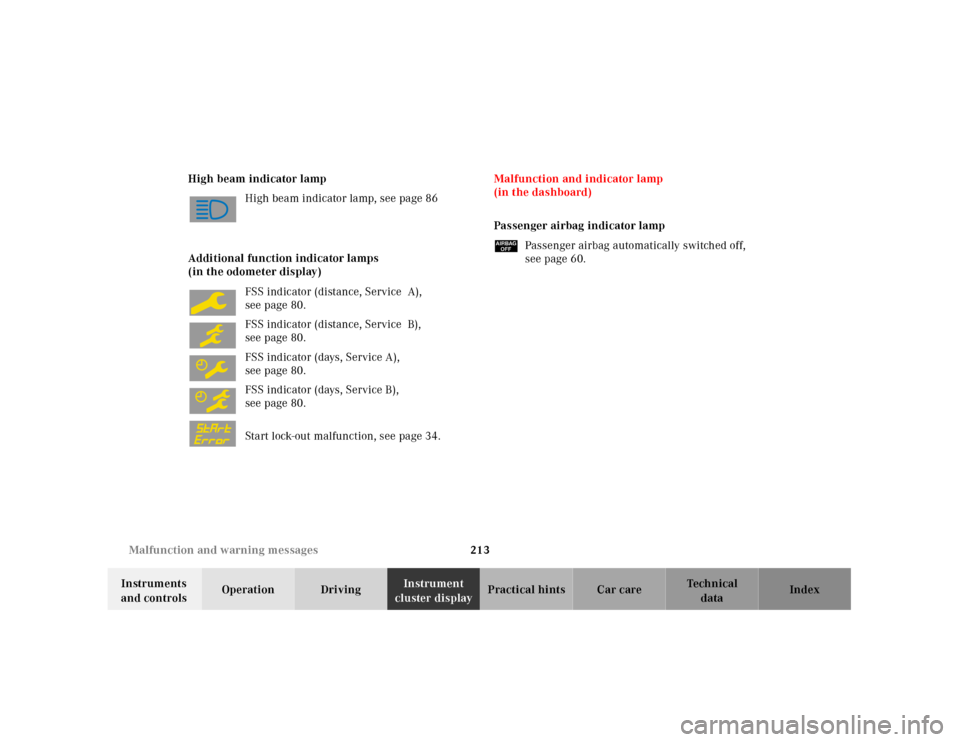
High beam indicator lamp, see page 86
Additional function indicator lamps
(in the odometer display)
FSS indicator (distance, Service A),
seepage80.
FSS indicator (distance, Service B),
seepage80.
FSS indicator (days, Service A),
seepage80.
FSS indicator (days, Service B),
seepage80.
Start lock-out malfunction, see page 34.Malfunction and indicator lamp
(in the dashboard)
Passenger airbag indicator lamp
üPassenger airbag automatically switched off,
see page 60.
Page 218 of 297
214 Contents – Practical hints
Technical
data Instruments
and controlsOperation DrivingInstrument
cluster displayPractical hintsCar careIndex
Practical hintsFirst aid kit ..................................... 215
Stowing things in the vehicle ...... 215
Vehicle tools .................................... 216
Vehicle jack ..................................... 217
Fuses ................................................ 218
Hood ................................................. 219
Automatic transmission
fluid level ...................................221
Checking engine oil level .............221
Coolant level ...................................223
Adding coolant ...............................224Windshield and headlamp
washer f luid mixing ratio ....... 225
Wheels ............................................ 226
Tire replacement ........................... 226
Rotating wheels ............................. 227
Spare wheel .................................... 228
Changing wheels ........................... 230
Tire inflation pressure ................. 234
Battery ............................................. 236
Battery Recycling ....................... 237
Jump starting ................................. 238
Towing the vehicle ........................ 240Exterior lamps ................................242
Headlamp assembly
(Halogen) .....................................243
Taillamp assemblies ..................249
Changing batteries in
the remote control .................... 251
Synchronizing ............................252
Raising soft top manually .............253
Replacing wiper blade insert .......257
Manual release of
fuel filler flap .............................259
Trunk lamp .....................................259
Page 224 of 297
220 Engine compartment
Technical
data Instruments
and controlsOperation DrivingInstrument
cluster displayPractical hintsCar care Index
To cl os e:
Lower hood and let it drop into lock from a height of
a pprox. 1 f t. (30 cm), assisting w it h h ands pla ced f la t on
edges of hood (3).
To avoid hood damage, please make sure that hood is
fully closed. If not, repeat closing procedure. Do not
push down on hood to attempt to fully close it.
Wa r n i n g !
To help prevent personal injury, stay clear of
moving parts wh en t he hood is open and th e engine
is running. Be sure the hood is properly closed
before driving. When closing hood, use extreme
caution not to catch hands or fingers.The radiator fan may continue to run another
approximate 30 seconds or even restart after the
engine has been turned off. Stay clear from fan
blades.
The engine is equipped with a transistorized
ignition system. Because of the high voltage it is
dangerous to touch any components (ignition coils,
spark plug sockets, diagnostic socket) of the
ignition system
• with the engine running,
• while starting the engine,
• if ignition is “on” and the engine is turned
manually.If you see flames, steam or smoke coming from the
engine compartment, or if the coolant temperature
gauge indicates that the engine is overheated, do
not open the hood. Move away from vehicle and do
not open the hood until the engine has cooled. If
necessary, call a fire department.
Page 236 of 297
232 Tires, Wheels
Technical
data Instruments
and controlsOperation DrivingInstrument
cluster displayPractical hintsCar care Index
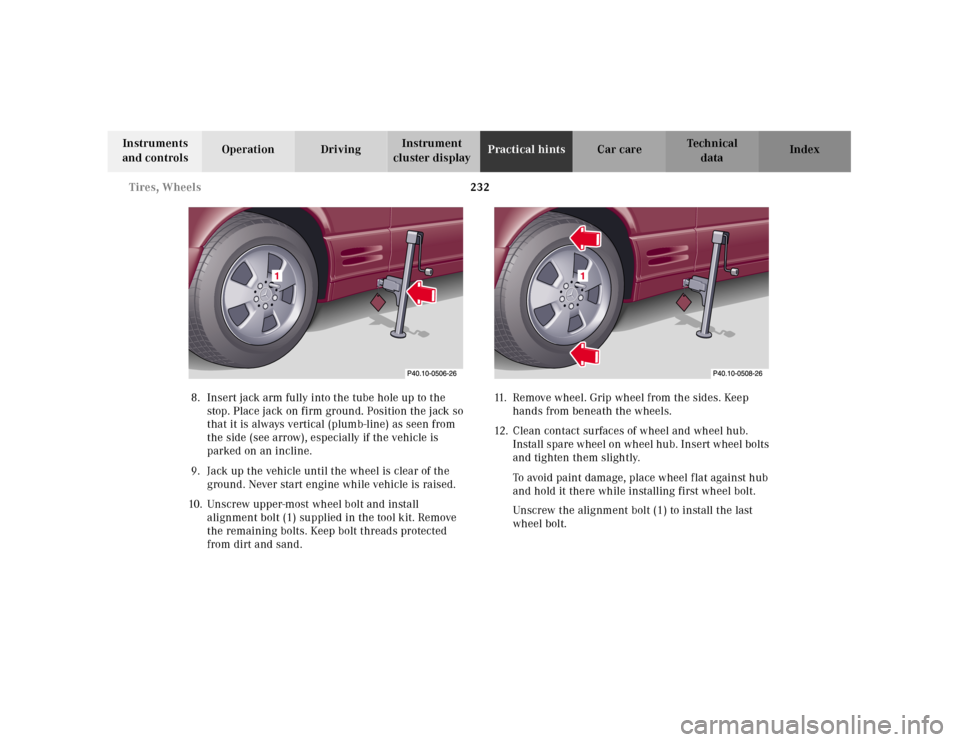
8. Insert jack arm fully into the tube hole up to the
stop. Place jack on firm ground. Position the jack so
that it is always vertical (plumb-line) as seen from
the side (see arrow), especially if the vehicle is
parked on an incline.
9. Jack up the vehicle until the wheel is clear of the
ground. Never start engine while vehicle is raised.
10. Unscrew upper-most wheel bolt and install
alignment bolt (1) supplied in the tool kit. Remove
the remaining bolts. Keep bolt threads protected
from dirt and sand.11. Remove wheel. Grip wheel from the sides. Keep
hands from beneath the wheels.
12. Clean contact surfaces of wheel and wheel hub.
Install spare wheel on wheel hub. Insert wheel bolts
and tighten them slightly.
To avoid paint damage, place wheel f lat against hub
and hold it there while installing first wheel bolt.
Unscrew the alignment bolt (1) to install the last
wheel bolt.
Page 242 of 297
238 Jump starting
Technical
data Instruments
and controlsOperation DrivingInstrument
cluster displayPractical hintsCar care Index
Jump startingImportant!
A discharged battery can freeze at approx. +14°F
(–10°C). In that case, it must be thawed out before
jumper cables are used. Attempting to jump start a
frozen battery can result in it exploding, causing
personal injury.
Jumper cable specifications:
• Minimum cable cross-section of 25 mm
2 or approx.
2AWG
•Maximum length of 11.5 ft. (3.5m).
If th e battery is discha rged, th e eng ine shoul d be started
with jumper cables and the (12 V) battery of another
vehicle.
Only use 12 V battery to jump start your vehicle. Jump
starting with more powerful battery could damage the
vehicle’s electrical systems, which will not be covered
by the Mercedes-Benz Limited Warranty.
The battery is located in the trunk behind the right side
cover panel.
Wa r n i n g !
Failure to follow these directions will cause
damage to the electronic components, and can lead
to a battery explosion and severe injury or death.Never lean over batteri es wh ile connec ting or jump
starting, you might get injured.Battery fluid contains sulfuric acid. Do not allow
this fluid to come in contact with eyes, skin or
cloth ing. In c ase it does, imm edi ately f lu sh af fec ted
area with water, and seek medical help if
necessary.A battery will also produce hydrogen gas, which is
flammable and very explosive. Keep flames or
sparks away from battery, avoid improper
connection of jumper cables, smoking etc.Read all instructions before proceeding.
Page 243 of 297
239 Jump starting
Technical
data Instruments
and controlsOperation DrivingInstrument
cluster displayPractical hintsCar care Index Proceed as follows:
1. Position the vehicle with the charged battery so that
the jumper cables will reach, but never let the
vehicles touch. Make sure the jumper cables do not
have loose or missing unsulation.
2. On both vehicles:
• Turn off engine and all lights and accessories,
except hazard warning flashers or work lights.
• Apply parking brake and shift selector lever to
position “P”.
Important!
3. Clamp one end of the first jumper cable to the
positive (+) terminal of the discharged battery and
the other end to the positive (+) terminal of the
charged battery. Make sure the cable clamps do not
touch any other metal parts.
4. Clamp one end of the second jumper cable to the
grounded negative (-) terminal of the charged
battery and the final connection to the negative (-)
terminal of the discharged battery.Important!
5. Start engine of the vehicle with the charged battery
and run at high idle. Make sure the cables are not
on or near pulleys, fans, or other parts that will
move when the engine is started. Allow the
disch arge d ba ttery to ch arge for a few minu tes. Sta rt
engine of the disabled vehicle in the usual manner.
6. After the engine has started, remove jumper cables
by exactly reversing the above installation
sequence, starting with the last connection made
first. When removing each clamp, make sure that it
does not touch any other metal while the other end
is still attached.
Note:
If engine does not run after several unsuccessful
starting attempts, have it checked at the nearest
authorized Mercedes-Benz Center.
Excessive unburned fuel may damage the catalytic
converter.
Page 265 of 297
261 Cleaning and care of the vehicle
Technical
data Instruments
and controlsOperation DrivingInstrument
cluster displayPractical hintsCar careIndex Cleaning and care of the vehicle
In operation, your vehicle is subjected to varying
external inf luences which, if gone unchecked, can
attack the paintwork as well as the underbody and
cause lasting damage.
Such damage is caused not only by extreme and varying
climatic conditions, but also by air pollution, road salt,
tar, gravel and stone chipping. Grease and oil, fuel,
coolant, brake fluid, bird droppings, insects, tree resins
etc. should be removed immediately to avoid paint
damage. Frequent washing reduces and/or eliminates
the aggressiveness and potency of the above adverse
influences.More frequent washings are necessary to deal with
unfavorable conditions; for example, near the ocean, in
industrial areas (smoke, exhaust emissions), or during
winter operation.
You should check your vehicle from time to time for
stone chipping or other damage. Any damage should be
repaired as soon as possible to prevent the start of
corrosion.
In doing so, do not neglect the underside of the vehicle.
A prerequisite for a thorough check is a washing of the
underbody followed by a thorough inspection. Damaged
areas need to be reundercoated.
Your vehicle has been treated at the factory with a wax-
base ru stproof ing in th e body cavities w hich will la st for
the lifetime of the vehicle. Post-production treatment is
neither necessary nor recommended by Mercedes-Benz
because of the possibility of incompatibility between
materials used in the production process and others
applied later.
We have selected car-care products and compiled
recommendations which are specially matched to our
vehicles and which always reflect the latest technology.
You can obtain Mercedes-Benz approved car-care
products at your authorized Mercedes-Benz Center.
Wa r n i n g !
Many cleaning products can be hazardous. Some
are poisonous, others are flammable. Always follow
the instructions on the particular container.
Always open your car’s doors or windows when
cleaning the inside.Never use fluids or solvents that are not designed
for cleaning your car.
Page 279 of 297
275 Technical data
Technical
data Instruments
and controlsOperation DrivingInstrument
cluster displayPractical hints Car care Index Electrical system Weights
(see certification tag)
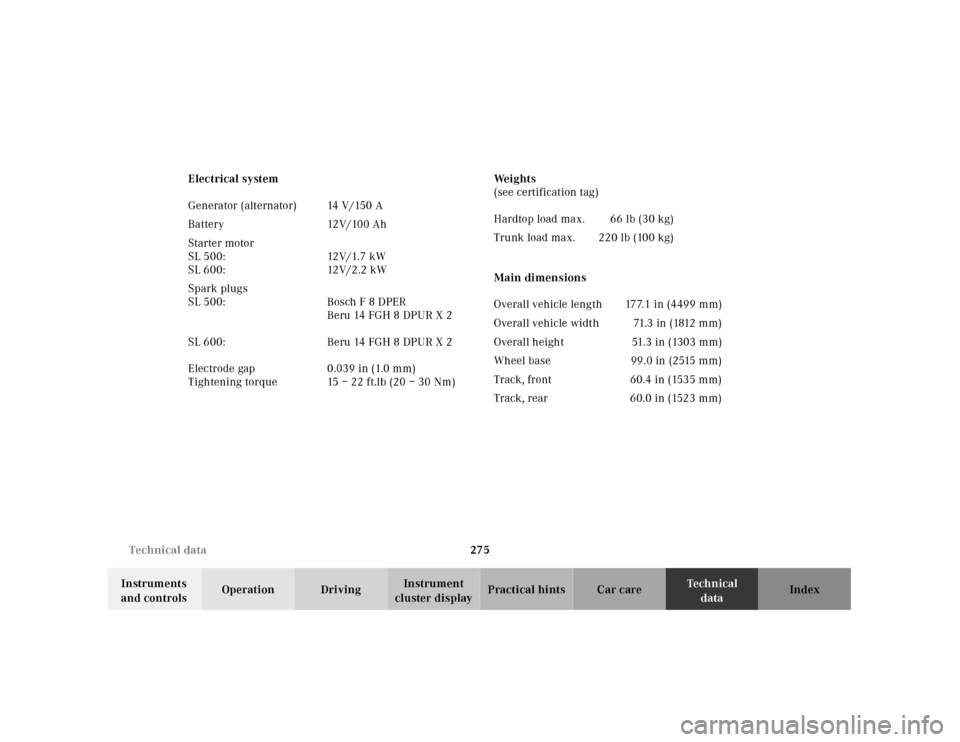
Main dimensions Generator (alternator) 14 V/150 A
Battery 12V/100 Ah
Starter motor
SL 500:
SL 600:12 V / 1. 7 k W
12V/2.2 kW
Spark plugs
SL 500:
SL 600:
Electrode gap
Tightening torqueBosch F 8 DPER
Beru 14 FGH 8 DPUR X 2
Beru 14 FGH 8 DPUR X 2
0.039 in (1.0 mm)
15 – 22 ft.lb (20 – 30 Nm)Hardtop load max. 66 lb (30 kg)
Trunk load max. 220 lb (100 kg)
Overall vehicle length 177.1 in (4499 mm)
O ve r a l l v e h i c l e w i d t h 71.3 in ( 1812 m m )
Overall height 51.3 in (1303 mm)
Wheel base 99.0 in (2515 mm)
Track, front 60.4 in (1535 mm)
Track, rear 60.0 in (1523 mm)