2000 MERCEDES-BENZ SL500 interval
[x] Cancel search: intervalPage 12 of 297

9 IntroductionImportant notice for California retail buyers of Mercedes-Benz automobiles
Under California law you may be entitled to a replacement of your vehicle or a refund of the purchase price, if
Mercedes-Benz USA,LLC or its authorized Mercedes-Benz Center fails to conform the vehicle to its express warranties
after a reasonable number of repair attempts during the period of one year or 12 000 miles from original delivery of
the vehicle. A reasonable number of repair attempts is presumed for a retail buyer (1) if the vehicle is out of service by
reason of repair of substantial nonconformities for a cumulative total of more than 30 calendar days or (2) the same
substantial non-conformity has been subject to repair four or more times and you have at least once directly
notifi ed us in w ri ting of the need to repair th e non-c onform ity and have gi ven us an opportunity to perform t he
repair ourselves. Notifications should be sent to the nearest Mercedes-Benz Regional Office listed in the
Service and Warranty Information Booklet.
Maintenance
The Service Booklet describes all the necessary maintenance work which should be performed at regular intervals.
Always have the Service Booklet with you when you take the vehicle to your authorized Mercedes-Benz Center for
service. The service advisor will record each service in the booklet for you.
Page 85 of 297
81 Flexible service system
Technical
data Instruments
and controlsOperationDrivingInstrument
cluster displayPractical hints Car care Index The counter can also be set by any individual. To do so:
1. Turn key in steering lock to position 2.
2. Within 4 seconds press button (1) twice.
3. The present status for days or distance is displayed.
Within 10 seconds turn key in steering lock to
position 0.
4. Press and hold button (1), while turning key in
steering lock to position 2 again. The present status
for days or distance is displayed once more.
Continue to hold button (1).
After approx. 10 seconds a signal sounds, and the
display shows 10 000 miles (Canada: 15 000 km) for
approx. 10 seconds.
5. Release button (1).
If the FSS counter was inadvertently reset, have a
Mercedes-Benz Center correct it.Note:
When disconnecting vehicle battery for one or more
days at a time, such days will not be counted. Any such
days not counted by FSS can be added by your
Mercedes-Benz Center.
The interval between services is determined by the kind
of vehicle operation. For example driving at extreme
speeds, and cold starts combined with short distance
driving in which the engine does not reach normal
operating temperature, reduce the interval between
services.
Model SL 500
The FSS allows for distances between 10 000 miles
(Canada: 15 000 km) and 20 000 miles (Canada:
30 000 km), or from 365 to 730 days between services.
Model SL 600
The FSS allows for distances between 10 000 miles
(Canada: 15 000 km) and 16 000 miles (Canada:
25 000 km), or from 365 to 730 days between services.
However you choose to set your reference numbers, the
scheduled services as posted in the Service Booklet
must be followed to properly care for your vehicle.
Page 108 of 297
104 Audio system
Technical
data Instruments
and controlsOperationDrivingInstrument
cluster displayPractical hints Car care Index
Radio mode
Selecting radio mode
Press button.
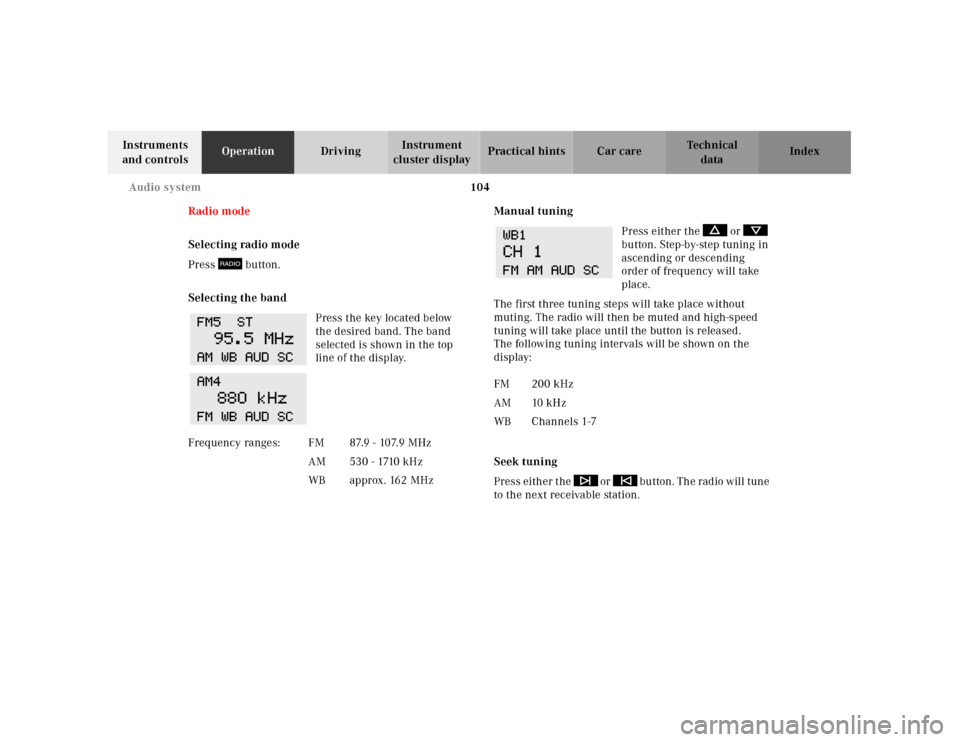
Selecting the band
Press the key located below
the desired band. The band
selected is shown in the top
line of the display.Manual tuning
Press either the or
button. Step-by-step tuning in
ascending or descending
order of frequency will take
place.
The first three tuning steps will take place without
muting. The radio will then be muted and high-speed
tuning will take place until the button is released.
The following tuning intervals will be shown on the
display:
Seek tuning
Press either the or button. The radio will tune
to the next receivable station. F r e q u e n c y r a n g e s : F M 8 7. 9 - 10 7. 9 M H z
AM 530 - 1710 kHz
WB approx. 162 MHz
FM 200 kHz
AM 10 kHz
WB Channels 1-7
Page 110 of 297
106 Audio system
Technical
data Instruments
and controlsOperationDrivingInstrument
cluster displayPractical hints Car care Index
Cassette mode
Playing cassettes
Press the “TAPE” button. When the eject (EJ) key is
pressed, the display folds down and the cassette slot
becomes visible. Push the cassette into the slot until it
engages. The cassette will be pulled in automatically.
Note:
Do not press directly on the radio display face.
Return the display panel to its normal position by
folding it back up and pressing gently on the display
frame to lock in place.
Important:
If the display is in the down position for more than
20 seconds, 2 successive beeps will be heard. This will
continue at 5 second intervals until the display is
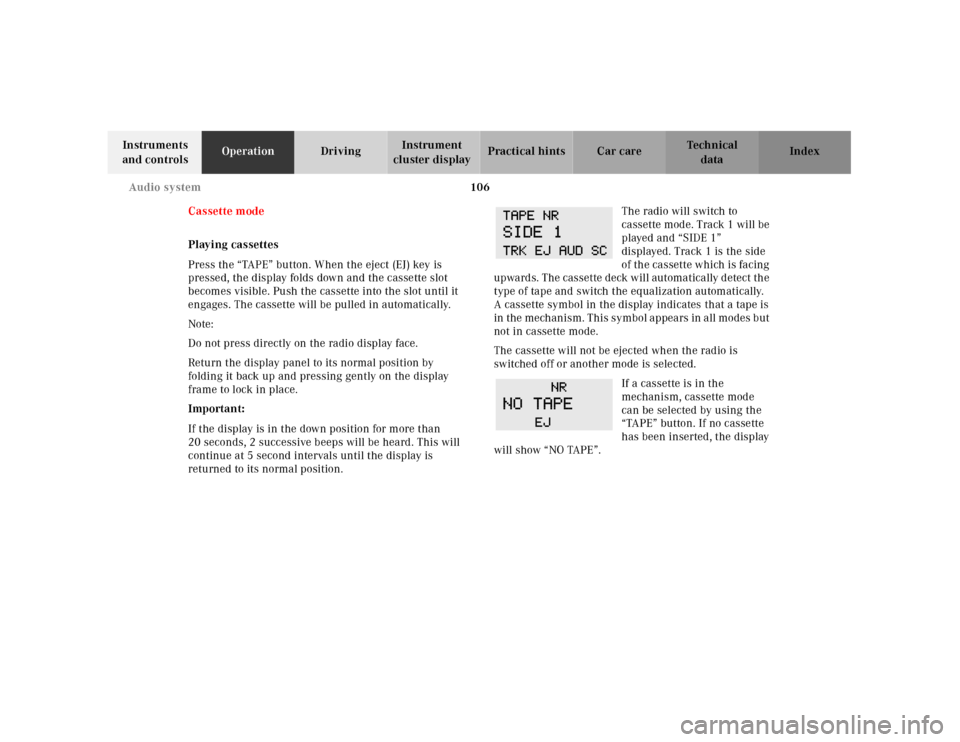
returned to its normal position.The radio will switch to
cassette mode. Track 1 will be
played and “SIDE 1”
displayed. Track 1 is the side
of th e ca ssette w hich is fa cing
upwards. The cassette deck will automatically detect the
type of tape and switch the equalization automatically.
A cassette symbol in the display indicates that a tape is
in t h e m e ch a n i s m . T h i s s y m b o l a p pe a rs in a l l m o d e s b u t
not in cassette mode.
The cassette will not be ejected when the radio is
switched off or another mode is selected.
If a cassette is in the
mechanism, cassette mode
can be selected by using the
“TAPE” button. If no cassette
has been inserted, the display
will show “NO TAPE”.
Page 111 of 297
107 Audio system
Technical
data Instruments
and controlsOperationDrivingInstrument
cluster displayPractical hints Car care Index Cassette eject
Press the eject (EJ) key. The display will fold down and
the cassette will be ejected. Remove the cassette, then
fold the display back up manually. The radio will switch
back to radio mode automatically.
Note:
The cassette will not be ejected when the radio is
switched off.
Important:
If the display is in the down position for more than
20 seconds, 2 successive beeps will be heard. This will
continue at 5 second intervals until the display is
returned to its normal position.
Track selection
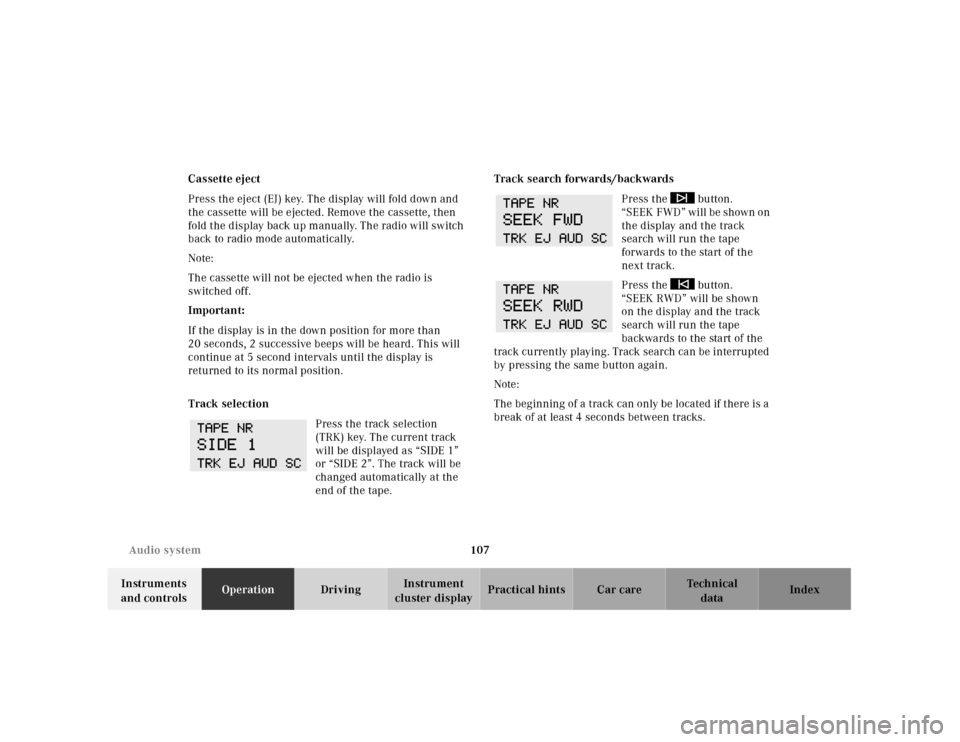
Press the track selection
(TRK) key. The current track
will be displayed as “SIDE 1”
or “SIDE 2”. The track will be
changed automatically at the
end of the tape.Track search forwards/backwards
Press the button.
“SEEK FWD” will be shown on
the display and the track
search will run the tape
forwards to the start of the
next track.
Press the button.
“SEEK RWD” will be shown
on the display and the track
search will run the tape
backwards to the start of the
track currently playing. Track search can be interrupted
by pressing the same button again.
Note:
The beginning of a track can only be located if there is a
break of at least 4 seconds between tracks.
Page 151 of 297
147 Soft top
Technical
data Instruments
and controlsOperationDrivingInstrument
cluster displayPractical hints Car care Index For safety reasons, the soft top cannot be unlocked
while driving.
However, if the soft top is not completely locked, it can
be locked while driving by pushing the soft/hardtop
switch forward.
If the indicator lamp in the soft top switch blinks while
activating the switch,
• the battery voltage may be insufficient - start engine
and let run while activating switch,
• the system may be overloaded (for example after
lowering or raising the soft top approx.
5 consecutive times) - after approx. 2 minutes the
soft top switch may be activated again,
• and the power supply was interrupted (battery
disconnected or empty), the soft top cannot be fully
raised or lowered.
To raise the soft top, for safety reasons, first remove key
from steering lock. Lower soft top by hand into
compartment, and resynchronize the power windows.
See page 116.
To lower the soft top, first resynchronize the power
windows. See page 116.If t he indicator la mp continues to bl ink, l ock th e sof t top
manually. See page 253.
Have the system checked at your authorized Mercedes-
Benz Center as soon as possible.
Note:
If the roll bar was raised automatically, the process of
raising or lowering the soft top will take somewhat
longer, as the roll bar must first be lowered.
Whenever possible, park vehicle in the shade as
continuous exposure to sun rays can prematurely
deteriorate the soft top material.
Permanent creases in the plastic window, caused by
storage of the soft top in the storage compartment,
cannot be avoided.
The soft top may become moldy if it is kept in the
storage compartment for an extended period.
Therefore, we recommend raising and airing it
thoroughly with the side windows open (do not expose
it to the sun) at regular intervals during the wet and
cold seasons.
Page 180 of 297
176 Driving insturctions
Technical
data Instruments
and controlsOperationDrivingInstrument
cluster displayPractical hints Car care Index
Driving instructions
Drive sensibly - Save fuel
Fue l consumption, to a g rea t ex tent, depends on driv ing
habits and operating conditions.
To save fuel you should:
• keep tires at the recommended inflation pressures,
• remove unnecessary loads,
• allow engine to warm up under low load use,
• avoid frequent acceleration and deceleration,
• have all maintenance work performed at regular
intervals by an authorized Mercedes-Benz Center.
Fuel consumption is also increased by driving in cold
weather, in stop-and-go traffic, on short trips and in hilly
country.Drinking and driving
Pedals
Wa r n i n g !
Drinking or taking drugs and driving can be a very
dangerous combination. Even a small amount of
alcohol or drugs can affect your reflexes,
perceptions and judgement.The possibility of a serious or even fatal accident is
sharply increased when you drink or take drugs
and drive.Please don‘t drink or take drugs and drive or allow
anyone to drive after drinking or taking drugs.Wa r n i n g !
Keep driver‘s foot area clear at all times. Objects
stored in this area may impair pedal movement.
Page 232 of 297
228 Tires, Wheels
Technical
data Instruments
and controlsOperation DrivingInstrument
cluster displayPractical hintsCar care Index
Thoroughly clean the inner side of the wheels any time
you rotate the wheels or wash the vehicle underside.
The use of retread tires is not recommended. Retread
tires may adversely affect the handling characteristics
and safety of the vehicle.
Dented or bent rims can cause tire pressure loss and
d ama ge to th e tire bead s. For t his reason, ch eck rims for
damage at regular intervals. The rim f langes must be
checked for wear before a tire is mounted. Remove
burrs, if any.
Check and ensure proper tire inflation pressure after
rotating the wheels. For tire inf lation pressure see
page 234.Spare wheel
(except Sport Package)
The spare wheel rim size is 8
1/4 J x 17 H2.
In the case of a f lat tire, or breakdown, you may
temporarily use the spare wheel.
Unid irectional tires must a lways be mou nted w it h a rrow
on tire sidewall pointing in direction of vehicle forward
movement.
If the arrow on tire sidewall does not point in direction
of vehicle forward movement when using the spare
wheel, observe the following restrictions:
• Drive to the nearest repair facility to have the flat
tire repaired or replaced as appropriate.
• Do not operate vehicle with more than one spare
wheel mounted.
For additional information, refer to page 273.
Wa r n i n g !
The spare wheel rim is for temporary use only. Use
for over a total of 12 000 miles (20 000 km)
(aggregate of all uses) may cause wheel rim failure
leading to an accident and possible injuries.