Page 153 of 297
149 Wind screen
Technical
data Instruments
and controlsOperationDrivingInstrument
cluster displayPractical hints Car care Index 2. Position top end of w ind sc ree n at b ottom of roll ba r.
The hooks at bottom of wind screen must point
rearward.
3. Slide wind screen up into roll bar (1), using care not
to get the attachment straps (2) caught.
4. Raise roll bar completely.5. Wrap attachment straps around roll bar and insert
tabs into latches (3).
6. Tighten straps (4).
7. Lower roll bar.
1
2
2
P65.00-0289-26
4
3
P65.00-0290-26
Page 154 of 297
150 Wind screen
Technical
data Instruments
and controlsOperationDrivingInstrument
cluster displayPractical hints Car care Index
Setting up
Push top of wind screen fully forward against internal
stop.Removal
1. Fold down top of wind screen.
2. Raise roll bar using switch on center console.
3. Disconnect attachment strap latches by squeezing
latch.
4. Lower roll bar partially.
Wa r n i n g !
The rear storage area should never be occupied by
passengers since the vehicle is a 2 seater.
Furthermore, with the wind screen in place there
is a risk of injury, should the roll bar be deployed.
P65.00-0292-26
Page 155 of 297
151 Wind screen
Technical
data Instruments
and controlsOperationDrivingInstrument
cluster displayPractical hints Car care Index 5. Pull wind screen down (5) and remove from roll bar.
The wind screen can be stored in a trunk mounted
container.Antenna
The antenna extends when switching on the radio and/
or telephone.
Note:
To retract the antenna (e.g. when entering a car wash)
both radio and telephone must be switched off.
5
P65.00-0293-26
Page 207 of 297

203 Contents – Instrument cluster display
Technical
data Instruments
and controlsOperation DrivingInstrument
cluster displayPractical hints Car care Index
Instrument cluster displayMalfunction and indicator
lamps in the instrument
cluster .........................................204
On-board diagnostic system
Check engine malfunction
indicator lamp .............................204
Brake warning lamp ..................204
Brake pad wear
indicator lamp .............................205
Seat belt warning lamp .............206
Supplemental restraint
system (SRS) indicator lamp ....206Fuel reserve and fuel cap
placement warning ................... 207
Electronic stability program
(ESP) - warning lamp ................ 207
BAS-/ESP malfunction
indicator lamp ............................ 207
ABS malfunction
indicator lamp ............................ 208
Low engine coolant
level warning lamp .................... 209
Low windshield and headlamp
washer system f luid leve l
warning lamp ..............................210
Low engine oil level
warning lamp ..............................210Charge indicator lamp ............... 211
Exterior lamp failure
indicator lamp ............................. 211
Roll bar warning lamp ............... 212
ADS indicator lamp .................... 212
High beam indicator lamp ........ 213
Additional function
indicator lamps
(in the odometer display) .......... 213
Malfunction and indicator
lamp (in the dashboard) .......... 213
Passenger airbag
indicator lamp ............................. 213
Page 216 of 297

212 Malfunction and warning messages
Technical
data Instruments
and controlsOperation DrivingInstrument
cluster displayPractical hints Car care Index
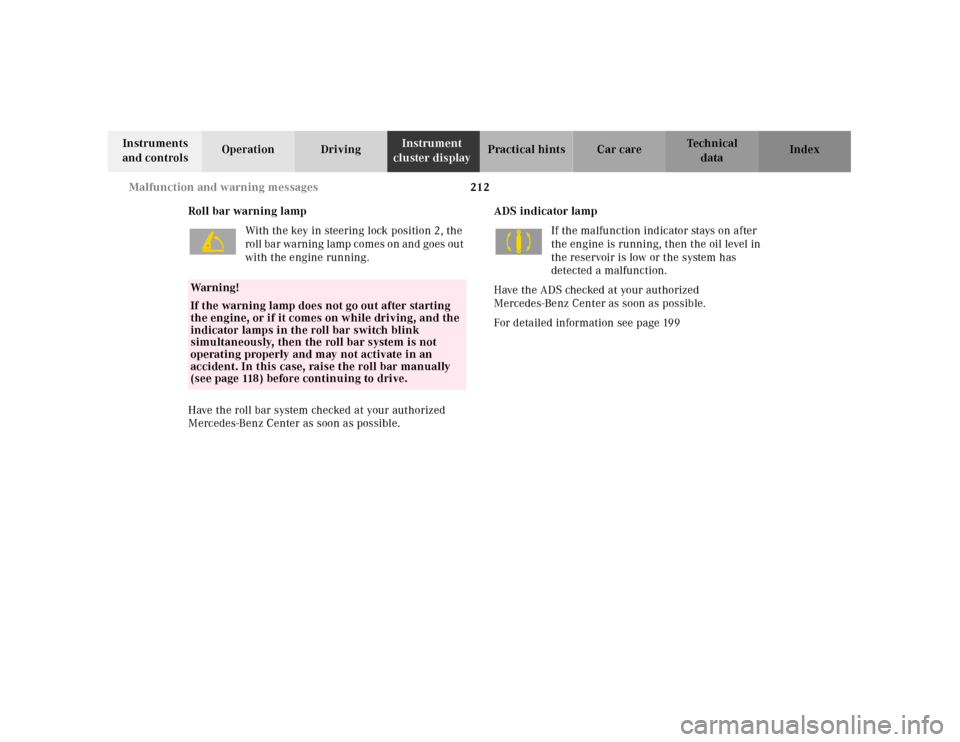
Roll bar warning lamp
With the key in steering lock position 2, the
roll bar warning lamp comes on and goes out
with the engine running.
Have the roll bar system checked at your authorized
Mercedes-Benz Center as soon as possible.ADS indicator lamp
If the malfunction indicator stays on after
the engine is running, then the oil level in
the reservoir is low or the system has
detected a malfunction.
Have the ADS checked at your authorized
Mercedes-Benz Center as soon as possible.
For detailed information see page 199
Wa r n i n g !
If the warning lamp does not go out after starting
the engine, or if it comes on while driving, and the
indicator lamps in the roll bar switch blink
simultaneously, then the roll bar system is not
operating properly and may not activate in an
accident. In this case, raise the roll bar manually
(see page 118) before continuing to drive.
Page 234 of 297

230 Tires, Wheels
Technical
data Instruments
and controlsOperation DrivingInstrument
cluster displayPractical hintsCar care Index
Changing wheelsMove vehicle to a level area which is a safe distance
from the roadway.
1. Firmly set parking brake, raise roll bar, and turn on
hazard warning f lasher.
2. Move selector lever to position “P”.
3. While engine is running, depress wheel change
switch for level control. The indicator lamp in the
sw it ch a n d t h e A D S m a l f u n c t i on i n d i c a to r l a mp l ig h t
up.
4. Turn off engine.
5. Prevent vehicle from rolling away by blocking
wheels with wheel chocks (not supplied with
vehicle) or sizable wood block or stone. When
changing a wheel on a hill, place chocks on the
downhill side blocking both wheels of the other
axl e. On a l evel road, pl ace one ch ock in front of a nd
one behind the wheel that is diagonally opposite to
the wheel being changed.
The jack is designed exclusively for jacking up the
veh icle at the jack tu bes bui lt into eith er si de of th e
vehicle. To help avoid personal injury, use the jack
only to lift the vehicle during a wheel change.
Never get beneath the vehicle while it is supported
by th e jack. Keep hands and feet away from the area
under the lifted vehicle. Always firmly set parking
brake and block wheels before raising vehicle with
jack.Do not disengage parking brake whi le th e vehic le is
raised. Be certain that the jack is always vertical
when in use, especially on hills. Always try to use
the jack on level surface. Be sure that the jack arm
is fully inserted in the jack tube. Always lower the
vehicle onto sufficient capacity jackstands before
working under the vehicle.Before working on the vehicle, e.g. when changing
wheels, the roll bar should be raised with the
switch, and the key be removed from the steering
lock, to prevent possible injury.
Page 257 of 297

253 Raising soft top manually
Technical
data Instruments
and controlsOperation DrivingInstrument
cluster displayPractical hintsCar care Index Raising soft top manually
In case of malfunction, the power soft top can also be
raised manually. This procedure should be performed
with great care by 2 persons.
A combination open-end/Allenhead wrench in the
vehicle tool kit is required for this job.
1. Open doors or lower windows.
2. Lower roll bar with roll bar switch. If the roll bar
cannot be lowered, the soft top can be carefully
guided over the roll bar.
3. For safety reasons, remove key from steering lock.
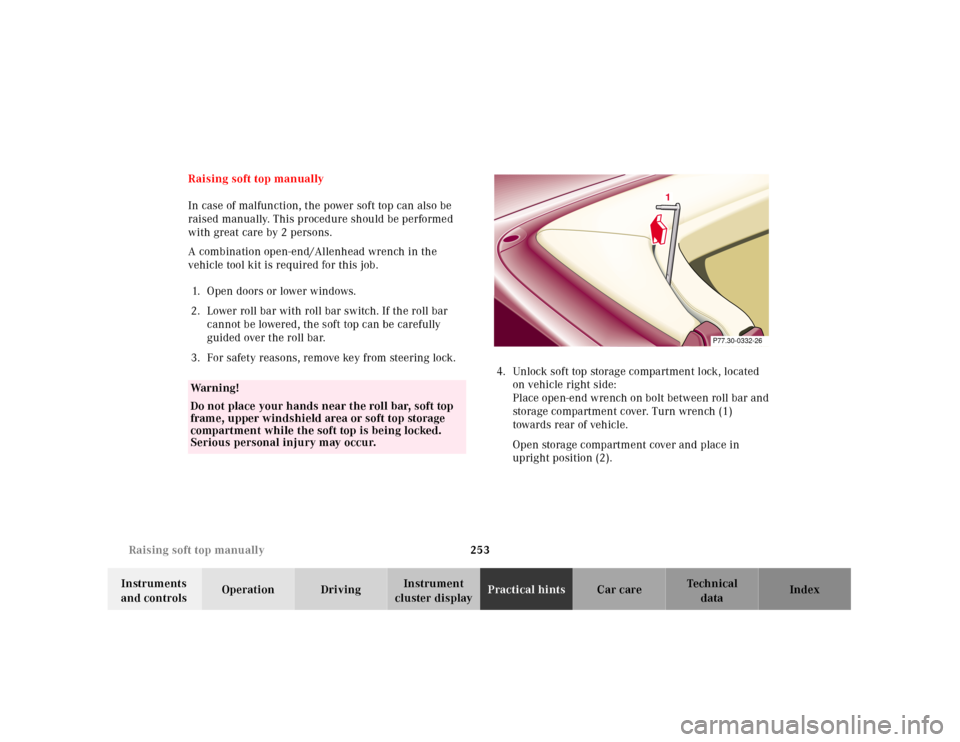
4. Unlock soft top storage compartment lock, located
on vehicle right side:
Place open-end wrench on bolt between roll bar and
storage compartment cover. Turn wrench (1)
towards rear of vehicle.
Open storage compartment cover and place in
upright position (2).
Wa r n i n g !
Do not place your hands near the roll bar, soft top
frame, upper windshield area or soft top storage
compartment while the soft top is being locked.
Serious personal injury may occur.
P77.30-0332-26
1
Page 260 of 297
256 Raising soft top manually
Technical
data Instruments
and controlsOperation DrivingInstrument
cluster displayPractical hintsCar care Index
11. Close storage compartment cover (2). - Lock storage
compartment lock on right side: Place open-end
wrench on bolt between roll bar and storage
compartment cover. Turn wrench (1) towards front
of vehicle.
12. Lower soft top bow (4). The rear section of the soft
top cannot be locked during manual operation.