2000 MERCEDES-BENZ SL500 charge battery
[x] Cancel search: charge batteryPage 240 of 297
236 Battery
Technical
data Instruments
and controlsOperation DrivingInstrument
cluster displayPractical hintsCar care Index
Battery
Important!
Battery replacement information:
The maintenance-free battery is located in the trunk
behind the right side cover panel.
The service life of the battery is dependent on its
condition of charge. The battery should always be kept
sufficiently charged, in order to last an optimum length
of time.Therefore, we strongly recom mend that you h ave the
battery charge checked frequently, and corrected if
necessary, especially if you use the vehicle less than
approximately 200 miles (300 km) per month,
mostly for sh ort di stance trips, or if it is not u sed for
long periods of time.
Only charge a battery with a battery charger after the
battery has been disconnected from the vehicle’s
electrical circuit.
Always disconnect the battery negative lead first and
connect last.
When removing and connecting the battery, always
make sure that all electrical consumers are off and the
key is in steering lock position 0. The battery must
always be securely installed when the vehicle is in
operation. During removal and installation always
protect the disconnected battery positive (+) terminal
with the cover attached to the battery.
While the engine is running the battery terminal clamps
must not be loosened or detached, otherwise the
generator and other electronic components will be
damaged.
Important!
Wa r n i n g !
Failure to follow these instructions can result in
severe injury or death.Never lean over batteries w hile connecting, you
might get injured.Battery fluid contains sulfuric acid. Do not allow
this fluid to come in contact with eyes, skin or
cloth ing. In c ase it does, imm edi ately f lu sh af fec ted
area with water and seek medical help.A battery will also produce hydrogen gas, which is
flammable and explosive. Keep flames or sparks
away from battery, avoid improper connection of
jumper cables, smoking etc.
Page 242 of 297
238 Jump starting
Technical
data Instruments
and controlsOperation DrivingInstrument
cluster displayPractical hintsCar care Index
Jump startingImportant!
A discharged battery can freeze at approx. +14°F
(–10°C). In that case, it must be thawed out before
jumper cables are used. Attempting to jump start a
frozen battery can result in it exploding, causing
personal injury.
Jumper cable specifications:
• Minimum cable cross-section of 25 mm
2 or approx.
2AWG
•Maximum length of 11.5 ft. (3.5m).
If th e battery is discha rged, th e eng ine shoul d be started
with jumper cables and the (12 V) battery of another
vehicle.
Only use 12 V battery to jump start your vehicle. Jump
starting with more powerful battery could damage the
vehicle’s electrical systems, which will not be covered
by the Mercedes-Benz Limited Warranty.
The battery is located in the trunk behind the right side
cover panel.
Wa r n i n g !
Failure to follow these directions will cause
damage to the electronic components, and can lead
to a battery explosion and severe injury or death.Never lean over batteri es wh ile connec ting or jump
starting, you might get injured.Battery fluid contains sulfuric acid. Do not allow
this fluid to come in contact with eyes, skin or
cloth ing. In c ase it does, imm edi ately f lu sh af fec ted
area with water, and seek medical help if
necessary.A battery will also produce hydrogen gas, which is
flammable and very explosive. Keep flames or
sparks away from battery, avoid improper
connection of jumper cables, smoking etc.Read all instructions before proceeding.
Page 243 of 297
239 Jump starting
Technical
data Instruments
and controlsOperation DrivingInstrument
cluster displayPractical hintsCar care Index Proceed as follows:
1. Position the vehicle with the charged battery so that
the jumper cables will reach, but never let the
vehicles touch. Make sure the jumper cables do not
have loose or missing unsulation.
2. On both vehicles:
• Turn off engine and all lights and accessories,
except hazard warning flashers or work lights.
• Apply parking brake and shift selector lever to
position “P”.
Important!
3. Clamp one end of the first jumper cable to the
positive (+) terminal of the discharged battery and
the other end to the positive (+) terminal of the
charged battery. Make sure the cable clamps do not
touch any other metal parts.
4. Clamp one end of the second jumper cable to the
grounded negative (-) terminal of the charged
battery and the final connection to the negative (-)
terminal of the discharged battery.Important!
5. Start engine of the vehicle with the charged battery
and run at high idle. Make sure the cables are not
on or near pulleys, fans, or other parts that will
move when the engine is started. Allow the
disch arge d ba ttery to ch arge for a few minu tes. Sta rt
engine of the disabled vehicle in the usual manner.
6. After the engine has started, remove jumper cables
by exactly reversing the above installation
sequence, starting with the last connection made
first. When removing each clamp, make sure that it
does not touch any other metal while the other end
is still attached.
Note:
If engine does not run after several unsuccessful
starting attempts, have it checked at the nearest
authorized Mercedes-Benz Center.
Excessive unburned fuel may damage the catalytic
converter.
Page 263 of 297
259 Manual release of fuel filler flap
Technical
data Instruments
and controlsOperation DrivingInstrument
cluster displayPractical hintsCar care Index Manual release of fuel filler flap
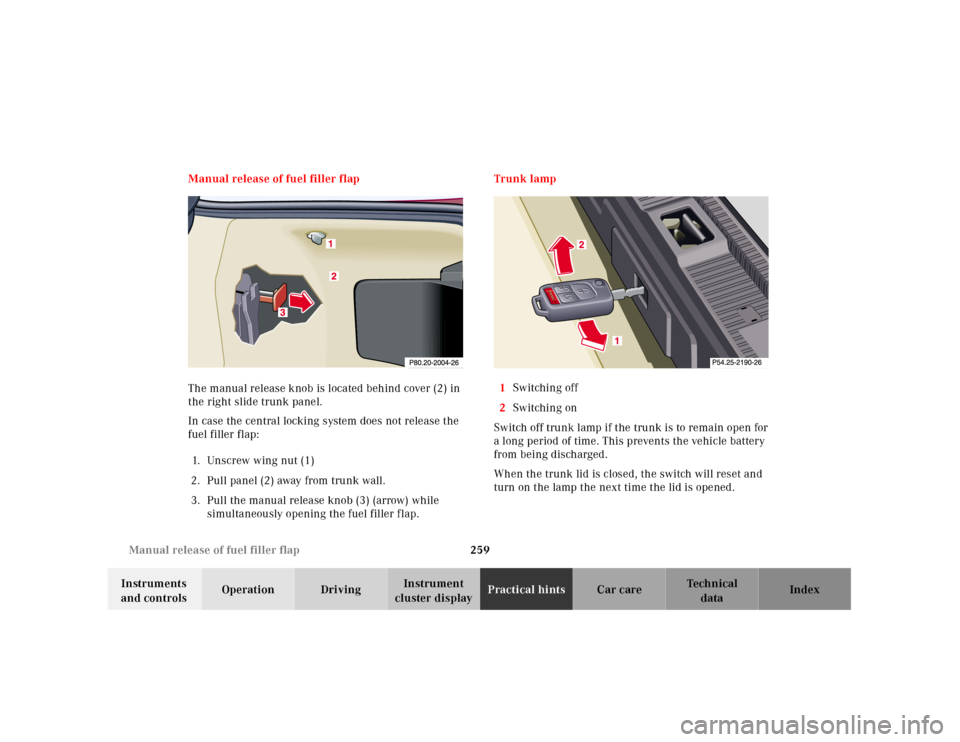
The manual release knob is located behind cover (2) in
the right slide trunk panel.
In case the central locking system does not release the
fuel filler flap:
1. Unscrew wing nut (1)
2. Pull panel (2) away from trunk wall.
3. Pull the manual release knob (3) (arrow) while
simultaneously opening the fuel filler f lap.Trunk lamp
1Switching off
2Switching on
Switch off trunk lamp if the trunk is to remain open for
a long period of time. This prevents the vehicle battery
from being discharged.
When the trunk lid is closed, the switch will reset and
turn on the lamp the next time the lid is opened.
Page 290 of 297
286
Technical
data Instruments
and controlsOperation DrivingInstrument
cluster displayPractical hints Car careIndex
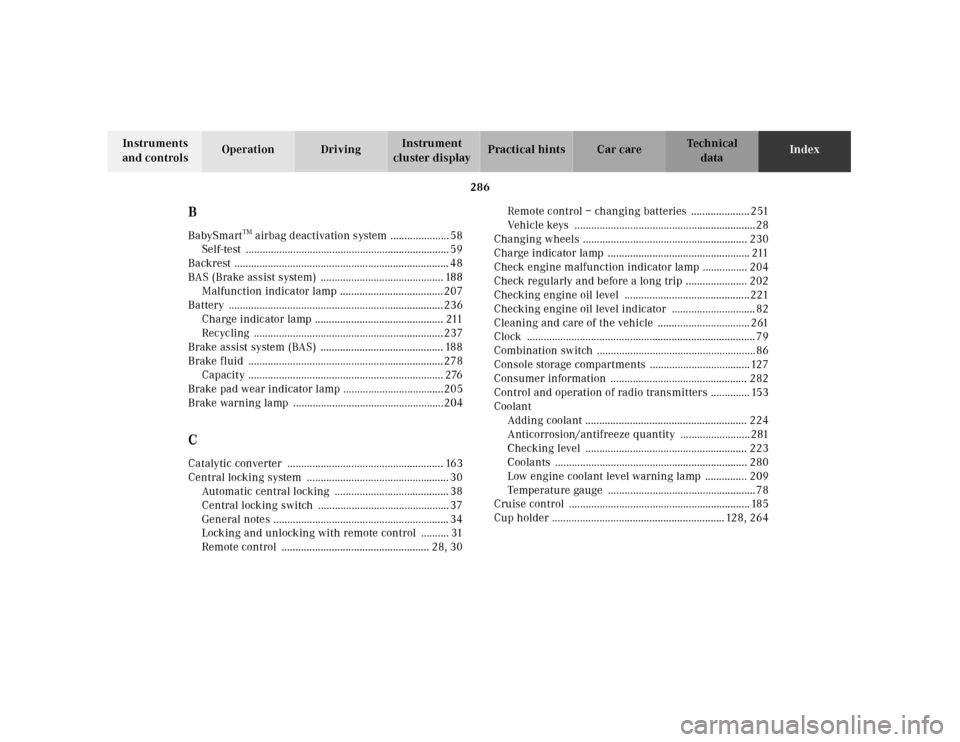
BBabySmart
TM airbag deactivation system ..................... 58
Self-test ......................................................................... 59
Backrest ............................................................................. 48
BAS (Brake assist system) ............................................ 188
Malfunction indicator lamp .....................................207
Battery .............................................................................236
Charge indicator lamp .............................................. 211
Recycling ....................................................................237
Brake assist system (BAS) ............................................ 188
Brake fluid ......................................................................278
Capacity ...................................................................... 276
Brake pad wear indicator lamp ....................................205
Brake warning lamp ......................................................204
CCatalytic converter ........................................................ 163
Central locking system ................................................... 30
Automatic central locking ......................................... 38
Central locking switch ............................................... 37
General notes ............................................................... 34
Locking and unlocking with remote control .......... 31
Remote control ..................................................... 28, 30Remote control – changing batteries ..................... 251
Vehicle keys .................................................................28
Changing wheels ........................................................... 230
Charge indicator lamp ................................................... 211
Check engine malfunction indicator lamp ................ 204
Check regularly and before a long trip ...................... 202
Checking engine oil level .............................................221
Checking engine oil level indicator .............................. 82
Cleaning and care of the vehicle ................................. 261
Clock .................................................................................. 79
Combination switch .........................................................86
Console storage compartments ....................................127
Consumer information ................................................. 282
Control and operation of radio transmitters .............. 153
Coolant
Adding coolant .......................................................... 224
Anticorrosion/antifreeze quantity .........................281
Checking level .......................................................... 223
Coolants ..................................................................... 280
Low engine coolant level warning lamp ............... 209
Temperature gauge .....................................................78
Cruise control ................................................................. 185
Cup holder .............................................................. 128, 264