2000 MERCEDES-BENZ S55AMG warning
[x] Cancel search: warningPage 328 of 421
325 Malfunction and warning messages
Te ch n ica l
data Instruments
and controlsOperation DrivingInstrument
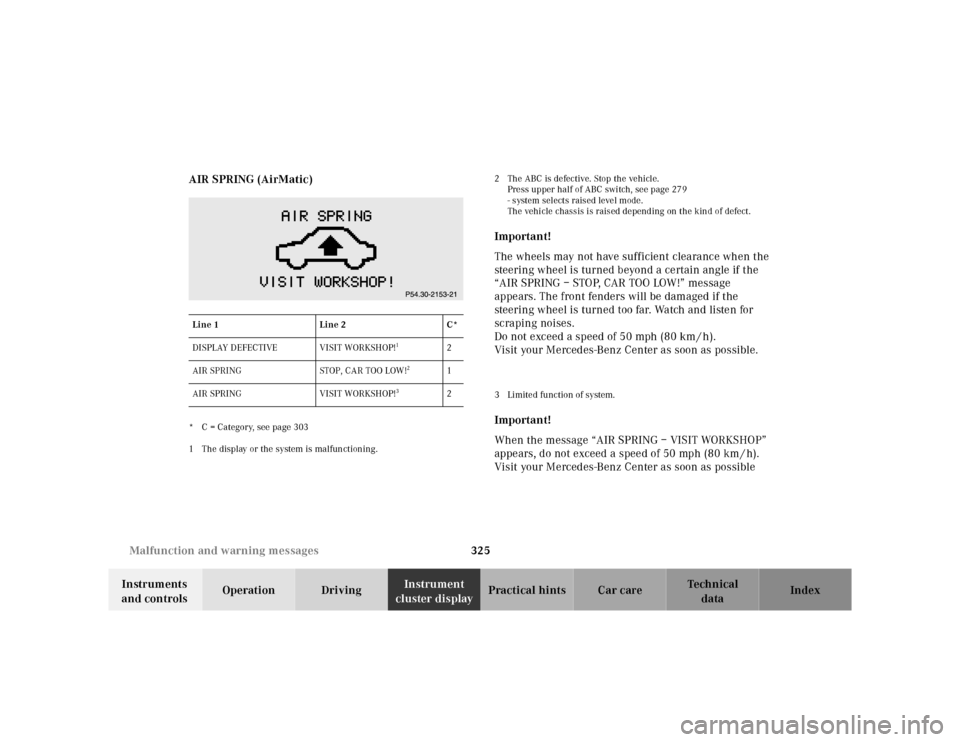
cluster displayPractical hints Car care Index AIR SPRING (AirMatic)
* C = Category, see page 303
1 The display or the system is malfunctioning.2 The ABC is defective. Stop the vehicle.
Press upper half of ABC switch, see page 279
- system selects raised level mode.
The vehicle chassis is raised depending on the kind of defect.
Important!
The wheels may not have sufficient clearance when the
steering wheel is turned beyond a certain angle if the
“AIR SPRING – STOP, CAR TOO LOW!” message
appears. The front fenders will be damaged if the
steering wheel is turned too far. Watch and listen for
scraping noises.
Do not exceed a speed of 50 mph (80 km / h).
Visit your Mercedes-Benz Center as soon as possible.3 Limited function of system.Important!
When the message “AIR SPRING – VISIT WORKSHOP”
appears, do not exceed a speed of 50 mph (80 km / h).
Visit your Mercedes-Benz Center as soon as possible
Line 1Line 2C*
DISPLAY DEFECTIVE VISIT WORKSHOP!
1
2
AIR SPRING STOP, CAR TOO LOW!
2
1
AIR SPRING VISIT WORKSHOP!
3
2
Page 329 of 421
326 Malfunction and warning messages
Te ch n ica l
data Instruments
and controlsOperation DrivingInstrument
cluster displayPractical hints Car care Index
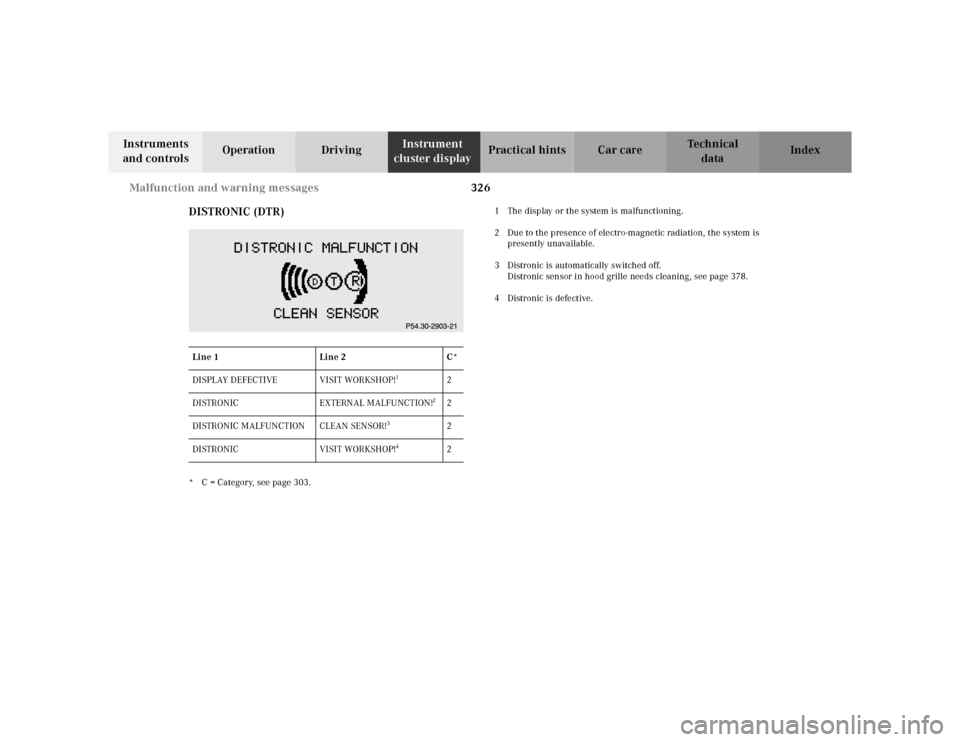
DISTRONIC (DTR)
* C = Category, see page 303.1 The display or the system is malfunctioning.
2 Due to the presence of electro-magnetic radiation, the system is
presently unavailable.
3 Distronic is automatically switched off.
Distronic sensor in hood grille needs cleaning, see page 378.
4 Distronic is defective.
Line 1Line 2C*
DISPLAY DEFECTIVE VISIT WORKSHOP!
1
2
DISTRONIC EXTERNAL MALFUNCTION!
2
2
DISTRONIC MALFUNCTION CLEAN SENSOR!
3
2
DISTRONIC VISIT WORKSHOP!
4
2
Page 338 of 421
335 Engine compartment
Te ch n ica l
data Instruments
and controlsOperation DrivingInstrument
cluster displayPractical hintsCar care Index The engine oil level can be checked by either the oil
dipstick or via the multifunction display in the
instrument cluster, see page 154.
Wipe the oil dipstick clean prior to checking the engine
oil level. Fully insert dipstick in tube, and remove after
three seconds to obtain accurate reading.
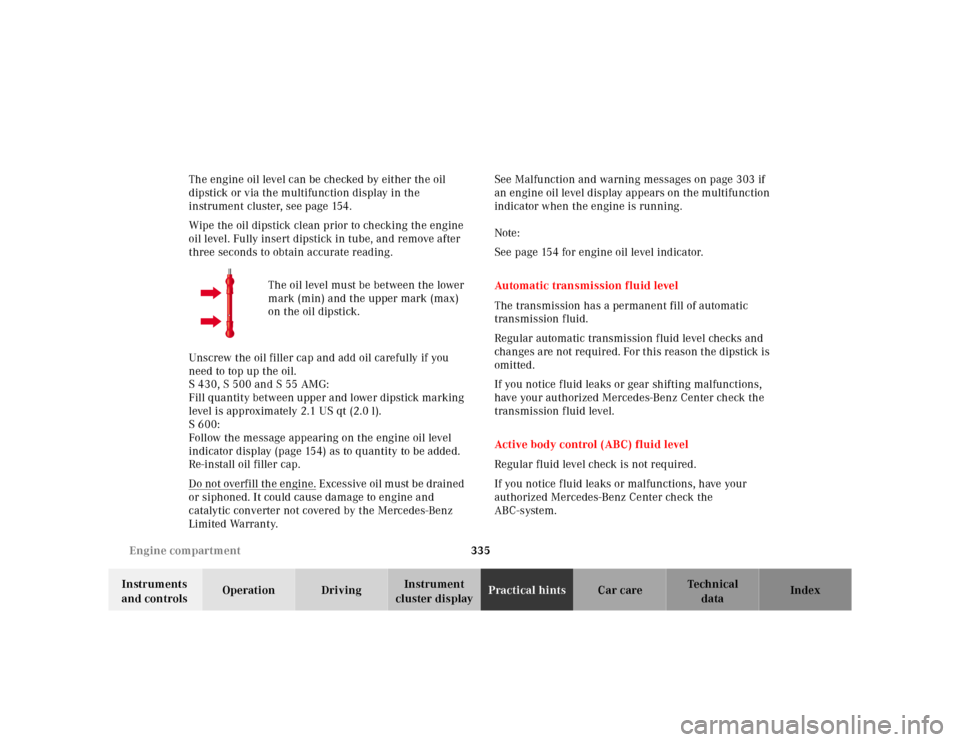
The oil level must be between the lower
mark (min) and the upper mark (max)
on the oil dipstick.
Unscrew the oil filler cap and add oil carefully if you
need to top up the oil.
S 430, S 500 and S 55 AMG:
Fill quantity between upper and lower dipstick marking
level is approximately 2.1 US qt (2.0 l).
S 600:
Follow the message appearing on the engine oil level
indicator display (page 154) as to quantity to be added.
Re-install oil filler cap.
Do not overfill the engine.
Excessive oil must be drained
or siphoned. It could cause damage to engine and
catalytic converter not covered by the Mercedes-Benz
Limited Warranty.See Malfunction and warning messages on page 303 if
an engine oil level display appears on the multifunction
indicator when the engine is running.
Note:
See page 154 for engine oil level indicator.
Automatic transmission fluid level
The transmission has a permanent fill of automatic
transmission fluid.
Regular automatic transmission fluid level checks and
changes are not required. For this reason the dipstick is
omitted.
If you notice fluid leaks or gear shifting malfunctions,
have your authorized Mercedes-Benz Center check the
transmission fluid level.
Active body control (ABC) fluid level
Regular fluid level check is not required.
If you notice fluid leaks or malfunctions, have your
authorized Mercedes-Benz Center check the
ABC-system.
Page 346 of 421
343 Tires, Wheels
Te ch n ica l
data Instruments
and controlsOperation DrivingInstrument
cluster displayPractical hintsCar care Index Changing wheelsMove vehicle to a level area which is a safe distance
from the roadway.
1. Set parking brake and turn on hazard warning
flasher.
2. Move selector lever to position “P” and turn off
engine.
3. Prevent vehicle from rolling away by blocking
wheels with wheel chocks (not supplied with
vehicle) or sizable wood block or stone. When
changing a wheel on a hill, place chocks on the
downhill side blocking both wheels of the other
axle. On an level road, place one chock in front of
and one behind the wheel that is diagonally
opposite to the wheel being changed.
Wa r n i n g !
The jack is designed exclusively for jacking up the
vehicle at the jack tubes built into either side of the
vehicle. To help avoid personal injury, use the jack
only to lift the vehicle during a wheel change.
Never get beneath the vehicle while it is supported
by the jack. Keep hands and feet away from the area
under the lifted vehicle. Always firmly set parking
brake and block wheels before raising vehicle with
jack.Do not disengage parking brake while the vehicle is
raised. Be certain that the jack is always vertical
when in use, especially on hills. Always try to use
the jack on level surface. Be sure that the jack arm
is fully inserted in the jack tube. Always lower the
vehicle onto sufficient capacity jackstands before
working under the vehicle.
Page 355 of 421
352 Jump starting
Te ch n ica l
data Instruments
and controlsOperation DrivingInstrument
cluster displayPractical hintsCar care Index
Proceed as follows:
1. Position the vehicle with the charged battery so that
the jumper cables will reach, but never let the
vehicles touch. Make sure the jumper cables do not
have loose or missing insulation.
2. On both vehicles:
•Turn off engine and all lights and accessories,
except hazard warning flashers or work lights.
•Apply parking brake and shift selector lever to
position “P”.
Important!
3. Clamp one end of the first jumper cable to the
positive (+) terminal of the discharged battery and
the other end to the positive (+) terminal of the
charged battery. Make sure the cable clamps do not
touch any other metal parts.
4. Clamp one end of the second jumper cable to the
grounded negative (–) terminal of the charged
battery and the final connection to the negative (–)
under hood terminal of the disabled vehicle.Important!
5. Start engine of the vehicle with the charged battery
and run at high idle. Make sure the cables are not
on or near pulleys, fans, or other parts that move
when the engine is started. Allow the discharged
battery to charge for a few minutes. Start engine of
the disabled vehicle in the usual manner.
6. After the engine has started, remove jumper cables
by exactly reversing the above installation
sequence, starting with the last connection made
first. When removing each clamp, make sure that it
does not touch any other metal while the other end
is still attached.
Note:
If engine does not run after several unsuccessful
starting attempts, have it checked at the nearest
authorized Mercedes-Benz Center.
Excessive unburned fuel may damage the catalytic
converter.
Page 358 of 421
355 Towing the vehicle
Te ch n ica l
data Instruments
and controlsOperation DrivingInstrument
cluster displayPractical hintsCar care Index We recommend that the vehicle be transported using
flat bed equipment. This method is preferable to other
types of towing.
Important!
To prevent damage during transport, do not tie down
vehicle by its chassis or suspension parts.
The vehicle may be towed with all wheels on the ground
and the selector lever in position “N” for distances up to
30 miles (50 km) and at a speed not to exceed 30 mph
(50 km / h). The electronic key must be in starter switch
position 2.
To be certain to avoid a possibility of damage to the
transmission, however, we recommend the drive shaft
be disconnected at the rear axle drive f lange for any
towing beyond a short tow to a nearby garage.
Do not tow with sling-type equipment. Towing with
sling-type equipment over bumpy roads will damage
radiator and supports.
Use wheel lift, dolly, or flat bed equipment, with
electronic key in starter switch turned to position 0.Note:
To signal turns while being towed with hazard warning
flasher in use, turn electronic key in starter switch to
position 2 and activate combination switch for left or
right turn signal in usual manner – only the selected
turn signal will operate.
Upon canceling the turn signal, the hazard warning
flasher will operate again.
Caution!
If the vehicle is towed with the front axle raised, the
engine must be shut off (electronic key in starter switch
position 0 or 1). Otherwise, the ESP will immediately be
engaged and will apply the rear wheel brakes.
Switch off the tow-away alarm (see “VEHICLE” under
“Individual settings” on page 144) as well as the ESP
(see page 274).
Wa r n i n g !
With the engine not running, there is no power
assistance for the braking and steering systems. In
this case, it is important to keep in mind that a
considerably higher degree of effort is necessary to
brake and steer the vehicle.
Page 365 of 421
362 Trunk lamp
Te ch n ica l
data Instruments
and controlsOperation DrivingInstrument
cluster displayPractical hintsCar care Index
Standby bulb function
The rear fog lamp, dimmed, will act as a replacement
lamp, if the bulb in the inner left-hand taillamp stops
working.
The inner taillamp acts as a replacement for the right or
left-hand bulb of the outer taillamp, if it stops working
as a parking lamp.
Notes:
The multifunction display will indicate that a bulb has
failed. See Malfunction and warning messages on
page 303.Trunk lamp
The trunk lamp will switch off after approximately
10 minutes if the trunk lid is left open.
Page 405 of 421
402 Index
Te ch n ica l
data Instruments
and controlsOperation DrivingInstrument
cluster displayPractical hints Car careIndex
Index
AABS (Antilock brake system) .......................................272
Malfunction indicator lamp .....................................300
Active body control (ABC) ............................................278
Fluid level ...................................................................335
ACTIVE BODY CONTROL (ABC) -
malfunction and warning messages ...................... 314
Adaptive damping system (ADS) .................................283
Adjusting steering wheel .............................................. 105
Air conditioner refrigerant ...........................................396
Air distribution, manual ............................................... 169
AIR SPRING (AirMatic) -
malfunction and warning messages ......................325
Air volume, manual ....................................................... 169
Airbag deactivation system ............................................ 91
AIRBAG OFF indicator lamp ........................................302
Airbags .............................................................................. 94
Airmatic system .............................................................279
Airmatic system
(Vehicles with Active Body Control) ......................280
Alarm system ............................................................. 62, 64
Anticorrosion/antifreeze ................... 251, 336, 394, 398Antilock brake system (ABS) ...................................... 272
Malfunction indicator lamp .................................... 300
Antitheft alarm system ...................................................62
Aquaplaning .................................................................. 248
Armrest, rear seat .......................................................... 198
Ashtrays ...........................................................................201
Center console ...........................................................201
Rear doors ................................................................. 202
Audio systems .................................................................125
Cassette player ..........................................................127
CD Player ....................................................................126
Radio ...........................................................................125
Automatic central locking ..............................................52
Automatic climate control ............................................ 164
Activated charcoal filter ...........................................172
Adjustable air outlets,
rear passenger compartment ............................. 176
Air distribution, manual .......................................... 169
Air volume, manual .................................................. 169
Basic setting ............................................................... 168
Defogging windows ...........................................170, 171
Defrosting ...................................................................170
Display and controls ................................................. 166
Dust filter ................................................................... 167
Economy mode ..........................................................173