Page 182 of 421
179 Automatic climate control
Te ch n ica l
data Instruments
and controlsOperationDrivingInstrument
cluster displayPractical hints Car care Index Controlling the rear air conditioner from the front
automatic air conditioner control panel
The rear air conditioner can be switched off and the
blower and temperature settings can be changed from
the automatic air conditioner control panel in the center
console.
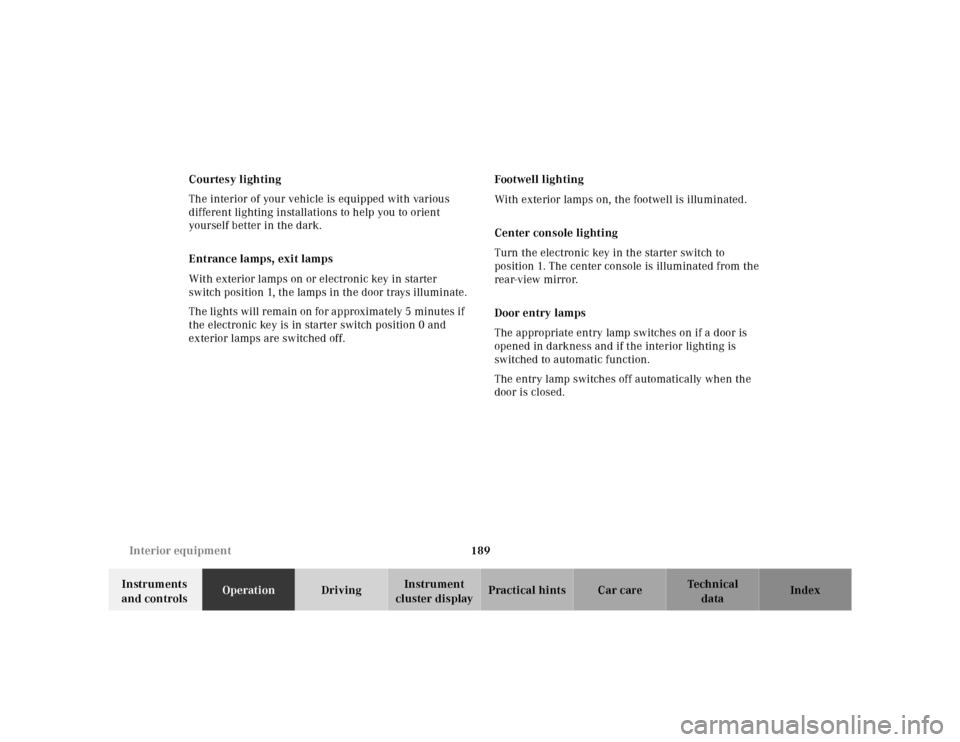
Press A on the air volume switch and hold until the
display illustrated above is shown.The rear air conditioner can be switched on and off by
pressing the 0 button. The blower setting for the rear air
conditioner can be controlled with the air volume
switch and the temperature setting for the rear air
conditioner can be set with the temperature control
switches.
The message in the display disappears approximately
4 seconds after the button is pressed for the last time
and the automatic air conditioner switches to normal
operation.
Page 192 of 421

189 Interior equipment
Te ch n ica l
data Instruments
and controlsOperationDrivingInstrument
cluster displayPractical hints Car care Index Courtesy lighting
The interior of your vehicle is equipped with various
different lighting installations to help you to orient
yourself better in the dark.
Entrance lamps, exit lamps
With exterior lamps on or electronic key in starter
switch position 1, the lamps in the door trays illuminate.
The lights will remain on for approximately 5 minutes if
the electronic key is in starter switch position 0 and
exterior lamps are switched off.Footwell lighting
With exterior lamps on, the footwell is illuminated.
Center console lighting
Turn the electronic key in the starter switch to
position 1. The center console is illuminated from the
rear-view mirror.
Door entry lamps
The appropriate entry lamp switches on if a door is
opened in darkness and if the interior lighting is
switched to automatic function.
The entry lamp switches off automatically when the
door is closed.
Page 198 of 421
195 Interior equipment
Te ch n ica l
data Instruments
and controlsOperationDrivingInstrument
cluster displayPractical hints Car care Index Storage compartments in the center console
5The storage space is located in the lower portion of
the center console.
Lower storage space
To o pen :
Slide the mark on the cover forward.
To cl os e:
Lightly press the mark on the cover forward. The cover
closes automatically.Storage compartment in front of armrest
6Storage compartment in front of armrest
To o p e n :
Touch the top of the cover lightly.
To c l o s e :
Lightly push the cover up until it engages in lock.
To remove the insert:
Grasp in the recess and pull out the insert.
P68.10-2494-26
Page 204 of 421
201 Interior equipment
Te ch n ica l
data Instruments
and controlsOperationDrivingInstrument
cluster displayPractical hints Car care Index Ashtrays
Center console
To o pen :
Briefly touch the mark on the cover, the ashtray opens
automatically.
To remove ashtray insert from center console:
Prior to removing the ashtray insert, move the gear
selector lever to position “N”.Press sliding knob (1) toward the right to eject the
insert.
To r e p l a c e i n s e r t :
Install insert into ashtray frame and push down to
engage into place.
Wa r n i n g !
Remove front ashtray only with vehicle standing
still. With the gear selector lever in position “N”,
turn off the engine and set the parking brake.
Otherwise the vehicle might move as a result of
unintended contact with the gear selector lever.
P68.20-0507-26
1
Page 206 of 421
203 Interior equipment
Te ch n ica l
data Instruments
and controlsOperationDrivingInstrument
cluster displayPractical hints Car care Index Lighter
1Center console lighter
Turn the electronic key in starter switch to position 1
or 2.
Push in lighter in (2); it will pop out automatically when
hot.
Note:
The lighter socket can be used to accommodate
electrical accessories up to a maximum 85 W.2Rear door lighters
P68.20-0506-261
Wa r n i n g !
Never touch the heating element or sides of the
lighter, they are extremely hot, hold at knob only.When leaving the vehicle always remove the
electronic key from the starter switch. Do not leave
children unattended in the vehicle, or with access
to an unlocked vehicle. Unsupervised use of vehicle
equipment may cause serious personal injury.
P68.20-2002-26
3
2
Page 279 of 421

276 Driving systems
Te ch n ica l
data Instruments
and controlsOperationDrivingInstrument
cluster displayPractical hints Car care Index
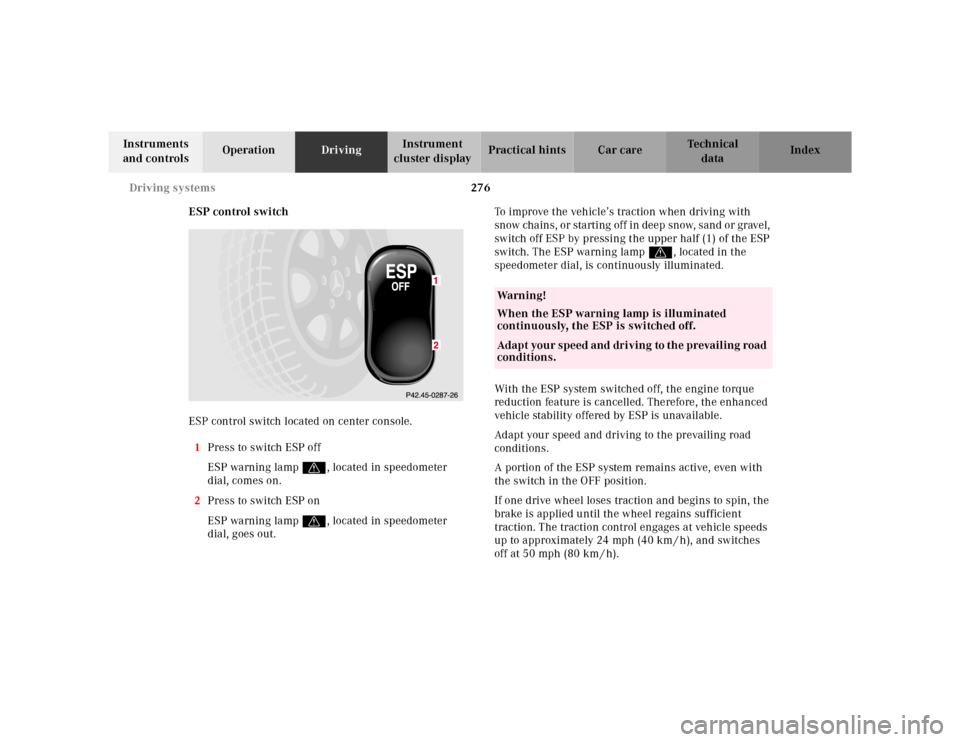
ESP control switch
ESP control switch located on center console.
1Press to switch ESP off
ESP warning lampv, located in speedometer
dial, comes on.
2Press to switch ESP on
ESP warning lampv, located in speedometer
dial, goes out.To improve the vehicle’s traction when driving with
snow chains, or starting off in deep snow, sand or gravel,
switch off ESP by pressing the upper half (1) of the ESP
switch. The ESP warning lampv, located in the
speedometer dial, is continuously illuminated.
With the ESP system switched off, the engine torque
reduction feature is cancelled. Therefore, the enhanced
vehicle stability offered by ESP is unavailable.
Adapt your speed and driving to the prevailing road
conditions.
A portion of the ESP system remains active, even with
the switch in the OFF position.
If one drive wheel loses traction and begins to spin, the
brake is applied until the wheel regains sufficient
traction. The traction control engages at vehicle speeds
up to approximately 24 mph (40 km / h), and switches
off at 50 mph (80 km / h).
Wa r n i n g !
When the ESP warning lamp is illuminated
continuously, the ESP is switched off. Adapt your speed and driving to the prevailing road
conditions.
Page 281 of 421

278 Driving systems
Te ch n ica l
data Instruments
and controlsOperationDrivingInstrument
cluster displayPractical hints Car care Index
Active body control (ABC)
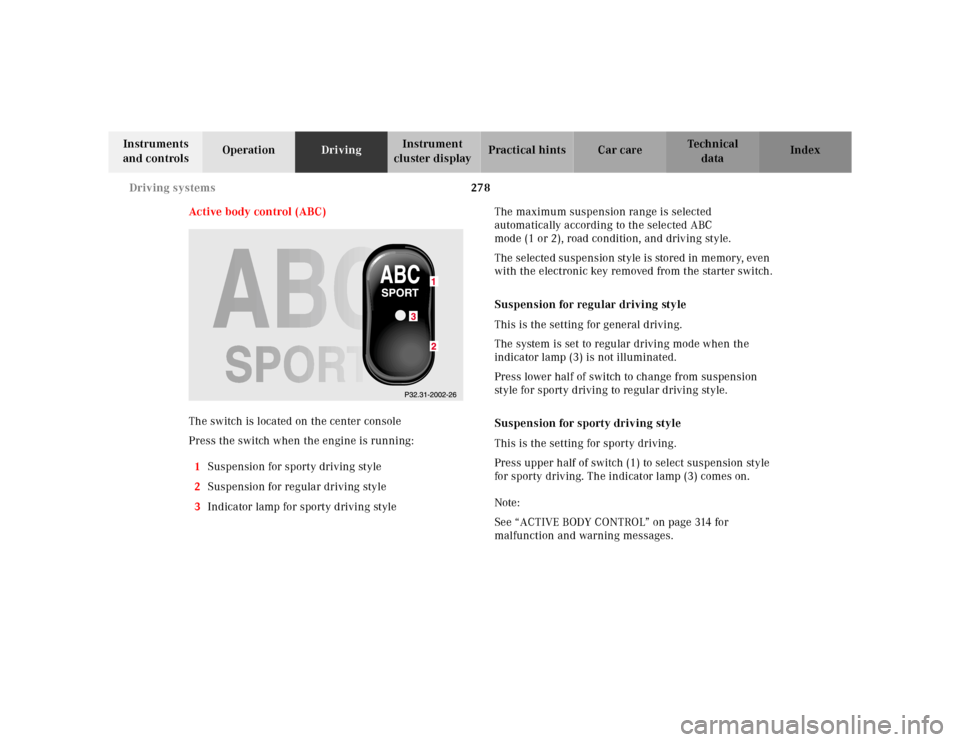
The switch is located on the center console
Press the switch when the engine is running:
1Suspension for sporty driving style
2Suspension for regular driving style
3Indicator lamp for sporty driving styleThe maximum suspension range is selected
automatically according to the selected ABC
mode (1 or 2), road condition, and driving style.
The selected suspension style is stored in memory, even
with the electronic key removed from the starter switch.
Suspension for regular driving style
This is the setting for general driving.
The system is set to regular driving mode when the
indicator lamp (3) is not illuminated.
Press lower half of switch to change from suspension
style for sporty driving to regular driving style.
Suspension for sporty driving style
This is the setting for sporty driving.
Press upper half of switch (1) to select suspension style
for sporty driving. The indicator lamp (3) comes on.
Note:
See “ACTIVE BODY CONTROL” on page 314 for
malfunction and warning messages.
Page 282 of 421

279 Driving systems
Te ch n ica l
data Instruments
and controlsOperationDrivingInstrument
cluster displayPractical hints Car care Index Level control system for vehicles with
Airmatic system
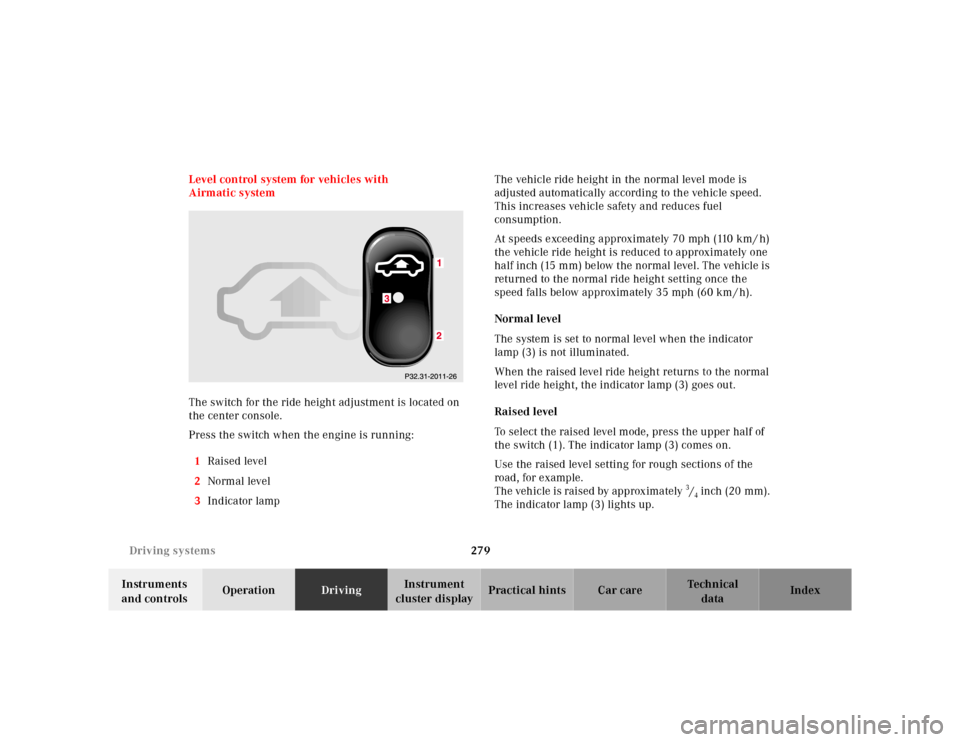
The switch for the ride height adjustment is located on
the center console.
Press the switch when the engine is running:
1Raised level
2Normal level
3Indicator lampThe vehicle ride height in the normal level mode is
adjusted automatically according to the vehicle speed.
This increases vehicle safety and reduces fuel
consumption.
At speeds exceeding approximately 70 mph (110 km / h)
the vehicle ride height is reduced to approximately one
half inch (15 mm) below the normal level. The vehicle is
returned to the normal ride height setting once the
speed falls below approximately 35 mph (60 km / h).
Normal level
The system is set to normal level when the indicator
lamp (3) is not illuminated.
When the raised level ride height returns to the normal
level ride height, the indicator lamp (3) goes out.
Raised level
To select the raised level mode, press the upper half of
the switch (1). The indicator lamp (3) comes on.
Use the raised level setting for rough sections of the
road, for example.
The vehicle is raised by approximately 3/4 inch (20 mm).
The indicator lamp (3) lights up.