Page 201 of 341

198 Automatic transmission
Te ch n ica l
data Instruments
and controlsOperationDrivingInstrument
cluster displayPractical hints Car care Index
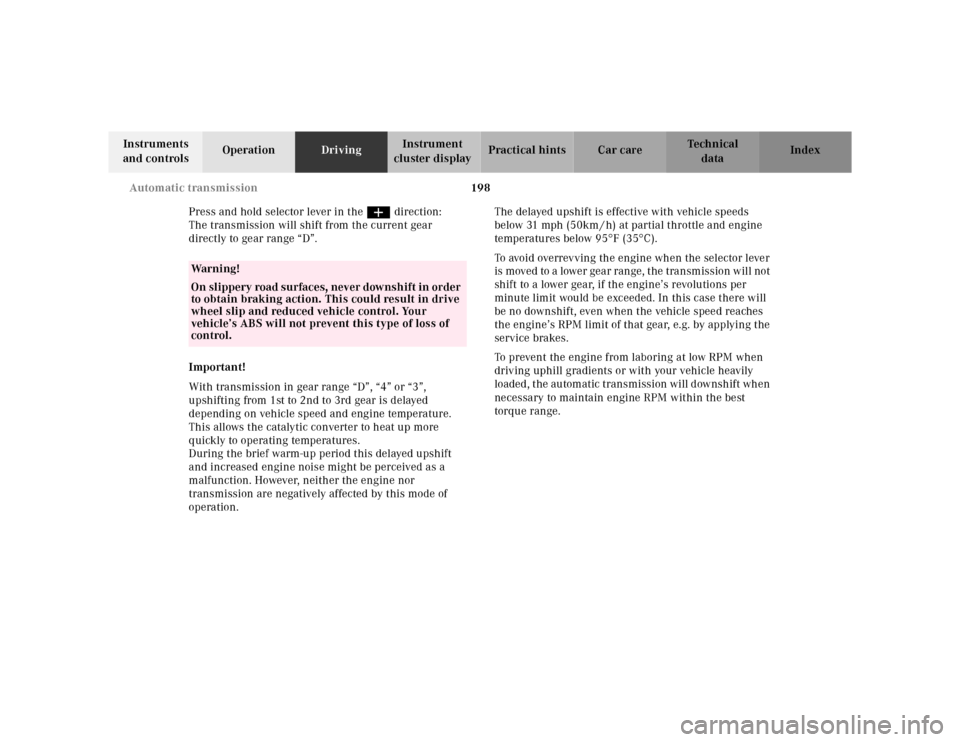
Press and hold selector lever in the æ direction:
The transmission will shift from the current gear
directly to gear range “D”.
Important!
With transmission in gear range “D”, “4” or “3”,
upshifting from 1st to 2nd to 3rd gear is delayed
depending on vehicle speed and engine temperature.
This allows the catalytic converter to heat up more
quickly to operating temperatures.
During the brief warm-up period this delayed upshift
and increased engine noise might be perceived as a
malfunction. However, neither the engine nor
transmission are negatively affected by this mode of
operation.The delayed upshift is effective with vehicle speeds
below 31 mph (50km / h) at partial throttle and engine
temperatures below 95°F (35°C).
To avoid overrevving the engine when the selector lever
is moved to a lower gear range, the transmission will not
shift to a lower gear, if the engine’s revolutions per
minute limit would be exceeded. In this case there will
be no downshift, even when the vehicle speed reaches
the engine’s RPM limit of that gear, e.g. by applying the
service brakes.
To prevent the engine from laboring at low RPM when
driving uphill gradients or with your vehicle heavily
loaded, the automatic transmission will downshift when
necessary to maintain engine RPM within the best
torque range.
Wa r n i n g !
On slippery road surfaces, never downshift in order
to obtain braking action. This could result in drive
wheel slip and reduced vehicle control. Your
vehicle’s ABS will not prevent this type of loss of
control.
Page 202 of 341
199 Automatic transmission
Te ch n ica l
data Instruments
and controlsOperationDrivingInstrument
cluster displayPractical hints Car care Index Gear ranges:
Upshift through 4th gear only. Suitable for
performance driving.
Upshift through 3rd gear only. Suitable for
moderately steep hills. Since the transmission
does not shift higher than 3rd gear, this gear
selection will allow use of the engine’s braking
power downhill.Upshift through 2nd gear only. For driving in
mountainous regions or under extreme operating
conditions. This gear selection will allow use of
the engine’s braking power when descending
steep grades.
Use this position, which makes maximum use of
the engine’s braking effect, while descending
very steep or lengthy downgrades and only at
speeds below 40 mph (60 km / h).
Page 203 of 341
200 Automatic transmission
Te ch n ica l
data Instruments
and controlsOperationDrivingInstrument
cluster displayPractical hints Car care Index
Program mode selector switch
The transmission is provided with a selector switch (1)
for Standard “S” and Winter / Wet (snow and ice) “W”
program modes.SStandard mode
Press switch on symbol “S”. Use this mode for all
regular driving.
The vehicle starts out in 1st gear.
Accelerator Operation:
Fast on = depressing the accelerator pedal quickly
(not into kickdown position) while driving
continuously, rather than depressing the
accelerator pedal in the usual manner, will cause
the automatic transmission to shift down into a
lower gear. This gear shifting process is
dependent on the current vehicle speed.
Fast off = there will be no upshift when releasing
the accelerator pedal quickly, e.g. using the
engine’s braking power during performance
driving.
Page 204 of 341

201 Automatic transmission
Te ch n ica l
data Instruments
and controlsOperationDrivingInstrument
cluster displayPractical hints Car care Index WWinter / Wet (snow and ice) mode
Press switch on symbol “W”. The vehicle starts
out in 2nd gear, except with selector lever in 1st
gear, or with accelerator pedal in kick-down
position.
The “W” mode helps to improve traction and
driving stability of the vehicle.
The gear shifting process occurs at lower vehicle
and engine speeds than in the “S” program mode.
Caution!
Never change the program mode when the selector lever
is out of position “P”. It could result in a change of
driving characteristics for which you may not be
prepared.
Important!
Always be certain of the program mode selected since
the vehicle driving characteristics change with the
selection of the program mode.
Dependent on the program mode selector switch
position “S” or “W” and the gear selector lever in
position “R”, the ratio of power transmission changes.Emergency operation
(Limp home mode)
If vehicle acceleration worsens or the transmission no
longer shifts, the transmission is most likely operating
in Limp Home Mode which engages when there is a
malfunction of the transmission. This condition may be
accompanied by the “CHECK ENGINE” malfunction
indicator lamp in the instrument cluster coming on.
In this mode only the 2nd gear or reverse gear can be
activated.
To engage 2nd gear or reverse:
1. Sto p t h e v e h i c l e .
2. Move selector lever to position “P”.
3. Turn off the engine.
4. Wait approximately 10 seconds.
5. Restart the engine.
6. Move selector lever to position “D” (for 2nd gear), or
move selector lever to position “R” (for reverse gear).
Have the transmission checked at your authorized
Mercedes-Benz Center as soon as possible.
Page 208 of 341

205 Driving instructions
Te ch n ica l
data Instruments
and controlsOperationDrivingInstrument
cluster displayPractical hints Car care Index Caution!
When driving down long and steep grades, relieve the
load on the brakes by shifting into a lower gear to use
the engine’s braking power. This helps prevent
overheating of the brakes and reduces brake pad wear.
After hard braking, it is advisable to drive on for some
time, rather than immediately parking, so the air stream
will cool down the brakes faster.
Driving off
Apply the service brakes to test them briefly after
driving off. Perform this procedure only when the road
is clear of other traffic.
Warm up the engine smoothly. Do not place full load on
the engine until the operating temperature has been
reached.
When starting off on a slippery surface, do not allow one
drive wheel to spin for an extended period with the ESP
switched off. Doing so may cause serious damage to the
drive train which is not covered by the Mercedes-Benz
Limited Warranty.Parking
Important!
It is advisable to set the parking brake whenever
parking or leaving the vehicle. In addition, move
selector lever to position “P”.
When parking on hills, always set the parking brake.
Wa r n i n g !
To reduce the risk of personal injury as a result of
vehicle movement, before
turning off the engine
and leaving the vehicle, always:
1. Keep right foot on the service brake pedal.
2. Firmly depress parking brake pedal.
3. Move the selector lever to position “P”.
4. Slowly release the service brake pedal.
5. Turn front wheels towards the road curb.
6. Turn the electronic key to steering lock
position 0 and remove.
7. Take the electronic key and lock vehicle when
leaving.
Page 217 of 341
214 Driving systems
Te ch n ica l
data Instruments
and controlsOperationDrivingInstrument
cluster displayPractical hints Car care Index
Notes:
If the engine does not brake the vehicle sufficiently
while driving on a downgrade, the speed you set on the
cruise control may be exceeded. In this case the
automatic transmission shifts down (max. to 3rd gear)
to maintain the set cruise control speed by using the
engine’s braking power.As soon as the grade eases, the automatic transmission
shifts up again dependent on the selector lever position.
Nevertheless, in some cases you may have to step on the
brake pedal to slow down. In this case the cruise control
is switched off.
Use the lever to resume the previously set speed.
Page 264 of 341
261 Engine compartment
Te ch n ica l
data Instruments
and controlsOperation DrivingInstrument
cluster displayPractical hintsCar care Index Automatic transmission fluid level
The transmission has a permanent fill of automatic
transmission fluid.
Regular automatic transmission fluid level checks and
changes are not required. For this reason the dipstick is
omitted.
If you notice fluid leaks or gear shifting malfunctions,
have your authorized Mercedes-Benz Center check the
transmission fluid level.Coolant level
To check the coolant level, the vehicle must be parked
on level ground and the engine stopped.
Check coolant level only when coolant is cold.
The coolant level should reach the black top part of the
reservoir.
Page 283 of 341
280 Jump starting
Te ch n ica l
data Instruments
and controlsOperation DrivingInstrument
cluster displayPractical hintsCar care Index
Proceed as follows:
1. Position the vehicle with the charged battery so that
the jumper cables will reach, but never let the
vehicles touch. Make sure the jumper cables do not
have loose or missing insulation.
2. On both vehicles:
•Turn off engine and all lights and accessories,
except hazard warning flashers or work lights.
•Apply parking brake and shift selector lever to
position “P”.
Important!
3. Lift cover (1) and clamp one end of the first jumper
cable to the positive (+) under hood terminal (2) of
the discharged battery and the other end to the
positive (+) terminal of the charged battery. Make
sure the cable clamps do not touch any other metal
parts.