Page 3 of 323

IntroductionCentral locking switch 36 Antiglare night position 75
Product information 7 Automatic central locking 37 Exterior rear view mirrors 76
Operator’s manual 8 Emergency unlocking in case of accident 38 Instrument cluster 80
Where to find it 13 Trunk 39 Multifunction steering wheel,
Reporting Safety Defects 15 Trunk lid release switch 41multifunction display
86
Antitheft alarm system 42 Trip and main odometer, vehicle
Instruments and controlsTow-away alarm 44 speed, FSS and engine oil level
Instruments and controls 18 Power seats, front 45 indicator 90
Center console 20 Front head restraints 50 Audio systems 91
Overhead control panel 21 Roll bar and head restraints, rear 51 Telephone 94
Backrest 53 Navigation system 99
OperationMulticontour seat 54 Trip computer 100
Vehicle keys 24 Heated seats 55 Malfunction message memory 102
Start lock-out 27 Seat belts and integrated restraint system 57 Individual settings 104
General notes on the central
locking system 27Seat belts 57 Setting the audio volume 106
Central locking system 28 Seat belt nonusage warning system 58 Flexible service system (FSS) 107
Radio frequency and infrared
remote control 28BabySmart™ airbag deactivation system 63 Engine oil level indicator 110
Locking and unlocking 30 Supplemental restraint system (SRS) 64 Engine oil consumption 111
Choosing global or selective mode
on remote control 31Emergency tensioning retractor (ETR) 64 Exterior lamp switch 112
Opening the trunk 31 Airbags 65 Night security illumination 113
Opening and closing windows
from outside 32Safety guidelines for the seat belt,
emergency tensioning retractor and airbag 70Headlamp cleaning system 114
Panic button 33 Infant and child restraint systems 71 Combination switch 115
Mechanical keys 33 Adjusting telescoping steering column 74 Hazard warning flasher switch 117
Doors 34 Inside rear view mirror 75 Automatic climate control 118
3
Page 133 of 323

Audio system
Te ch n ica l
data Instruments
and controlsOperationDrivingInstrument
cluster displayPractical hints Car care Index Cassette mode
Note:
Vehicles equipped with the COMAND system do not
come with a factory installed cassette mechanism.
A standard 1/8” stereo phono plug for auxiliary audio
input (located in glove box) is provided for connection of
a portable battery operated cassette player or any other
portable device which uses a headphone output. Please
refer to the COMAND operating manual for information
concerning the activation of the audio input.
Playing cassettes
Press the “TAPE” button. When the eject (EJ) key is
pressed, the display folds down and the cassette slot
becomes visible. Push the cassette into the slot until it
engages. The cassette will be pulled in automatically.
Note:
Do not press directly on the radio display face.
Return the display panel to its normal position by
folding it back up and pressing gently on the display
frame to lock in place. Important!
If the display is in the down position for more than
20 seconds, 2 successive beeps will be heard. This will
continue at 5 second intervals until the display is
returned to its normal position.
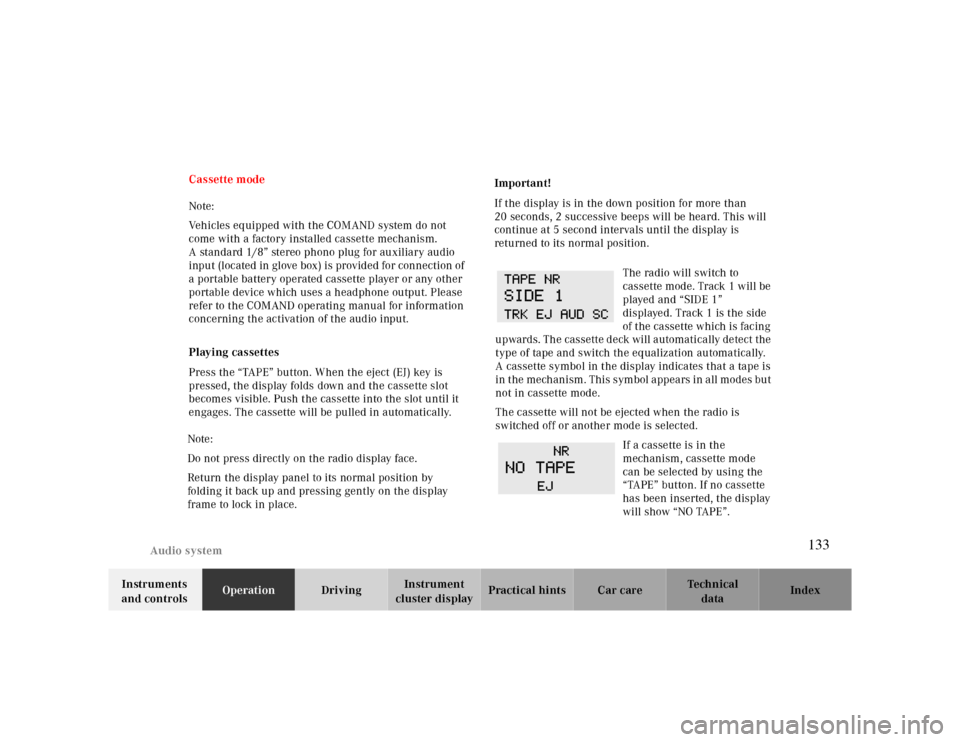
The radio will switch to
cassette mode. Track 1 will be
played and “SIDE 1”
displayed. Track 1 is the side
of the cassette which is facing
upwards. The cassette deck will automatically detect the
type of tape and switch the equalization automatically.
A cassette symbol in the display indicates that a tape is
in the mechanism. This symbol appears in all modes but
not in cassette mode.
The cassette will not be ejected when the radio is
switched off or another mode is selected.
If a cassette is in the
mechanism, cassette mode
can be selected by using the
“TAPE” button. If no cassette
has been inserted, the display
will show “NO TAPE”.
133
Page 134 of 323

Audio system
Te ch n ica l
data Instruments
and controlsOperationDrivingInstrument
cluster displayPractical hints Car care Index
Cassette eject
Press the eject (EJ) key. The display will fold down and
the cassette will be ejected. Remove the cassette, then
fold the display back up manually. The radio will switch
back to radio mode automatically.
Note:
The cassette will not be ejected when the radio is
switched off.
Important!
If the display is in the down position for more than
20 seconds, 2 successive beeps will be heard. This will
continue at 5 second intervals until the display is
returned to its normal position.
Track selection
Press the track selection
(TRK) key. The current track
will be displayed as “SIDE 1”
or “SIDE 2”. The track will be
changed automatically at the
end of the tape.
Track search forwards/backwards
Press the button.
“SEEK FWD” will be shown on
the display and the track
search will run the tape
forwards to the start of the
next track.
Press the button.
“SEEK RWD” will be shown
on the display and the track
search will run the tape
backwards to the start of the
track currently playing. Track search can be interrupted
by pressing the same button again.
Note:
The beginning of a track can only be located if there is a
break of at least 4 seconds between tracks.
134