2000 MERCEDES-BENZ CLK CABRIOLET warning
[x] Cancel search: warningPage 267 of 323

Towing
Te ch n ica l
data Instruments
and controlsOperation DrivingInstrument
cluster displayPractical hintsCar care Index
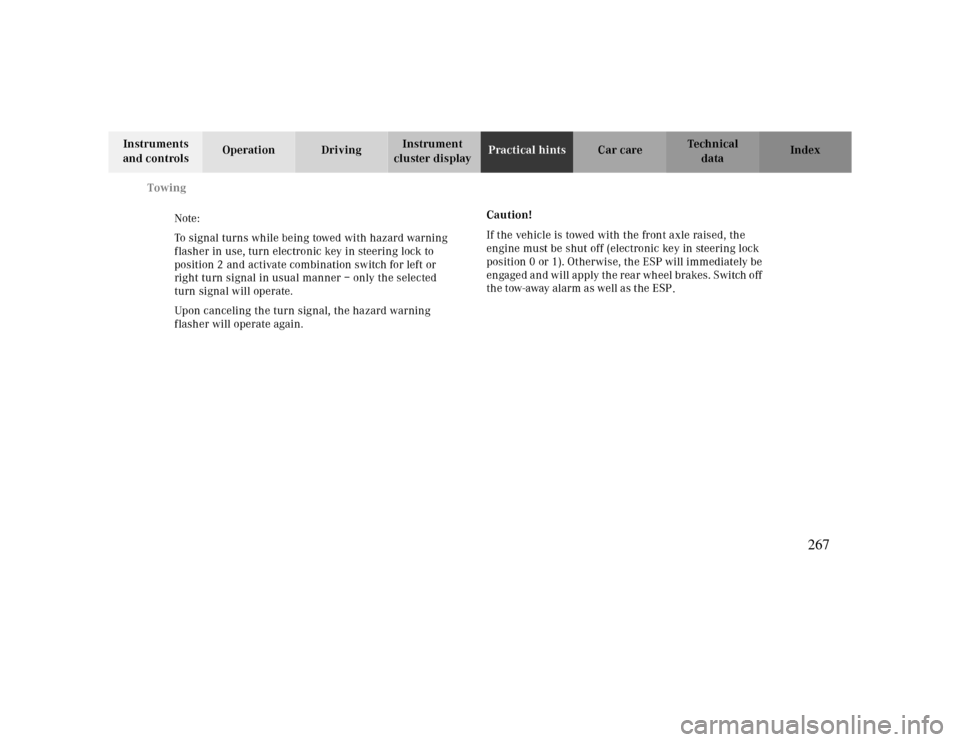
Note:
To signal turns while being towed with hazard warning
flasher in use, turn electronic key in steering lock to
position 2 and activate combination switch for left or
right turn signal in usual manner – only the selected
turn signal will operate.
Upon canceling the turn signal, the hazard warning
flasher will operate again.Caution!
If the vehicle is towed with the front axle raised, the
engine must be shut off (electronic key in steering lock
position 0 or 1). Otherwise, the ESP will immediately be
engaged and will apply the rear wheel brakes. Switch off
the tow-away alarm as well as the ESP
.
267
Page 269 of 323

Exterior lamps
Te ch n ica l
data Instruments
and controlsOperation DrivingInstrument
cluster displayPractical hintsCar care Index
Bulbs
Headlamp adjustment
Correct headlamp adjustment is extremely important.
Check and readjust headlamps at regular intervals and
when a bulb has been replaced.
For adjusting headlamp aim see page274.
Replacing bulbsNotes:
To prevent a possible electrical short circuit, switch off
lamp prior to replacing a bulb.
When replacing bulbs, install only 12 volt bulbs with
the specified watt rating.
When replacing halogen bulbs do not touch glass
portion of bulb with bare hands. Use plain paper or a
clean cloth.
Warning!
Bulbs and bulb holders can be very hot. Allow the
lamp to cool down before changing a bulb.
Halogen lamps contain pressurized gas. A bulb can
explode if you:
• touch or move it when hot,
• drop the bulb,
• scratch the bulb.Wear eye and hand protection.
Wa r n i n g !
Because of high voltage in Xenon lamps, it is
dangerous to replace the bulb or repair the lamp
and its components. We recommend that you have
such work done by a qualified technician.
269
Page 271 of 323

Exterior lamps
Te ch n ica l
data Instruments
and controlsOperation DrivingInstrument
cluster displayPractical hintsCar care Index
Bulbs for low or high beam
H7 (55 W)
Open hood.
Rotate cover (2 or 3) counterclockwise and remove. Pull
off electrical connector (5 or 6). Unhook clamping ring
and remove bulb.
Insert new bulb (seating properly in cutouts of bulb
socket), mount clamping ring. Reinstall and push
electrical connector on securely.
Reinstall cover (2 or 3).
Xenon (optional)
Bulb for low beamTurn signal lamp
1156 NA (26.9/5 W/32/4 cp bulb)
Open hood.
Twist bulb socket (4) counterclockwise and pull out.
Push bulb into socket, turn counterclockwise and
remove.
Insert new bulb in socket, push in and twist clockwise.
Reinstall bulb socket. Reinstall lamp assembly until
properly seated.
Parking and standing lamp
H6W (6Wbulb)
Open hood.
Rotate cover (3) counterclockwise and remove.
Twist bulb socket (7) counterclockwise and pull out.
Push bulb into socket, turn counterclockwise and
remove.
Insert new bulb in socket, push in and twist clockwise.
Reinstall bulb socket. Reinstall lamp assembly until
properly seated.
Reinstall cover (3).
Warning!
Because of high voltage in Xenon lamps, it is
dangerous to replace the bulb or repair the lamp
and its components. We recommend that you have
such work done by a qualified technician.
271
Page 292 of 323

Cleaning and care of the vehicle
Te ch n ica l
data Instruments
and controlsOperation DrivingInstrument
cluster displayPractical hintsCar careIndex
Cleaning and care of the vehicle
In operation, your vehicle is subjected to varying
external influences which, if gone unchecked, can
attack the paintwork as well as the underbody and
cause lasting damage.
Such damage is caused not only by extreme and varying
climatic conditions, but also by air polution, road salt,
tar, gravel and stone chipping. Grease and oil, fuel,
coolant, brake fluid, bird droppings, insects, tree resins
etc. should be removed immediately to avoid paint
damage. Frequent washing reduces and/or eliminates
the aggressiveness and potency of the above adverse
influences.More frequent washings are necessary to deal with
unfavorable conditions; for example, near the ocean, in
industrial areas (smoke, exhaust emissions), or during
winter operation.
You should check your vehicle from time to time for
stone chipping or other damage. Any damage should be
repaired as soon as possible to prevent the start of
corrosion.
In doing so, do not neglect the underside of the vehicle.
A prerequisite for a thorough check is a washing of the
underbody followed by a thorough inspection. Damaged
areas need to be reundercoated.
Your vehicle has been treated at the factory with a wax-
base ru stpro of ing in th e bo dy cavities w hich will la st for
the lifetime of the vehicle. Post-production treatment is
neither necessary nor recommended by Mercedes-Benz
because of the possibility of incompatibility between
materials used in the production process and others
applied later.
We have selected car-care products and compiled
recommendations which are specially matched to our
vehicles and which always reflect the latest technology.
You can obtain Mercedes-Benz approved car-care
products at your authorized Mercedes-Benz Center.
Warning!
Many cleaning products can be hazardous. Some
are poisonous, others are flammable. Always follow
the instructions on the particular container.
Always open your vehicle’s doors or windows when
cleaning the inside.Never use fluids or solvents that are not designed
for cleaning your vehicle.
292
Page 314 of 323

Consumer information
Te ch n ica l
data Instruments
and controlsOperation DrivingInstrument
cluster displayPractical hints Car care Index
Temp era tur e
The temperature grades are A (the highest), B, and C,
representing the tire’s resistance to the generation of
heat and its ability to dissipate heat when tested under
controlled conditions on a specified indoor laboratory
test wheel. Sustained high temperature can cause the
material of the tire to degenerate and reduce tire life,
and excessive temperature can lead to sudden tire
failure. The grade C corresponds to a level of
performance which all passenger vehicle tires must
meet under the Federal Motor Vehicle Safety Standard
No. 109. Grades B and A represent higher levels of
performance on the laboratory test wheel than the
minimum required by law.
Warning!
The temperature grade for this tire is established
for a tire that is properly inflated and not
overloaded. Excessive speed, underinflation, or
excessive loading, either separately or in
combination, can cause excessive heat build up
and possible tire failure.
314
Page 315 of 323

IndexABS (Antilock brake system). . .. . .. . .. . .. . .. . .. . .. . .. . .. . .. . .. . .. 206 ABS-SYSTEM - malfunction and
warning m essa ges . . .. . .. . .. . .. . .. . .. . .. . .. . .. . .. . .. . .. . .. . .. . .. . 225
Adjusting headlamp aim ..........................................274 Adjusting telescoping steering column ....................... 74 Air conditioner refrigerant ......................................309 Airbag OFF indicator lamp .......................................221 Airbags .................................................................... 65 Antenna
Removal..............................................................287
Antilock brake system (ABS). . .. . .. . .. . .. . .. . .. . .. . .. . .. . .. . .. . .. 206
Malfunction indicator lamp ...................................219
Antitheft alarm system.............................................. 42 Aquaplaning............................................................196 Ashtray
Center console, front............................................150
Audio system
Anti-theft system ................................................127 Button and soft key operation ..............................128
C a s s e t t e m od e . . . . . . . . . . . . . . . . . . . . . . . . . . . . . . . . . . . . . . . . . . . . . . . . . . . . 133 C D ch a n ger . . . . . . . . . . . . . . . . . . . . . . . . . . . . . . . . . . . . . . . . . . . . . . . . . . . . . . . . 137 CD mode .............................................................136 Operating and display elements ........................... 126 Operating safety ................................................. 125 Oper at i on . . . . . . . . . . . . . . . . . . . . . . . . . . . . . . . . . . . . . . . . . . . . . . . . . . . . . . . . . . 129 Oper a t i on Audi o an d t el eph on e . . . . . . . . . . . . . . . . . . . . . . . . . . . . 125 R a d i o m o d e . . . . . . . . . . . . . . . . . . . . . . . . . . . . . . . . . . . . . . . . . . . . . . . . . . . . . . . . 131 T e l e p h on e op e r a t i on . . . . . . . . . . . . . . . . . . . . . . . . . . . . . . . . . . . . . . . . . . . . 140
Audio systems .......................................................... 91
Cassette player ..................................................... 93 CD player ............................................................. 92 Radio.................................................................... 91
A u t o m a t i c c l i m a t e c o n t r o l . . . . . . . . . . . . . . . . . . . . . . . . . . . . . . . . . . . . . . . . . 118
Air distribution .................................................. 122 A i r r e c i r c u l a t i on . . . . . . . . . . . . . . . . . . . . . . . . . . . . . . . . . . . . . . . . . . . . . . . . . . 123 A i r vol um e . . . . . . . . . . . . . . . . . . . . . . . . . . . . . . . . . . . . . . . . . . . . . . . . . . . . . . . . . 122 Basic setting ...................................................... 120 Defogging windows .............................................121 D e f r o s t i n g . . . . . . . . . . . . . . . . . . . . . . . . . . . . . . . . . . . . . . . . . . . . . . . . . . . . . . . . . . . 121 Display and controls ............................................ 120 Dust filter ........................................................... 124 E c on om y . . . . . . . . . . . . . . . . . . . . . . . . . . . . . . . . . . . . . . . . . . . . . . . . . . . . . . . . . . . . . 121
315
Page 316 of 323

Re a r wi n d ow d e fr os t er . . . . . . . . . . . . . . . . . . . . . . . . . . . . . . . . . . . . . . . 122 Re s i d u a l e n g i n e h ea t u t il iz a t i on ( RE S T ) . . . . . . . . . . . . . 123 Special settings...................................................121
A u t o m a t i c t r a n sm i ss i o n . . . . . . . . . . . . . . . . . . . . . . . . . . . . . . . . . . . . . . . . 183
E m e r g e n c y o p e r a t i o n . . . . . . . . . . . . . . . . . . . . . . . . . . . . . . . . . . . . . . . . . . 191 Fluid level ......................................................... 247 P r og r a m m od e s e l e c t o r s wi t c h . . . . . . . . . . . . . . . . . . . . . . . . . . . 190 S e l ec t o r l e ve r p os i t i on . . . . . . . . . . . . . . . . . . . . . . . . . . . . . . . . . . . . . . . 186 Tran smission selector lever,
man ually un locking ...................................... 268
CBrake assist system (BAS) ...................................... 204
M a l fu n ct i on i n d i ca t or l a m p . . . . . . . . . . . . . . . . . . . . . . . . . . . . . . . . 219
Brake fluid ............................................................. 309 BRAKE FLUID - malfunction and
warning messages .............................................226
BRAKE LINING WEAR - malfunction and
warning messages .............................................226
Brake pad wear ......................................................226 Brake warning lamp................................................217
BBabySmart™ airbag deactivation system .................63
Self-test ................................................................63
Backrest ..................................................................53 BAS (Brake assist system)....................................... 204 Ba t t e r y . . . . . . . . . . . . . . . . . . . . . . . . . . . . . . . . . . . . . . . . . . . . . . . . . . . . . . . . . . . . . . . . . . . 261
Batter y r ecyclin g ............................................... 262
BATTERY CHARGE - malfunction and
warning messages..............................................224
BRAKE ASSIST - malfunction and
warning messages..............................................225
Cargo tie-down rings...............................................152 Catalytic converter .................................................172 C e l l u l a r t el eph on e . . . . . . . . . . . . . . . . . . . . . . . . . . . . . . . . . . . . . . . . . . . . . . . . . 153 Center console ......................................................... 20 Central locking switch ............................................. 36 Central locking system ............................................ 28
Choosing global or selective mode ....................... 31 Electronic main key ............................................. 25 Electronic reserve key ......................................... 26 Locking and unlocking ........................................ 30 Mechanical keys .................................................. 33
316
Page 317 of 323

Remote control ........................................................... 28
Changing wheels .......................................................... 254 Check engine malfunction indicator lamp .................... 216 Check regularly and before a long trip........................... 213 Checking engine oil level
Via engine oil level indicator .................................... 110 Via oil dipstick ........................................................ 246
Cleaning and care of the vehicle .................................. 292 COMAND, radio, telephone and two-way radio ......... 170 Combination switch ....................................................... 115 Consumer information .................................................. 313 Control and operation of radio transmitters ................. 170 COOLANT (coolant level) -
malfunction and warning messages.......................... 228
COOLANT (coolant temperature) -
malfunction and warning messages .......................... 229
Coolant level
Adding ..................................................................... 248 Checking .................................................................. 247
Coolant temperature gauge ............................................. 84
Coolants 311
Anticorrosion/antifreeze quantità 311
Cruise control .............................................................. 201 Cup holder
Center console, front ................................................ 149
D Deep water
Driving instructions ...........................................199
DISPLAY DEFECTIVE (engine control unit) -
malfunction and warning messages .....................223
DISPLAY DEFECTIVE (several systems) -
malfunction and warning messages .....................223
Display illumination................................................. 83 Doors....................................................................... 34 Drinking and driving...............................................193 Drive sensibly - save fuel ........................................ 192 Driving instructions ................................................192
Brakes ................................................................193 Pedals.................................................................193
Driving off..............................................................194
317