2000 LINCOLN LS light
[x] Cancel search: lightPage 85 of 272

an object, signaling the door to stop and reverse, does not meet current
U.S. federal safety standards. For more information on this matter, call
toll-free: 1±800±355±3515 or on the Internet atHomeLink.jci.com.
Programming
1. Prepare for programming the
HomeLinktUniversal Transceiver by
erasing the three factory default
codes by holding down the two
outside buttons until the red light
begins to flash after 20 seconds.
Release both buttons.
2. Hold the end of your hand-held
transmitter 5±14 cm (2±5 inches)
away from the HomeLinktUniversal
Transceiver surface (located on your visor) while keeping the red light in
view.
3. Using both hands simultaneously
press and hold the hand-held
transmitter button and the desired
HomeLinktbutton. Do not release
the buttons until step 4 has been
completed.
4. The red light will flash slowly and
then rapidly. Release both buttons
when the red light flashes rapidly.
5. Follow steps 2 through 4 to program the remaining two buttons.
If you do not successfully program the HomeLinktUniversal Transceiver
after repeated attempts, refer toRolling code programingwhich
follows, or call toll-free customer assistance: 1±800±355±3515 or on the
Internet atHomeLink.jci.com.
Canadian Programming
During programming, your hand-held transmitter may automatically stop
transmitting after two seconds which may not be long enough to
program the HomeLinktUniversal Transceiver.
Controls and features
85
Page 86 of 272

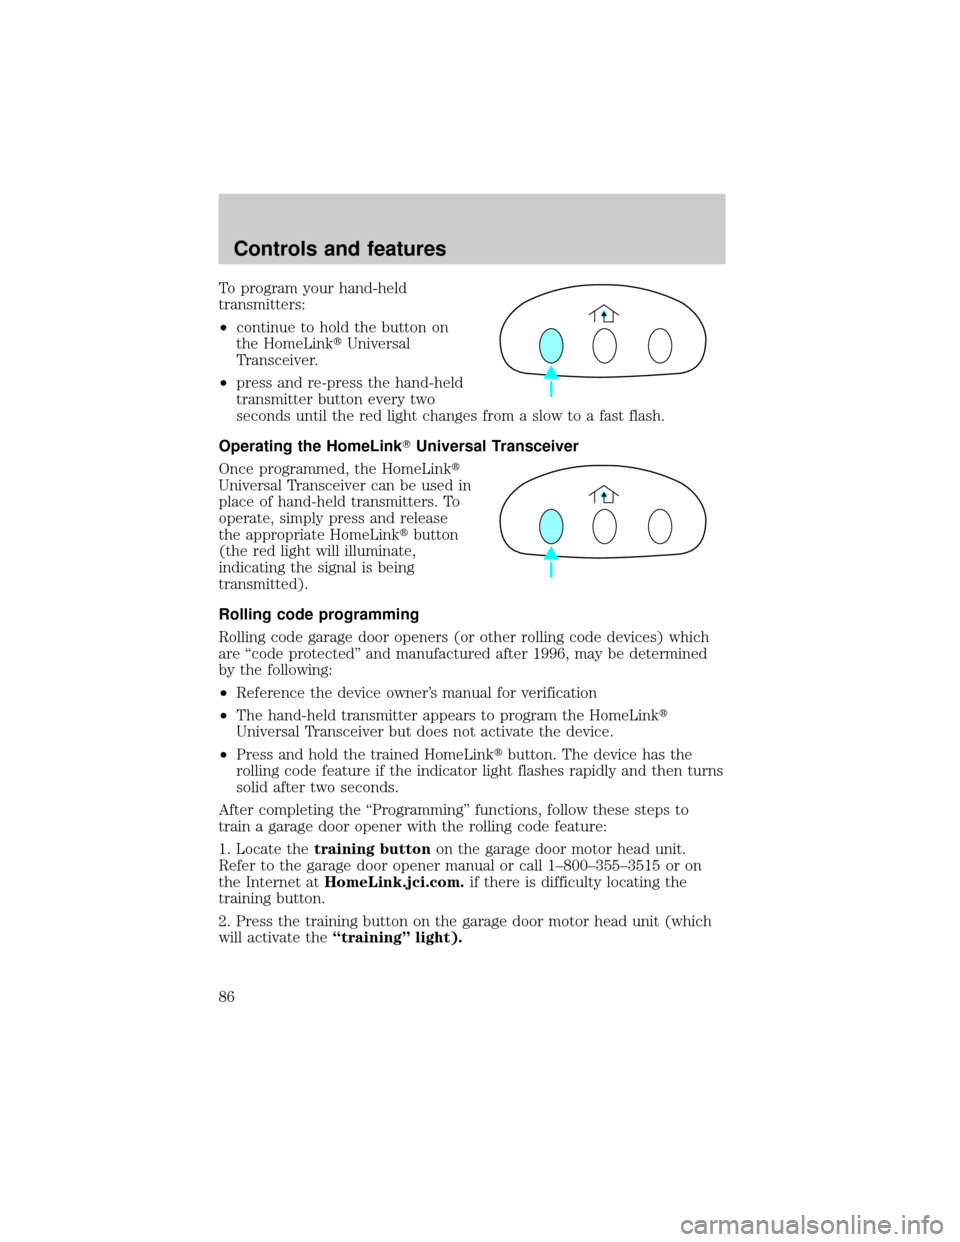
To program your hand-held
transmitters:
²continue to hold the button on
the HomeLinktUniversal
Transceiver.
²press and re-press the hand-held
transmitter button every two
seconds until the red light changes from a slow to a fast flash.
Operating the HomeLinkTUniversal Transceiver
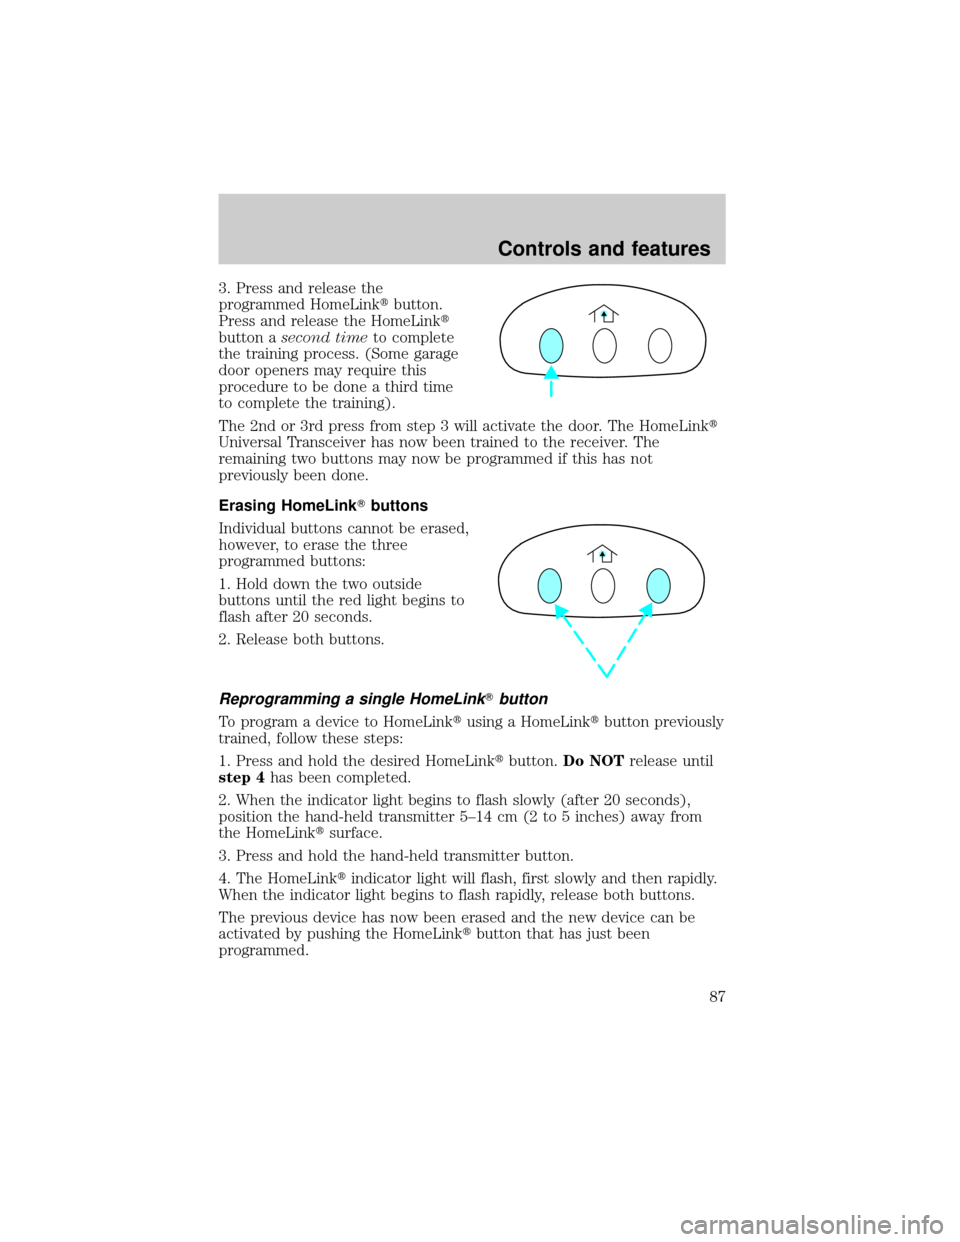
Once programmed, the HomeLinkt
Universal Transceiver can be used in
place of hand-held transmitters. To
operate, simply press and release
the appropriate HomeLinktbutton
(the red light will illuminate,
indicating the signal is being
transmitted).
Rolling code programming
Rolling code garage door openers (or other rolling code devices) which
are ªcode protectedº and manufactured after 1996, may be determined
by the following:
²Reference the device owner's manual for verification
²The hand-held transmitter appears to program the HomeLinkt
Universal Transceiver but does not activate the device.
²Press and hold the trained HomeLinktbutton. The device has the
rolling code feature if the indicator light flashes rapidly and then turns
solid after two seconds.
After completing the ªProgrammingº functions, follow these steps to
train a garage door opener with the rolling code feature:
1. Locate thetraining buttonon the garage door motor head unit.
Refer to the garage door opener manual or call 1±800±355±3515 or on
the Internet atHomeLink.jci.com.if there is difficulty locating the
training button.
2. Press the training button on the garage door motor head unit (which
will activate theªtrainingº light).
Controls and features
86
Page 87 of 272

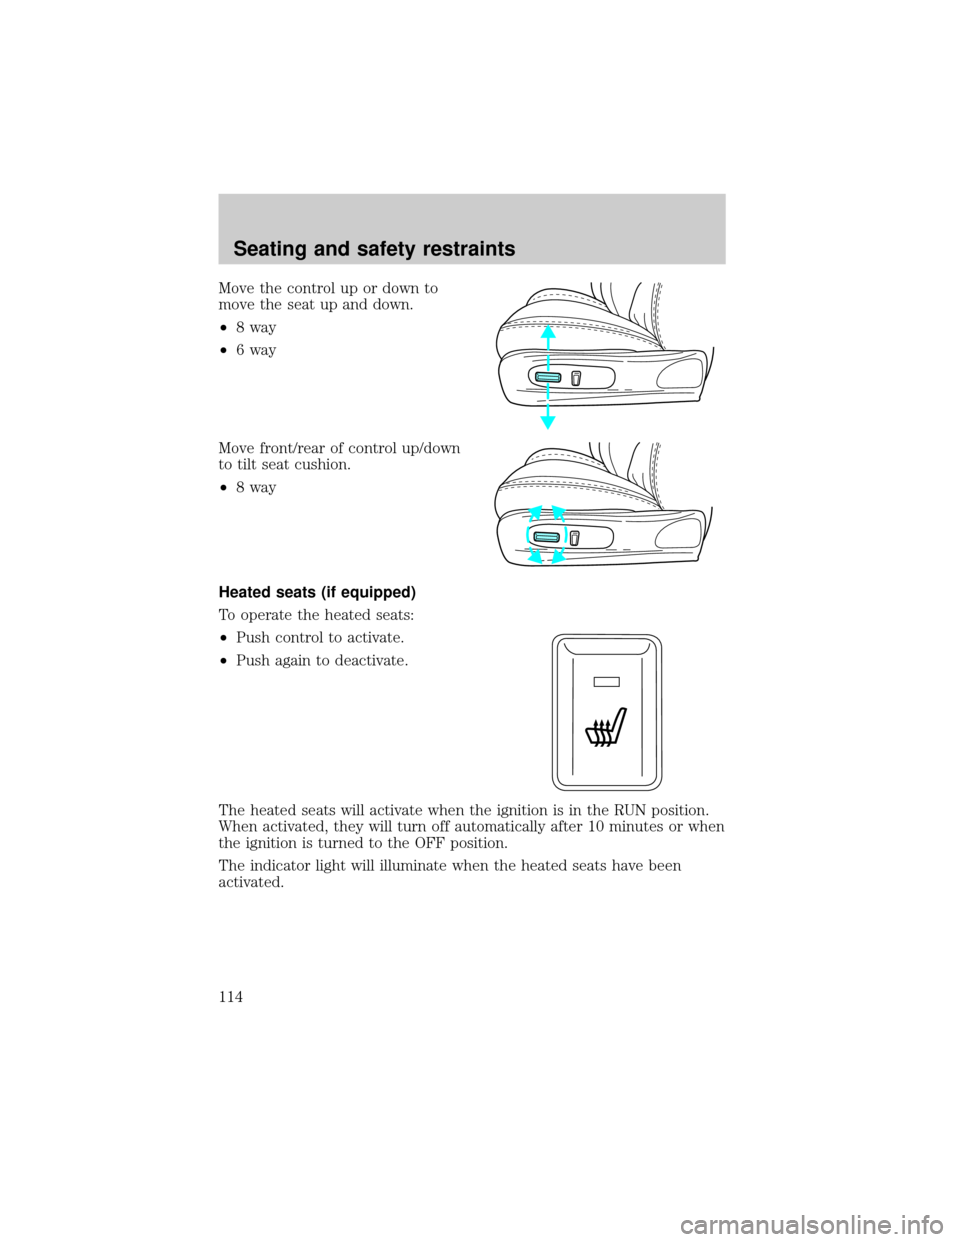
3. Press and release the
programmed HomeLinktbutton.
Press and release the HomeLinkt
button asecond timeto complete
the training process. (Some garage
door openers may require this
procedure to be done a third time
to complete the training).
The 2nd or 3rd press from step 3 will activate the door. The HomeLinkt
Universal Transceiver has now been trained to the receiver. The
remaining two buttons may now be programmed if this has not
previously been done.
Erasing HomeLinkTbuttons
Individual buttons cannot be erased,
however, to erase the three
programmed buttons:
1. Hold down the two outside
buttons until the red light begins to
flash after 20 seconds.
2. Release both buttons.
Reprogramming a single HomeLinkTbutton
To program a device to HomeLinktusing a HomeLinktbutton previously
trained, follow these steps:
1. Press and hold the desired HomeLinktbutton.Do NOTrelease until
step 4has been completed.
2. When the indicator light begins to flash slowly (after 20 seconds),
position the hand-held transmitter 5±14 cm (2 to 5 inches) away from
the HomeLinktsurface.
3. Press and hold the hand-held transmitter button.
4. The HomeLinktindicator light will flash, first slowly and then rapidly.
When the indicator light begins to flash rapidly, release both buttons.
The previous device has now been erased and the new device can be
activated by pushing the HomeLinktbutton that has just been
programmed.
Controls and features
87
Page 108 of 272

If there is any anti-theft problem with your vehicle, ensureALL coded
keysfor that vehicle are brought to the dealership, to aid in
troubleshooting.
The SecuriLockypassive anti-theft system is not compatible with
aftermarket remote start systems. Use of these systems may result in
vehicle starting problems and a loss of security protection. Large metallic
objects, electronic devices on the key chain that can be used to purchase
gasoline or similar items, or a second key on the same key ring as the
PATS ignition key may cause vehicle starting concern and record DTC's
under certain conditions. If present, you need to keep these objects from
touching the PATS ignition key while starting the engine. These objects
and devices cannot damage the PATS ignition key, but can cause a
momentary concern if they are too close to the key during engine start. If
a problem occurs, turn ignition OFF and restart the engine with all other
objects on the key ring held away from the ignition key. Check to make
sure the encoded ignition key is an approved Ford encoded ignition key.
Spare coded keys can be purchased from your dealership and
programmed to your anti-theft system. Refer toProgramming spare
SecuriLockykeysfor more information.
If one or both of your coded keys are lost or stolen and you want to
ensure the lost or stolen key will not operate your vehicle, bring your
vehicle and all available coded keys to your dealership for reinitialization.
Theft indicator
When the ignition is turned to RUN or START, the theft indicator in the
instrument cluster will light for three seconds and then go out (indicates
proper anti-theft system operation). If the key is in the ignition and the
theft indicator stays on for an extended period of time or flashes rapidly,
have the system serviced by your dealership or a qualified technician.
Programming spare SecuriLockYkeys
Spare coded keys can be purchased from your dealership and
programmed to your anti-theft system (up to a total of eight keys). Your
dealership can program your new coded key(s) to your vehicle or you
can do it yourself using the following simple procedure. To program a
new coded key yourself, you will need two previously programmed coded
keys (keys that already operate your vehicle's engine). If two previously
programmed coded keys are not available (one or both of your original
keys were lost or stolen), you must bring your vehicle to your dealership
to have the spare coded key(s) programmed.
Controls and features
108
Page 109 of 272

Procedure to program spare SecuriLockYkeys to your vehicle
New SecuriLockykeys must have the correct mechanical key cut for
your vehicle.
Conventional (non-SecuriLocky) keyscannotbe programmed to your
vehicle.
The correct type of SecuriLockykey for your vehicle is identifiable by
the alphanumeric characters stamped on the key blade. The
SecuriLockykey identification for your vehicle is: one letter of the
English alphabet followed by the number ª1º (for example, ªS1º or ªI1º
on the key blade indicate you have the correct type of SecuriLocky
key). If the SecuriLockykey does not have this information stamped on
the key blade, the key will not operate your vehicle.
You will need to have two previously programmed SecuriLockykeys and
the new unprogrammed SecuriLockykey readily accessible for timely
implementation of each step in the procedure. Please read and
understand the entire procedure before you begin.
1. Insert the first previously programmed SecuriLockykey into the
ignition and turn the ignition from OFF to RUN (maintain ignition in
RUN for at least one second).
2. Turn ignition to OFF and remove the first SecuriLockykey from the
ignition.
3. Within five seconds of turning the ignition to OFF, insert the second
previously programmed SecuriLockykey into the ignition and turn the
ignition from OFF to RUN (maintain ignition in RUN for at least one
second but no more than five seconds).
4. Turn the ignition to OFF and remove the second SecuriLockykey
from the ignition.
5. Within 10 seconds of turning the ignition to OFF, insert the
unprogrammed SecuriLockykey (new key/valet key) into the ignition
and turn the ignition from OFF to RUN (maintain ignition in RUN for at
least one second). This step will program your new SecuriLockykey.
6. To program additional SecuriLockykey(s), repeat this procedure from
step 1.
If the programming procedure was successful, the new SecuriLocky
key(s) will start the vehicle's engine. The theft indicator (located on the
instrument panel) will light for three seconds and then go out.
Controls and features
109
Page 110 of 272

If the programming procedure was not successful, the new SecuriLocky
key(s) will not operate the vehicle's engine. The theft indicator will flash
on and off. Wait at least one minute and then repeat the procedure from
step 1. If failure repeats, bring your vehicle to your dealership to have
the spare SecuriLockykey(s) programmed.
INTERIOR LUGGAGE COMPARTMENT RELEASE (IF EQUIPPED)
Your vehicle is equipped with a mechanical interior luggage compartment
release handle that provides a means of escape for children and adults in
the event they become locked inside the luggage compartment.
Adults are advised to familiarize themselves with the operation and
location of the release handle.
To open the luggage compartment
door (lid) from the inside, pull the
illuminated ªTº shaped handle and
push up on the trunk lid. The
material that the handle is made of
will glow for hours in the darkness
of the luggage compartment
following brief exposure to ambient
light.
The ªTº shaped handle will be
located either on the luggage
compartment door (lid) or inside
the luggage compartment near the
tail lamps.
Keep vehicle doors and
luggage compartment
locked and keep keys out of a
child's reach. Unsupervised
children could lock themselves in
an open trunk and risk injury.
Children should be taught not to
play in vehicles.
Controls and features
110
Page 114 of 272

Move the control up or down to
move the seat up and down.
²8 way
²6 way
Move front/rear of control up/down
to tilt seat cushion.
²8 way
Heated seats (if equipped)
To operate the heated seats:
²Push control to activate.
²Push again to deactivate.
The heated seats will activate when the ignition is in the RUN position.
When activated, they will turn off automatically after 10 minutes or when
the ignition is turned to the OFF position.
The indicator light will illuminate when the heated seats have been
activated.
Seating and safety restraints
114
Page 116 of 272

Memory seats/steering column/mirrors (if equipped)
This system allows automatic
positioning of the driver seat,
outside rearview mirrors, and power
adjusted tilt/telescope steering
column to two programmable
positions.
The memory seat control is located
on the driver door.
²To program position one, move
the driver seat to the desired
position using the seat controls. Press the SET control. The SET
control indicator light will briefly illuminate. While the light is
illuminated, press control 1.
²To program position two, repeat the previous procedure using control
2.
A position can only be set or recalled when the transmission gearshift is
in Park (automatic transmission) or the park brake is set (manual
transmission). A memory seat position may be programmed at any time.
The memory seat positions are also recalled when you press your remote
entry transmitter UNLOCK control.
To program the memory seat to remote entry transmitter, refer to
Remote entry systemin theControls and features chapter.
2ND SEAT/SPLIT-FOLDING REAR SEAT
One or both rear seatbacks can be folded down to provide additional
cargo space.
To lower the seatback(s), pull the
release handle(s) located inside the
trunk.
SE T
12
Seating and safety restraints
116