2000 LINCOLN CONTINENTAL service reset
[x] Cancel search: service resetPage 21 of 232

The DTE function will flash for 5 seconds and sound a tone for 1 second
when you have approximately:
²40 km (25 miles)
²16 km (10 miles)
DTE is calculated using a running average fuel economy initialized by the
factory. This value is not the same as the average fuel economy display.
The running average fuel economy is based on more than 800 kilometers
(500 miles) of driving history, and is reinitialized if the battery is
disconnected.
If the FUEL LEVEL ERROR message is displayed, there is a problem
with the fuel indication system and you should contact your dealer for
service as soon as possible.
Checking your highway fuel economy using the electronic
message center display
The following procedure will allow you to accurately monitor your actual
highway fuel economy. Since this procedure requires the vehicle speed
control system to be set to highway speeds, it must be run only on
suitable roadways where long distance speed control can be safely
maintained.
You may notice gradual improvement in fuel economy over the course of
your vehicle's break-in period (approximately 1 600 kilometers [1 000
miles]).
1. Set the speed control. Refer toSpeed controlin theControls and
featureschapter.
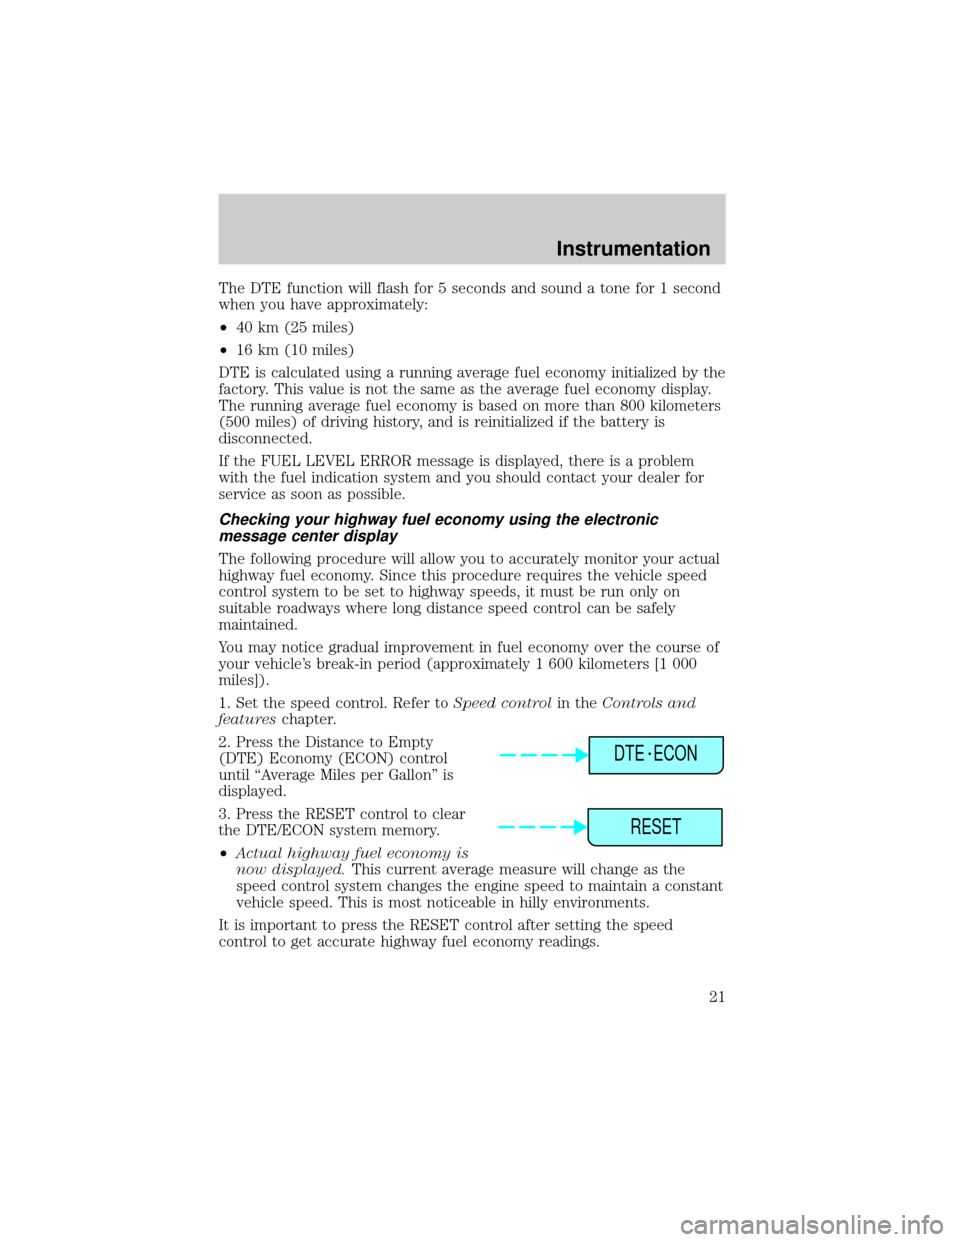
2. Press the Distance to Empty
(DTE) Economy (ECON) control
until ªAverage Miles per Gallonº is
displayed.
3. Press the RESET control to clear
the DTE/ECON system memory.
²Actual highway fuel economy is
now displayed.This current average measure will change as the
speed control system changes the engine speed to maintain a constant
vehicle speed. This is most noticeable in hilly environments.
It is important to press the RESET control after setting the speed
control to get accurate highway fuel economy readings.
DTE ECON
RESET
Instrumentation
21
Page 56 of 232

²The vehicle's cellular phone automatically places a call to a 24 hour
emergency response center.
²When contact is made, the vehicle sends an electronic data message
to the response center's computer. This data message includes latitude
and longitude coordinates obtained from the vehicle's positioning
system and customer identification information.
²Once the data transmission is complete, the call is forwarded to a
response center operator who confirms your location using a
computerized map.
²The vehicle's cellular handset is locked-out, the phone is automatically
placed in the ªhands-freeº mode and voice communication is
established with the operator through the ªhands-freeº microphone.
²Typically, voice communication with an operator is established within
one minute after an assistance control is pressed.
²The operator verbally obtains details of your situation and, if
necessary, ties your vehicle into a three-way phone call with the
United States Auto Club or local 911 or other emergency services to
dispatch the appropriate assistance to your location.
²In most situations, only the response center can terminate an
assistance request. Once the operator terminates the call, the system
warning light will stop flashing and the system will be reset.
General description
Lincoln's Remote Emergency Satellite Cellular Unit (RESCU) is designed
to expedite roadside, emergency or information assistance to motorists
who are uncertain of their location and/or are uncertain of whom to
contact for assistance.
The Lincoln RESCU system utilizes Global Positioning System (GPS)
technology and the nation's cellular phone network to track vehicle
location and, at the touch of a control, put you in voice contact with the
Lincoln Security Response Center.
Two controls in the overhead console, Information (i) and Emergency
(S.O.S.) will activate the system:
When a control is selected, the RESCU System will direct the vehicle's
cellular phone to automatically place a call to the response center's
central computer. Once a connection is made, an electronic data message
will be transmitted. This data message will include:
²Type of alarm (Information, Emergency or Air Bag activation)
Controls and features
56
Page 58 of 232

²notify pre-designated family contacts or friends of the emergency
situation, if requested, or if no response is received from the vehicle.
If you are certain of your location, a direct phone call to 911 or
other emergency services may provide a faster response.
If roadside assistance is required, the Lincoln Security Response Center
will contact the Lincoln Commitment Roadside Assistance provider via
three±way phone call.
Activation and deactivation
When either of the two Lincoln RESCU controls are pressed, or the air
bags are deployed (this will activate the system as an emergency
automatically), a warning light, located in the overhead console, will
begin to flash and status messages will be displayed on the vehicle's
message center, confirming an assistance request has been made. The
warning light will continue to flash throughout the activation.
The system can be activated whenever your ignition key is in the
RUN/START position and for six minutes after your vehicle is turned off.
Once a RESCU control has been pressed, do not attempt to crank the
engine as this may cancel the activation. In most situations, the
assistance request can only be terminated and the system reset when a
special tone is sent to the vehicle by the Lincoln Security Response
Center. (SeeAutomatic rediallater in this chapter for exceptions.)
Operation will continue even if the vehicle is turned off during an
activation (although visual feedback via the message center will not be
available in this situation).
INFO activations can be cancelled by pressing the END button on the
cellular phone.
Cellular phone interface
The cellular phone must be connected to the vehicle and activated for
the system to work. During an activation, Lincoln RESCU takes control
of the vehicle's cellular phone. If the phone is in use, the call will be
terminated and the Lincoln Security Response Center will automatically
be dialed. The cellular handset becomes inoperative and all voice
communication with the operator is accomplished via the cellular phone's
ªhands-freeº microphone.
When an activation is terminated, your phone is left unlocked, in the ON
state and may not return to its previous call restriction or system
selection setting. It can be reprogrammed to your previous setting as
desired.
Controls and features
58
Page 104 of 232

Safety belt maintenance
Inspect the safety belt systems periodically to make sure they work
properly and are not damaged. Inspect the safety belts to make sure
there are no nicks, wears or cuts, replacing if necessary. All safety belt
assemblies, including retractors, buckles, front seat belt buckle
assemblies, buckle support assemblies (slide bar-if equipped), shoulder
belt height adjusters (if equipped), shoulder belt guide on seatback (if
equipped), child safety seat tether bracket assemblies (if equipped), and
attaching hardware, should be inspected after a collision. Ford
recommends that all safety belt assemblies used in vehicles involved in a
collision be replaced. However, if the collision was minor and a qualified
technician finds that the belts do not show damage and continue to
operate properly, they do not need to be replaced. Safety belt assemblies
not in use during a collision should also be inspected and replaced if
either damage or improper operation is noted.
Failure to inspect and if necessary replace the safety belt
assembly under the above conditions could result in severe
personal injuries in the event of a collision.
Refer toCleaning and maintaining the safety beltsin the
Maintenance and caresection.
AIR BAG SUPPLEMENTAL RESTRAINT SYSTEM (SRS)
Your vehicle is equipped with a crash sensing and diagnostic module
which records information about the air bag and sensor systems. In the
event of a collision this module may save information related to the
RESUME
SET ACCEL
COAST
OFF
ONNEXT
MODEVOL
TEMPFAN
80
MPH km/h
ABS
P!BRAKE
+ –
RPMx1000NORMT/C
OFF
CHEFFILL ON RIGHT
SERVICE
ENGINE
SOON AIR
BAG TURN ON
HEAD
LAMPS0 123456
7
0 2060
80
100
1200 204060100
120
140
160
180
200
40
000000.0
SYSTEM
DRIVER ID
MENU
TRIP
RESETSELECT
DISPLAYDTE ECONVEHICLE HANDLINGNITNOCLATNE
VOL
PUSH ONTAPE
MUTESEEK
TUNE
AM
FM
REW
FFSIDE 1 2
COMP
SHUFF
EXT
OFFMAX
A/CCDEJ
RDS
SCAN AUTO
AUTO
123
4
56
FRONT
REAR
BASS
TREBSELBAL
FADEP0FFLIGHTS
AUTO
LAMPHI
LO
F
S
OFF
HIHI
OFF OFFBACK
BOTH BOTHBACK00
Seating and safety restraints
104
Page 196 of 232

Exhaust leaks may result in entry of harmful and potentially
lethal fumes into the passenger compartment.
Do not make any unauthorized changes to your vehicle or engine. By
law, vehicle owners and anyone who manufactures, repairs, services,
sells, leases, trades vehicles, or supervises a fleet of vehicles are not
permitted to intentionally remove an emission control device or prevent
it from working. Information about your vehicle's emission system is on
the Vehicle Emission Control Information Decal located on or near the
engine. This decal identifies engine displacement and gives some tune up
specifications.
Please consult your ªWarranty Guideº for complete emission warranty
information.
Readiness for Inspection/Maintenance (I/M) testing
In some localities, it may be a legal requirement to pass an I/M test of
the on-board diagnostics system. If your ªCheck Engine/Service Engine
Soonº light is on, refer to the description in theWarning Lights and
Chimessection of theInstrumentationchapter. Your vehicle may not
pass the I/M test with the ªCheck Engine/Service Engine Soonº light on.
If the vehicle's powertrain system or its battery has just been serviced,
the on-board diagnostics system is reset to a ªnot ready for I/M testº
condition. To ready the on-board diagnostics system for I/M testing, a
minimum of 30 minutes of city and highway driving is necessary as
described below:
²First, at least 10 minutes of driving on an expressway or highway.
²Next, at least 20 minutes driving in stop-and-go, city-type traffic with
at least four idle periods.
Allow the vehicle to sit for at least eight hours without starting the
engine. Then, start the engine and complete the above driving cycle. The
engine must warm up to its normal operating temperature. Once started,
do not turn off the engine until the above driving cycle is complete.
REPLACING EXTERIOR BULBS
Check the operation of the following lamps frequently:
²Headlamps
²Tail lamps
Maintenance and care
196
Page 229 of 232

charging system ........................11
high beam .................................10
oil pressure ...............................11
safety belt ...................................9
service engine soon ....................8
traction control active ..............11
turn signal indicator .................10
Load limits .................................135
GAWR ......................................135
GVWR ......................................135
trailer towing ..........................135
Locks
autolock .....................................88
childproof ..................................77
doors ..........................................74
Lubricant specifications ....210,211
Lug nuts, anti-theft ...................155
Lumbar support, seats ...............94
Message center .................14,16,20
air leveling disabled .................14
air ride switch off .....................14
check air ride system ...............14
check air suspension ................14
menu button .............................19
reset button ..............................20
system check button ................16
warning messages .....................17
Mirrors .........................................65
automatic dimming
rearview mirror .........................73
cleaning ...................................205
heated ........................................77
programmable memory ............84
side view mirrors (power) .......76
Moon roof ....................................65
Motorcraft parts .................191,209
Octane rating ............................190
Odometer .....................................13
Oil (see Engine oil) ..................165
Overdrive ...................................131
Panic alarm feature,
remote entry system ..................82Parking brake ............................126
Parts (see Motorcraft parts) ....209
Power distribution box
(see Fuses) ...............................151
Power door locks ........................74
Power steering ...................128,129
fluid, checking and adding ....174
fluid, refill capacity ................209
fluid, specifications ..........210,211
Radio ............................................30
Relays .................................143,152
Remote entry system ............81,82
illuminated entry ......................84
locking/unlocking doors ...........81
opening the trunk .....................82
panic alarm ...............................82
replacement/additional
transmitters ...............................83
replacing the batteries .............82
Safety belts (see Safety
restraints) ................12,95,96,97,98
Safety defects, reporting ..........225
Safety restraints ...........95,96,97,98
belt minder .............................100
cleaning
the safety belts ................104,208
extension assembly ..................99
for adults .........................96,97,98
for children .............................112
lap belt ......................................99
warning light
and chime ........................9,11,100
Safety seats for children ..........113
Seat belts
(see Safety restraints) ...............95
Seats ............................................92
child safety seats ....................113
cleaning ............................207,208
easy access/easyout feature ....95
heated ........................................94
memory seat .............................84
Index
229