2000 LINCOLN CONTINENTAL cooling
[x] Cancel search: coolingPage 25 of 232

If unusual conditions exist (i.e.-window fogging, etc.), the manual
override controls allow you to select airflow locations and the fan control
allows you to adjust fan speed as necessary.
Temperature selection
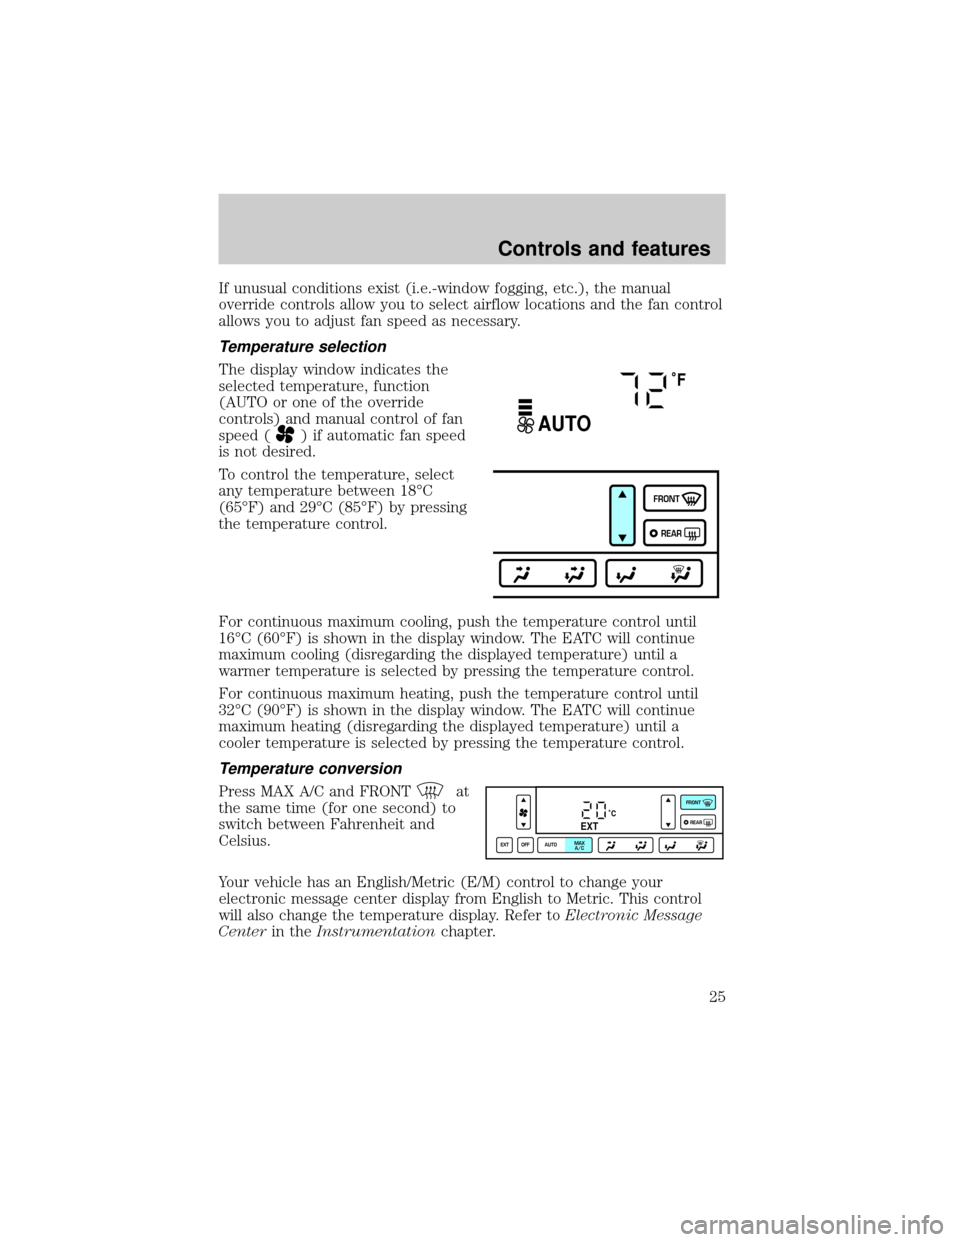
The display window indicates the
selected temperature, function
(AUTO or one of the override
controls) and manual control of fan
speed (
) if automatic fan speed
is not desired.
To control the temperature, select
any temperature between 18ÉC
(65ÉF) and 29ÉC (85ÉF) by pressing
the temperature control.
For continuous maximum cooling, push the temperature control until
16ÉC (60ÉF) is shown in the display window. The EATC will continue
maximum cooling (disregarding the displayed temperature) until a
warmer temperature is selected by pressing the temperature control.
For continuous maximum heating, push the temperature control until
32ÉC (90ÉF) is shown in the display window. The EATC will continue
maximum heating (disregarding the displayed temperature) until a
cooler temperature is selected by pressing the temperature control.
Temperature conversion
Press MAX A/C and FRONTat
the same time (for one second) to
switch between Fahrenheit and
Celsius.
Your vehicle has an English/Metric (E/M) control to change your
electronic message center display from English to Metric. This control
will also change the temperature display. Refer toElectronic Message
Centerin theInstrumentationchapter.
˚F
AUTO
FRONT
REAR
˚CEXT
EXT OFF AUTOMAX
A/CFRONT
REAR
Controls and features
25
Page 29 of 232

²If your vehicle has been parked with the windows closed during hot
weather, the air conditioner will do a much faster job of cooling if you
drive for two or three minutes with the windows open. This will force
most of the hot, stale air out of the vehicle. Then operate the air
conditioner as you would normally.
²If the air conditioner works well in MAX A/C but not in normal A/C,
this may indicate that the cabin air filter (if equipped) needs to be
replaced.
²When placing objects on top of your instrument panel, be careful to
not place them over the defroster outlets. These objects can block
airflow and reduce your ability to see through your windshield. Also,
avoid placing small objects on top of your instrument panel. These
objects can fall down into the defroster outlets and block airflow and
possibly damage your climate control system.
Do not place objects on top of the instrument panel, as these
objects may become projectiles in a collision or sudden stop.
REAR WINDOW DEFROSTER
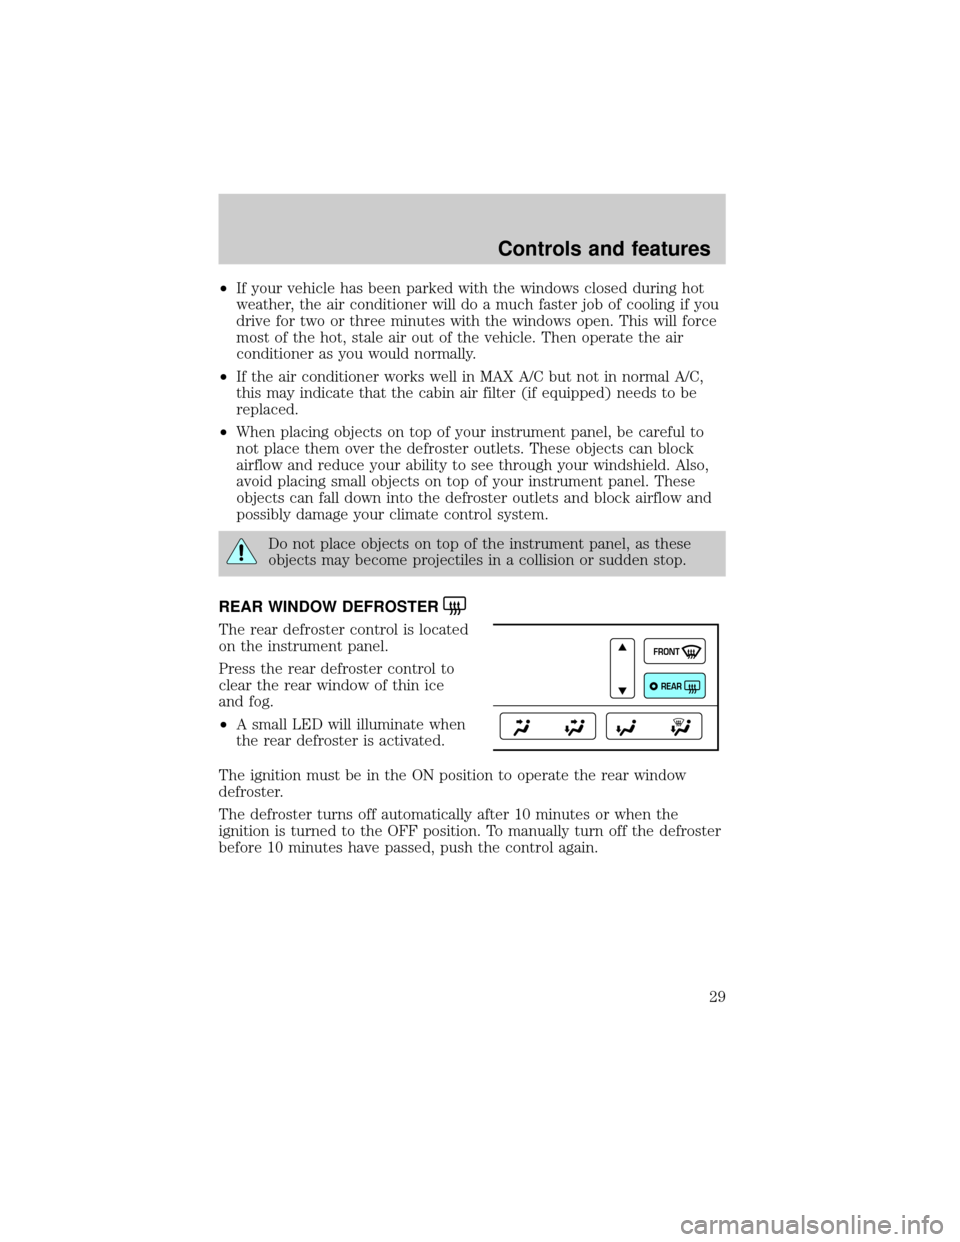
The rear defroster control is located
on the instrument panel.
Press the rear defroster control to
clear the rear window of thin ice
and fog.
²A small LED will illuminate when
the rear defroster is activated.
The ignition must be in the ON position to operate the rear window
defroster.
The defroster turns off automatically after 10 minutes or when the
ignition is turned to the OFF position. To manually turn off the defroster
before 10 minutes have passed, push the control again.
FRONT
REAR
Controls and features
29
Page 139 of 232

Trailer lamps
Do not connect a trailer's lighting system directly to your vehicle's
lighting system. To get the proper equipment for hooking up your
trailer's lamps, see your Lincoln Mercury dealer. Be sure to follow their
instructions carefully.
If you do not install trailer lights correctly, you may cause damage to the
vehicle's lighting system or other vehicle systems.
Driving while you tow
When towing a trailer:
²Ensure that you turn off your speed control. The speed control may
shut off automatically when you are towing on long, steep grades.
²Consult your local motor vehicle speed regulations for towing a trailer.
²Shift out of D (Overdrive) and into 3 (Third) or a lower gear when
towing up or down steep hills. This will eliminate excessive
downshifting and upshifting for optimum fuel economy and transaxle
cooling.
²Anticipate stops and brake gradually.
Servicing after towing
If you tow a trailer for long distances, your vehicle will require more
frequent service intervals. Refer to your Scheduled Maintenance Guide
for more information.
Trailer towing tips
²Practice turning, stopping and backing up in an area before starting on
a trip to get the feel of the vehicle trailer combination. When turning,
make wider turns so the trailer wheels will clear curbs and other
obstacles.
²Allow more distance for stopping with a trailer attached.
²The trailer tongue weight should be 10% of the loaded trailer weight.
²After you have traveled 80 km (50 miles), thoroughly check your
hitch, electrical connections and trailer wheel lug nuts.
²When stopped in traffic for long periods of time in hot weather, place
the gearshift in P (Park) and increase idle speed. This aids engine
cooling and air conditioner efficiency.
Driving
139
Page 151 of 232

Power distribution box
The power distribution box is located in the engine compartment. The
power distribution box contains high-current fuses that protect your
vehicle's main electrical systems from overloads.
Always disconnect the battery before servicing high current
fuses.
Always replace the cover to the Power Distribution Box before
reconnecting the battery or refilling fluid reservoirs.
If the battery has been disconnected and reconnected, refer to the
Batterysection of theMaintenance and carechapter.
The high-current fuses are coded as follows:
Fuse/Relay
LocationFuse Amp
RatingPower Distribution Box Description
Ð 175 Generator/Voltage Regulator
1 30A** Driver's Seat Module
2 30A** Passenger's Seat Module
3 40A** Ignition Switch
4 40A** Ignition Switch
5 40A** Driver Window
6 30A** Low Speed Cooling Fan
7 30A** Powertrain Control Module
MEGA
175A
PCM
PWR
RELAY
12 3 4
8
7
6 5
12
4 3
5
7
9
1110
12
14 136
8NOT USED
7BLOWER
MOTOR
RELAY6A/C
CLUTCH
RELAY4NOT
USED2
HORN
RELAY3HIGH
BEAM1STARTER
SOL
RELAY5
12
Roadside emergencies
151
Page 152 of 232

Fuse/Relay
LocationFuse Amp
RatingPower Distribution Box Description
8 40A** Rear Window Defrost Control
9 60A** I/P Fuse Panel
10 60A** Lighting Control Module
11 60A** Compressor Relay
12 60A** Anti-Lock Brake Control Module
13 40A** Blower Motor
14 60A** High Speed Cooling Fan
1 30A* PCM
2 20A* ALT SENSE
3 30A* Right Rear Passenger Window
4 30A* Air Suspension
5 Ð Not Used
6 20A* Horns
7 15A* High Beam
8 30A* Right Front Passenger Window
1 Ð A/C Diode
2 Ð PCM Diode
* Mini Fuses ** Maxi Fuses
Auxiliary relay box
The auxiliary relay box is located in the engine compartment. The
auxiliary relay box contains the high and low speed cooling fan relays.
CHANGING THE TIRES
If you get a flat tire while driving, do not apply the brake heavily.
Instead, gradually decrease your speed. Hold the steering wheel firmly
and slowly move to a safe place on the side of the road.
Roadside emergencies
152
Page 156 of 232

3. Turn the wrench in a counterclockwise direction to remove the lug
nut.
To install the anti-theft lug nut:
1. Insert the key over the locking lug nut.
2. Place the lug nut wrench over the lug nut key and apply pressure on
the key with the wrench.
3. Install the lug nut.
JUMP STARTING YOUR VEHICLE
The gases around the battery can explode if exposed to flames,
sparks, or lit cigarettes. An explosion could result in injury or
vehicle damage.
Do not push start your vehicle. You could damage the catalytic
converter.
Batteries contain sulfuric acid which can burn skin, eyes, and
clothing, if contacted.
Do not attempt to push start your vehicle. Automatic
transmissions do not have push-start capability.
Preparing your vehicle
1.Use only a 12±volt supply to start your vehicle.
2. Do not disconnect the battery of the disabled vehicle as this could
damage the vehicle's electrical system.
3. Park the booster vehicle close to the hood of the disabled vehicle
making sure the two vehiclesdo nottouch. Set the parking brake on
both vehicles and stay clear of the engine cooling fan and other moving
parts.
4. Check all battery terminals and remove any excessive corrosion before
you attach the battery cables. Ensure that vent caps are tight and level.
5. Turn the heater fan on in both vehicles to protect any electrical
surges. Turn all other accessories off.
Roadside emergencies
156
Page 169 of 232

WINDSHIELD WASHER FLUID
Checking and adding washer fluid
Check the washer fluid whenever
you stop for fuel. The reservoir is
highlighted with a
symbol.
If the level is low, add enough fluid
to fill the reservoir. In very cold
weather, do not fill the reservoir all
the way.
Only use a washer fluid that meets Ford specifications. Refer to
Lubricant specificationsin theCapacities and specificationschapter.
State or local regulations on volatile organic compounds may restrict the
use of methanol, a common windshield washer antifreeze additive.
Washer fluids containing non-methanol antifreeze agents should be used
only if they provide cold weather protection without damaging the
vehicle's paint finish, wiper blades or washer system.
Do not put washer fluid in the engine coolant reservoir. Washer
fluid placed in the cooling system may harm engine and cooling
system components.
ENGINE COOLANT
Checking engine coolant
Your engine's cooling system has been factory-filled with a 50/50 mixture
of distilled water and Ford Premium Engine Coolant E2FZ-19549-AA (in
Canada, Motorcraft CXC-8-B), or an equivalent premium engine coolant
that meets Ford specification ESE-M97B44-A.
A50/50 mixtureof distilled water and Ford Premium Engine Coolant
provides:
²maximum cooling system efficiency.
²freeze protection down to -36É C (-34É F).
²boiling protection up to 129É C (265É F).
²protection against rust and other forms of corrosion.
Maintenance and care
169
Page 170 of 232

The engine coolant must be maintained at the correct fluid level
and concentration to work properly. If the engine coolant fluid
level and concentration is not maintained correctly, damage to
the engine and cooling system may result.
When the engine is cold, check the
level of the engine coolant in the
reservoir.
²The engine coolant should be at the ªcold fill levelº as listed on the
engine coolant reservoir.
²If the engine coolant reservoir becomes empty, the LOW ENGINE
COOLANT warning will illuminate in the message center.
²Refer to the Scheduled Maintenance Guide for service interval
schedules.
²Be sure to read and understandPrecautions when servicing your
vehiclein this chapter.
If the engine coolant has not been checked at the recommended interval,
the engine coolant reservoir may become low or empty. If this occurs,
the LOW ENGINE COOLANT warning will illuminate and you will need
to add engine coolant to the reservoir. Refer toAdding engine coolant
in this chapter.
COLD FILL
LEVEL
Maintenance and care
170