Page 153 of 352
Climate Contro l Syste m
The button directs the main
air flow to the windshield for fasterdefrosting. It also overrides any
MODE selection you may have made.
When you select the A/C turns on automatically and thesystem selects Fresh Air mode. For
faster defrosting, manually set the
fan speed to high. You can also increase air flow to the windshield by
closing the side vents in the
dashboard.
When you turn off by pressing the button again, thesystem returns to its former settings.
Rea r Windo w Defogge r Butto n
This button turns the rear window defogger on and off (see page 71).
Comfor t an d Convenienc e Feature s DEFROS
T BUTTO N
REA R WINDO W DEFOGGE R BUTTO N
Page 205 of 352

Preparing to Driv e
You should do the following checks
and adjustments every day before
you drive your vehicle.
1. Make sure all windows, mirrors, and outside lights are clean and
unobstructed. Remove frost, snow,or ice.
2. Check that the hood and tailgate are fully closed.
3. Visually check the tires. If a tire looks low, use a gauge to check its
pressure.
4. Check that any items you may be carrying with you inside are stored
properly or fastened down
securely.
5. Check the adjustment of the seat
(see page 100).
6. Check the adjustment of the inside and outside mirrors (see
page 115).
7. Check the adjustment of the steering wheel (see page 72).
8. Make sure the doors and tailgate are securely closed and locked.
9. Fasten your seat belt. Check that your passengers have fastenedtheir seat belts (see page 15). 10. Turn the ignition switch ON (II).
Check the indicator lights in the
instrument panel.
11. Start the engine (see page 203).
12. Check the gauges and indicator lights in the instrument panel (see
page 57).
Drivin g
Page 212 of 352

Parking
Always use the parking brake when
you park your vehicle. The indicator on the instrument panel shows that
the parking brake is not fully
released; it does not indicate that the
parking brake is firmly set. Makesure the parking brake is set firmly
or your vehicle may roll if it is
parked on an incline.
Set the parking brake before you put
the transmission in Park. This keeps
the vehicle from moving and putting
pressure on the parking mechanismin the transmission — making it
easier to move the shift lever out of
Park when you want to drive away. If the vehicle is facing uphill, turn
the front wheels away from the curb.
If the vehicle is facing downhill, turn
the front wheels toward the curb.Make sure the parking brake is fully
released before driving away. Driving with the parking brake
partially set can overheat or damage
the rear brakes. Parkin
g Tip s
Make sure the windows are closed.
Turn off the lights.
Place any packages, valuables, etc.,
in the cargo area or take them
with you.
Lock the doors with the key or the
remote transmitter.
Never park over dry leaves, tall
grass, or other flammable materials. The three way catalytic
converter gets very hot, and could
cause these materials to catch on
fire.
Drivin g
Page 219 of 352

Driving in Ba d Weathe r
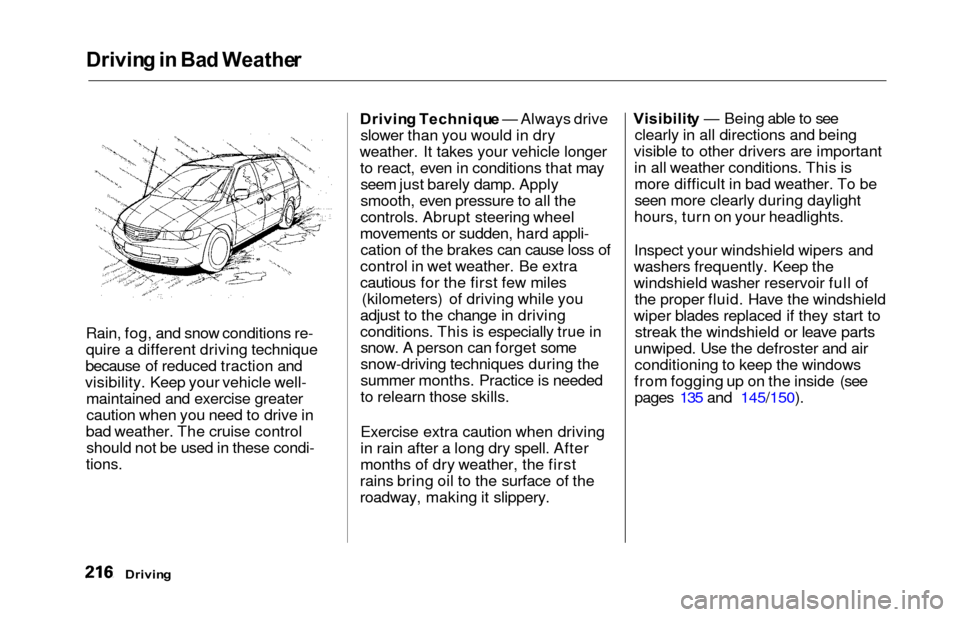
Rain, fog, and snow conditions re-
quire a different driving technique
because of reduced traction and
visibility. Keep your vehicle well- maintained and exercise greater
caution when you need to drive in
bad weather. The cruise control should not be used in these condi-
tions.
Drivin g Techniqu e — Always drive
slower than you would in dry
weather. It takes your vehicle longer to react, even in conditions that mayseem just barely damp. Apply
smooth, even pressure to all the
controls. Abrupt steering wheel
movements or sudden, hard appli- cation of the brakes can cause loss of
control in wet weather. Be extra
cautious for the first few miles (kilometers) of driving while you
adjust to the change in driving
conditions. This is especially true in snow. A person can forget some
snow-driving techniques during the
summer months. Practice is needed
to relearn those skills.
Exercise extra caution when driving
in rain after a long dry spell. After
months of dry weather, the first
rains bring oil to the surface of the
roadway, making it slippery. Visibilit
y — Being able to see
clearly in all directions and being
visible to other drivers are important in all weather conditions. This ismore difficult in bad weather. To be
seen more clearly during daylight
hours, turn on your headlights.
Inspect your windshield wipers and
washers frequently. Keep the
windshield washer reservoir full of the proper fluid. Have the windshield
wiper blades replaced if they start to streak the windshield or leave parts
unwiped. Use the defroster and air conditioning to keep the windows
from fogging up on the inside (see pages 135 and 145/150).
Drivin g
Page 251 of 352

Windshield Washer s
Check the level in the windshield
washer reservoir at least monthly during normal usage. In bad weather,
when you use the washers often, check the level every time you stop
for fuel. This reservoir supplies the
windshield and rear window washers.
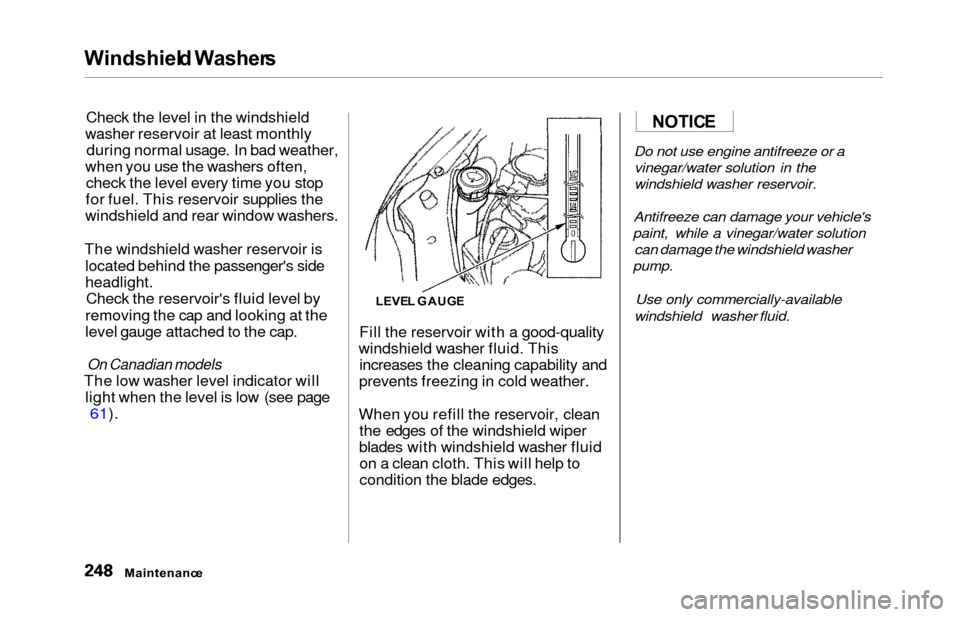
The windshield washer reservoir is located behind the passenger's side
headlight.Check the reservoir's fluid level by
removing the cap and looking at the
level gauge attached to the cap.
On Canadian models
The low washer level indicator will light when the level is low (see page
61).
Fill the reservoir with a good-quality
windshield washer fluid. This increases the cleaning capability and
prevents freezing in cold weather.
When you refill the reservoir, clean the edges of the windshield wiper
blades with windshield washer fluid on a clean cloth. This will help to
condition the blade edges.
Do not use engine antifreeze or a
vinegar/water solution in the
windshield washer reservoir.
Antifreeze can damage your vehicle's
paint, while a vinegar/water solution
can damage the windshield washer
pump.
Use only commercially-available
windshield washer fluid.
Maintenanc e
LEVEL GAUG E
NOTICE
Page 260 of 352

Battery
Check the condition of your vehicle's
battery monthly. You should check
the color of the test indicator window, and for corrosion on the terminals.
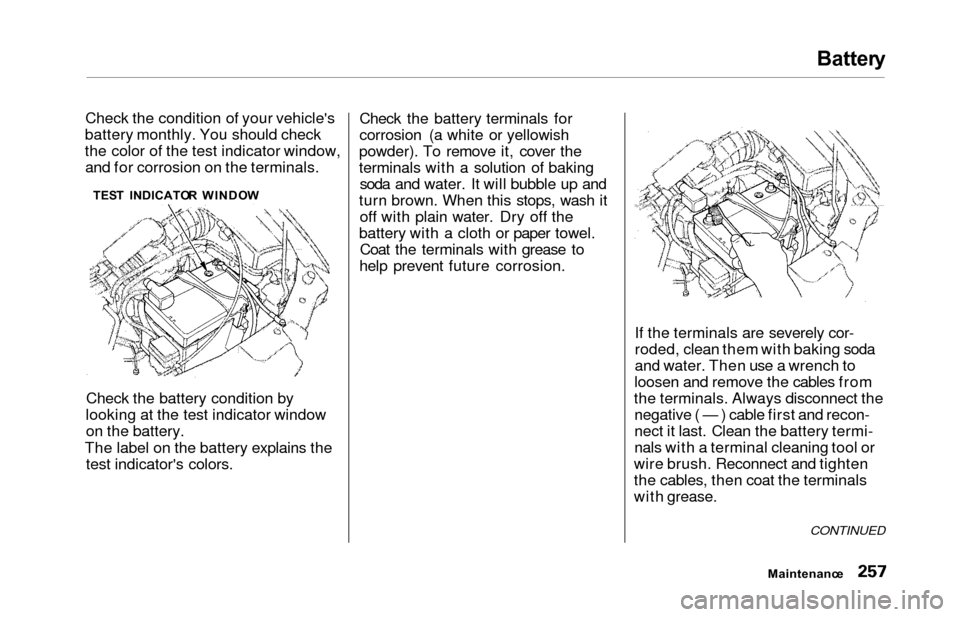
TES T INDICATO R WINDO W
Check the battery condition by
looking at the test indicator window on the battery.
The label on the battery explains the test indicator's colors. Check the battery terminals for
corrosion (a white or yellowish
powder). To remove it, cover the
terminals with a solution of baking soda and water. It will bubble up and
turn brown. When this stops, wash it off with plain water. Dry off the
battery with a cloth or paper towel. Coat the terminals with grease to
help prevent future corrosion.
If the terminals are severely cor-
roded, clean them with baking soda
and water. Then use a wrench to
loosen and remove the cables from
the terminals. Always disconnect the negative ( — ) cable first and recon-
nect it last. Clean the battery termi-
nals with a terminal cleaning tool or
wire brush. Reconnect and tighten
the cables, then coat the terminals
with grease.
Maintenanc e
CONTINUED
Page 284 of 352

Storing You r Vehicl e
If you need to park your vehicle for
an extended period (more than one
month), there are several things you
should do to prepare it for storage.
Proper preparation helps prevent
deterioration and makes it easier to
get your vehicle back on the road. If
possible, store your vehicle indoors.
Fill the fuel tank.Change the engine oil and filter
(see page 241).
Wash and dry the exterior
completely.
Clean the interior. Make sure the
carpeting, floor mats, etc. are
completely dry.
Leave the parking brake off. Put
the transmission in Park.
Block the rear wheels.
If the vehicle is to be stored for a
longer period, it should be
supported on jackstands so the
tires are off the ground. Leave one window open slightly (if
the vehicle is being stored
indoors).
Disconnect the battery.
Support the front and rear wiper
blade arms with a folded towel or rag so they do not touch the
windshield.
To minimize sticking, apply a silicone spray lubricant to all door
and tailgate seals. Also, apply a
vehicle body wax to the painted surfaces that mate with the door
and tailgate seals.
Cover the vehicle with a
"breathable" cover, one made
from a porous material such as cotton. Nonporous materials, such
as plastic sheeting, trap moisture,
which can damage the paint.
If possible, run the engine for a
while periodically (preferably once a month).
If you store your vehicle for 12
months or longer, have your Honda
dealer perform the inspections called
for in the 24 months/30,000 miles (48,000 km) maintenance schedule
(Normal Conditions) as soon as you
take it out of storage (see page 230).
The replacements called for in the maintenance schedule are not
needed unless the vehicle hasactually reached that time or mileage.
Maintenanc e
Page 286 of 352

Appearance Car e
Regular cleaning and polishing of
your Honda helps to keep it "new" looking. This section gives you hints
on how to clean your vehicle and
preserve its appearance: the paint,
brightwork, wheels and interior. Also included are several things you cando to help prevent corrosion. Exterior Care.................................. 284
Washing..................................... . 284
Waxing........................................ 285
Aluminum Wheels..................... 285 Paint Touch-up........................... 285
Interior Care................................... 286 Carpeting.................................... 286
Fabric.......................................... 286
Vinyl............................................ 286
Seat Belts.................................... 286
Windows..................................... 287
Air Fresheners........................... 287
Corrosion Protection..................... 288
Body Repairs.................................. 289
Appearanc e Car e