Page 18 of 280

The sequence of the system check report is as follows:
1. oil life in XX%
2. charging system
3. washer fluid level
4. brake fluid level
5. doors closed (driver and passenger side). This message can only be
reset by closing the door(s). If the RESET control is pressed, PLEASE
CLOSE DOOR will be displayed.
6. rear liftgate status
7. exterior lamps (headlamps, front turn, brake, tail and cornering/side
repeater lamp status)
8. traction control (if equipped)
9. fuel level
10. distance to empty
Single/Dual Display Mode
1. Select this function from the
SETUP menu for the current display
mode.
2. Press the RESET control to
change from the Single to the Dual display.
System warnings
System warnings alert you to possible problems or malfunctions in your
vehicle's operating systems.
In the event of a multiple warning situation, the message center will
cycle the display to show all warnings by displaying each one for 4
seconds.
The message center will display the last selected feature if there are no
more warning messages. This allows you to use the full functionality of
the message center after you acknowledge the warning by pressing the
RESET control and clearing the warning message.
Warning messages that have been reset are divided into two categories:
²They will reappear on the display ten minutes from the reset.
²They will not reappear until an ignition OFF-ON cycle has been
completed.
>
Instrumentation
18
Page 19 of 280

This acts as a reminder that these warning conditions still exist within
the vehicle.
Driver's door ajar Warning cannot
be reset
Passenger door ajar
Driver rear door ajar
Passenger rear door ajar
Check charging system Warning returns
after 10 minutes
Transmission overheated
Check transmission
Low fuel level
Liftgate ajar Warning returns
after the ignition
key is turned
from OFF to ON Low brake fluid level
Check tail lamps
Check headlamps
Check rear turn lamps
Check front turn lamps
Check cornering/side repeater lamps (if equipped)
Change oil soon
Oil change required
Check traction control
Low washer fluid
Check turn signal on reminder
DRIVER'S DOOR AJAR.Displayed when the driver's door is not
completely closed.
PASSENGER DOOR AJAR.Displayed when the passenger side door is
not completely closed.
DRIVER'S REAR DOOR AJAR.Displayed when the driver's rear door
is not completely closed.
PASSENGER REAR DOOR AJAR.Displayed when the passenger side
rear door is not completely closed.
LIFTGATE AJAR.Displayed when the liftgate is not completely closed.
CHECK CHARGING SYSTEM.Displayed when the electrical system is
not maintaining proper voltage. If you are operating electrical accessories
when the engine is idling at a low speed, turn off as many of the
Instrumentation
19
Page 23 of 280

Compass display (if equipped)
The compass reading may be affected when you drive near large
buildings, bridges, power lines and powerful broadcast antenna. Magnetic
or metallic objects placed in, on or near the vehicle may also affect
compass accuracy.
Usually, when something affects the compass readings, the compass will
correct itself after a few days of operating your vehicle in normal
conditions. If the compass still appears to be inaccurate, a manual
calibration may be necessary. Refer toCompass zone/calibration
adjustment.
Most geographic areas (zones) have a magnetic north compass point that
varies slightly from the northerly direction on maps. This variation is four
degrees between adjacent zones and will become noticeable as the
vehicle crosses multiple zones. A correct zone setting will eliminate this
error. Refer toCompass zone/calibration adjustment.
Compass zone/calibration adjustment
Perform this adjustment in an open area free from steel structures and
high voltage lines.
For optimum calibration, turn off all electrical accessories (heater/air
conditioning, wipers, etc.) and make sure all vehicle doors are shut.
1. Turn ignition to the ON position.
2. Start the engine.
3. Determine your magnetic zone by
referring to the zone map.
4. From Info menu, select the
Compass/Outside Temperature
function.
1
2
3
4
5
6
7891011121314 15
Instrumentation
23
Page 25 of 280

1. Drive the vehicle at least 8 km (5 miles) with the speed control
system engaged to display a stabilized average.
2. Record the highway fuel economy for future reference.
It is important to press the RESET control after setting the speed
control to get accurate highway fuel economy readings.
DIST TO EMPTY (DTE)
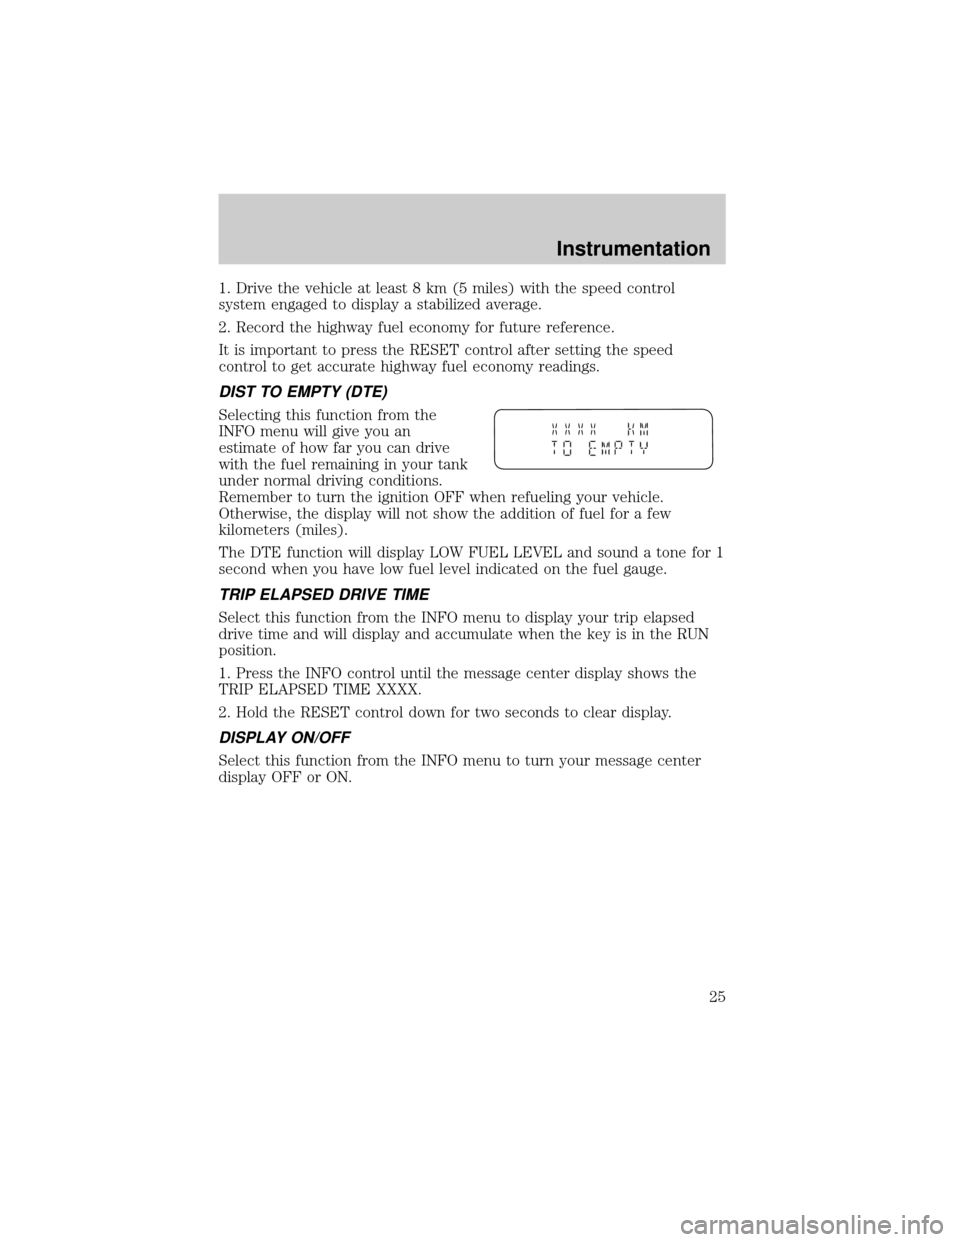
Selecting this function from the
INFO menu will give you an
estimate of how far you can drive
with the fuel remaining in your tank
under normal driving conditions.
Remember to turn the ignition OFF when refueling your vehicle.
Otherwise, the display will not show the addition of fuel for a few
kilometers (miles).
The DTE function will display LOW FUEL LEVEL and sound a tone for 1
second when you have low fuel level indicated on the fuel gauge.
TRIP ELAPSED DRIVE TIME
Select this function from the INFO menu to display your trip elapsed
drive time and will display and accumulate when the key is in the RUN
position.
1. Press the INFO control until the message center display shows the
TRIP ELAPSED TIME XXXX.
2. Hold the RESET control down for two seconds to clear display.
DISPLAY ON/OFF
Select this function from the INFO menu to turn your message center
display OFF or ON.
Instrumentation
25
Page 27 of 280

Flash to pass
Pull toward you to activate and
release to deactivate.
Battery saver
The battery saver will shut off the exterior lamps 10 minutes after the
ignition switch has been turned off and the headlamp control is in the
HEADLAMP position. The system will not turn off the parking lamps if
the headlamp control is in the PARK position. For interior lights, refer to
Illuminated entryin this chapter.
PANEL DIMMER CONTROL
Use to adjust the brightness of the
instrument panel lighting during
headlamp and parklamp operation.
²Rotate control to full up position
to turn on all interior lights.
²Rotate control to next position
(adjustment dial) and move up
and down to adjust the
instrument panel lights.
²Rotate to the first or second
lower detent position to turn on the instrument panel lights to full
brightness.
This control also has other features that are activated whenany door is
opened:
²Rotate to full up position or next position (adjustment dial) to turn on
all interior lights.
²
Rotate to first lower detent position to activate ªsleeping baby modeº Ð
dome lamps will remain off and only the lower lamps will illuminate.
²The second lower detent position (full down) will shut off all interior
lights.
The dome lamp will not illuminate if the panel dimmer/dome lamp
control is switched to OFF.
Controls and features
27
Page 28 of 280
AUTOLAMP CONTROL (IF EQUIPPED)
The autolamp system provides light
sensitive automatic on-off control of
the exterior lights normally
controlled by the headlamp control.
The autolamp system also keeps the
lights on for a fixed period of time
after the ignition switch is turned to
OFF.
²To turn autolamps on, rotate the
control counterclockwise.
²To turn autolamps off, rotate the control clockwise to OFF.
CLIMATE CONTROL SYSTEM
Manual heating system (if equipped)
Fan speed control
Controls the volume of air circulated
in the vehicle.
AUTO
Controls and features
28
Page 37 of 280

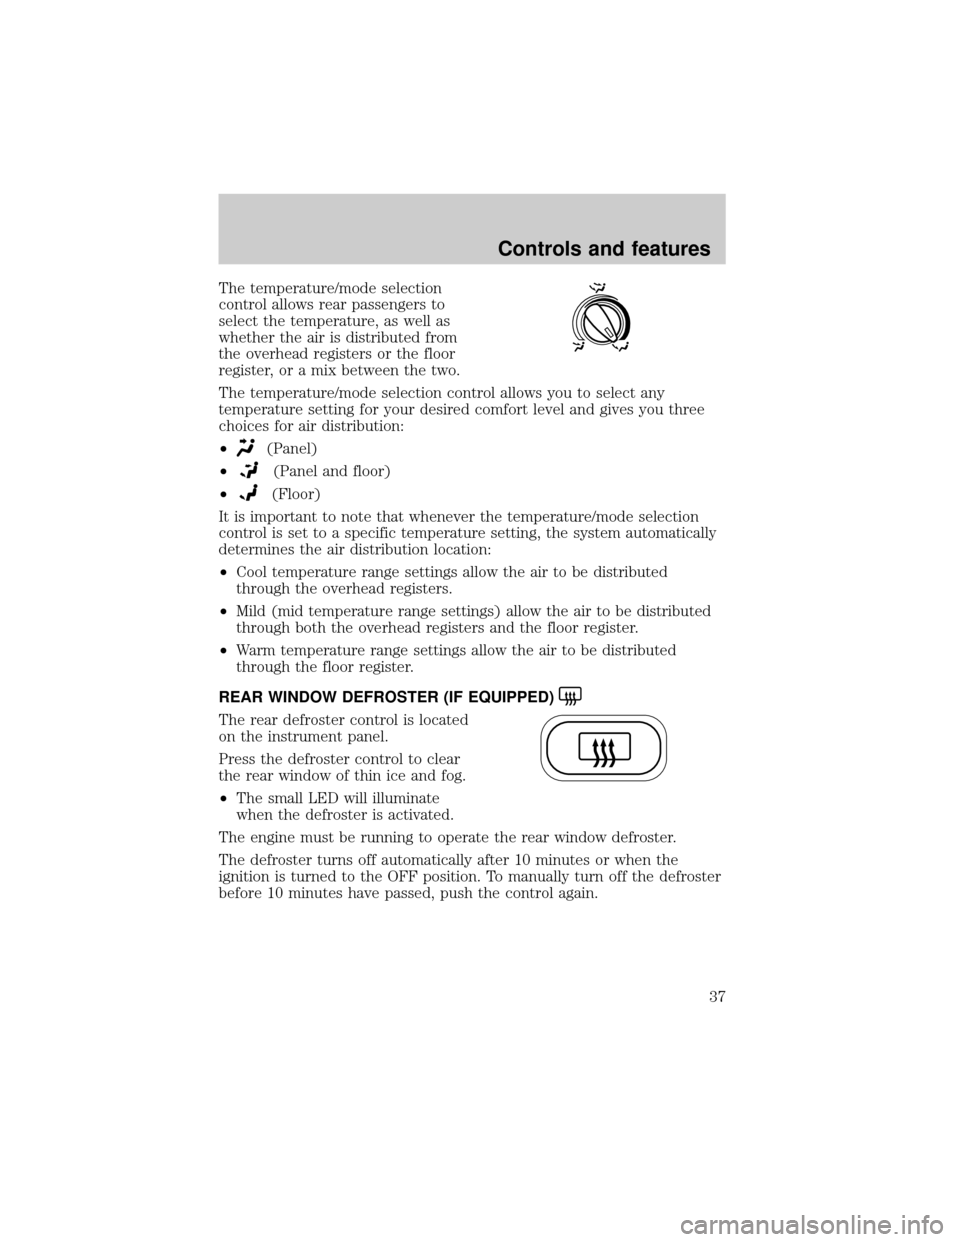
The temperature/mode selection
control allows rear passengers to
select the temperature, as well as
whether the air is distributed from
the overhead registers or the floor
register, or a mix between the two.
The temperature/mode selection control allows you to select any
temperature setting for your desired comfort level and gives you three
choices for air distribution:
²
(Panel)
²
(Panel and floor)
²
(Floor)
It is important to note that whenever the temperature/mode selection
control is set to a specific temperature setting, the system automatically
determines the air distribution location:
²Cool temperature range settings allow the air to be distributed
through the overhead registers.
²Mild (mid temperature range settings) allow the air to be distributed
through both the overhead registers and the floor register.
²Warm temperature range settings allow the air to be distributed
through the floor register.
REAR WINDOW DEFROSTER (IF EQUIPPED)
The rear defroster control is located
on the instrument panel.
Press the defroster control to clear
the rear window of thin ice and fog.
²The small LED will illuminate
when the defroster is activated.
The engine must be running to operate the rear window defroster.
The defroster turns off automatically after 10 minutes or when the
ignition is turned to the OFF position. To manually turn off the defroster
before 10 minutes have passed, push the control again.
Controls and features
37
Page 38 of 280
USING YOUR AUDIO SYSTEM
AM/FM Stereo
Your vehicle is equipped with a delayed accessory feature. This feature
enables the audio playing media to continue playing up to 10 minutes
after the ignition has been turned off, or until a door is opened.
Volume/power control
Press the control to turn the audio
system on or off.
Turn the control to raise or lower
volume.
1234AM/FM
SEEKTONE
CLK
TUNE
TONE VOL
12 FMSTDX
VOL
PUSH
ON
AM / FM STEREO
VOL
PUSH
ON
VOL
PUSH
ON
Controls and features
38