Page 4 of 280
These are some of the symbols you may see on your vehicle.
Vehicle Symbol Glossary
Safety Alert
See Owner's Guide
Fasten Safety BeltAir Bag-Front
Air Bag-SideChild Seat
Child Seat Installation
WarningChild Seat Tether
Anchorage
Brake SystemAnti-Lock Brake System
Brake Fluid -
Non-Petroleum BasedTraction Control
Master Lighting SwitchHazard Warning Flasher
Fog Lamps-FrontFuse Compartment
Fuel Pump ResetWindshield Wash/Wipe
Windshield
Defrost/DemistRear Window
Defrost/Demist
Power Windows
Front/RearPower Window Lockout
Introduction
4
Page 34 of 280

Cooling your vehicle with outside air
Cooling your vehicle with air conditioned outside air is quieter but less
economical than using recirculated air. It also has less cooling capacity.
In order to cool your vehicle using outside air:
1. Turn the mode selector to
(panel),(panel and floor) or
(floor).
2. Press the
A/C(A/C) control. The indicator light next to theA/C(A/C)
control will illuminate.
3. Slide the temperature control knob to the left.
4. Turn the fan speed control to the position of your choice.
During periods of high humidity, vapor may be emitted from the air
outlets when using the A/C system with outside air. This can be
corrected by using MAX A/C to cool the vehicle.
Operating tips
²In humid weather, selectbefore driving. This will reduce fogging
on your windshield. After a few minutes, select any desired position.
²To prevent humidity buildup inside the vehicle, do not drive with the
climate control system in the OFF or MAX A/C position.
²Do not put objects under the front seat that will interfere with the
airflow to the back seats.
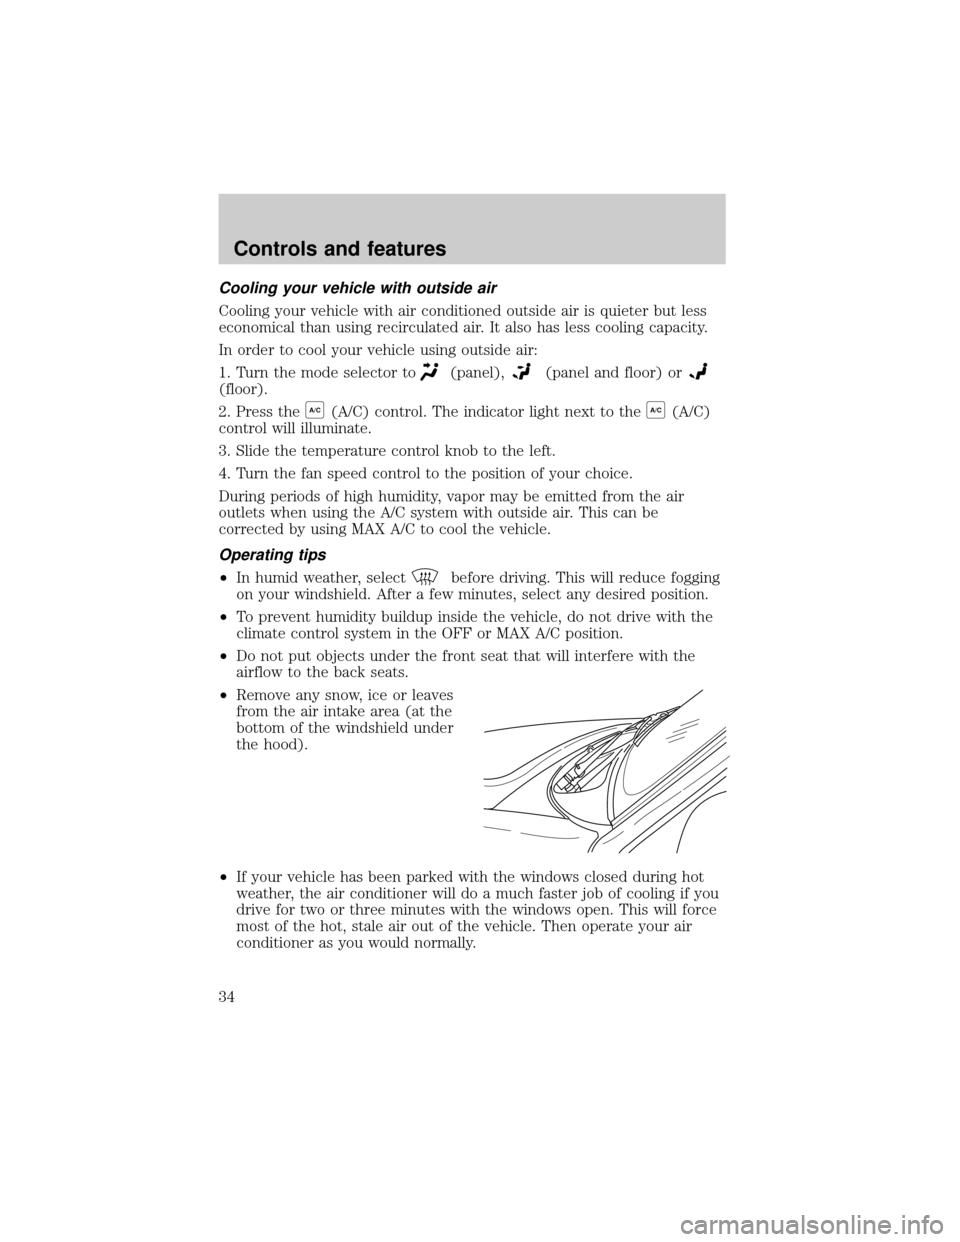
²Remove any snow, ice or leaves
from the air intake area (at the
bottom of the windshield under
the hood).
²If your vehicle has been parked with the windows closed during hot
weather, the air conditioner will do a much faster job of cooling if you
drive for two or three minutes with the windows open. This will force
most of the hot, stale air out of the vehicle. Then operate your air
conditioner as you would normally.
Controls and features
34
Page 35 of 280

²Do not place objects over the defroster outlets. These objects can
block airflow and reduce your ability to see through your windshield.
Also, avoid placing small objects on top of your instrument panel.
These objects can fall down into the defroster outlets and block
airflow and possibly damage your climate control system.
²To get maximum heating performance from the second row floor vents
(located under the front row seats), place the front mode selector
control in the
(floor) position and set the fan speed to its highest
setting.
²If the air conditioner works well in MAX A/C, but not in any other
mode when the A/C control is selected, this may indicate that the
passenger compartment air filter (if equipped) needs to be replaced.
To aide in side window defogging:
1. Select
(Panel and Floor)
2. Set the temperature control to full heat
3. Select A/C
4. Set the fan speed to High
5. Direct the outer panel vents towards the side windows
6. To increase airflow to the outer panel vents, close the central panel
vents.
Do not place objects on top of the instrument panel, as these
objects may become projectiles in a collision or sudden stop.
Controls and features
35
Page 37 of 280

The temperature/mode selection
control allows rear passengers to
select the temperature, as well as
whether the air is distributed from
the overhead registers or the floor
register, or a mix between the two.
The temperature/mode selection control allows you to select any
temperature setting for your desired comfort level and gives you three
choices for air distribution:
²
(Panel)
²
(Panel and floor)
²
(Floor)
It is important to note that whenever the temperature/mode selection
control is set to a specific temperature setting, the system automatically
determines the air distribution location:
²Cool temperature range settings allow the air to be distributed
through the overhead registers.
²Mild (mid temperature range settings) allow the air to be distributed
through both the overhead registers and the floor register.
²Warm temperature range settings allow the air to be distributed
through the floor register.
REAR WINDOW DEFROSTER (IF EQUIPPED)
The rear defroster control is located
on the instrument panel.
Press the defroster control to clear
the rear window of thin ice and fog.
²The small LED will illuminate
when the defroster is activated.
The engine must be running to operate the rear window defroster.
The defroster turns off automatically after 10 minutes or when the
ignition is turned to the OFF position. To manually turn off the defroster
before 10 minutes have passed, push the control again.
Controls and features
37
Page 86 of 280

WINDSHIELD WIPER/WASHER CONTROLS
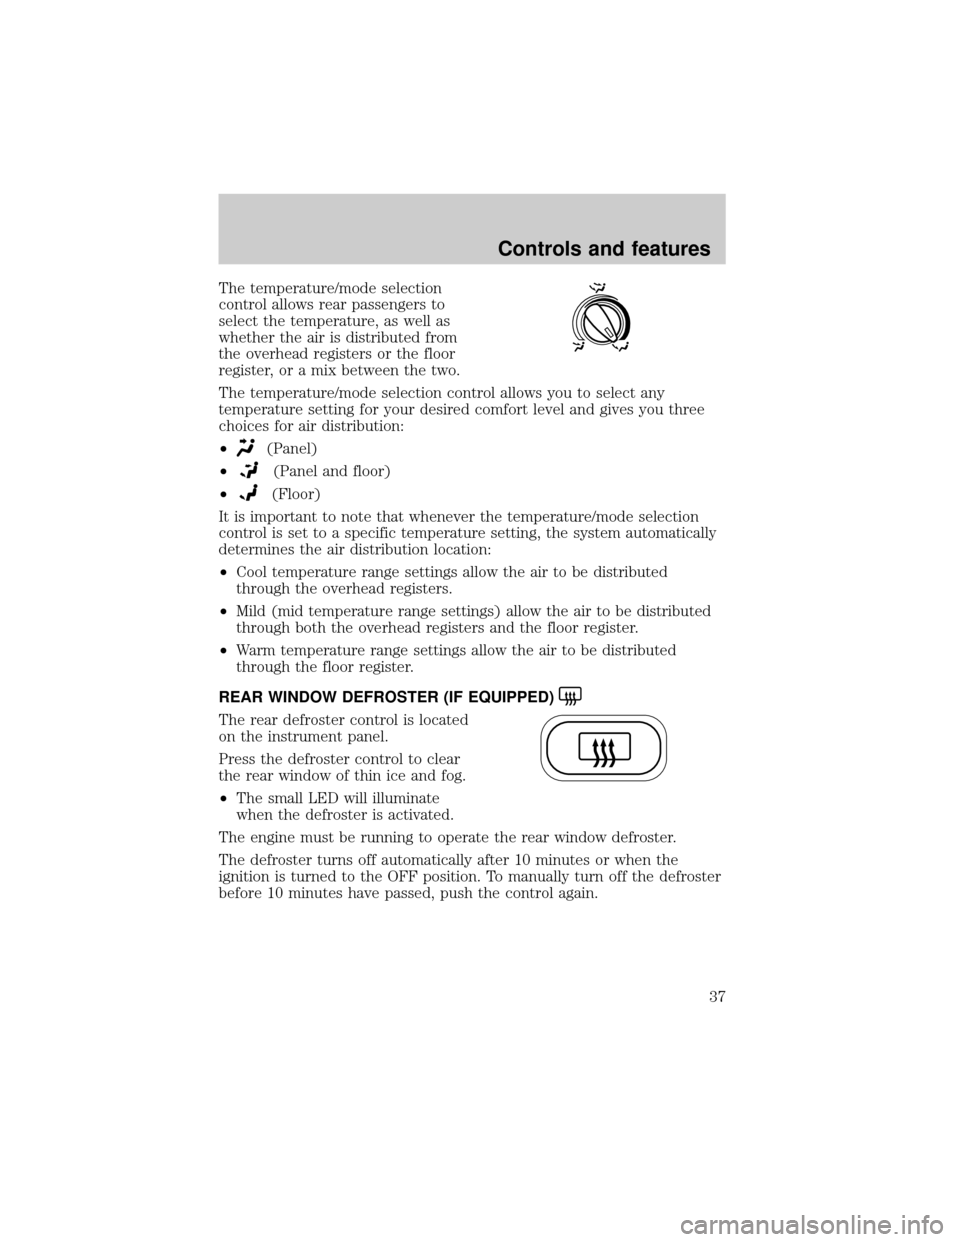
Rotate the windshield wiper control
to the desired interval, low or high
speed position.
The bars of varying length are for
intermittent wipers. When in this
position rotate the control upward
for fast intervals and downward for
slow intervals.
Push (tap) the end of the stalk
briefly for a single swipe (no wash).
Push and hold for three swipes with
wash. Push and hold for a longer
wash (up to ten seconds).
Mist Function
To operate the Mist function of the
windshield wipers, push and release
the windshield washer control
quickly. The wipers will cycle one or
two times.
Rear window wiper/washer controls
For rear wiper operation, rotate the
rear window wiper and washer
control to the desired position.
Select:
INT 2 Ð One second interval rear
wiper.
INT1ÐTensecond interval rear
wiper.
OFF Ð Rear wiper and washer off.
For rear wash cycle, rotate (and hold as desired) the rear wiper/washer
control to either
position.
From either position, the control will automatically return to the INT2 or
OFF position.
Controls and features
86
Page 89 of 280
POWER WINDOWS (IF EQUIPPED)
Press and hold the rocker switches to open and close windows.
²Press the top portion of the
rocker switch to close.
²Press the bottom portion of the
rocker switch to open.
One touch down
²Press AUTO completely down and
release quickly. The driver's
window will open fully. Depress
again to stop window operation.
One touch down can be deactivated
during operation by pushing up on
the power window control.
AUTO
AUTO
AUTO
Controls and features
89
Page 90 of 280
Accessory delay
With accessory delay, the window switches may be used for up to ten
minutes after the ignition switch is turned to the OFF position or until
any door is opened.
Power vent windows (if equipped)
Your vehicle may be equipped with
rear power vent windows which are
operated the same as the front
power windows.
POWER SIDE VIEW MIRRORS (IF EQUIPPED)
To adjust your mirrors:
1. Select
to adjust the left mirror orto adjust the right mirror.
2. Move the control in the direction
you wish to tilt the mirror.
3. Return to the center position to lock mirrors in place.
Controls and features
90
Page 91 of 280
Heated outside mirrors (if equipped)
Both mirrors are heated
automatically to remove ice, mist
and fog when the rear window
defrost is activated.
Do not remove ice from the mirrors
with a scraper or attempt to
readjust the mirror glass if it is
frozen in place. These actions could
cause damage to the glass and
mirrors.
Fold-away mirrors
Pull the side mirrors in carefully
when driving through a narrow
space, like an automatic car wash.
POWER DOOR LOCKS (IF EQUIPPED)
Press U to unlock all doors and L to
lock all doors.
Memory lock
If you lock your doors with the power lock switch or the remote
transmitter while the sliding door is open, the door will automatically
lock after it is closed.
U L
Controls and features
91